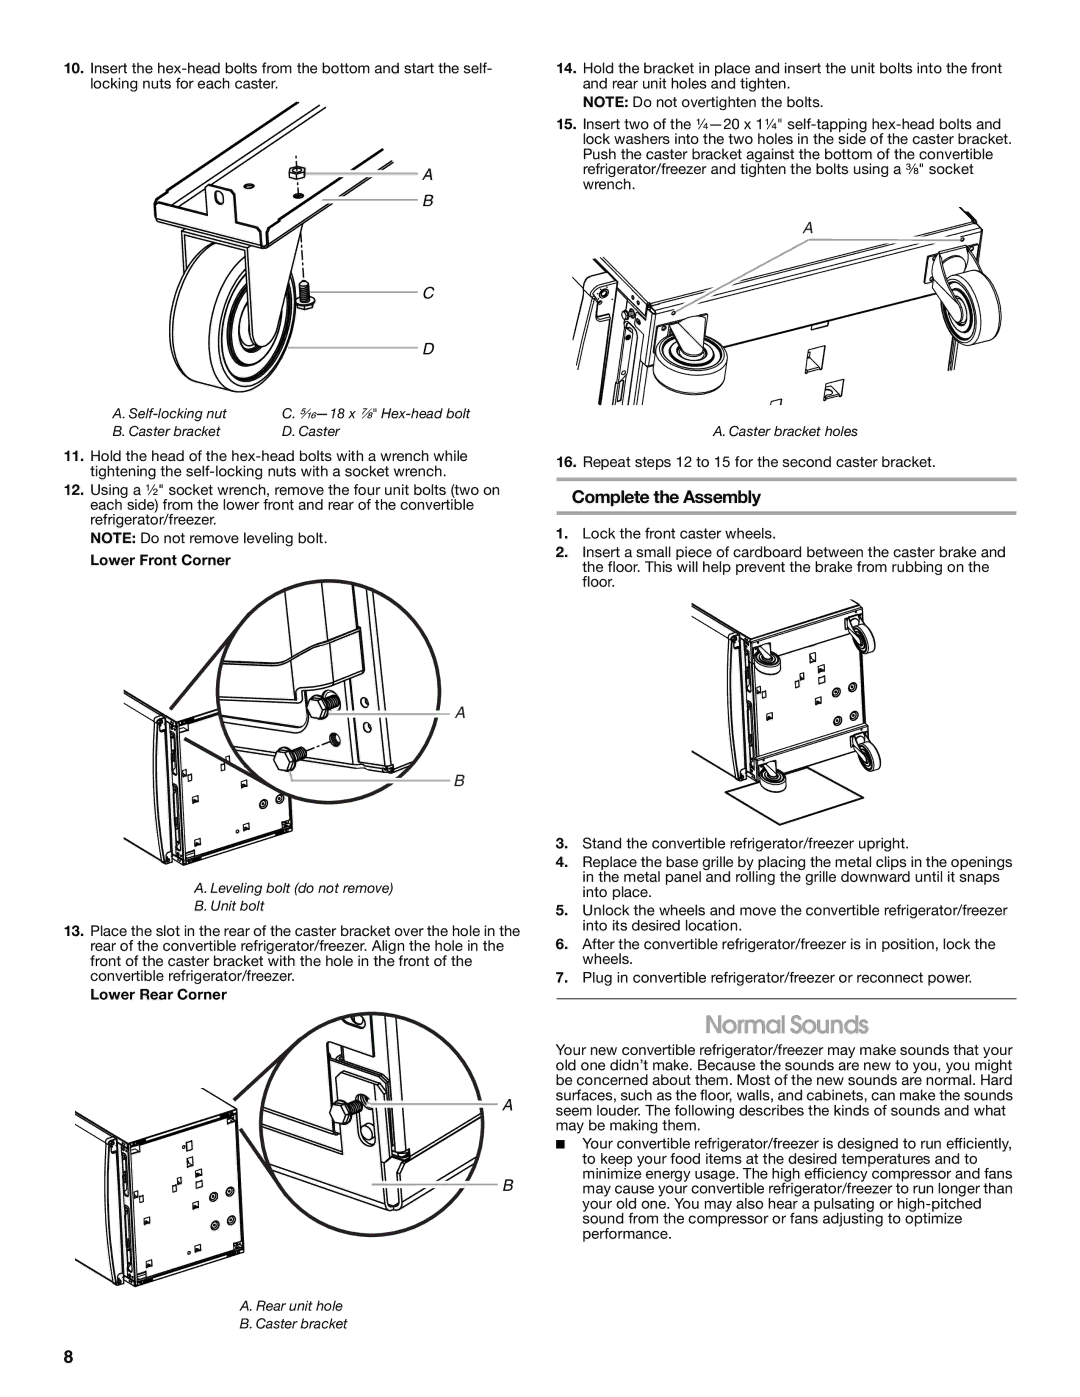
GAFZ21XXRK01 specifications
The Whirlpool GAFZ21XXRK01 is a prominent model in Whirlpool's extensive line of refrigerators, designed to meet modern culinary demands while offering storage flexibility and energy efficiency. This refrigerator stands out with its sleek stainless steel finish, ensuring it matches contemporary kitchen aesthetics while being easy to clean and maintain.One of the most notable features of the GAFZ21XXRK01 is its spacious interior capacity, which provides ample room to organize groceries, leftovers, and beverages. With adjustable shelving, users can customize the layout according to their needs, allowing for the accommodation of larger items such as tall bottles and oversized containers. The refrigerator also includes dedicated compartments for fruits and vegetables, enhancing food preservation and extending the freshness of produce.
Another key technology integrated into this model is the Adaptive Defrost system. This feature optimizes the defrost cycle by monitoring the usage patterns and humidity levels inside the fridge, ensuring minimal ice buildup. As a result, consumers benefit from reduced energy consumption and less frequent defrosting, which enhances overall convenience.
The Whirlpool GAFZ21XXRK01 also emphasizes cooling efficiency through its advanced cooling system, designed to maintain consistent temperatures throughout the unit. This technology not only preserves food quality for longer periods but also reduces the risk of temperature fluctuations that can affect freshness.
For those who require additional storage solutions, the refrigerator includes adjustable door bins and shelves, allowing for greater organization of smaller items such as condiments and jars. The crisp white LED lighting illuminates the interior, making it easy to find items even in low light conditions.
In terms of energy efficiency, the GAFZ21XXRK01 is ENERGY STAR certified, indicating it meets or exceeds rigorous energy efficiency guidelines. This feature is particularly attractive to environmentally conscious consumers looking to reduce their carbon footprint and utility expenses.
Overall, the Whirlpool GAFZ21XXRK01 combines style, functionality, and leading-edge technology in a refrigerator that fits seamlessly into any kitchen environment. With its focus on freshness, energy efficiency, and customizable storage options, it represents a worthwhile investment for any household seeking reliable refrigeration solutions. Whether storing daily essentials or hosting large gatherings, this model delivers on all fronts, ensuring food stays fresh and accessible.

