Cooking in Stages (or steps)
Manual cooking may be done in stages (or steps), up to 4 stages total. The first stage may be programmed using any of the manual controls. The stages may be reviewed at any time during programming and/or cooking by touching “Review Steps” on the touch screen.
NOTE: Manual Defrost can be programmed only as the 1st stage, and is not available for subsequent stage programming.
To Cook in Stages:
1.Follow steps
or
follow steps
2.Touch “Add A Step” on the touch screen.
3.Select cook method, and follow screen prompts to program the next stage.
4.Repeat steps 2 and 3 to program each additional stage.
5.Touch “Start” on the touch screen, or START control.
The display will show the cycling stage’s cook time and cooking power, and will count down each stage in turn.
During the countdown, cook time and/or cooking power for the cycling stage may be changed by touching “Adjust Settings” on the touch screen, and following the prompts.
Each stage will immediately follow the previous stage, and between cycle tones will sound when each new stage begins.
When the cycle ends, the
6.Touch CANCEL control or open the door to stop reminder tones. The display will return to the Main Menu after CANCEL control is touched.
PROGRAMMED COOKING
Sensor Cooking
Some automatic cycles are sensor cycles. See “Cook Method Chart.” No amounts need to be entered. A sensor in the oven detects humidity released from the food as it heats, and adjusts the cook time accordingly. The progress bar appears during sensing (see “Progress Bar” section).
Many sensor cycles require the covering of foods. The provided steamer vessel has a
NOTES:
■The oven should be plugged in for at least 2 minutes.
■The oven cavity and the exterior of the cooking container should be dry.
■The room temperature should not exceed 95°F (35°C).
■For optimal performance, wait at least 30 minutes after grill cooking before sensor cooking.
Preheating
Preheating of the Sizzle Pan is programmed in many automatic cooking cycles. Preheating may be skipped after it has started by touching “Skip Preheat” on the touch screen.
For optimum results, we recommend completing the preheating phase of each cycle in which preheating is programmed.
Doneness
Doneness for food items may be adjusted for most automatic cycles. Before starting a cycle, touch “Doneness” on the touch screen, and adjust the doneness with “+” (more done) or
The more done and less done settings in most foods for which doneness may be adjusted are equal. That is, the same amount of time may be added to or subtracted from the cycle. Some of the Meat and Poultry cycle have only the more done settings.
Quick TouchMenu
The Quick Touch Menu is a shortcut to 11 common program cycles. Unlike the Most Used menu, this list of preset cycles cannot be updated. These programs are
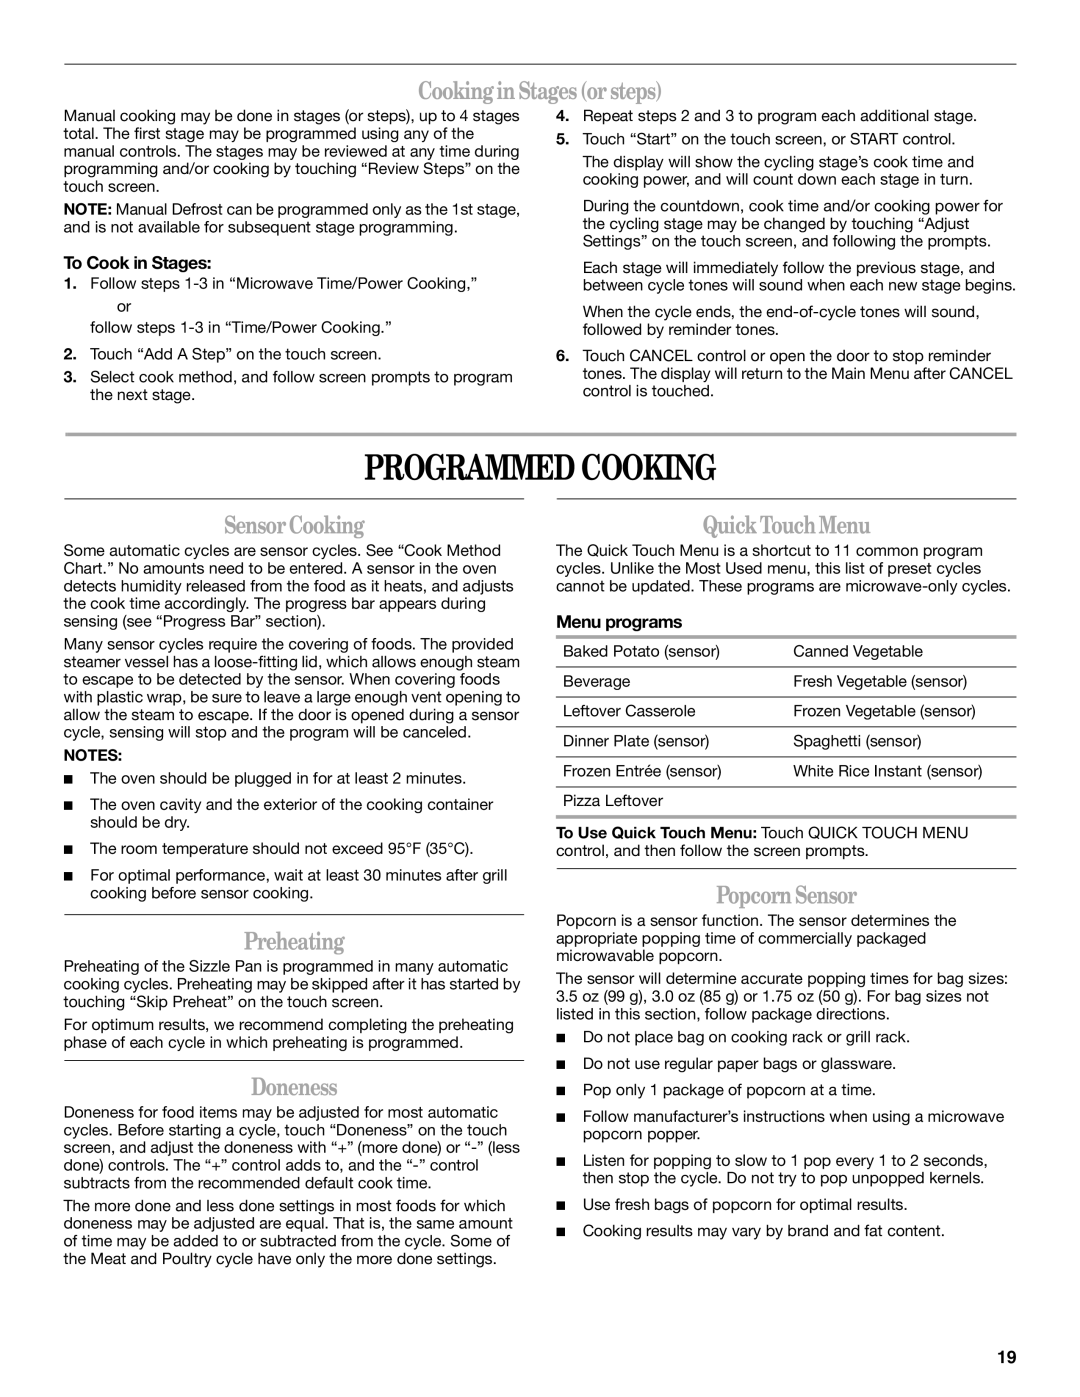
Menu programs
Baked Potato (sensor) | Canned Vegetable |
|
|
Beverage | Fresh Vegetable (sensor) |
|
|
Leftover Casserole | Frozen Vegetable (sensor) |
|
|
Dinner Plate (sensor) | Spaghetti (sensor) |
|
|
Frozen Entrée (sensor) | White Rice Instant (sensor) |
|
|
Pizza Leftover |
|
|
|
To Use Quick Touch Menu: Touch QUICK TOUCH MENU control, and then follow the screen prompts.
Popcorn Sensor
Popcorn is a sensor function. The sensor determines the appropriate popping time of commercially packaged microwavable popcorn.
The sensor will determine accurate popping times for bag sizes:
3.5oz (99 g), 3.0 oz (85 g) or 1.75 oz (50 g). For bag sizes not listed in this section, follow package directions.
■Do not place bag on cooking rack or grill rack.
■Do not use regular paper bags or glassware.
■Pop only 1 package of popcorn at a time.
■Follow manufacturer’s instructions when using a microwave popcorn popper.
■Listen for popping to slow to 1 pop every 1 to 2 seconds, then stop the cycle. Do not try to pop unpopped kernels.
■Use fresh bags of popcorn for optimal results.
■Cooking results may vary by brand and fat content.
19
