3 Gas connection
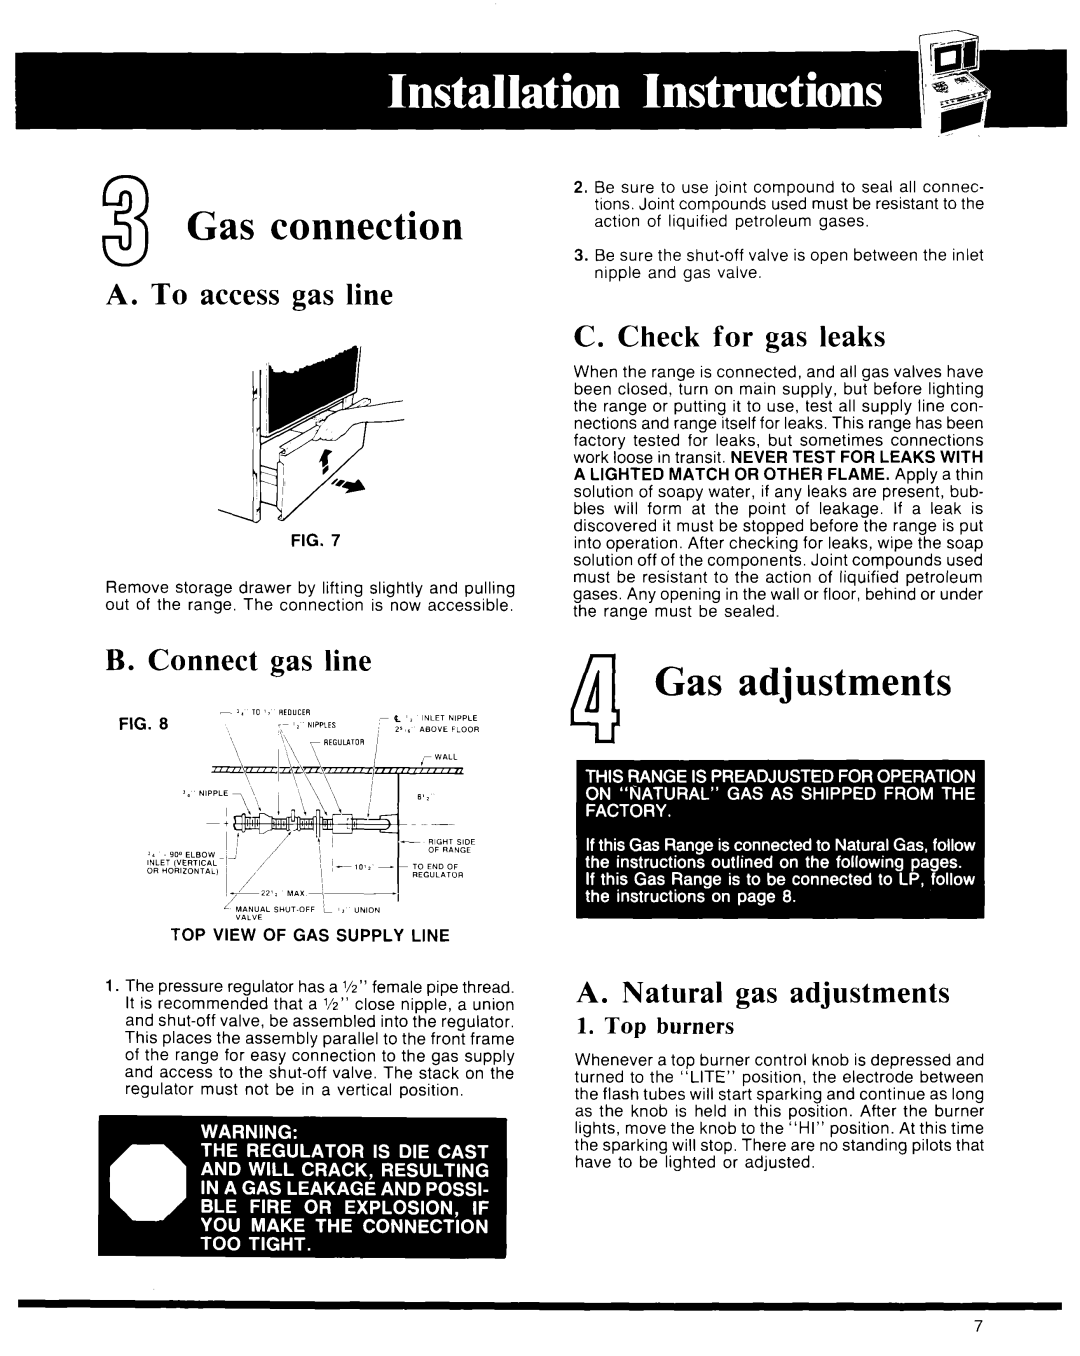
A. To access gas line
FIG. 7
Remove storage drawer by lifting slightly and pulling out of the range. The connection is now accessible.
B. Connect gas line
TOP VIEW OF GAS SUPPLY LINE
1.The pressure regulator has a l/z” female pipe thread. It is recommended that a 115” close nipple, a union and
2.Be sure to use joint compound to seal all connec- tions. Joint compounds used must be resistant to the action of liquified petroleum gases.
3.Be sure the
C. Check for gas leaks
When the range is connected, and all gas valves have been closed, turn on main supply, but before lighting the range or putting it to use, test all supply line con- nections and range itself for leaks. This range has been factory tested for leaks, but sometimes connections work loose in transit. NEVER TEST FOR LEAKS WITH A LIGHTED MATCH OR OTHER FLAME. Apply a thin solution of soapy water, if any leaks are present, bub- bles will form at the point of leakage. If a leak is discovered it must be stopped before the range is put into operation. After checking for leaks, wipe the soap solution off of the components. Joint compounds used must be resistant to the action of liquified petroleum gases. Any opening in the wall or floor, behind or under the range must be sealed.
0,d Gas adjustments
A. Natural gas adjustments
1. Top burners
Whenever a top burner control knob is depressed and turned to the “LITE” position, the electrode between the flash tubes will start sparking and continue as long as the knob is held in this position. After the burner lights, move the knob to the “HI” position. At this time the sparking will stop. There are no standing pilots that have to be lighted or adjusted.
7