Installing optional aGIlA vent hood above
eyelevel micro- wave range
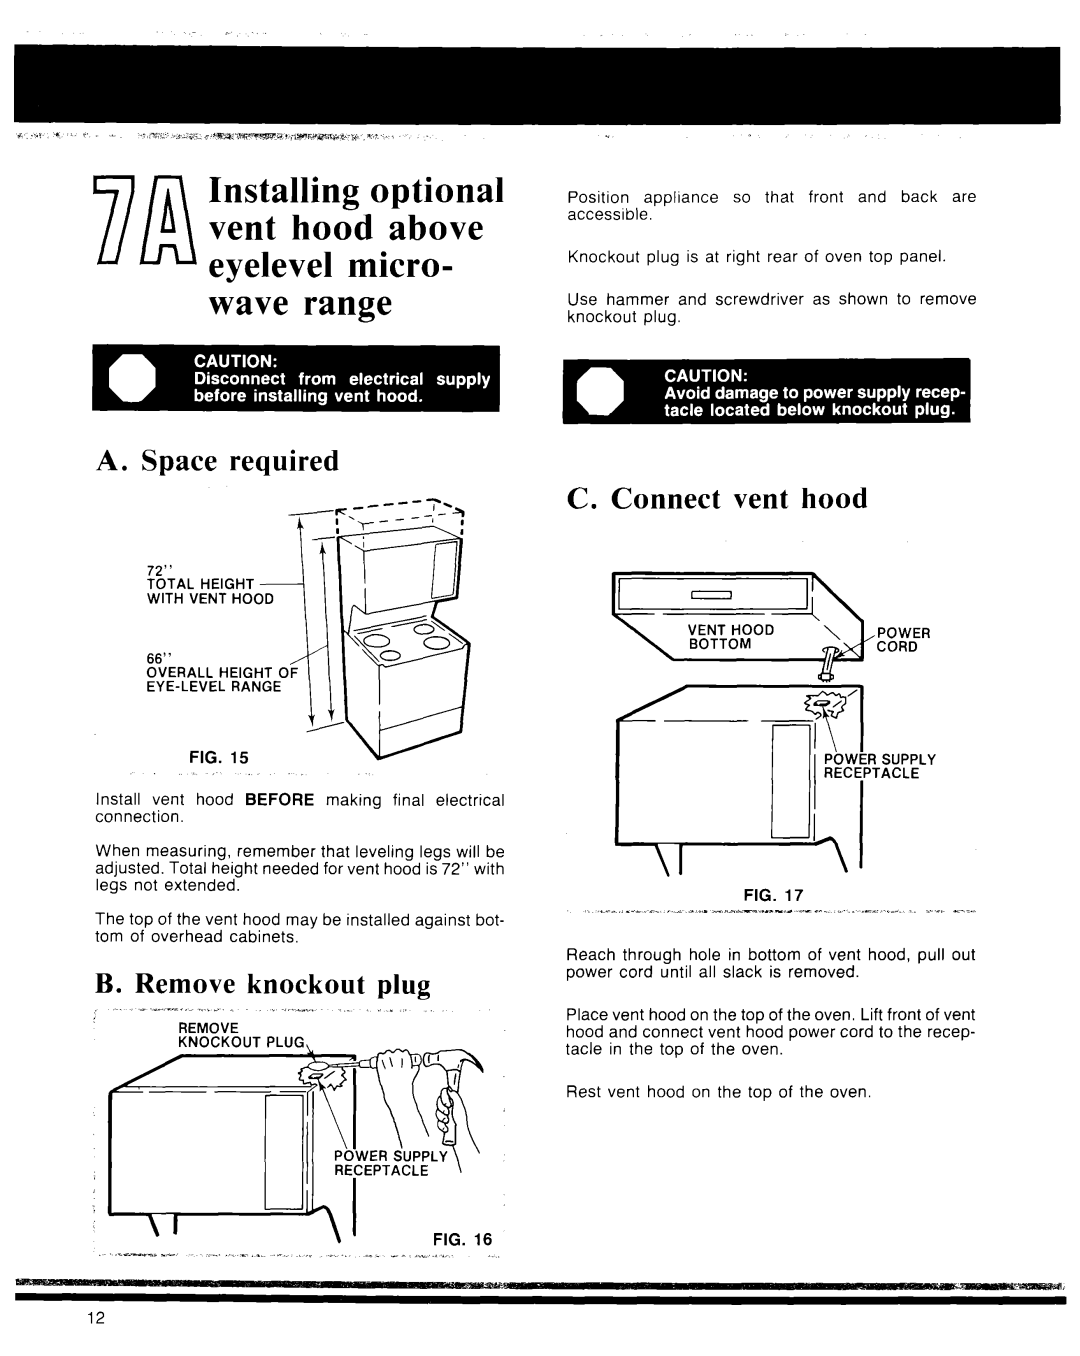
A. Space required
WITH VENT HOOD
:%RALL HEIGHT
FIG. 15
,
Install vent hood BEFORE making final electrical connection.
When measuring, remember that leveling legs will be adjusted. Total height needed for vent hood is 72” with legs not extended.
The top of the vent hood may be installed against bot- tom of overhead cabinets.
B. Remove knockout plug
REMOVE
Position appliance so that front and back are accessible.
Knockout plug is at right rear of oven top panel.
Use hammer and screwdriver as shown to remove knockout plug.
c. Connect vent hood
POWER SUPPLY
RECEPTACLE
FIG. 17
Reach through hole in bottom of vent hood, pull out power cord until all slack is removed.
Place vent hood on the top of the oven. Lift front of vent hood and connect vent hood power cord to the recep- tacle in the top of the oven.
Rest vent hood on the top of the oven.
6