Loosen screws and remove the two small plates on the back of the hood.
Remove the screws in the back of the oven.
Remove the two Z brackets from the hardware package.
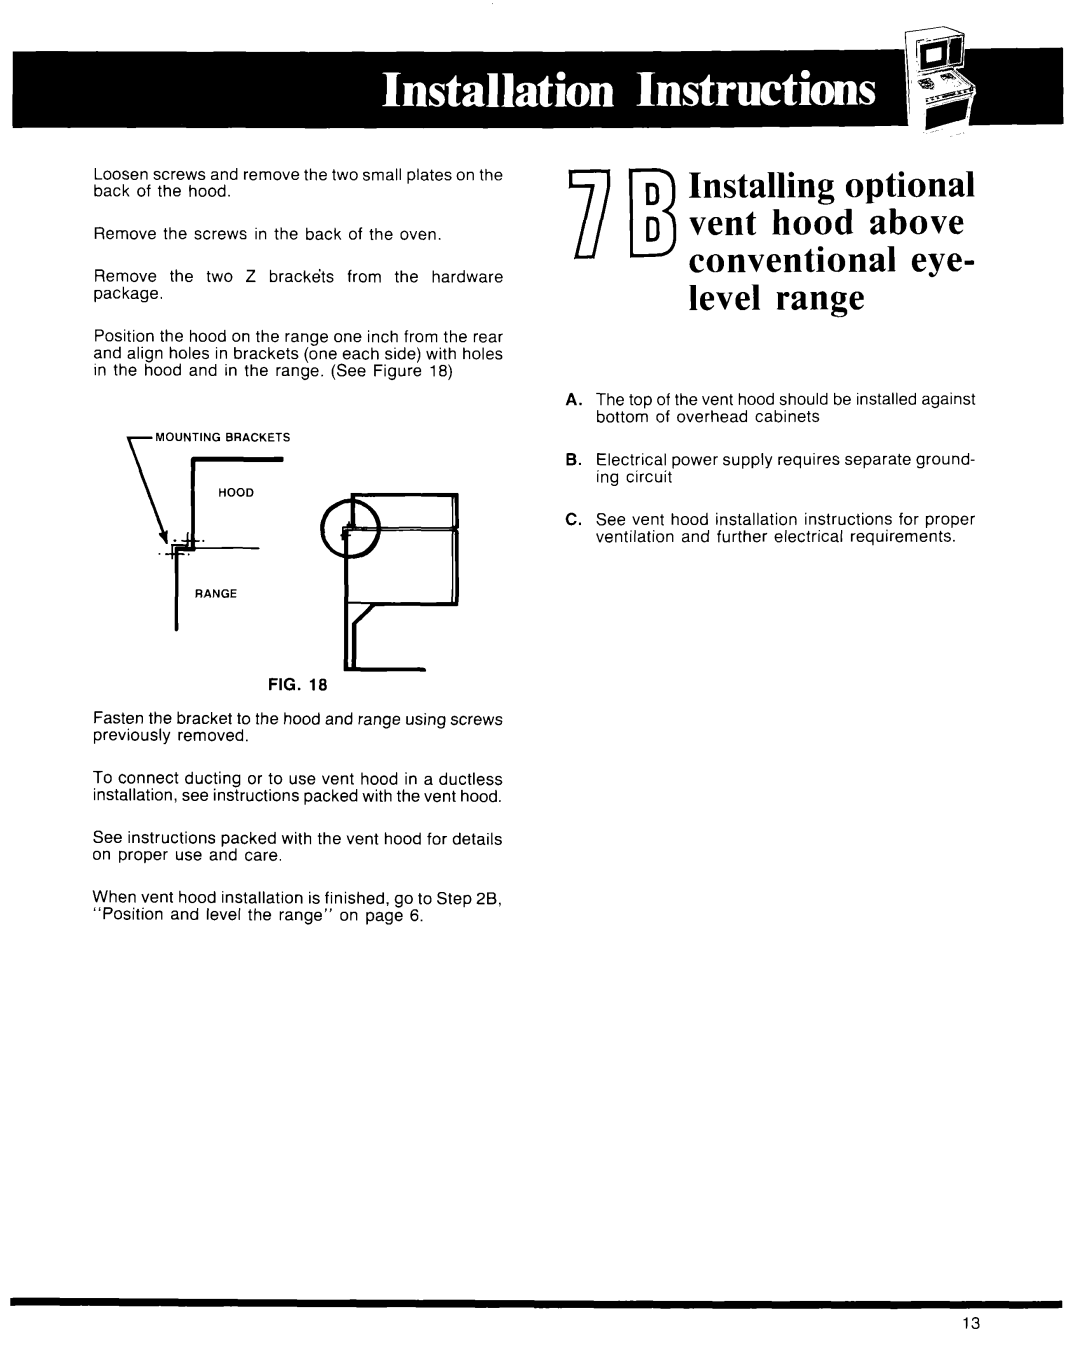
Position the hood on the range one inch from the rear and align holes in brackets (one each side) with holes in the hood and in the range. (See Figure 18)
MOUNTING BRACKETS
HOOD
\ . .
.
RANGE
F
FIG. 18
Fasten the bracket to the hood and range using screws previously removed.
To connect ducting or to use vent hood in a ductless installation, see instructions packed with the vent hood.
See instructions packed with the vent hood for details on proper use and care.
When vent hood installation is finished, go to Step 28, “Position and level the range” on page 6.
DInstallingoptio
77BD vent hood above
u conventional eye-
level range
A. The top of the vent hood should be installed against bottom of overhead cabinets
B. Electrical power supply requires separate ground- ing circuit
C. See vent hood installation instructions for proper ventilation and further electrical requirements.
13
