Using the Self-Cleaning cycle
The
Before you start
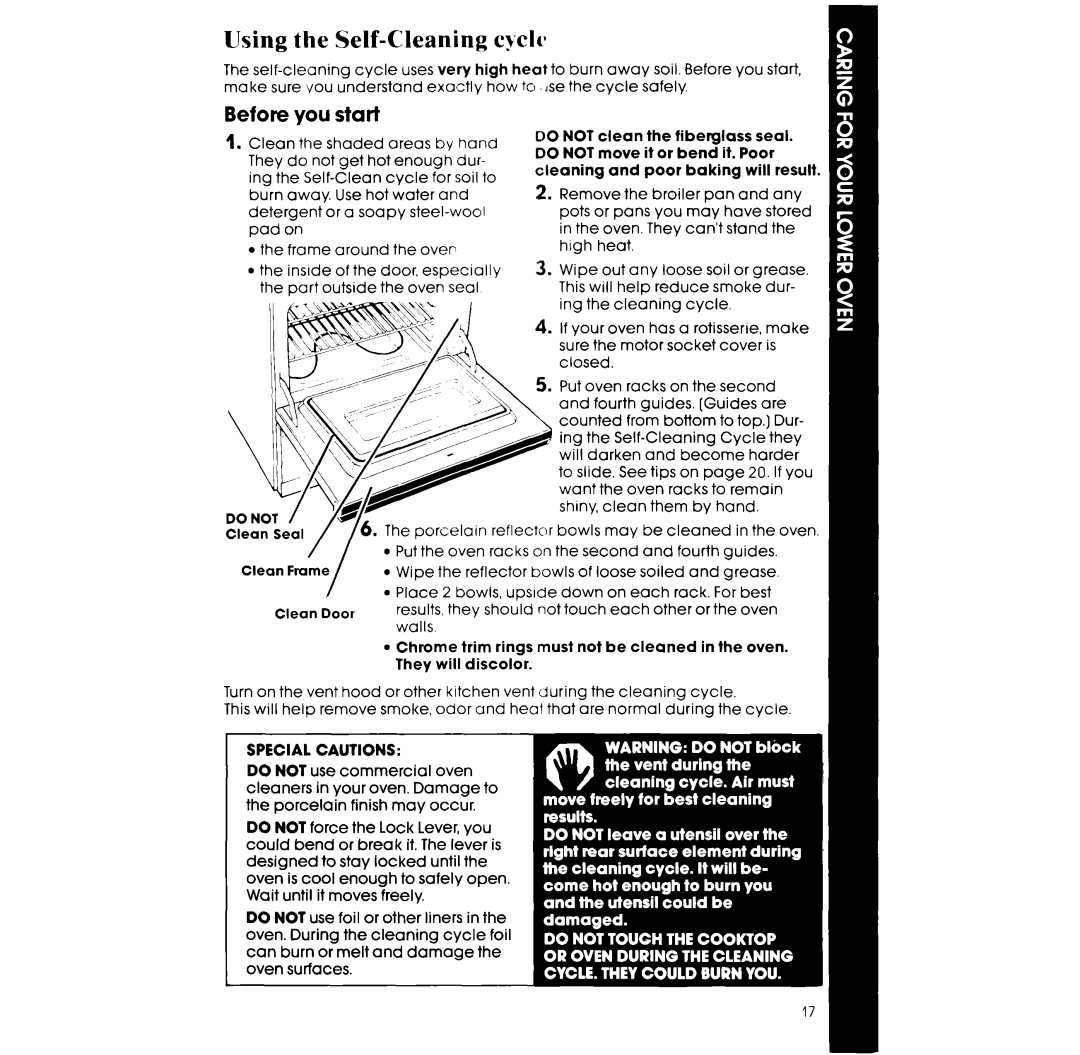
1.Clean the shaded areas by hand They do not get hot enough dur- ing the
l the frame around the over
l the inside of the door, especially the part outside the oven seal
DO NOT clean the fiberglass seal. DO NOT move it or bend it. Poor cleaning and poor baking will result.
2.Remove the broiler pan and any pots or pans you may have stored in the oven. They can’t stand the high heat.
3.Wipe out any loose soil or grease. This will help reduce smoke dur- ing the cleaning cycle.
4.If your oven has a rotisserie, make sure the motor socket cover is closed.
5.Put oven racks on the second and fourth guides. [Guides are counted from bottom to top.) Dur- ing the
The porcelain reflector bowls may be cleaned in the oven.
l
l
l
Clean Door
l
Put the oven racks on the second and fourth guides. Wipe the reflector bowls of loose soiled and grease. Place 2 bowls, upside down on each rack. For best results, they should not touch each other orthe oven walls.
Chrome trim rings must not be cleaned in the oven. They will discolor.
Turn on the vent hood or other kitchen vent during the cleaning cycle.
This will help remove smoke, odor and heal that are normal during the cycle.
SPECIAL CAUTIONS:
DO NOT use commercial oven cleaners in your oven. Damage to the porcelain finish may occur.
DO NOT force the Lock Lever, you could bend or break it. The lever is designed to stay locked until the oven is cool enough to safely open. Wait until it moves freely.
DO NOT use foil or other liners in the oven. During the cleaning cycle foil can burn or melt and damage the oven surfaces.