Gas must flow freely through the small hole in the |
| ||
brass orifice for the burner to light properly. This |
| ||
area must be free of any soil and be kept |
| ||
protected from boilovers or spillovers. ALWAYS |
| ||
keep the burner caps in place whenever a |
| ||
surface burner is in use. |
|
| |
After cleaning the gao tube opening, replace |
| ||
the burner cap and burner pan. |
| ||
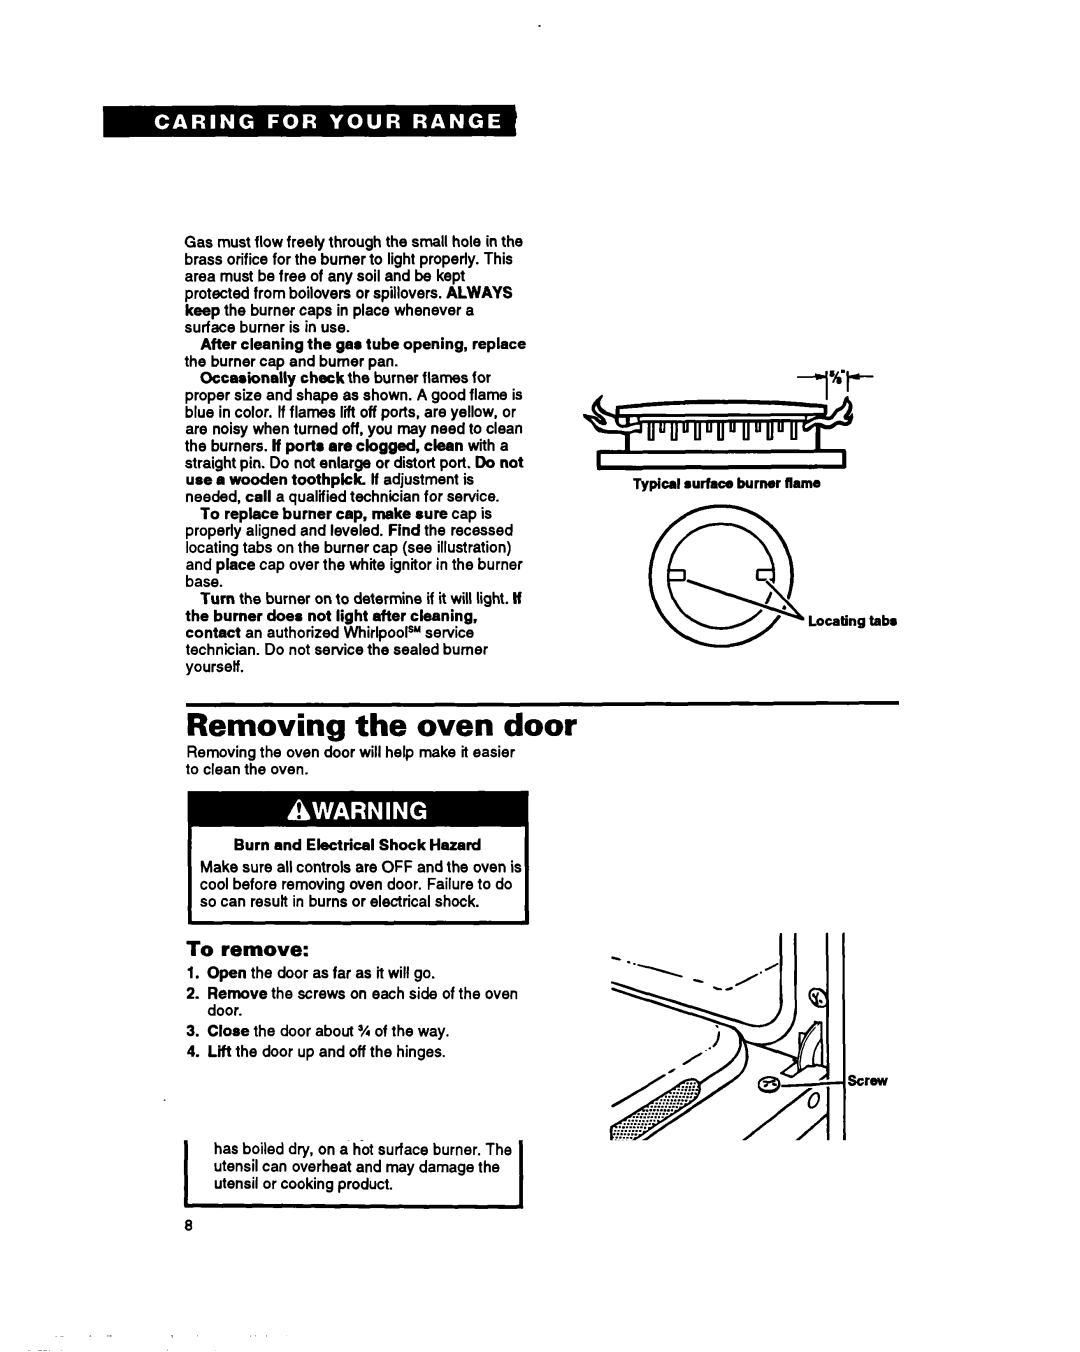
Occasionally check the burner flames for |
| ||
proper size and shape as shown. A good flame is |
| ||
blue in color. If flames lii off ports, are yellow, or |
| ||
are noisy when turned off. you may need to clean | u”uu | ||
the burners. If port8 are clogged, clean with a | |||
| |||
straight pin. Do not enlarge | or distort port. Do not | I | |
use a wooden toothpick. | lf adjustment is | Typical surface burner flame | |
needed, call a qualified technician for service. To replace burner cap, make sure cap is properly aligned and leveled. Find the recessed locating tabs on the burner cap (see illustration) and place cap over the white ignitor in the burner
base.
Turn the burner on to determine if it will light. If the burner does not light after cleaning, contact an authorized WhirlpooP service technician. Do not service the sealed burner yoursetf.
Removing the oven door
Removing the oven door will help make it easier to clean the oven.
Burn and Electrical Shock Hazard
Make sure all controls are OFF and the oven is cool before removing oven door. Failure to do so can resutt in burns or electrical shock.
To remove:
1. Open the door as far as it will go. |
2. Remove the screws on each side of the oven |
.
door. |
3. Close the door about % of the way. |
4. Lift the door up and off the hinges. |
4
/ / ..i
/...........
p;&. :..Y
&
0 o screw
‘h + 7
16