Setting the Controls
He sure to remove everything from the oven and complete the suggested precleaning steps before setting the controls.
To set the controls for the
1.Close the oven door.
2.Be sure that the clock shows the correct time ol‘da~,
3.Push in and turn the STOP TIME knob to \et the stop time for 3 to 1 hours
| past the start time. |
|
|
|
| EXAMPLE: If the c;tarttime and clock | l‘ol | ||
| 3:00 pm. or S:OOp.m. |
|
|
|
4. | Turn the temperature and selector control\ | to CLEAN. |
| |
5. | Be sure the START TIME knob is set ~OI- | 111e smt | time a4 the cloth. | If not. |
turn the knob to the time of the clock. The knob will then pop out.
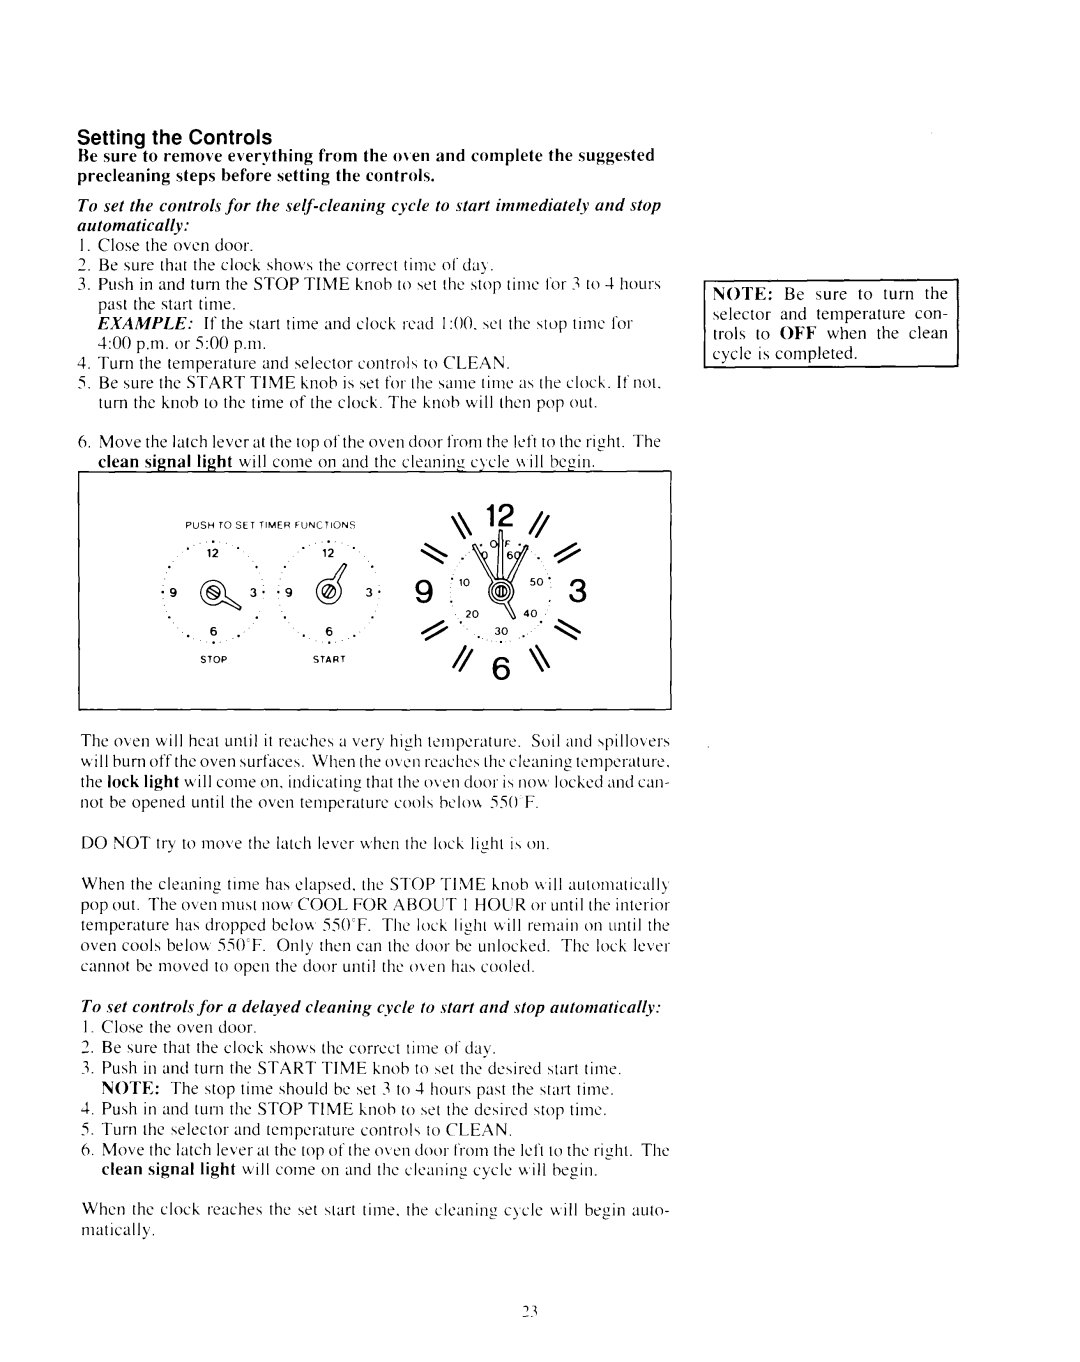
6.Move the latch lever at the top of the oven door from the left to the riFht. The clean signal light will come on and the cleaninc c\,cle \+ill beyin.
PUSH TO SET TIMER FUNCTIONS
* | 12 | . |
| 12 | . |
|
| . | . |
|
|
|
| . | . |
|
|
. | 6 | . | . | 6 | . |
STOPSTART//6\\
The oben will heat until it reaches ;I very high temperature. Soil and 4pillober.s will bum off the oven surfaces. When the OVC’II
DO NOT try to move the latch lever when the loch light i\ 011
When the cleaning time ha\ elapsed. the STOP TIME hnob will automatically pop out. The oval must now COOL FOR ABOUT 1 HOLIR or until the interior
temperature has dropped bclo~ S50cF. The loch light u,ill remain on until the
_ _
oven cools belou 530°F. Only then can the door bc unloched. The loch lever
cannot be movd to opal the door until the oven hax cooled.
To set controls for a delayed cleaning cycle to start and stop automatically:
1.Close the oven door.
2.Be sure that the clock shows the correct ~jme ol’day.
3.Push in and turn the START TIME knob to bet the desired start time. NOTE: The stop time should bc xet 3 to 4
4.Push in and turn the STOP TIME hnob to xet the desired stop time.
5.Turn the selector and tcmpcrature controls to CLEAN.
6. Move the latch lever at the top of the oven door l‘rom the 1ef1to the right. The clean signal light will come on and the cleaning cycle u,itl begin.
When the clock reaches the set htart time. the cleaning cycle will begin auto- matically.
NOTE: Be sure to turn the selector and temperature con- trots to OFF when the clean cycle is completed.
