9.Replace the premium storage drawer, warming drawer or baking drawer. See the “Remove/Replace Drawer” section.
10.Replace the oven door. See the “Oven Door” section.
11.Replace the oven racks.
Complete Installation (LP Gas to Natural Gas)
1.Refer to the “Make Gas Connection” section for proper connection of the range to the gas supply.
2.Refer to the “Electronic Ignition System” section for proper burner ignition and operation.
3.Refer to the “Adjust Flame Height” section for burner flame adjustments.
IMPORTANT: You may have to adjust the low setting for each cooktop burner.
Checking for proper cooktop, bake and broil burner flame is very important. Natural gas flames do not have yellow tips.
4.Refer to “Complete Installation” in the “Installation Instructions” section of this manual to complete this procedure.
IMPORTANT: Make sure to save the orifices that have just been replaced in the conversion.
Adjust Flame Height
Adjust Surface Burner Flame
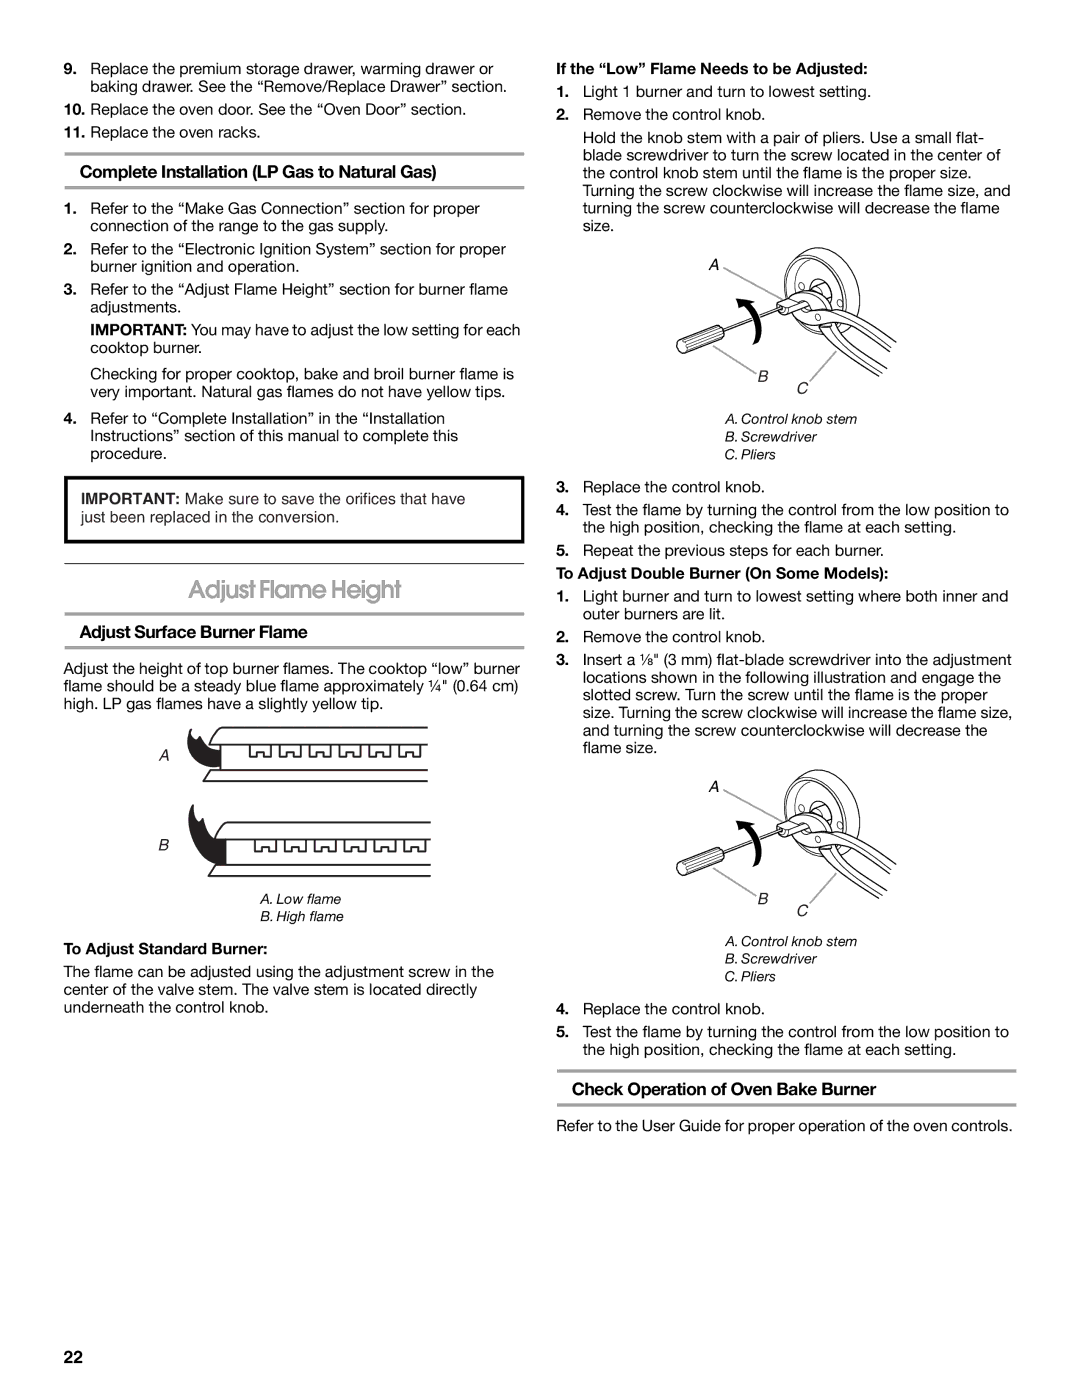
Adjust the height of top burner flames. The cooktop “low” burner flame should be a steady blue flame approximately ¼" (0.64 cm) high. LP gas flames have a slightly yellow tip.
A![]()
![]()
![]()
![]()
![]()
![]()
![]()
![]()
![]()
![]()
![]()
![]()
![]()
B![]()
![]()
![]()
![]()
![]()
![]()
![]()
![]()
![]()
![]()
![]()
![]()
![]()
![]()
![]()
![]()
![]()
![]()
![]()
A.Low flame
B.High flame
To Adjust Standard Burner:
The flame can be adjusted using the adjustment screw in the center of the valve stem. The valve stem is located directly underneath the control knob.
If the “Low” Flame Needs to be Adjusted:
1.Light 1 burner and turn to lowest setting.
2.Remove the control knob.
Hold the knob stem with a pair of pliers. Use a small flat- blade screwdriver to turn the screw located in the center of the control knob stem until the flame is the proper size. Turning the screw clockwise will increase the flame size, and turning the screw counterclockwise will decrease the flame size.
A
B![]()
C
A.Control knob stem
B.Screwdriver
C.Pliers
3.Replace the control knob.
4.Test the flame by turning the control from the low position to the high position, checking the flame at each setting.
5.Repeat the previous steps for each burner.
To Adjust Double Burner (On Some Models):
1.Light burner and turn to lowest setting where both inner and outer burners are lit.
2.Remove the control knob.
3.Insert a ¹⁄₈" (3 mm)
A
B![]()
C
A.Control knob stem
B.Screwdriver
C.Pliers
4.Replace the control knob.
5.Test the flame by turning the control from the low position to the high position, checking the flame at each setting.
Check Operation of Oven Bake Burner
Refer to the User Guide for proper operation of the oven controls.
22