To Replace:
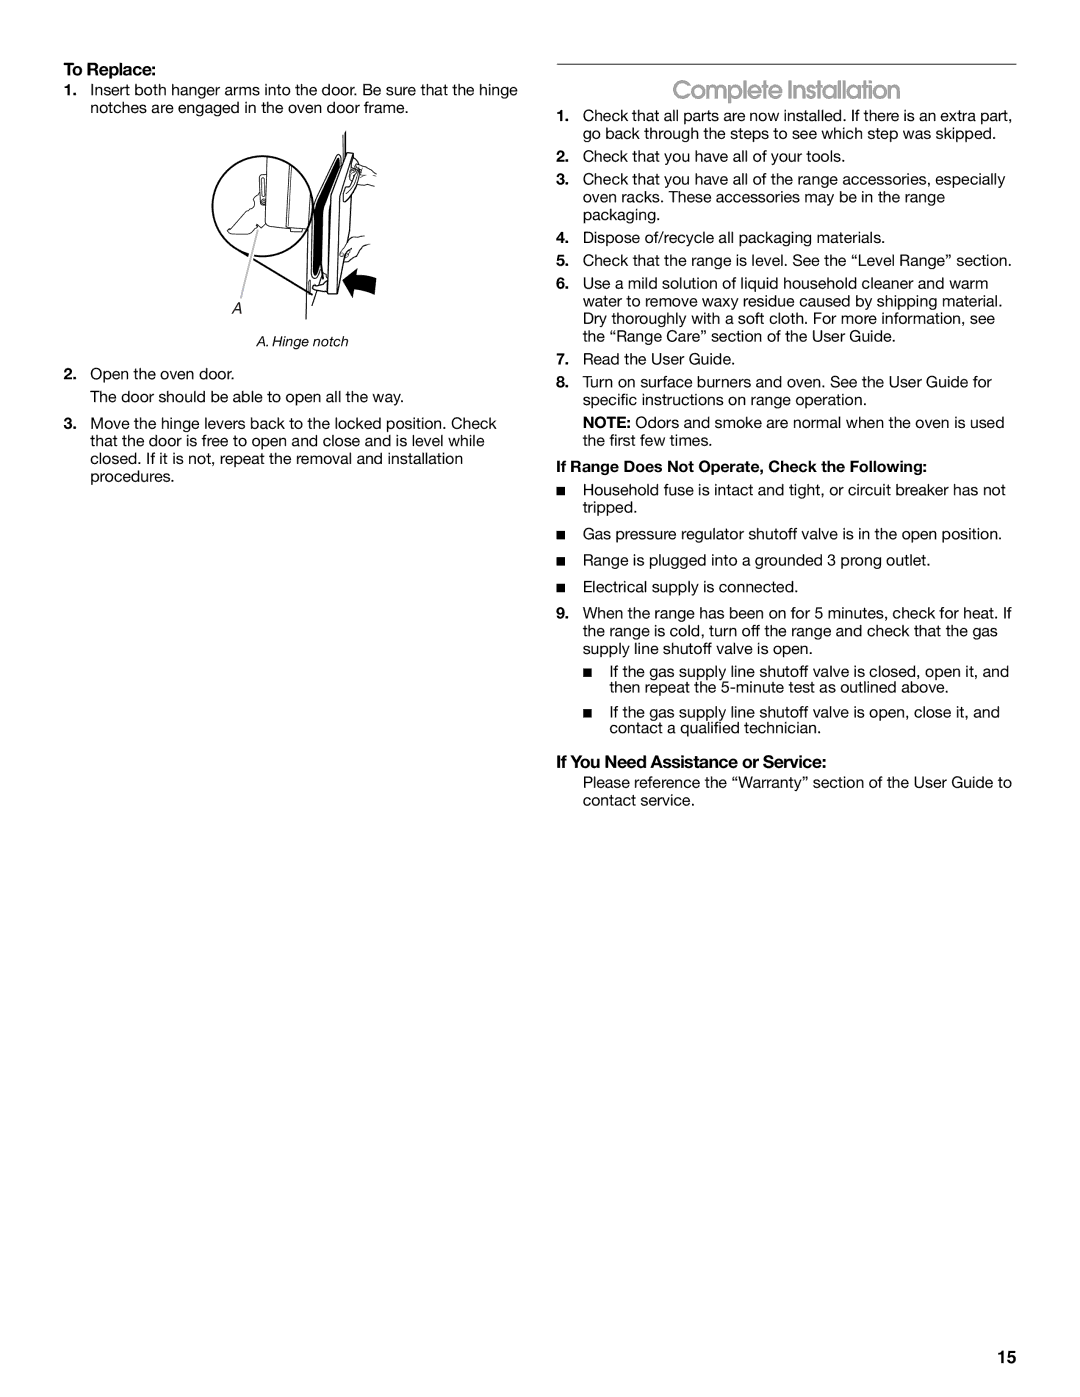
1.Insert both hanger arms into the door. Be sure that the hinge notches are engaged in the oven door frame.
A
A. Hinge notch
2.Open the oven door.
The door should be able to open all the way.
3.Move the hinge levers back to the locked position. Check that the door is free to open and close and is level while closed. If it is not, repeat the removal and installation procedures.
Complete Installation
1.Check that all parts are now installed. If there is an extra part, go back through the steps to see which step was skipped.
2.Check that you have all of your tools.
3.Check that you have all of the range accessories, especially oven racks. These accessories may be in the range packaging.
4.Dispose of/recycle all packaging materials.
5.Check that the range is level. See the “Level Range” section.
6.Use a mild solution of liquid household cleaner and warm water to remove waxy residue caused by shipping material. Dry thoroughly with a soft cloth. For more information, see the “Range Care” section of the User Guide.
7.Read the User Guide.
8.Turn on surface burners and oven. See the User Guide for specific instructions on range operation.
NOTE: Odors and smoke are normal when the oven is used the first few times.
If Range Does Not Operate, Check the Following:
■Household fuse is intact and tight, or circuit breaker has not tripped.
■Gas pressure regulator shutoff valve is in the open position.
■Range is plugged into a grounded 3 prong outlet.
■Electrical supply is connected.
9.When the range has been on for 5 minutes, check for heat. If the range is cold, turn off the range and check that the gas supply line shutoff valve is open.
■If the gas supply line shutoff valve is closed, open it, and then repeat the
■If the gas supply line shutoff valve is open, close it, and contact a qualified technician.
If You Need Assistance or Service:
Please reference the “Warranty” section of the User Guide to contact service.
15