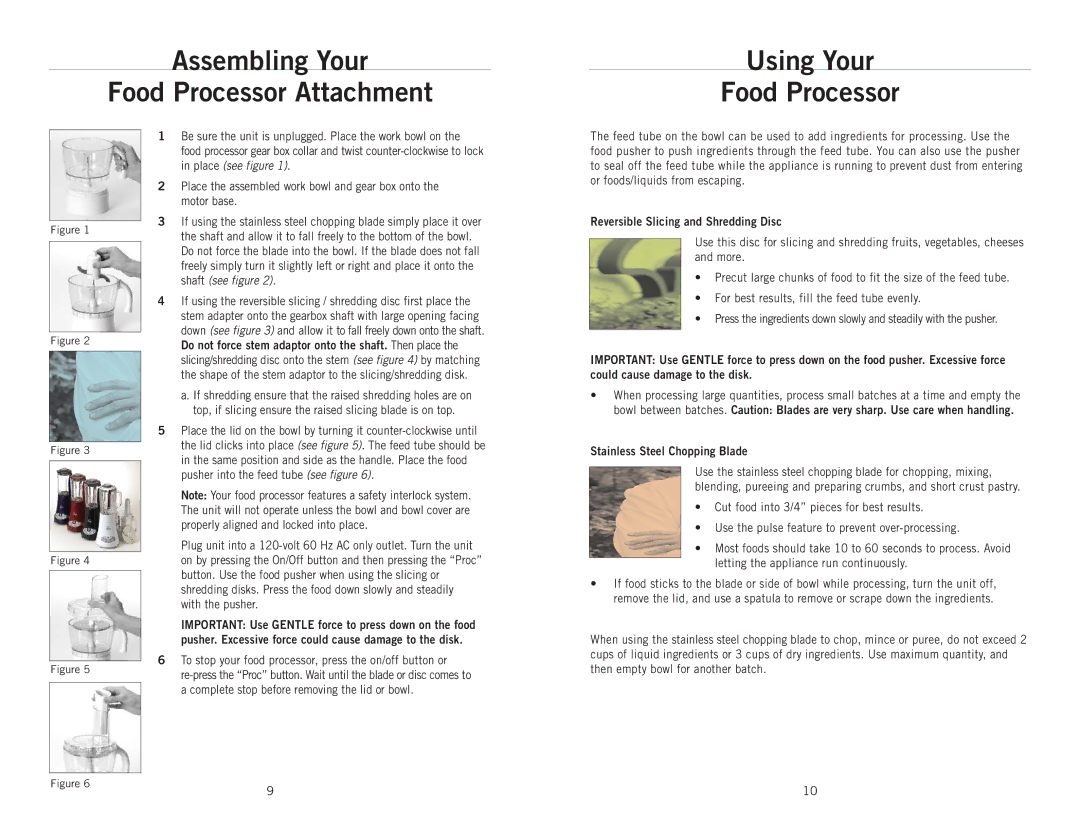
BBLFP001 specifications
The Wolfgang Puck BBLFP001 is a high-performance blender that has become a favorite in both home and professional kitchens. This versatile appliance is designed to handle a wide range of culinary tasks, offering users the ability to create smoothies, soups, sauces, and much more with ease.One of the standout features of the BBLFP001 is its powerful motor, which operates at a peak power of 1,500 watts. This ensures that the blender can effortlessly tackle even the toughest ingredients, such as frozen fruits, leafy greens, and ice. The high torque provided by the motor contributes to efficient blending, reducing time spent in the kitchen and enhancing the overall cooking experience.
The blender is equipped with a large 64-ounce Tritan blending jar, which is not only spacious but also BPA-free, ensuring that your food remains safe and healthy. The jar features measurement markings, allowing for precise ingredient additions. The lid has a removable cap for adding ingredients during the blending process, ensuring convenience without the need to stop the machine.
Users will appreciate the variety of pre-programmed settings available on the BBLFP001. With dedicated functions for smoothies, soups, salsas, and nut butters, the blender simplifies the cooking process. This technology takes the guesswork out of blending, allowing users to achieve perfect consistency at the touch of a button. The unit also features variable speed controls, enabling personalized blending to achieve specific textures.
Durability is another key aspect of the Wolfgang Puck BBLFP001. The stainless steel blades are designed to withstand the rigors of daily use, providing sharpness and longevity. Additionally, the blender’s base is constructed from sturdy materials, ensuring stability during operation.
Cleaning the blender is made easy with the self-cleaning mode, which allows for quick and effortless maintenance. Simply add warm water and a drop of dish soap, and the blender will do the rest, making it convenient for users to switch between recipes without the hassle of extensive cleanup.
In conclusion, the Wolfgang Puck BBLFP001 blender combines power, versatility, and ease of use, making it an excellent addition to any kitchen. Its range of features caters to both novice cooks and seasoned chefs, empowering users to explore their culinary creativity and enjoy a healthier lifestyle.

