Using The Remote, cont.
Some icons will only provide On or Off functions, while some may provide dimming. It depends on the device’s capabilities. The example shown to the right has two X10 Home Automation devices, a camera base (VK74A Robotic Mount) and a module that turns an outside light on and off. Pressing the Side Key next to the camera icon displays an additional screen to control the actions of the camera (screen shown at the right).
Use the Side Keys to operate the camera by pressing the Side Key and holding it down for actions that require movement. The remote’s Main Keys can also be used to control a camera, according to the following:
•OK/Select will center the camera.
•UP, Down, Left, and Right navigation keys control the camera pan features.
•CH up and down changes the camera focus.
•VOL up and down will zoom the lens.
•Numbers 1 - 5 can be use for camera presets.
In this example, the House icon has a Wall Switch Module associated with it. Press the Side Key next to the House icon, or use the Up and Down cursor keys to select the device, and then press OK. This displays the screen to the right that lets you turn the light on and off, and dim or brighten it (Lamp Modules and Wall Switch Modules only).
Or you can select the device and then directly control it by pressing:
•CH up and down to turn the light On and Off.
•VOL up and down to Brighten and Dim it, if applicable.
20
Using The Remote, cont.
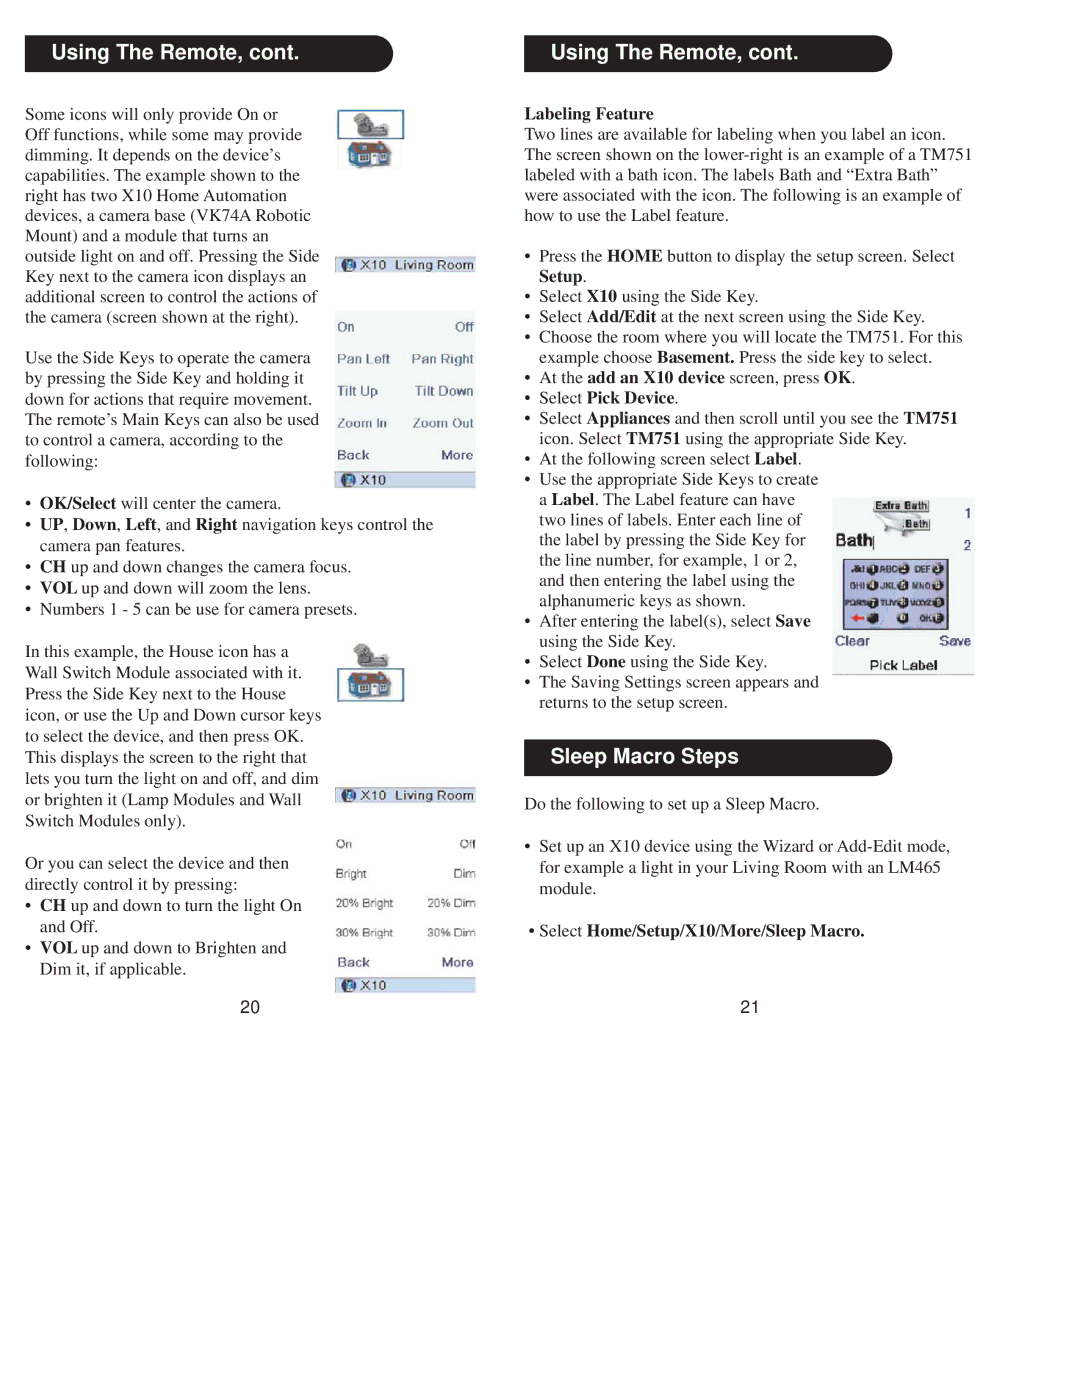
Labeling Feature
Two lines are available for labeling when you label an icon. The screen shown on the
•Press the HOME button to display the setup screen. Select Setup.
•Select X10 using the Side Key.
•Select Add/Edit at the next screen using the Side Key.
•Choose the room where you will locate the TM751. For this example choose Basement. Press the side key to select.
•At the add an X10 device screen, press OK.
•Select Pick Device.
•Select Appliances and then scroll until you see the TM751 icon. Select TM751 using the appropriate Side Key.
•At the following screen select Label.
•Use the appropriate Side Keys to create a Label. The Label feature can have two lines of labels. Enter each line of the label by pressing the Side Key for the line number, for example, 1 or 2, and then entering the label using the alphanumeric keys as shown.
•After entering the label(s), select Save using the Side Key.
•Select Done using the Side Key.
•The Saving Settings screen appears and returns to the setup screen.
Sleep Macro Steps
Do the following to set up a Sleep Macro.
•Set up an X10 device using the Wizard or
•Select Home/Setup/X10/More/Sleep Macro.
21