Here are just some of the things you can
do with your X10 MouseRemote...
•Control your entire audio/video and lighting setup for the ultimate Home Theater experience.
•Turn on lights at night to scare away intruders if you hear a noise.
•Start the coffee from your bedroom when you wake up.
•Turn on your electric blanket before the movie ends, so it’s nice and warm when you go to bed.
Use this manual to become familiar with
your MouseRemote....
This manual will explain how to set up your MouseRemote to use it with your PC as a wireless mouse.
Next, it shows you how to set it up to control your existing Audio/Video equipment.
Next, it will show you how you can use it with an X10 Transceiver Module X10 Modules (sold separately) to operate electrical devices in your home.
Finally, the manual will show how you can expand your system with some of the many additional X10 products you can purchase.
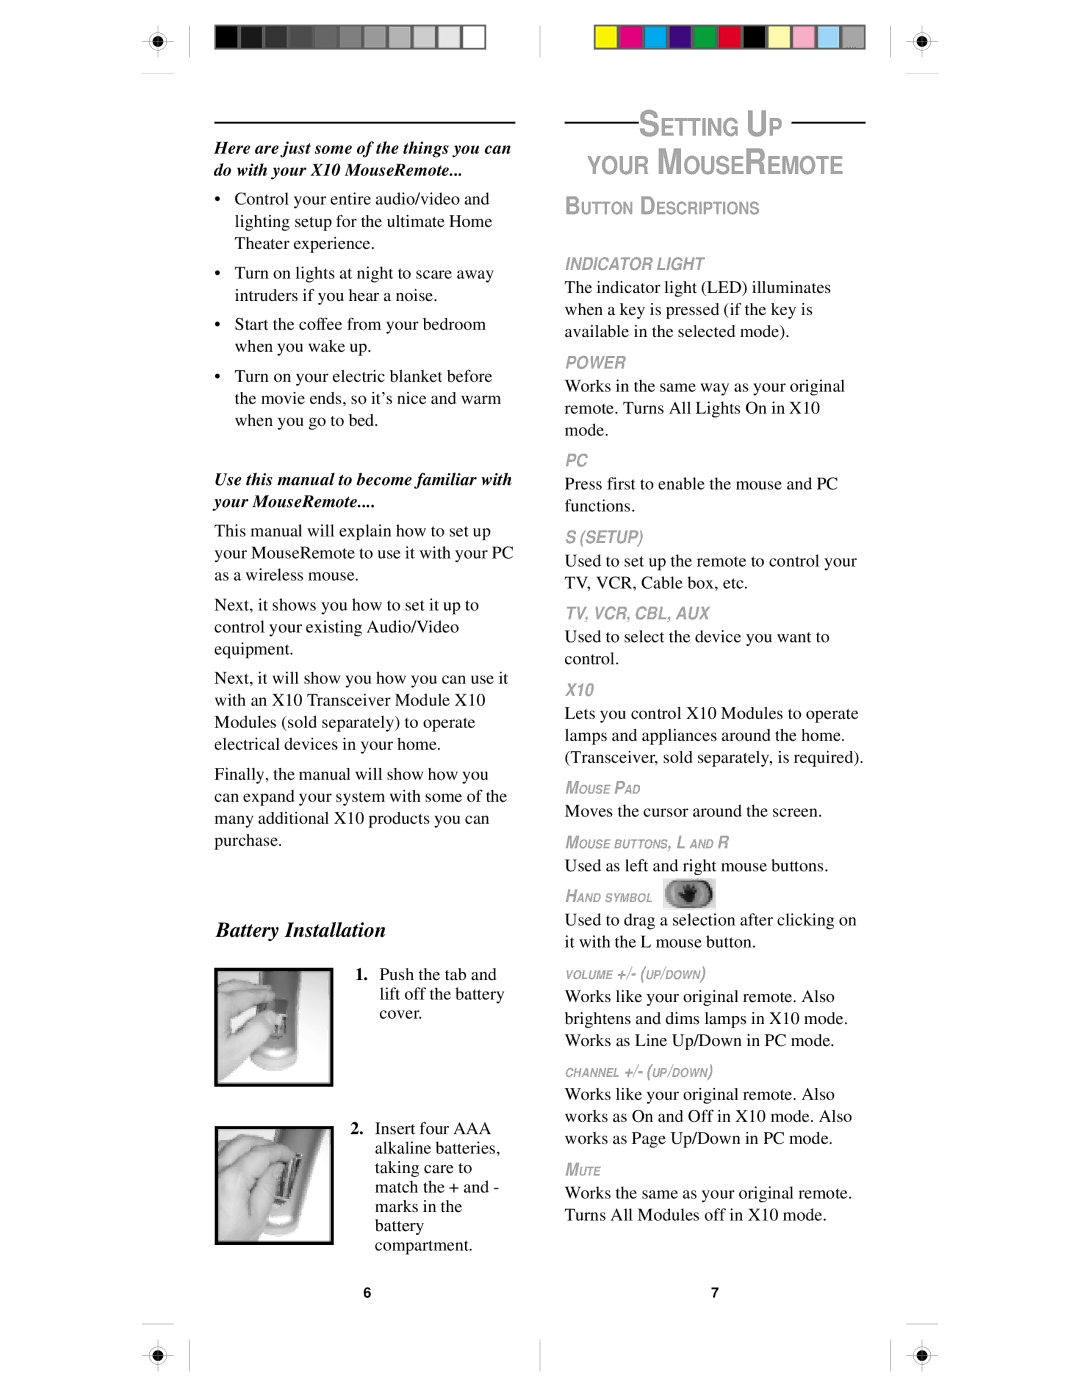
Battery Installation
1.Push the tab and lift off the battery cover.
2.Insert four AAA alkaline batteries, taking care to match the + and - marks in the battery compartment.
SETTING UP
YOUR MOUSEREMOTE
BUTTON DESCRIPTIONS
INDICATOR LIGHT
The indicator light (LED) illuminates when a key is pressed (if the key is available in the selected mode).
POWER
Works in the same way as your original remote. Turns All Lights On in X10 mode.
PC
Press first to enable the mouse and PC functions.
S (SETUP)
Used to set up the remote to control your TV, VCR, Cable box, etc.
TV, VCR, CBL, AUX
Used to select the device you want to control.
X10
Lets you control X10 Modules to operate lamps and appliances around the home. (Transceiver, sold separately, is required).
MOUSE PAD
Moves the cursor around the screen.
MOUSE BUTTONS, L AND R
Used as left and right mouse buttons.
HAND SYMBOL
Used to drag a selection after clicking on it with the L mouse button.
VOLUME +/- (UP/DOWN)
Works like your original remote. Also brightens and dims lamps in X10 mode. Works as Line Up/Down in PC mode.
CHANNEL +/- (UP/DOWN)
Works like your original remote. Also works as On and Off in X10 mode. Also works as Page Up/Down in PC mode.
MUTE
Works the same as your original remote. Turns All Modules off in X10 mode.
6 | 7 |