Multi-Camera Systems

Controlling Multiple Cameras

Pressing any camera button (C1, C2, C3 or C4) turns on that camera and turns the other cameras off. When you press a camera button, all of the

ADVANCED SETUP OPTIONS

Changing the House Code for the Remote

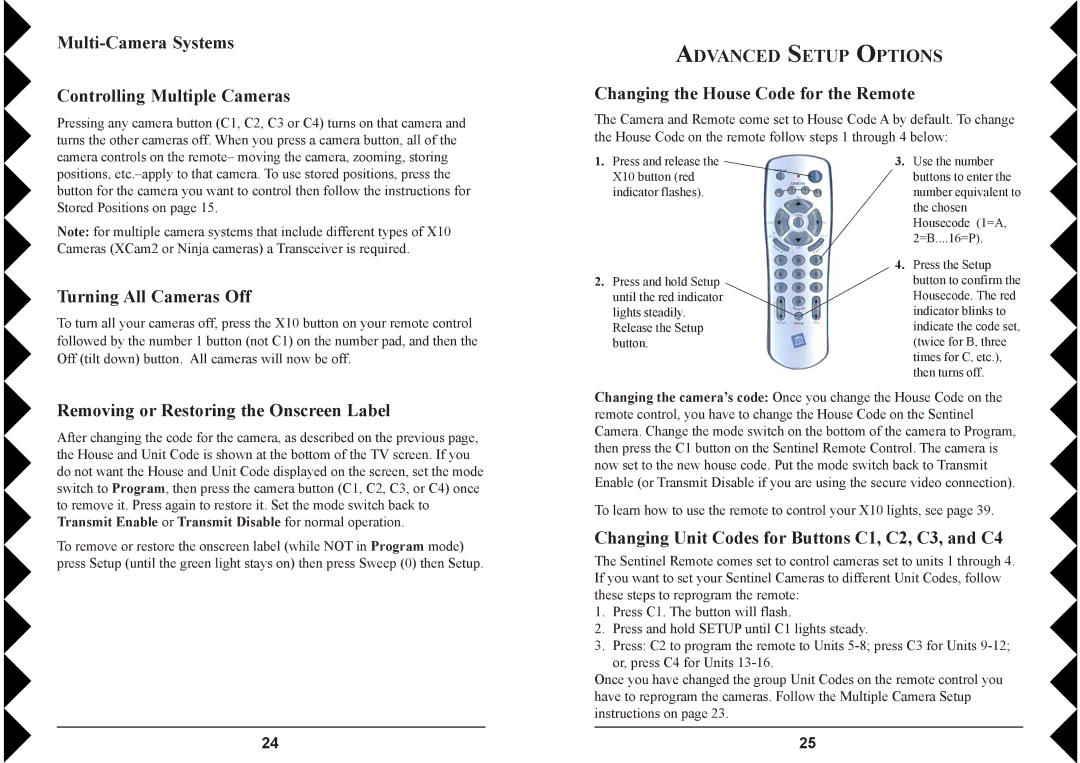
The Camera and Remote come set to House Code A by default. To change the House Code on the remote follow steps 1 through 4 below:

camera controls on the remote– moving the camera, zooming, storing positions, etc.–apply to that camera. To use stored positions, press the button for the camera you want to control then follow the instructions for Stored Positions on page 15.

Note: for multiple camera systems that include different types of X10 Cameras (XCam2 or Ninja cameras) a Transceiver is required.

Turning All Cameras Off

To turn all your cameras off, press the X10 button on your remote control followed by the number 1 button (not C1) on the number pad, and then the Off (tilt down) button. All cameras will now be off.

1.Press and release the X10 button (red indicator flashes).

2.Press and hold Setup until the red indicator lights steadily.

Release the Setup button.

3.Use the number buttons to enter the number equivalent to the chosen Housecode (1=A, 2=B....16=P).

4.Press the Setup button to confirm the Housecode. The red indicator blinks to indicate the code set, (twice for B, three times for C, etc.), then turns off.

Removing or Restoring the Onscreen Label

After changing the code for the camera, as described on the previous page, the House and Unit Code is shown at the bottom of the TV screen. If you do not want the House and Unit Code displayed on the screen, set the mode switch to Program, then press the camera button (C1, C2, C3, or C4) once to remove it. Press again to restore it. Set the mode switch back to Transmit Enable or Transmit Disable for normal operation.

To remove or restore the onscreen label (while NOT in Program mode) press Setup (until the green light stays on) then press Sweep (0) then Setup.

Changing the camera’s code: Once you change the House Code on the remote control, you have to change the House Code on the Sentinel Camera. Change the mode switch on the bottom of the camera to Program, then press the C1 button on the Sentinel Remote Control. The camera is now set to the new house code. Put the mode switch back to Transmit Enable (or Transmit Disable if you are using the secure video connection).

To learn how to use the remote to control your X10 lights, see page 39.

Changing Unit Codes for Buttons C1, C2, C3, and C4

The Sentinel Remote comes set to control cameras set to units 1 through 4. If you want to set your Sentinel Cameras to different Unit Codes, follow these steps to reprogram the remote:

1.Press C1. The button will flash.

2.Press and hold SETUP until C1 lights steady.

3.Press: C2 to program the remote to Units 5-8; press C3 for Units 9-12; or, press C4 for Units 13-16.

Once you have changed the group Unit Codes on the remote control you have to reprogram the cameras. Follow the Multiple Camera Setup instructions on page 23.

24

25

Page 13
Image 13
X10 Wireless Technology VK79A owner manual Advanced Setup Options

VK79A specifications

The X10 Wireless Technology VK79A is an advanced home automation device that allows users to control various electronic devices in their households wirelessly. This innovative technology features a robust and reliable communication protocol that enables seamless integration with various compatible devices, enhancing the overall smart home experience.

One of the main features of the VK79A is its user-friendly interface, which is designed to simplify the process of controlling devices through a centralized system. The remote control functionality allows users to operate multiple devices from a distance, thereby providing convenience and flexibility. This is particularly advantageous for controlling lights, thermostats, security systems, and other appliances without needing to be physically present.

The VK79A utilizes a unique frequency hopping spread spectrum technology, which minimizes interference and enhances communication reliability. This feature is essential in households with multiple wireless devices, ensuring that commands are executed promptly and accurately. The device operates in the 433 MHz frequency range, a well-established band for wireless communication, making it compatible with a wide variety of existing gadgets and appliances.

Another significant characteristic of the VK79A is its energy efficiency. The device is designed to consume minimal power while maintaining high performance levels, which is crucial for users looking to reduce their energy bills and environmental impact. Its low-power design also extends the lifespan of batteries in remote-controlled devices, reducing the frequency of replacements.

Moreover, the VK79A supports multiple protocols, including the X10 standard, making it easy to integrate with other X10-compatible devices. This interoperability is a key aspect of successful home automation systems, allowing users to expand their setups seamlessly. The VK79A's versatility is further enhanced by its ability to follow scheduled events, enabling automation of specific tasks, such as adjusting lighting based on the time of day or activating security cameras during nighttime hours.

In conclusion, the X10 Wireless Technology VK79A stands out as a powerful solution for home automation. With its user-friendly interface, frequency hopping technology, energy efficiency, and compatibility with multiple communication protocols, this device offers a comprehensive range of features that cater to modern home needs. Embracing such technology enhances convenience, security, and efficiency, pivotal in today’s fast-paced lifestyle.