DVD Setup Menu Options (continued)
CHANNEL SETUP settings
English
Channel Search
Setup Menu - Channel Setup
Channel Search | Search |
| ||||||
| ||||||||
Modify Channel Information |
|
|
|
|
|
| ||
Edit | ||||||||
| ||||||||
|
|
|
|
|
|
|
| |
Sort Channels |
| Sort |
| |||||
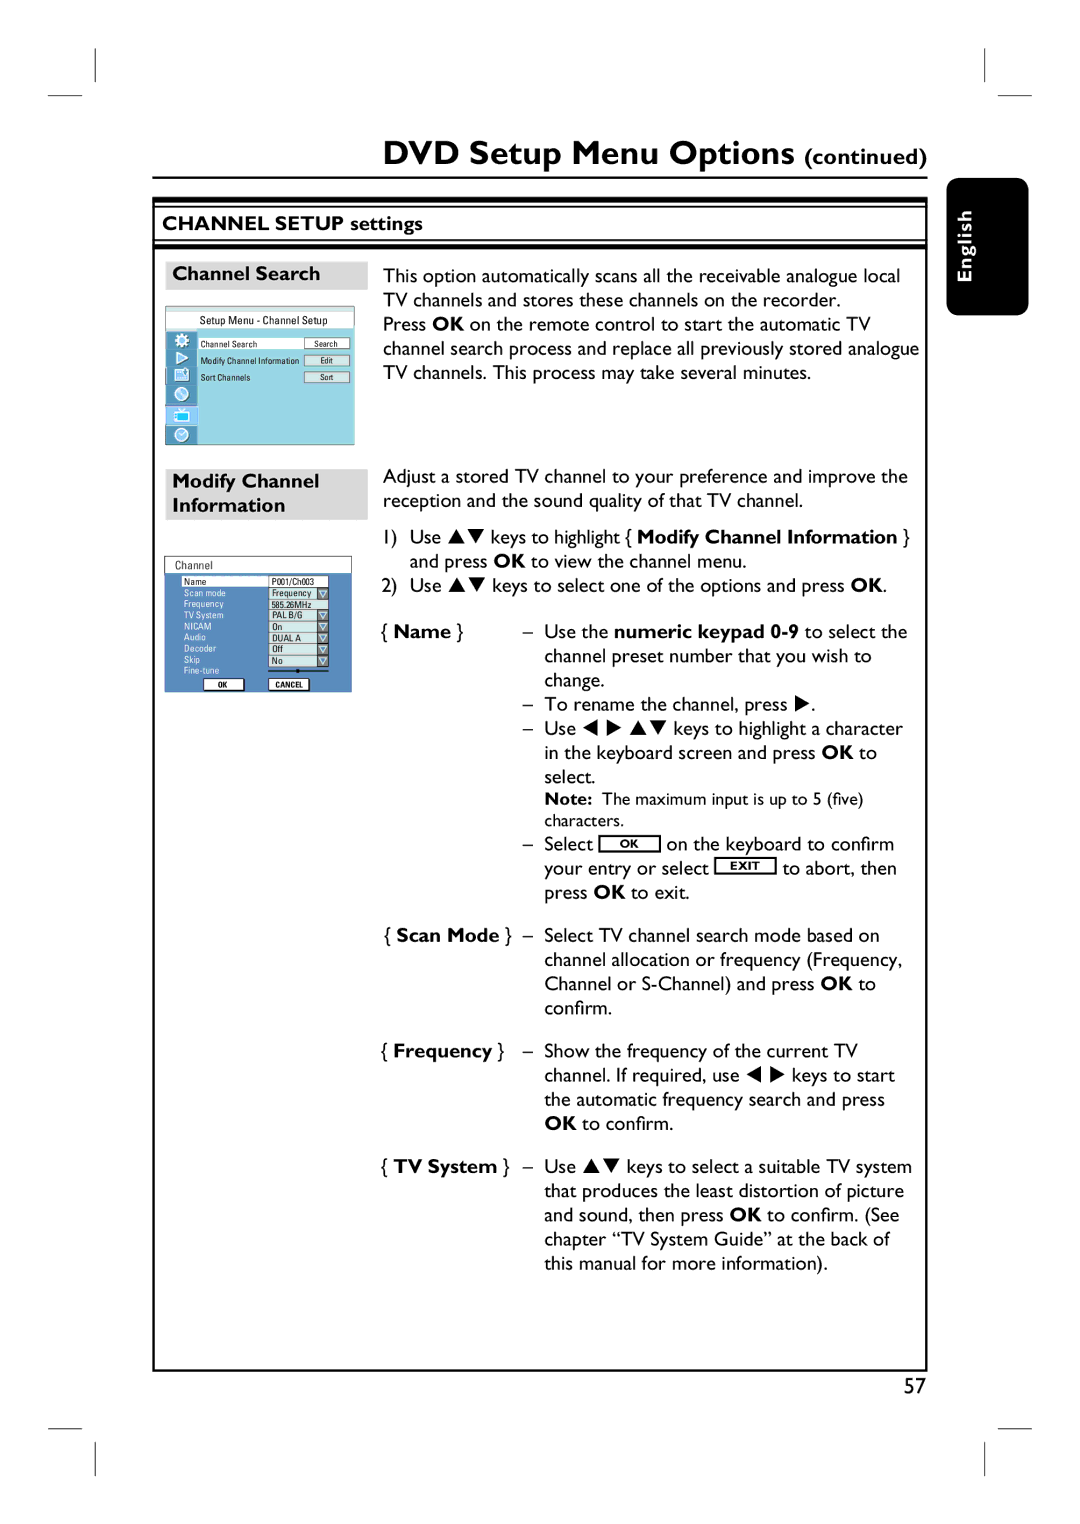
Modify Channel Information
This option automatically scans all the receivable analogue local TV channels and stores these channels on the recorder.
Press OK on the remote control to start the automatic TV channel search process and replace all previously stored analogue TV channels. This process may take several minutes.
Adjust a stored TV channel to your preference and improve the reception and the sound quality of that TV channel.
Channel
Name
Scan mode
Frequency
TV System
NICAM
Audio
Decoder
Skip
OK |
P001/Ch003 |
Frequency |
585.26MHz |
PAL B/G |
On |
DUAL A |
Off |
No |
CANCELOK |
1)Use ST keys to highlight { Modify Channel Information } and press OK to view the channel menu.
2)Use ST keys to select one of the options and press OK.
{Name } – Use the numeric keypad
–To rename the channel, press X.
–Use W X ST keys to highlight a character in the keyboard screen and press OK to select.
Note: The maximum input is up to 5 (five) characters.
– Select OK on the keyboard to confirm your entry or select EXIT to abort, then press OK to exit.
{Scan Mode } – Select TV channel search mode based on channel allocation or frequency (Frequency, Channel or
{Frequency } – Show the frequency of the current TV channel. If required, use W X keys to start the automatic frequency search and press OK to confirm.
{TV System } – Use ST keys to select a suitable TV system that produces the least distortion of picture and sound, then press OK to confirm. (See chapter “TV System Guide” at the back of this manual for more information).
57