English
Step 3: Installation and Setup (continued)
Setting the date & time
This recorder has an automatic date and time setting feature. If the recorder has not set the time and date correctly, you can further adjust the clock settings
A Press SETUP.
The system setup menu appears.
B Use ST keys to select
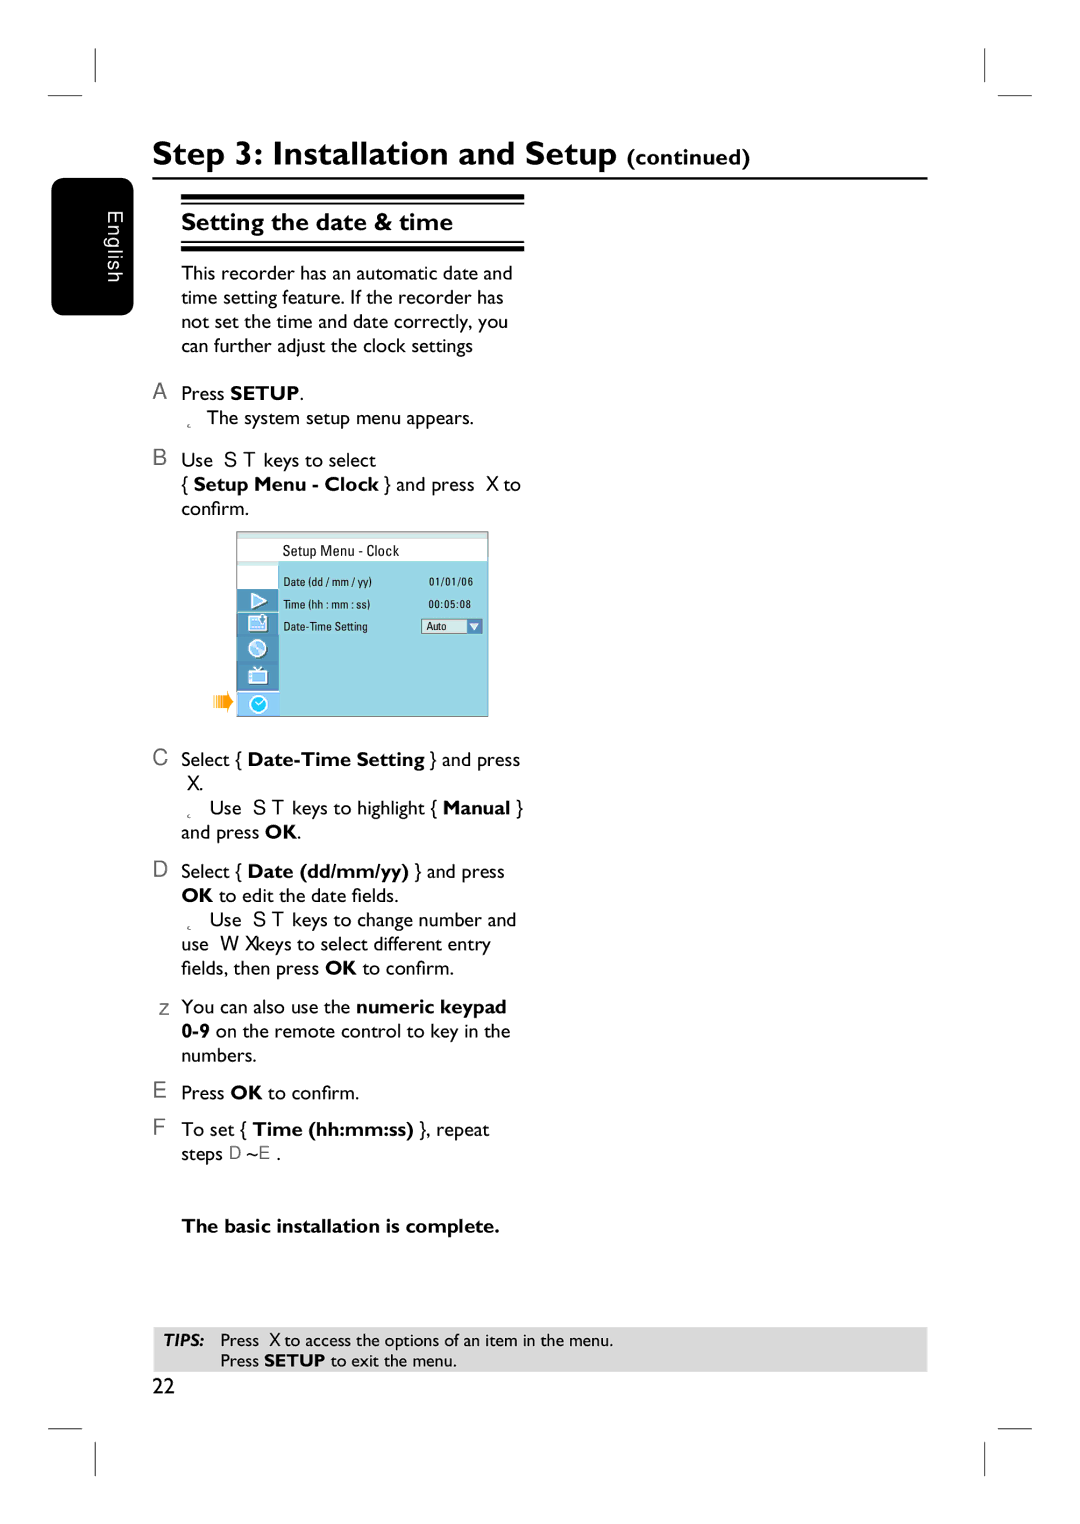
{Setup Menu - Clock } and press X to confirm.
Setup Menu - Clock
|
| Date (dd / mm / yy) |
|
|
| 0 1/0 1/06 |
| |||
|
|
|
|
|
|
|
|
| ||
Time (hh : mm : ss) |
| 0 0:0 5:0 8 |
| |||||||
|
|
|
|
|
|
| ||||
| Auto |
| ||||||||
| ||||||||||
C Select { Date-Time Setting } and press X.
Use ST keys to highlight { Manual } and press OK.
D Select { Date (dd/mm/yy) } and press OK to edit the date fields.
Use ST keys to change number and use WX keys to select different entry fields, then press OK to confirm.
You can also use the numeric keypad
E Press OK to confirm.
F To set { Time (hh:mm:ss) }, repeat steps D~E.
The basic installation is complete.
TIPS: Press X to access the options of an item in the menu. Press SETUP to exit the menu.
22