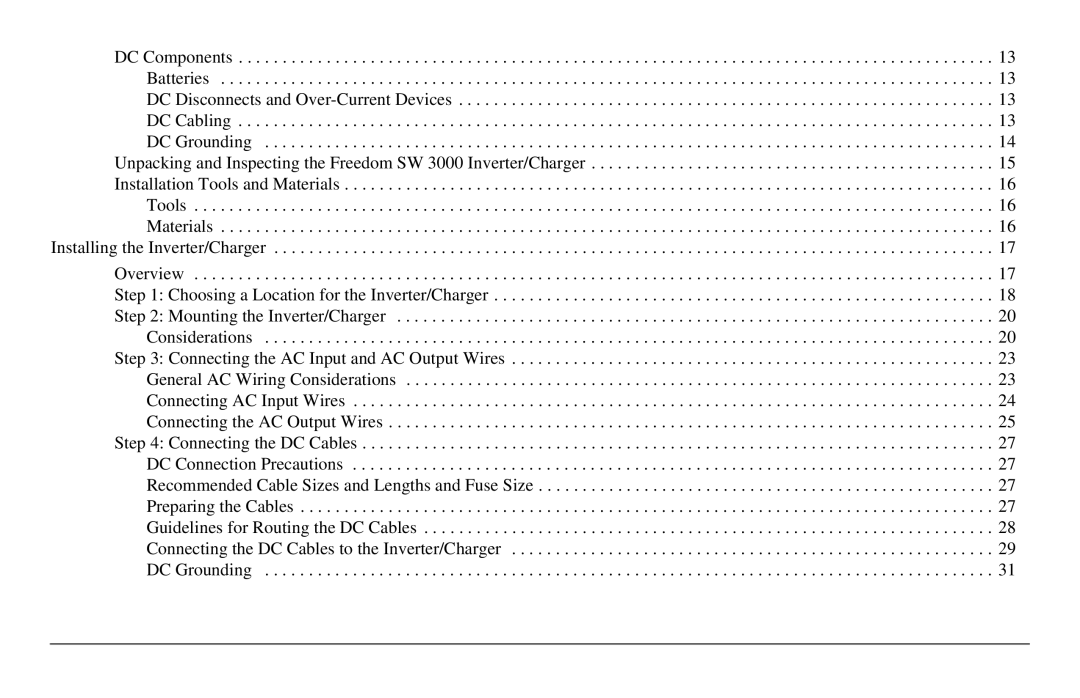
DC Components . . . . . . . . . . . . . . . . . . . . . . . . . . . . . . . . . . . . . . . . . . . . . . . . . . . . . . . . . . . . . . . . . . . . . . . . . . . . . . . . . . . . . . 13 Batteries . . . . . . . . . . . . . . . . . . . . . . . . . . . . . . . . . . . . . . . . . . . . . . . . . . . . . . . . . . . . . . . . . . . . . . . . . . . . . . . . . . . . . . . . 13 DC Disconnects and Over-Current Devices . . . . . . . . . . . . . . . . . . . . . . . . . . . . . . . . . . . . . . . . . . . . . . . . . . . . . . . . . . . . . 13 DC Cabling . . . . . . . . . . . . . . . . . . . . . . . . . . . . . . . . . . . . . . . . . . . . . . . . . . . . . . . . . . . . . . . . . . . . . . . . . . . . . . . . . . . . . . 13 DC Grounding . . . . . . . . . . . . . . . . . . . . . . . . . . . . . . . . . . . . . . . . . . . . . . . . . . . . . . . . . . . . . . . . . . . . . . . . . . . . . . . . . . . 14

Unpacking and Inspecting the Freedom SW 3000 Inverter/Charger . . . . . . . . . . . . . . . . . . . . . . . . . . . . . . . . . . . . . . . . . . . . . . 15 Installation Tools and Materials . . . . . . . . . . . . . . . . . . . . . . . . . . . . . . . . . . . . . . . . . . . . . . . . . . . . . . . . . . . . . . . . . . . . . . . . . . 16 Tools . . . . . . . . . . . . . . . . . . . . . . . . . . . . . . . . . . . . . . . . . . . . . . . . . . . . . . . . . . . . . . . . . . . . . . . . . . . . . . . . . . . . . . . . . . . 16 Materials . . . . . . . . . . . . . . . . . . . . . . . . . . . . . . . . . . . . . . . . . . . . . . . . . . . . . . . . . . . . . . . . . . . . . . . . . . . . . . . . . . . . . . . . 16

Installing the Inverter/Charger . . . . . . . . . . . . . . . . . . . . . . . . . . . . . . . . . . . . . . . . . . . . . . . . . . . . . . . . . . . . . . . . . . . . . . . . . . . . . . . . . . 17

Overview . . . . . . . . . . . . . . . . . . . . . . . . . . . . . . . . . . . . . . . . . . . . . . . . . . . . . . . . . . . . . . . . . . . . . . . . . . . . . . . . . . . . . . . . . . . 17 Step 1: Choosing a Location for the Inverter/Charger . . . . . . . . . . . . . . . . . . . . . . . . . . . . . . . . . . . . . . . . . . . . . . . . . . . . . . . . . 18 Step 2: Mounting the Inverter/Charger . . . . . . . . . . . . . . . . . . . . . . . . . . . . . . . . . . . . . . . . . . . . . . . . . . . . . . . . . . . . . . . . . . . . 20 Considerations . . . . . . . . . . . . . . . . . . . . . . . . . . . . . . . . . . . . . . . . . . . . . . . . . . . . . . . . . . . . . . . . . . . . . . . . . . . . . . . . . . . 20 Step 3: Connecting the AC Input and AC Output Wires . . . . . . . . . . . . . . . . . . . . . . . . . . . . . . . . . . . . . . . . . . . . . . . . . . . . . . . 23 General AC Wiring Considerations . . . . . . . . . . . . . . . . . . . . . . . . . . . . . . . . . . . . . . . . . . . . . . . . . . . . . . . . . . . . . . . . . . . 23 Connecting AC Input Wires . . . . . . . . . . . . . . . . . . . . . . . . . . . . . . . . . . . . . . . . . . . . . . . . . . . . . . . . . . . . . . . . . . . . . . . . . 24 Connecting the AC Output Wires . . . . . . . . . . . . . . . . . . . . . . . . . . . . . . . . . . . . . . . . . . . . . . . . . . . . . . . . . . . . . . . . . . . . . 25 Step 4: Connecting the DC Cables . . . . . . . . . . . . . . . . . . . . . . . . . . . . . . . . . . . . . . . . . . . . . . . . . . . . . . . . . . . . . . . . . . . . . . . . 27 DC Connection Precautions . . . . . . . . . . . . . . . . . . . . . . . . . . . . . . . . . . . . . . . . . . . . . . . . . . . . . . . . . . . . . . . . . . . . . . . . . 27 Recommended Cable Sizes and Lengths and Fuse Size . . . . . . . . . . . . . . . . . . . . . . . . . . . . . . . . . . . . . . . . . . . . . . . . . . . . 27 Preparing the Cables . . . . . . . . . . . . . . . . . . . . . . . . . . . . . . . . . . . . . . . . . . . . . . . . . . . . . . . . . . . . . . . . . . . . . . . . . . . . . . . 27 Guidelines for Routing the DC Cables . . . . . . . . . . . . . . . . . . . . . . . . . . . . . . . . . . . . . . . . . . . . . . . . . . . . . . . . . . . . . . . . . 28 Connecting the DC Cables to the Inverter/Charger . . . . . . . . . . . . . . . . . . . . . . . . . . . . . . . . . . . . . . . . . . . . . . . . . . . . . . . 29 DC Grounding . . . . . . . . . . . . . . . . . . . . . . . . . . . . . . . . . . . . . . . . . . . . . . . . . . . . . . . . . . . . . . . . . . . . . . . . . . . . . . . . . . . 31

Page 12
Image 12
Xantrex Technology SW3000 user service

SW3000 specifications

Xantrex Technology SW3000 is a versatile and powerful inverter that plays a crucial role in providing reliable electrical power to off-grid and mobile applications. Designed specifically for those who require a dependable power source in remote locations or for recreational vehicles, the SW3000 stands out with its excellent features and innovative technologies.

One of the primary characteristics of the SW3000 is its ability to deliver a continuous output of 3000 watts, making it suitable for a wide range of appliances and tools. The inverter can handle startup loads for inductive devices, such as refrigerators and air conditioners, with ease. This capability ensures that users can operate their essential equipment without the worry of overloading the system.

The SW3000 inverter is equipped with advanced Pure Sine Wave technology, ensuring that the output power is clean and stable. Pure Sine Wave inverters are crucial for sensitive electronics, as they provide a smooth power output that mimics the utility grid. This feature protects your devices from potential damage caused by lower-quality inverter systems.

Additionally, the Xantrex SW3000 offers integrated features such as an automatic transfer switch, which seamlessly transfers power between the inverter and utility power when both are available. This ensures uninterrupted operation and convenience for the user. The inverter also has a user-friendly interface, including LED indicators that provide information on the inverter's status, allowing for easy monitoring.

Another significant aspect of the SW3000 is its robust thermal management. The design includes built-in cooling fans that prevent overheating during heavy use, ensuring the longevity of the unit. The inverter also comes with multiple safety features, such as over-voltage, under-voltage, and over-temperature protection, offering peace of mind.

Furthermore, the SW3000 is engineered for easy installation, including versatile mounting options, making it an excellent choice for various applications, from boats and RVs to cabins and backup power systems. Its durable design enables it to withstand harsh environmental conditions, ensuring reliable performance in diverse settings.

Overall, the Xantrex Technology SW3000 inverter combines power capacity, advanced technology, and user-friendly features, making it a top choice for those seeking reliable power solutions in off-grid and mobile environments.