A L I G N I N G Y O U R P R I N T H E A D S
Aligning Your Print Heads
For optimum print quality, your print heads should be aligned. To align your print heads follow these instructions.
On your control panel press the menu
button ![]() . Press the down
. Press the down ![]() 1 navigation button until option
1 navigation button until option
“3. Maintenance” displays. Press the
right ![]() navigation button until “1. Clean Print Head1” displays. Press the select button
navigation button until “1. Clean Print Head1” displays. Press the select button ![]() . The print heads will complete a priming cycle which lasts approximately 2 minutes.
. The print heads will complete a priming cycle which lasts approximately 2 minutes.
On your control panel, press the menu
button ![]() . Press the down
. Press the down ![]() navigation 2 button until “3. Maintenance” displays.
navigation 2 button until “3. Maintenance” displays.
Press the right ![]() navigation button until option “6. Align Print Head” displays. Press the select button
navigation button until option “6. Align Print Head” displays. Press the select button ![]() .
.
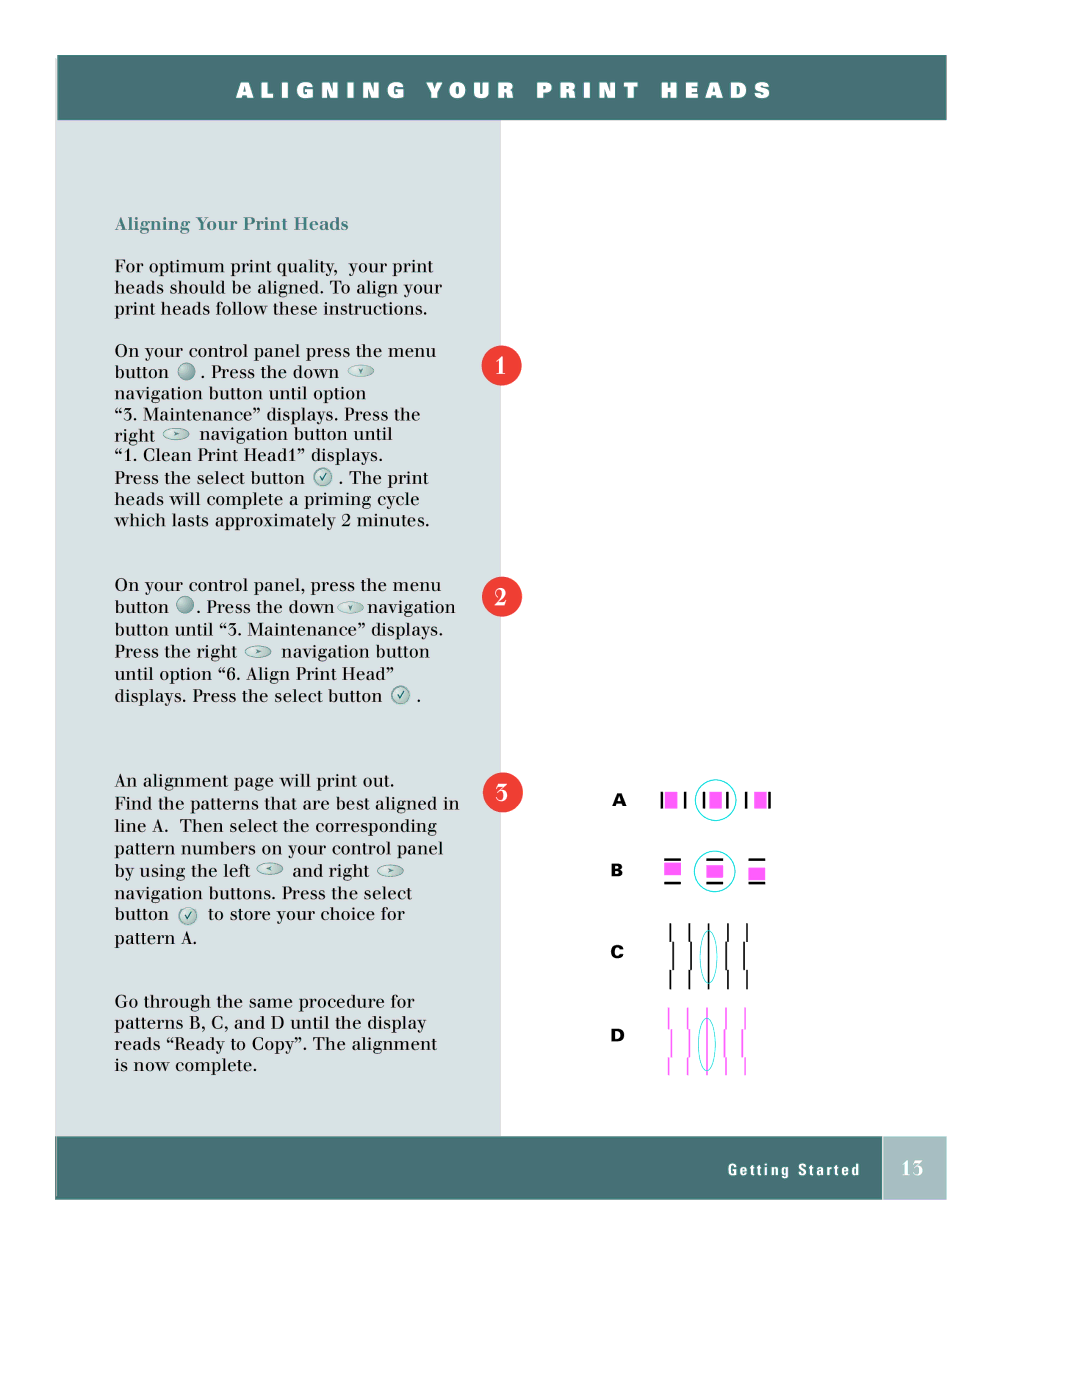
An alignment page will print out.
Find the patterns that are best aligned in 3 line A. Then select the corresponding pattern numbers on your control panel
by using the left ![]() and right
and right ![]() navigation buttons. Press the select
navigation buttons. Press the select
button ![]()
![]() to store your choice for pattern A.
to store your choice for pattern A.
Go through the same procedure for patterns B, C, and D until the display reads “Ready to Copy”. The alignment is now complete.
A
B
C
D
G e t t i n g S t a r t e d
13