Thermostat Controls
A thermostat control is located in the top panels inside the freezer and refrigerator compartments, which controls the temperature inside the freezer and refrig- erator respectively.
The Freezer Temperature Control
The thermostat control located inside the freezer regulates the temperature within the freezer compartment. A change in the control setting in the freezer compartment could affect the temperature in the refrigerator compartment under certain circumstances.
Off | - Switches off cooling to the appliance |
Coldest | - Maximum coldness |
Cold | - Minimum coldness |
An intermediate position is usually the most suitable, although the temperature will be affected by:
•Room temperature
•How often the door is opened
•How much food is stored
•Position of the appliance
In determining the correct temperature control setting all these factors have to be considered and some experimentation may be necessary.
When altering the temperature settings, allow 24 hours for the temperature to stabilise before making further changes.
Important
Turning the freezer control to “OFF” will shut down cooling in BOTH the refrigerator and the freezer compartments.
The Refrigerator Temperature Control
The thermostat control located inside the fridge regulates the temperature within the fridge compart- ment, by regulating the cold air flow.
A setting midway between coldest and cold is usually the most suitable, although some experimentation may be necessary to obtain the correct temperature.
Coldest | - Maximum coldness |
Cold | - Minimum coldness |
Ice Maker
The ice maker is located behind the baffle in the top of the freezer.
Once the freezer temperature is cold ice making can be started.
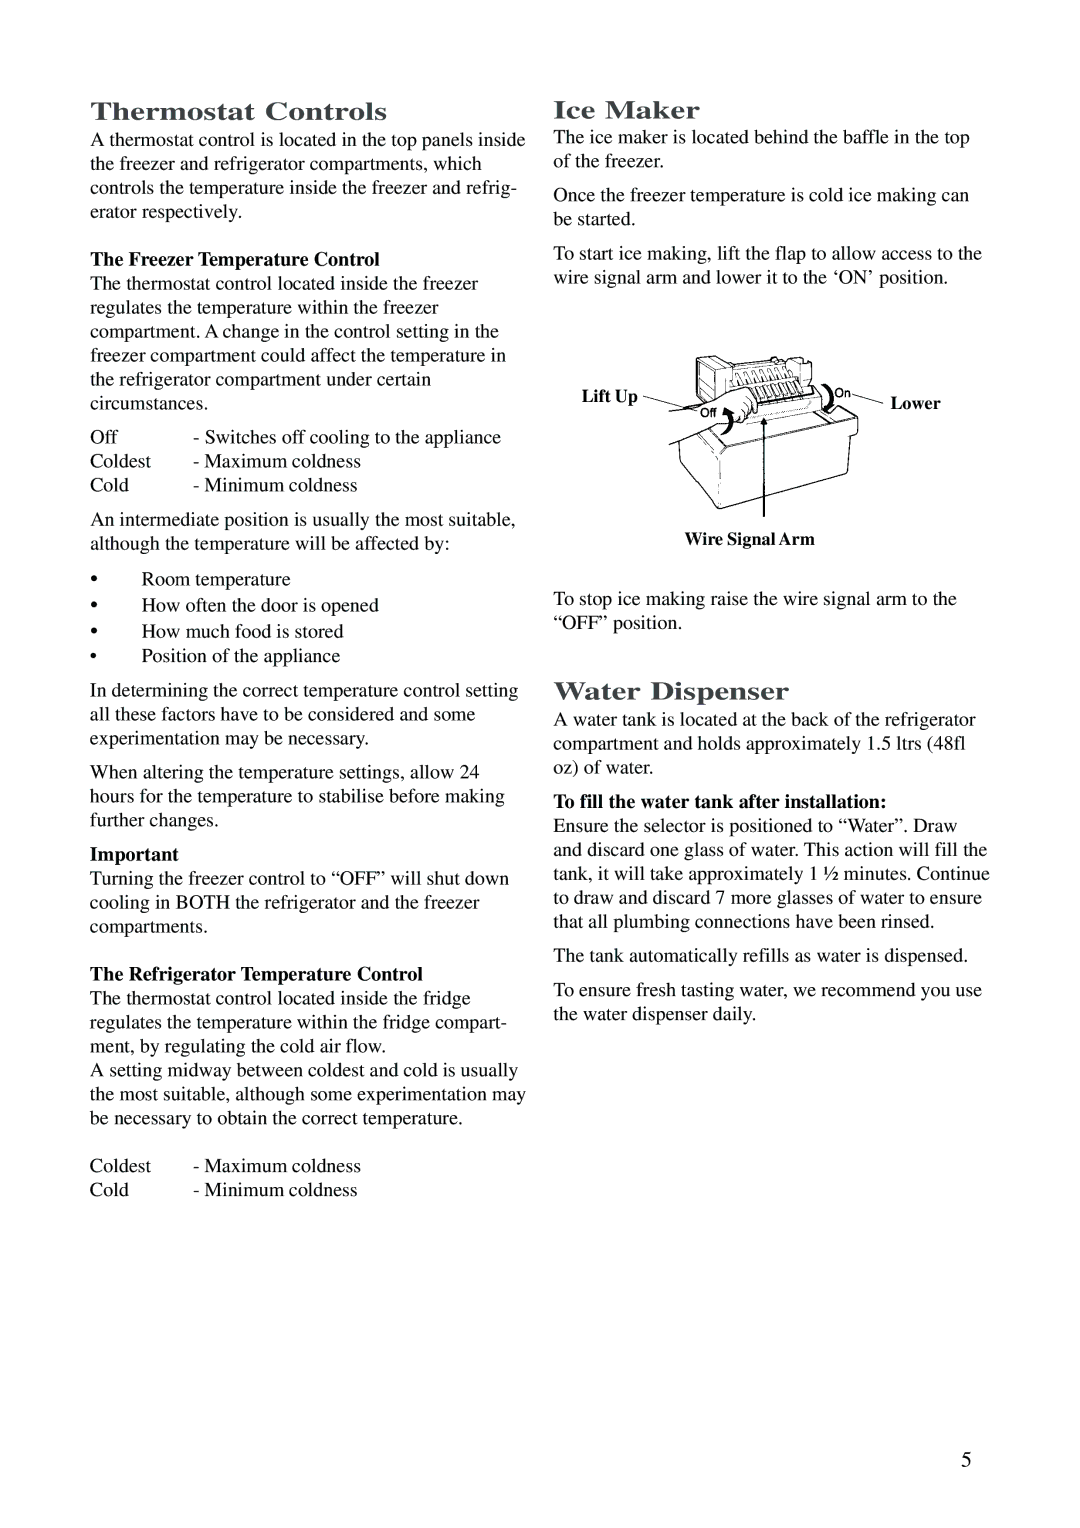
To start ice making, lift the flap to allow access to the wire signal arm and lower it to the ‘ON’ position.
Lift Up | Lower |
|
Wire Signal Arm
To stop ice making raise the wire signal arm to the “OFF” position.
Water Dispenser
A water tank is located at the back of the refrigerator compartment and holds approximately 1.5 ltrs (48fl oz) of water.
To fill the water tank after installation:
Ensure the selector is positioned to “Water”. Draw and discard one glass of water. This action will fill the tank, it will take approximately 1 ½ minutes. Continue to draw and discard 7 more glasses of water to ensure that all plumbing connections have been rinsed.
The tank automatically refills as water is dispensed.
To ensure fresh tasting water, we recommend you use the water dispenser daily.
5