Maintenance and Cleaning
Before any maintenance or cleaning work is carried out DISCONNECT the appliance from the ELECTRICITY supply.
Internal Cleaning
Clean the inside and accessories with warm water and bicarbonate of soda (5ml to 0.5 litre of water). Rinse and dry thoroughly.
Regularly check the door seals and wipe clean to ensure they are clean and free from debris.
Do not use detergents, abrasive powders, highly perfumed cleaning products, wax polishes or cleaning products containing bleach or alcohol.
Defrosting
Your appliance is frost free, which means there is no need to manually defrost your appliance as this will be carried out automatically.
Ice Dispenser
Clean the the dispenser and storage bin periodically.
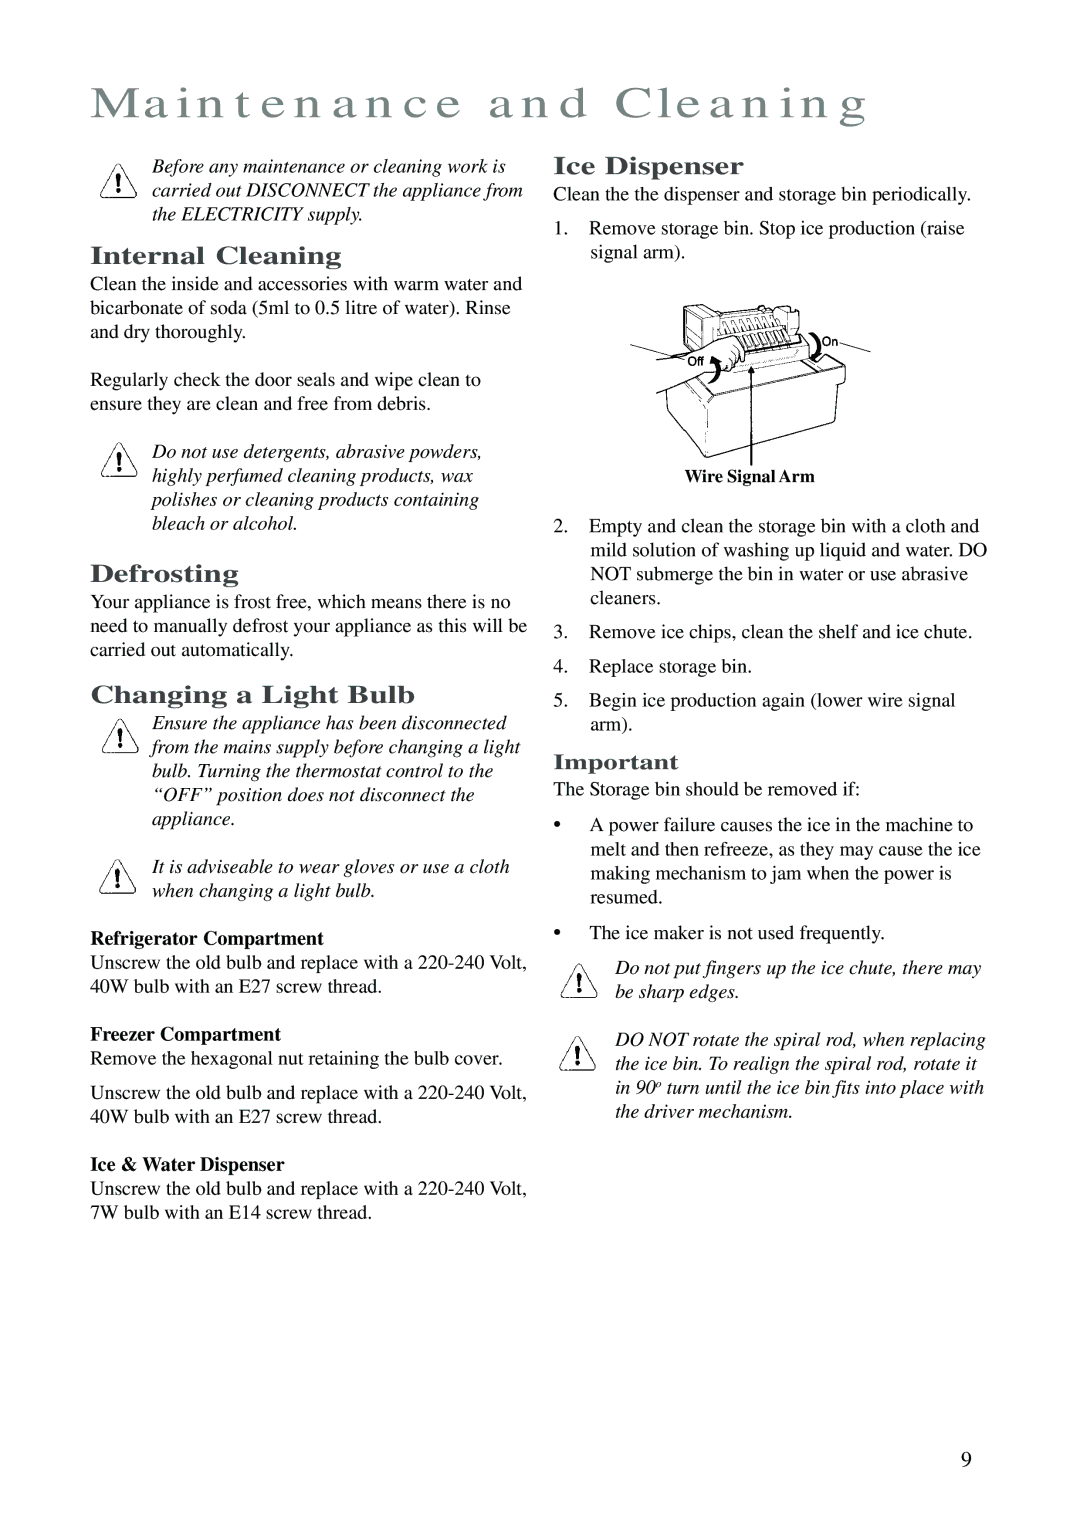
1.Remove storage bin. Stop ice production (raise signal arm).
Wire Signal Arm
2.Empty and clean the storage bin with a cloth and mild solution of washing up liquid and water. DO NOT submerge the bin in water or use abrasive cleaners.
3.Remove ice chips, clean the shelf and ice chute.
4.Replace storage bin.
Changing a Light Bulb
Ensure the appliance has been disconnected from the mains supply before changing a light bulb. Turning the thermostat control to the “OFF” position does not disconnect the appliance.
It is adviseable to wear gloves or use a cloth when changing a light bulb.
Refrigerator Compartment
Unscrew the old bulb and replace with a
Freezer Compartment
Remove the hexagonal nut retaining the bulb cover.
Unscrew the old bulb and replace with a
Ice & Water Dispenser
Unscrew the old bulb and replace with a
5.Begin ice production again (lower wire signal arm).
Important
The Storage bin should be removed if:
•A power failure causes the ice in the machine to melt and then refreeze, as they may cause the ice making mechanism to jam when the power is resumed.
•The ice maker is not used frequently.
Do not put fingers up the ice chute, there may be sharp edges.
DO NOT rotate the spiral rod, when replacing the ice bin. To realign the spiral rod, rotate it in 90o turn until the ice bin fits into place with the driver mechanism.
9
