Manuals
/
Zanussi
/
Kitchen Appliance
/
Oven
Zanussi
ZOB 691
manual
Electrolux
Models:
ZOB 691
1
47
68
68
Download
68 pages
20.41 Kb
44
45
46
47
48
49
50
51
Install
Error codes
Function symbols
Warranty
Dimension
Maintenance
Problem Solution
Cleaning the Oven Door
How to
Safety
Page 47
Image 47
electrolux
°C
°C
47
Page 46
Page 48
Page 47
Image 47
Page 46
Page 48
Contents
User Manual Built-in Oven ZOB
Thank you for selecting our appliance
Guide to using the user instructions
Contents
Operation
Installation
Customer Service
People Safety
Description of the appliance
Push buttons
Control panel
Before first use
When the oven is first installed
To set the correct time of day
On/Off Push Button
How to select a Cooking Function
Cooling Fan
How to set the temperature and cooking time
Safety Thermostat
Top heating element The heat
Function symbols
Select a maximum temperature of 200C
Conventional cooking The heat
Do not place cookware directly on the oven base
Using the oven
Advantages of cooking with this function are
Fan Cooking
Conventional Cooking
Top heating element
Bottom heating element
How to use the Full Grill
How to use the Inner Grill Element
How to Use the Thermal Grill
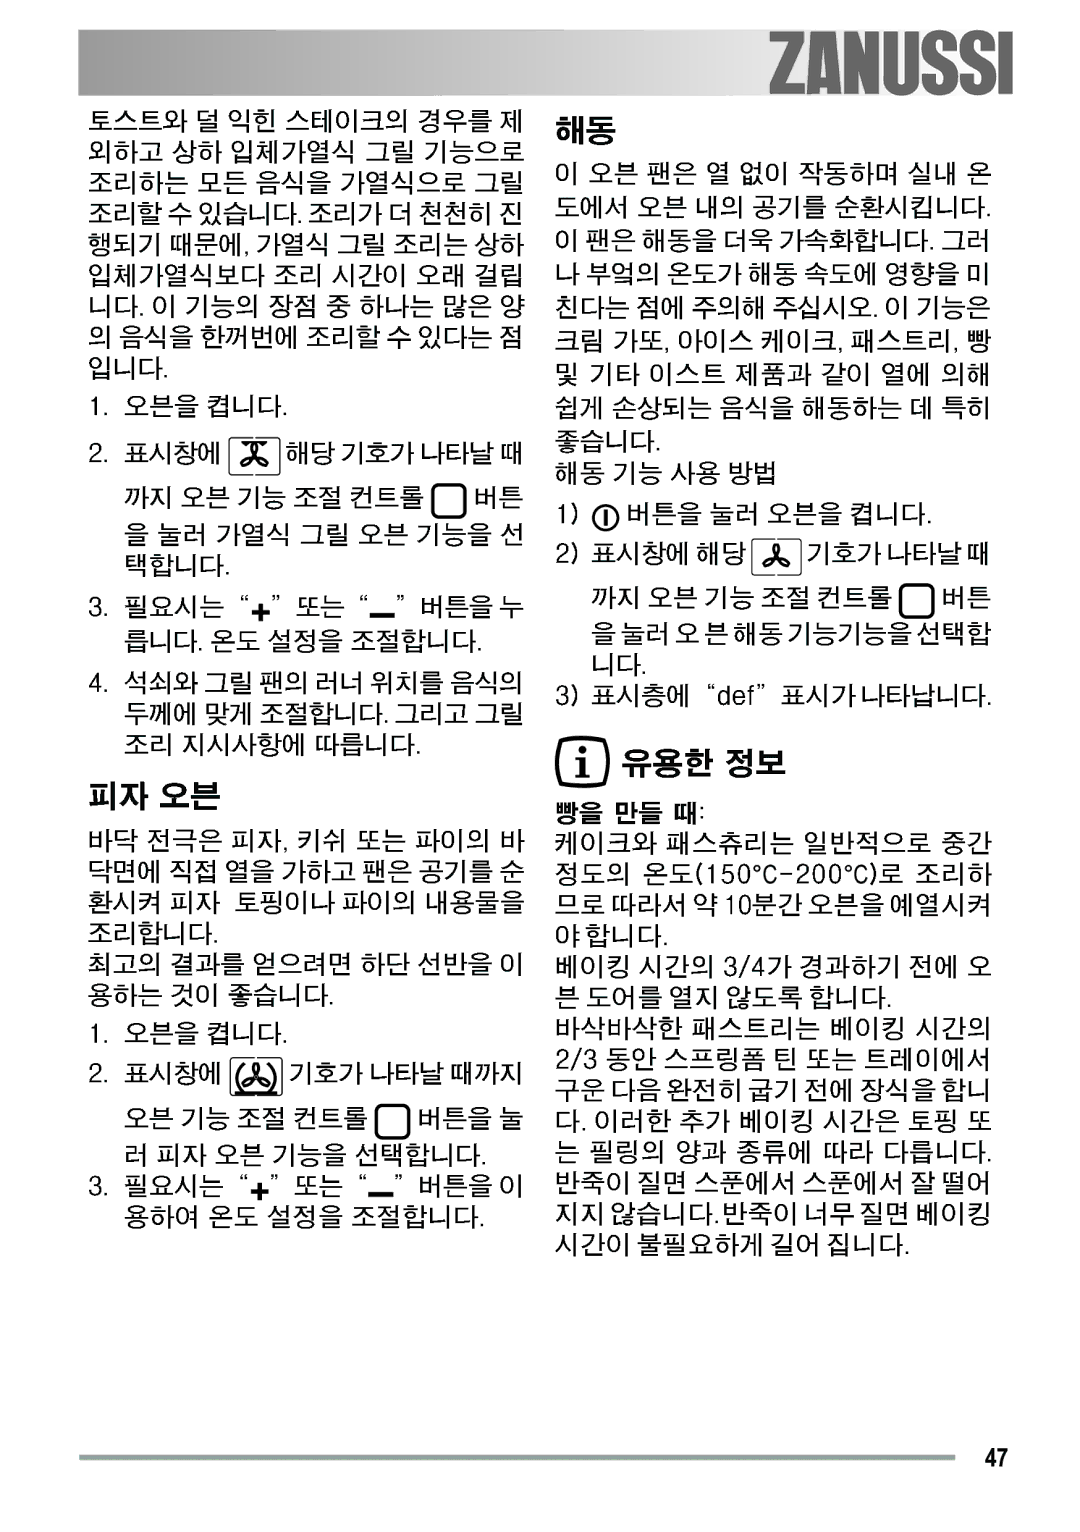
On baking
Pizza Oven
Defrosting
Hints and Tips
Cooking Times
To cancel the Minute Minder
How to set the Minute Minder
To programme the Oven to Switch Off
To use or to change the Minute Minder setting
To cancel the programme, simply cancel the Duration Time
To Programme the Oven to Switch On and Off
To cancel the Cooking Duration Time
Child Lock Function
Automatic Switch-Off function
Special functions
Residual Heat Function
To unlock the oven
Fast Heat Up function
Error Code
Demo Mode
Conventional and Fan Cooking
Cooking tables
Type of Dish
Thermal Grilling
Oven Cavity
Cleaning and Maintenance
Cleaning materials
External cleaning
Stainless steel or aluminium appliances
Cleaning the Oven Door
Replacing The Oven Light
Oven Shelves and Shelf Supports
Something not working
Problem Solution
Oven
Technical data
Dimensions of the recess
Heating element ratings
Terminal block
Instructions for the Installer
Connecting to the electrical supply
Securing the appliance to the cabinet
Oven dimensions Fig Instructions for building
Instructions for building
European guarantee
Service and spare parts
Electrolux
ZOB 79 kWh 78 kWh 43 min 41 min 1130 cm²
Electrolux
Electrolux
Electrolux
Electrolux
Electrolux
Electrolux
Electrolux
Electrolux
Electrolux
Electrolux
Electrolux
Electrolux
Electrolux
Electrolux
Electrolux
Electrolux
Electrolux
250C
Electrolux
Electrolux
Electrolux
’00’
Electrolux
Electrolux
Electrolux
Electrolux
Electrolux
Electrolux
570
Electrolux
UG GYWW\ GXW G UPG
Electrolux
Page
Page
Electrolux 35697-910108/07 R.0
Top
Page
Image
Contents