Appendix A
Maintenance and Fault Finding
Introduction
Your printer requires very little routine maintenance. In fact, the best maintenance for the printer is preventative. If you have followed the suggestions for locating it in an area free of excessive dust and heat it will give you a long and
Periodic cleaning, replacement of the ribbon, replacement of an occasional blown fuse and, after a very long time, replacement of the print head are about the only maintenance tasks you’ll need to carry out. We’ll cover these items in this chapter. However, before carrying out any of these tasks make sure that the printer has been switched off.
Cleaning dirt and dust are the biggest enemies. The print head cover will keep most dirt from the printer mechanism, but occasional cleaning to remove paper particles is a good idea.
C
A
B
D |
|
|
| E | |
|
|
|
|
|
| F |
|
|
|
|
|
|
| ||
A |
| D |
|
|
|
|
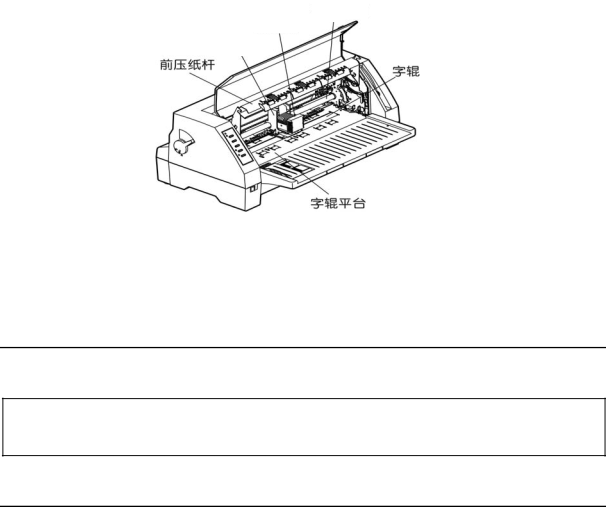
Print head | Sub friction roller | |||||
B | Carriage | E | Platen | |||
C | Carriage shaft | F | Paper guide platform | |||
|
| Figure |
|
|
|
|
Cleaning the Cabinet
Wipe soiled parts of the printer with a clean dry cloth. Remove bits of paper, etc., using tweezers.
NOTE
When cleaning, be careful not to scratch the equipment or to bend parts, etc.
Cleaning the Carriage Shaft
The carriage shaft is coated with oil, which attracts dust, etc. wipe solid parts with a soft cloth to clean them.
25