Hitachi P50S601 Connecting AN External Audio Amplifier, Connecting Monitor OUT

Page 21

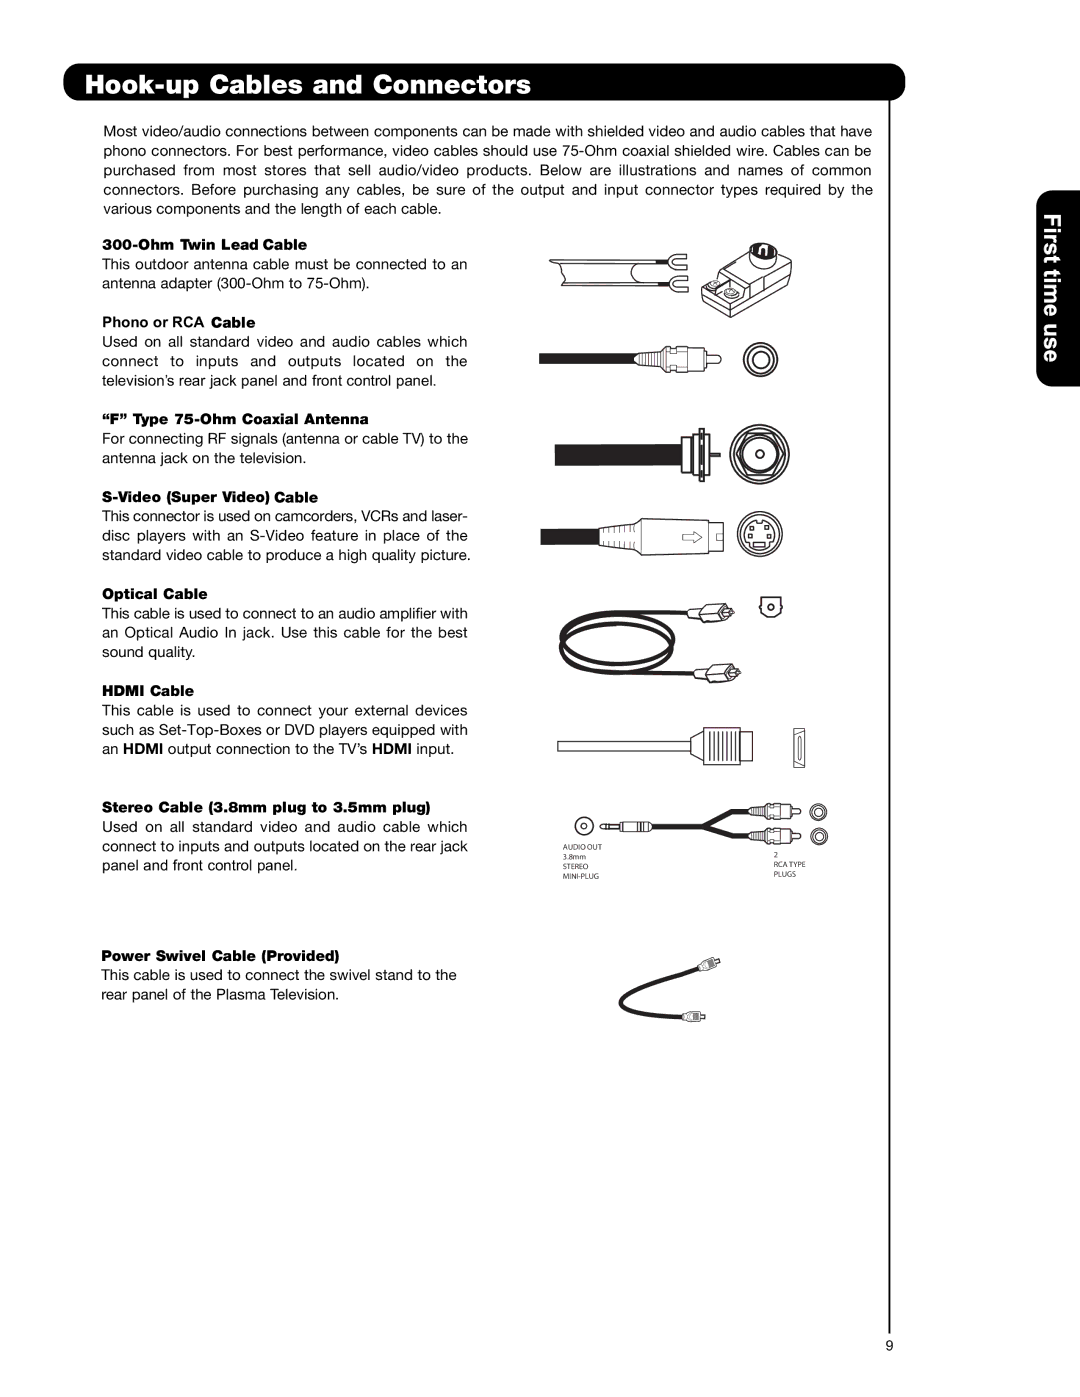
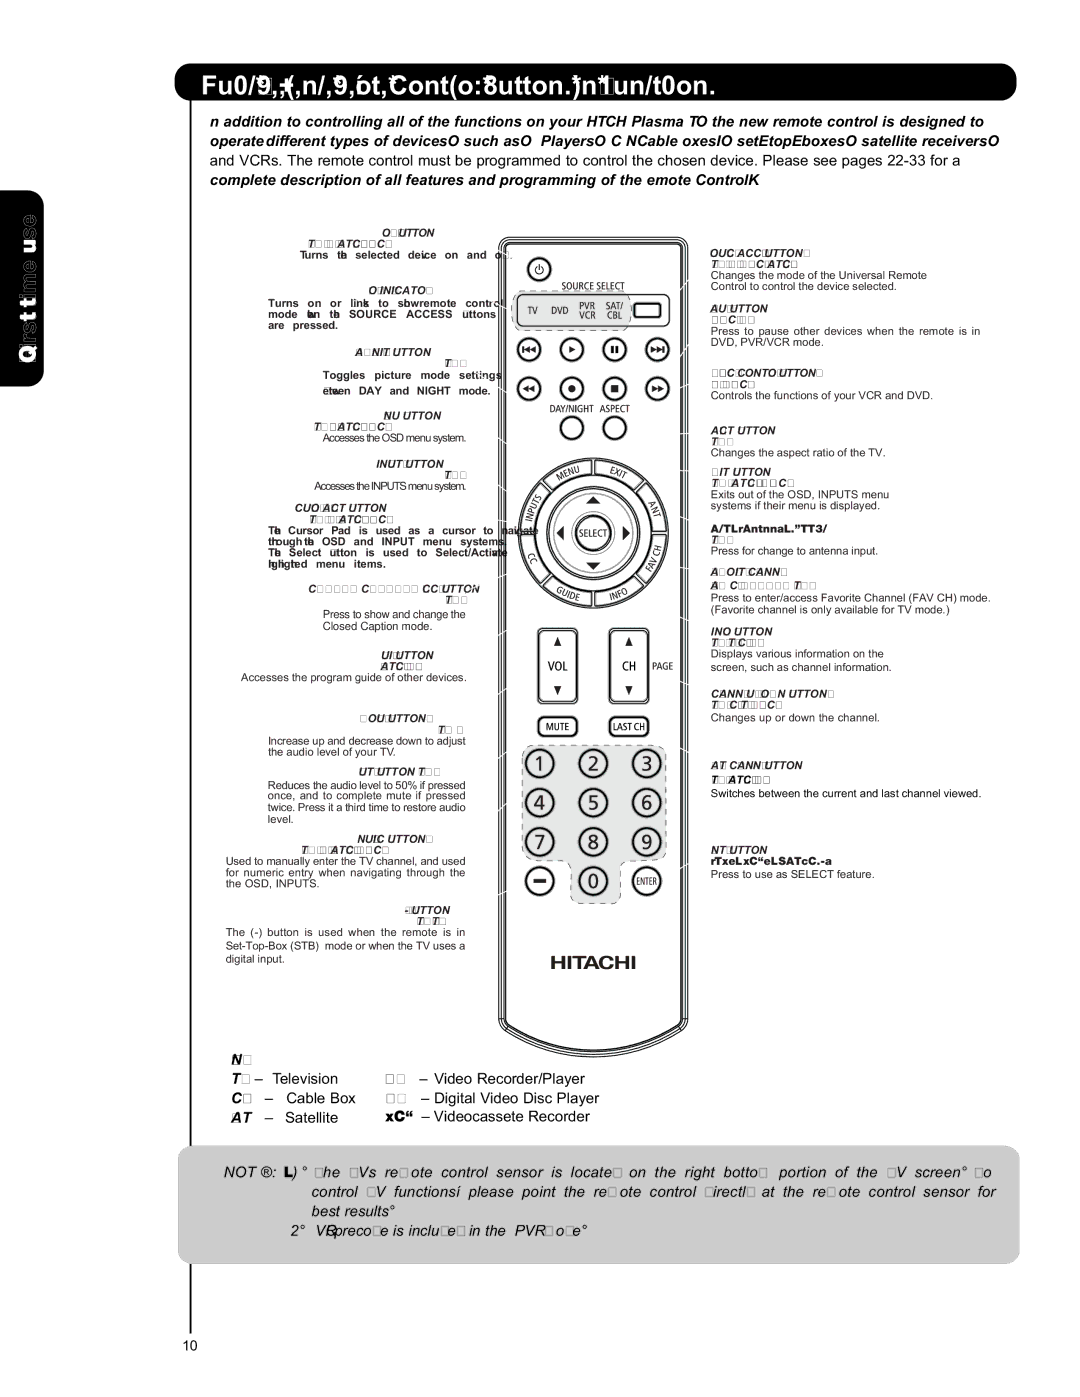
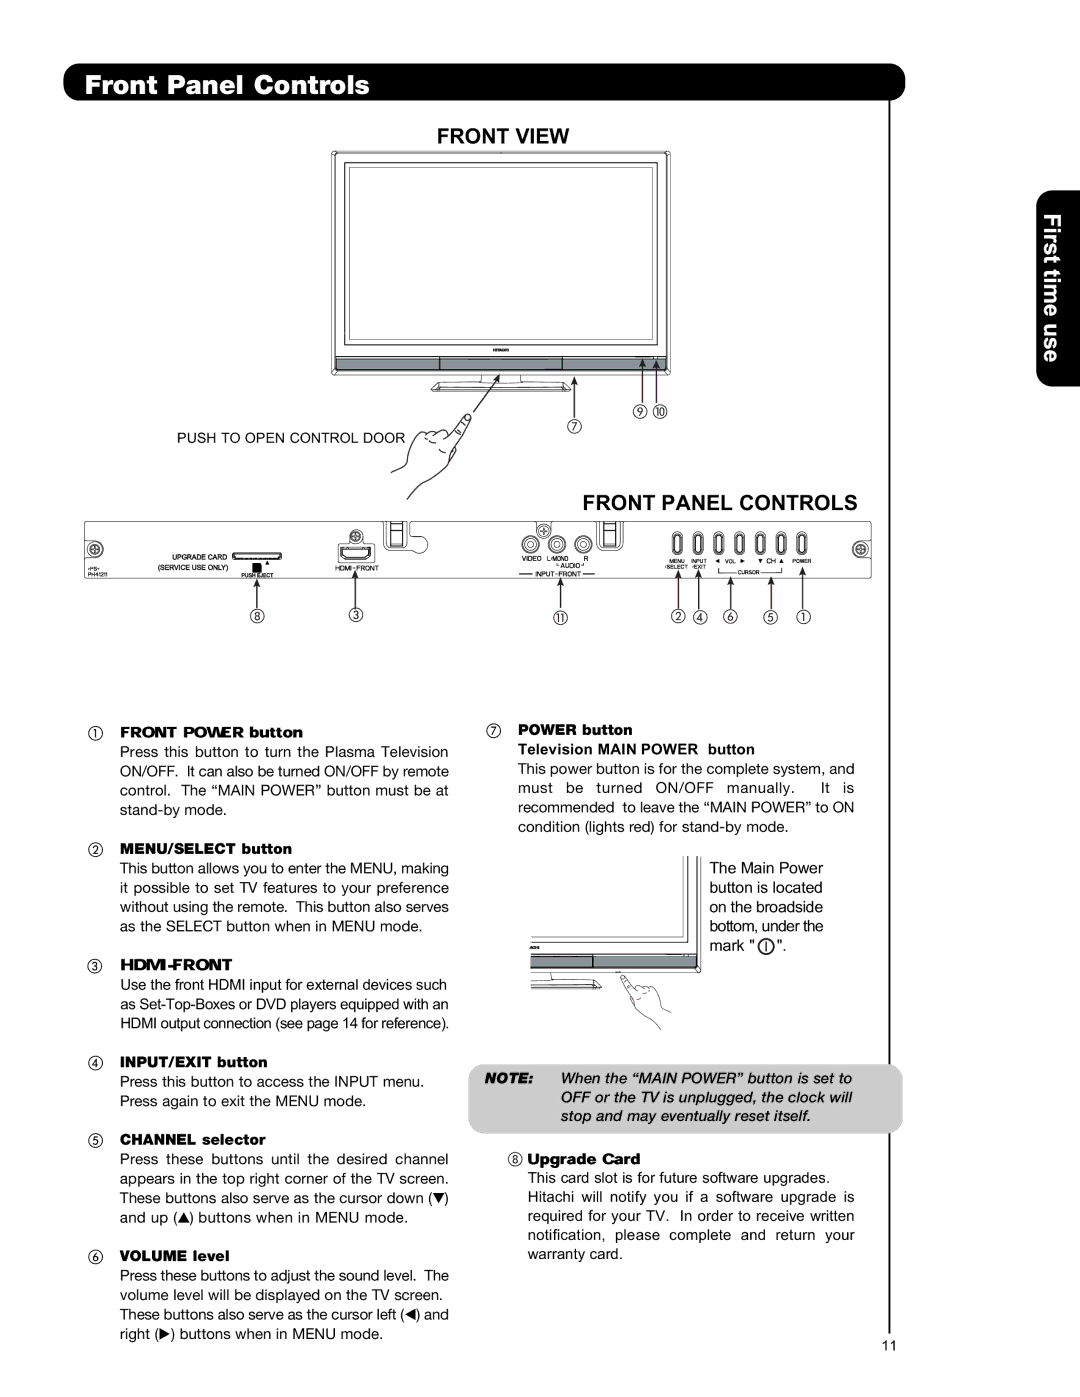
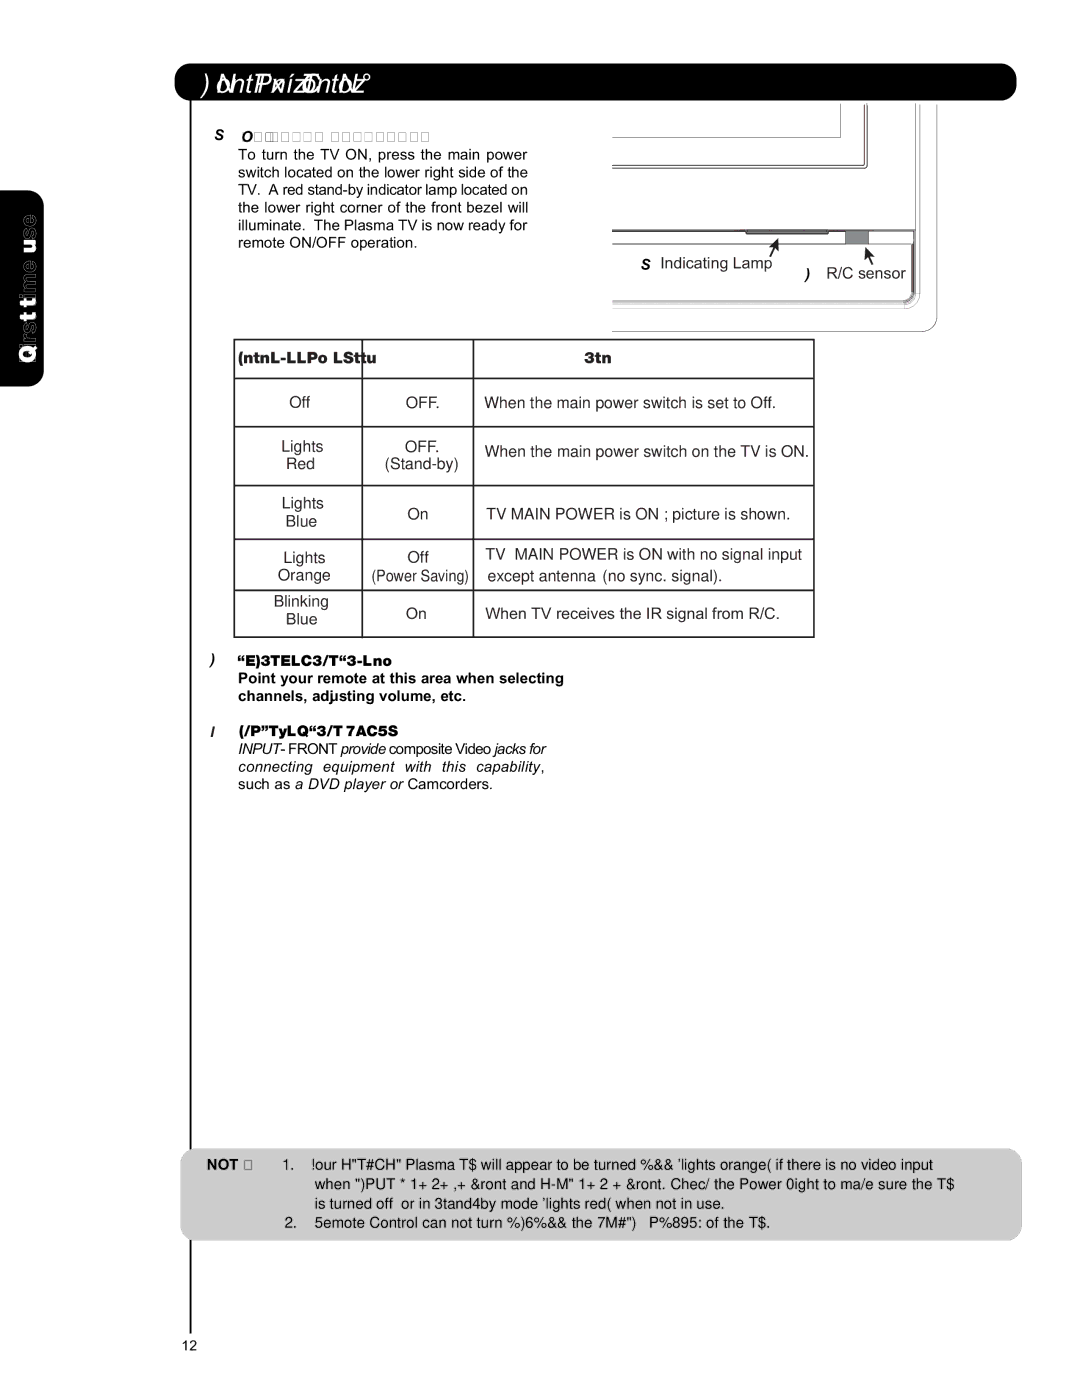
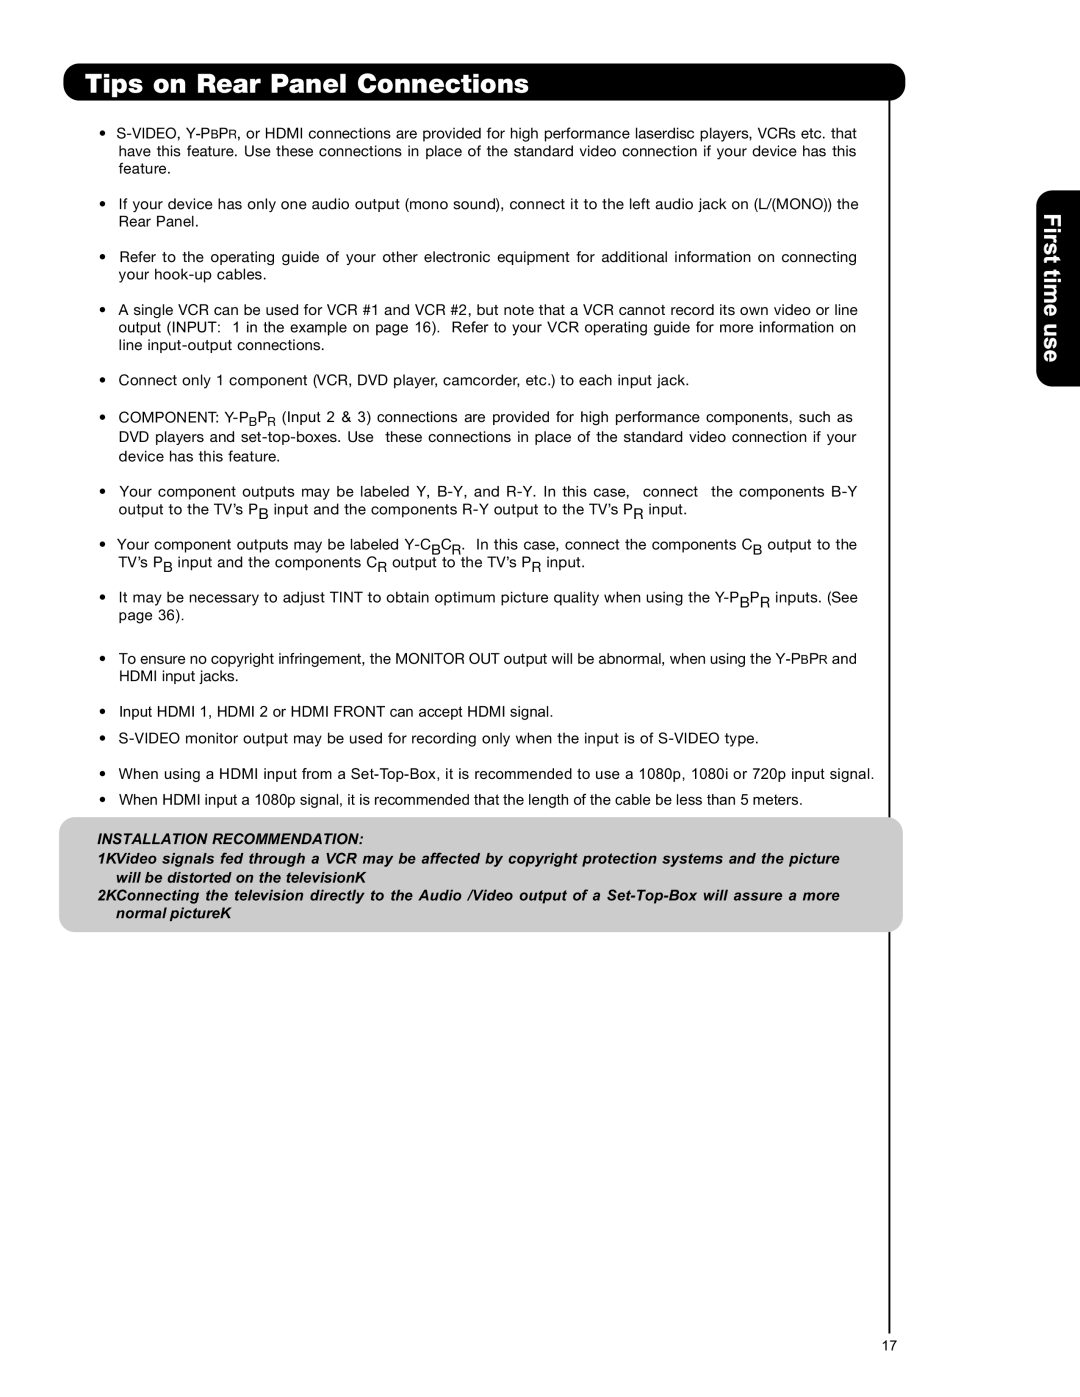
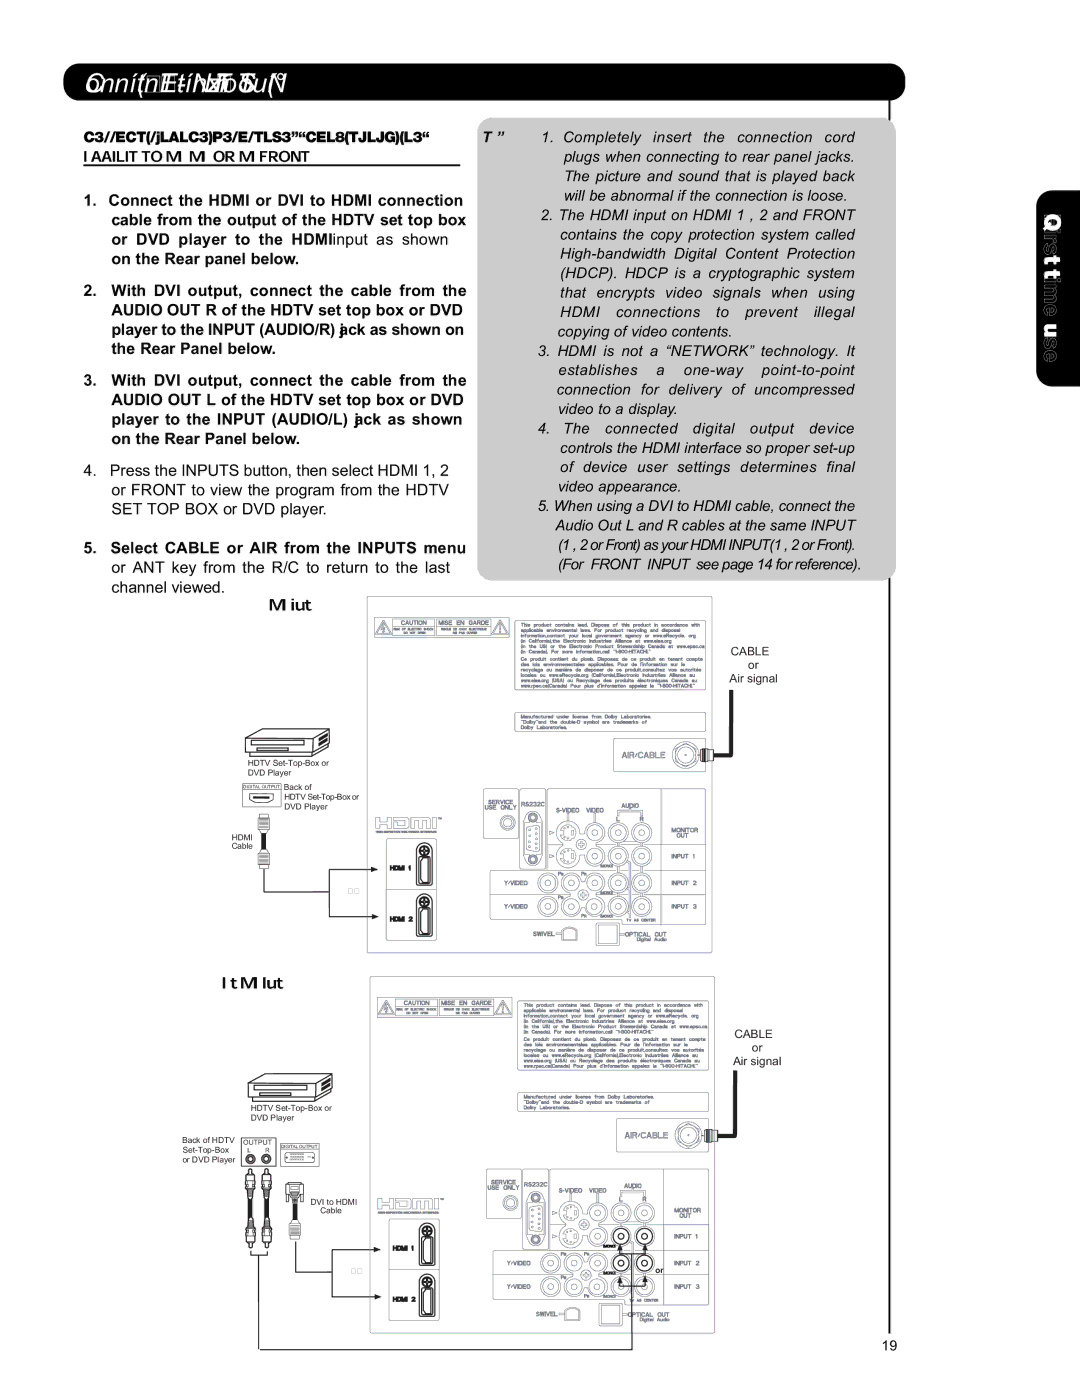
Connecting External Audio/Video Devices

CONNECTING A VIDEO AND MONAURAL AUDIO

SOURCE TO INPUT 1 ~ FRONT INPUT

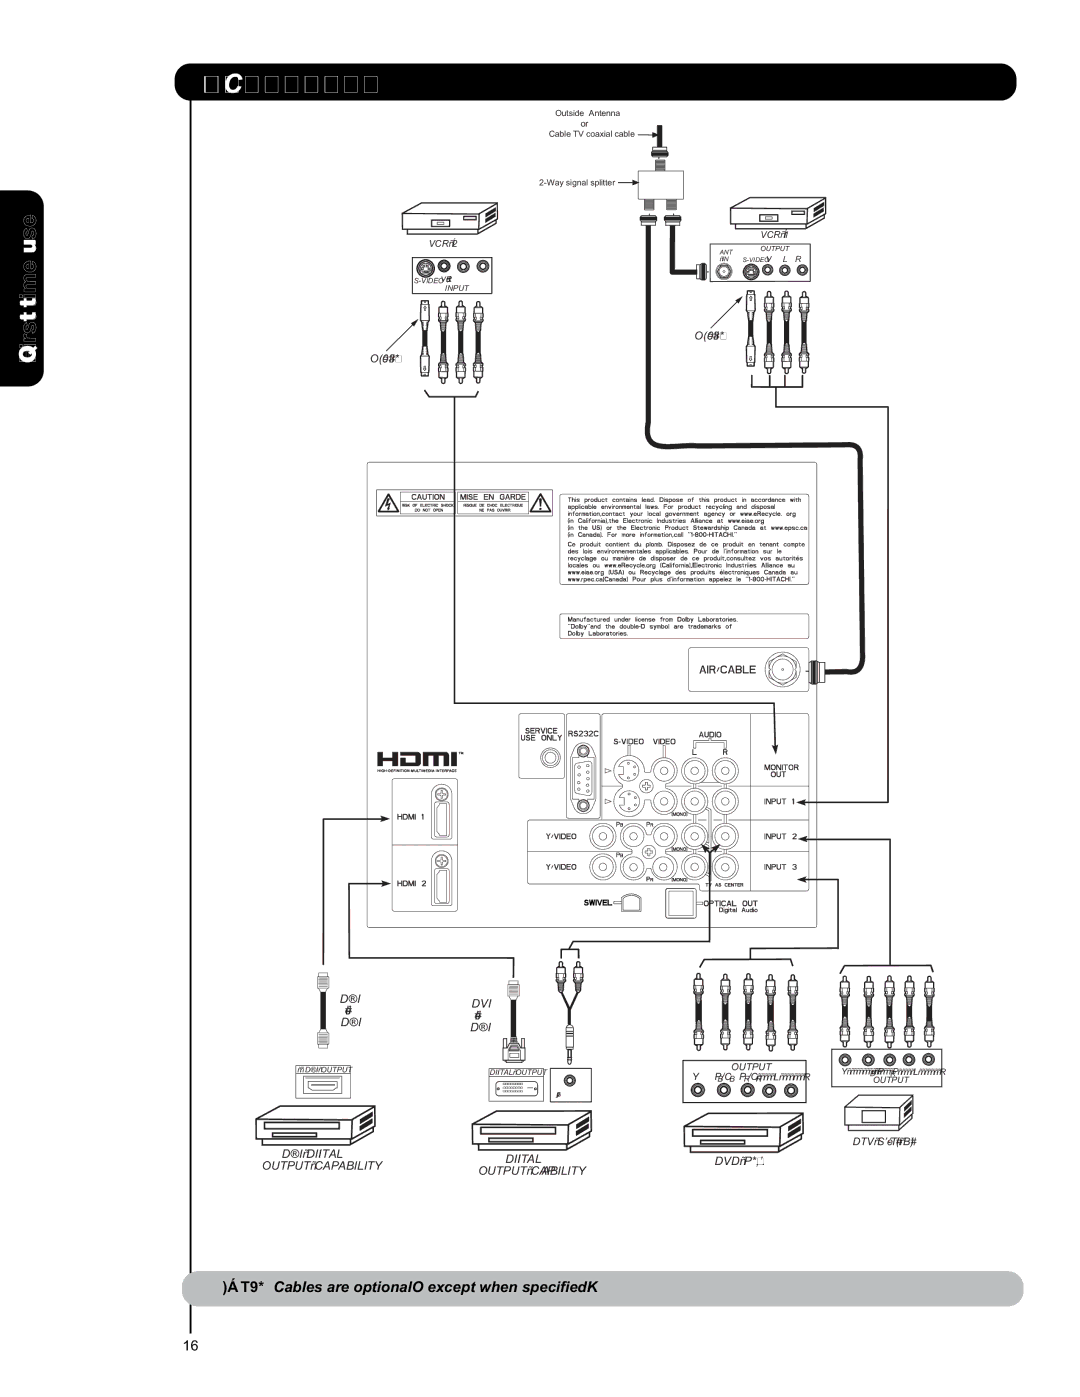
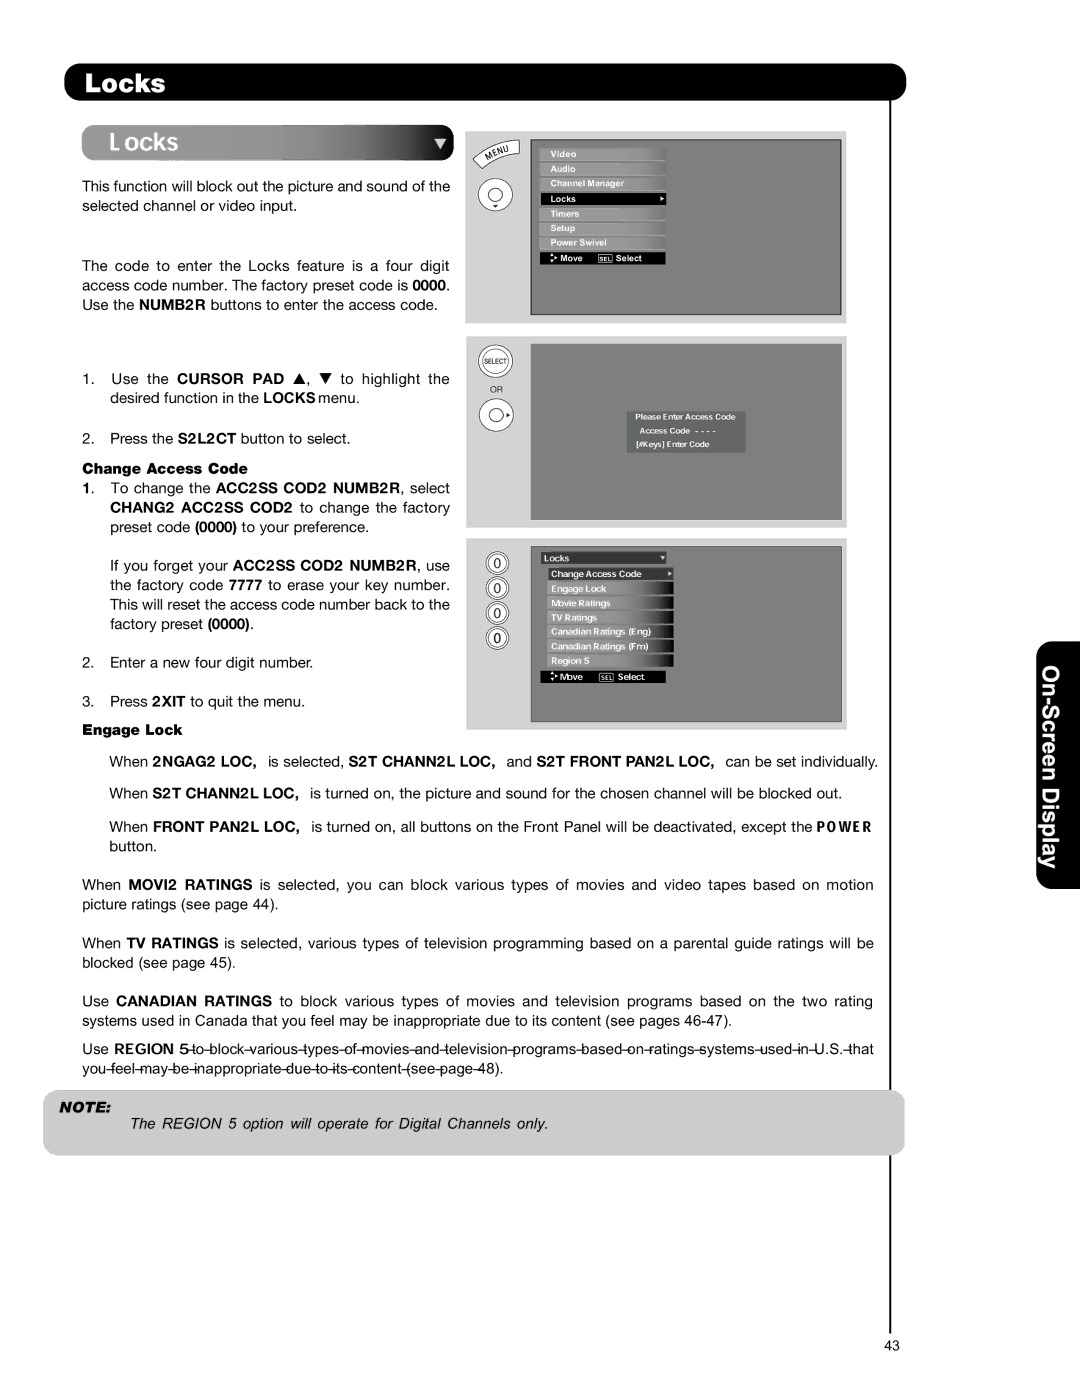
1. Connect the cable from the VIDEO OUT of the VCR or the laserdisc player to the INPUT (VIDEO) jack, as shown on the Rear Panel on the right.

2.Connect the cable from the AUDIO OUT of the VCR or the laserdisc player to the INPUT (MONO)/L(AUDIO) jack.

3. Press the INPUTS button, then select INPUT 1 2,3 or Front from the INPUTS menu to view the program from the VCR or the laserdisc player.

4. Select CABLE or AIR from the INPUTS menu or

ANT key from the R/C to return to the previous channel.

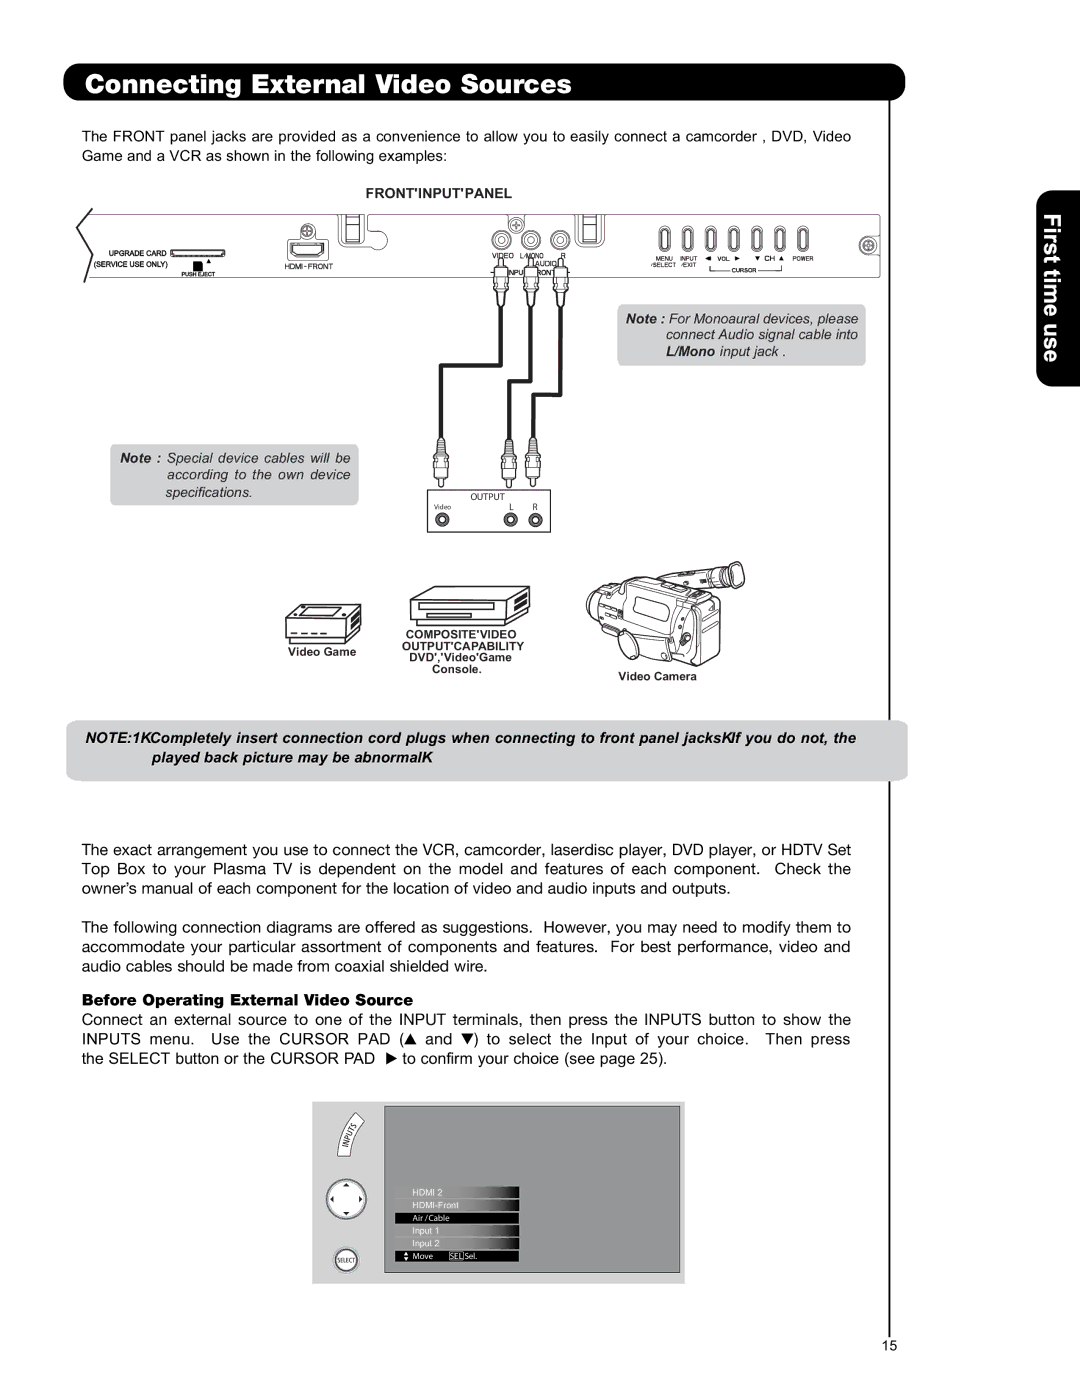
(For INPUT FRONT please see page 15 for reference).

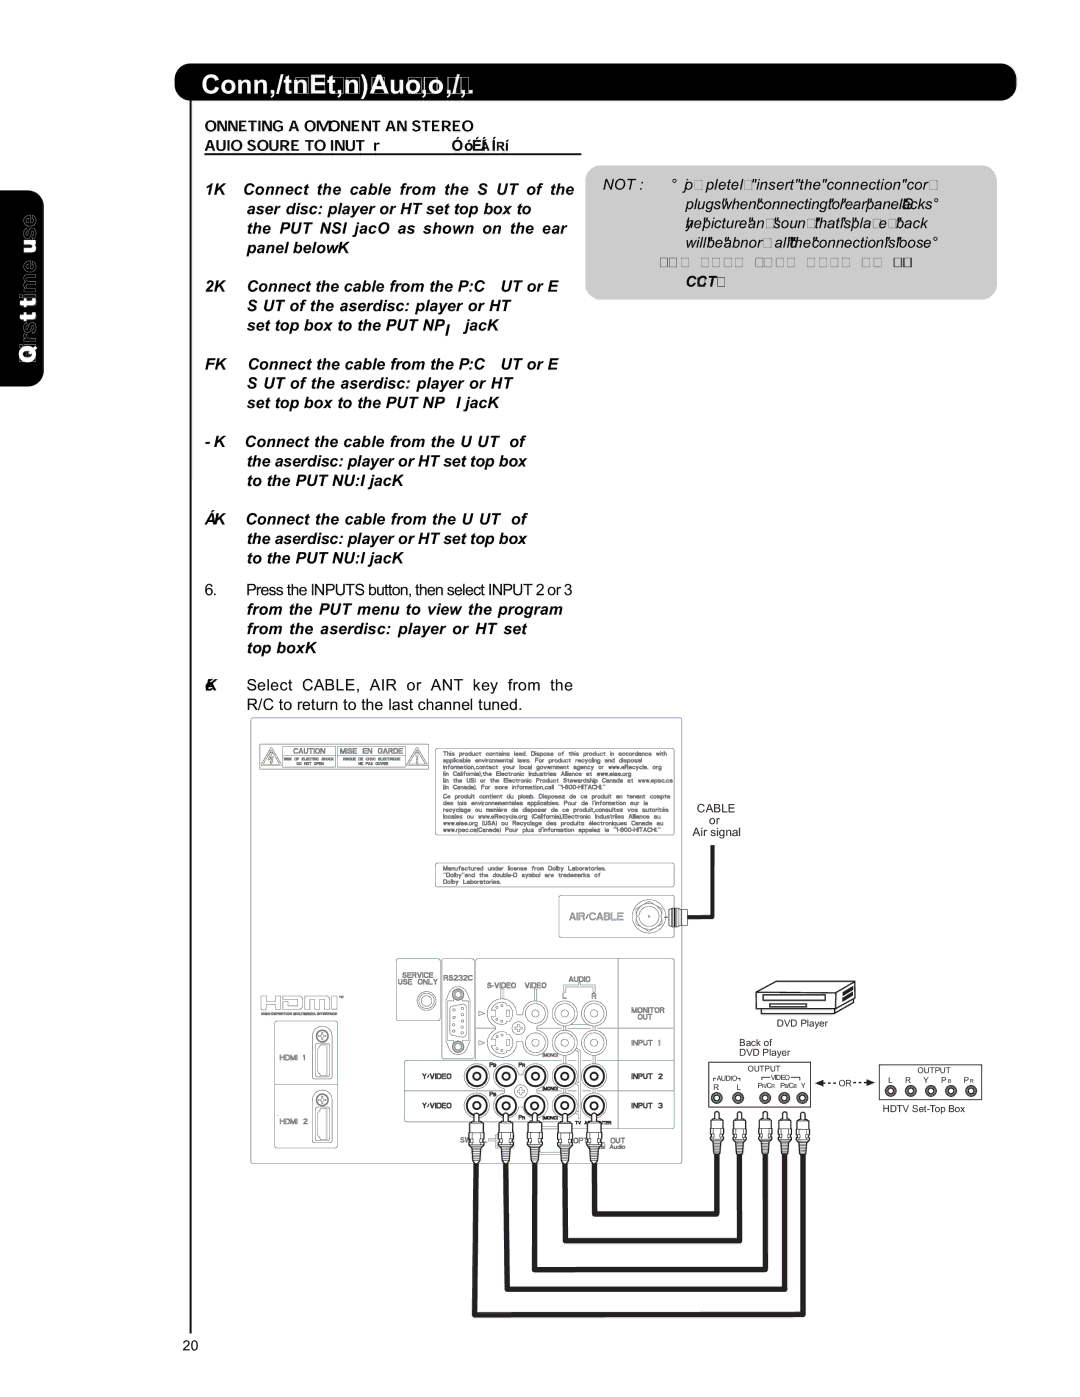
CONNECTING AN EXTERNAL AUDIO AMPLIFIER

To monitor the audio level of the Plasma TV to an external audio amplifier, connect the system as shown on the right. The “OPTICAL OUT” from the Rear Panel is a fixed output. The Volume of the amplifier is controlled by the amplifier, not by the Plasma Television. The OPTICAL OUT terminal outputs all audio sources with Optical IN capability.

1. Connect an optical cable from the Optical out to the Optical input of a separate Stereo System Amplifier as shown on the Rear Panel on the right.

CABLE or

Air signal

Back of

VIDEOOUT AUDIOOUT

VCR

OUTPUT


VCR

CABLE or

Air signal

OPTICAL

IN

First time use

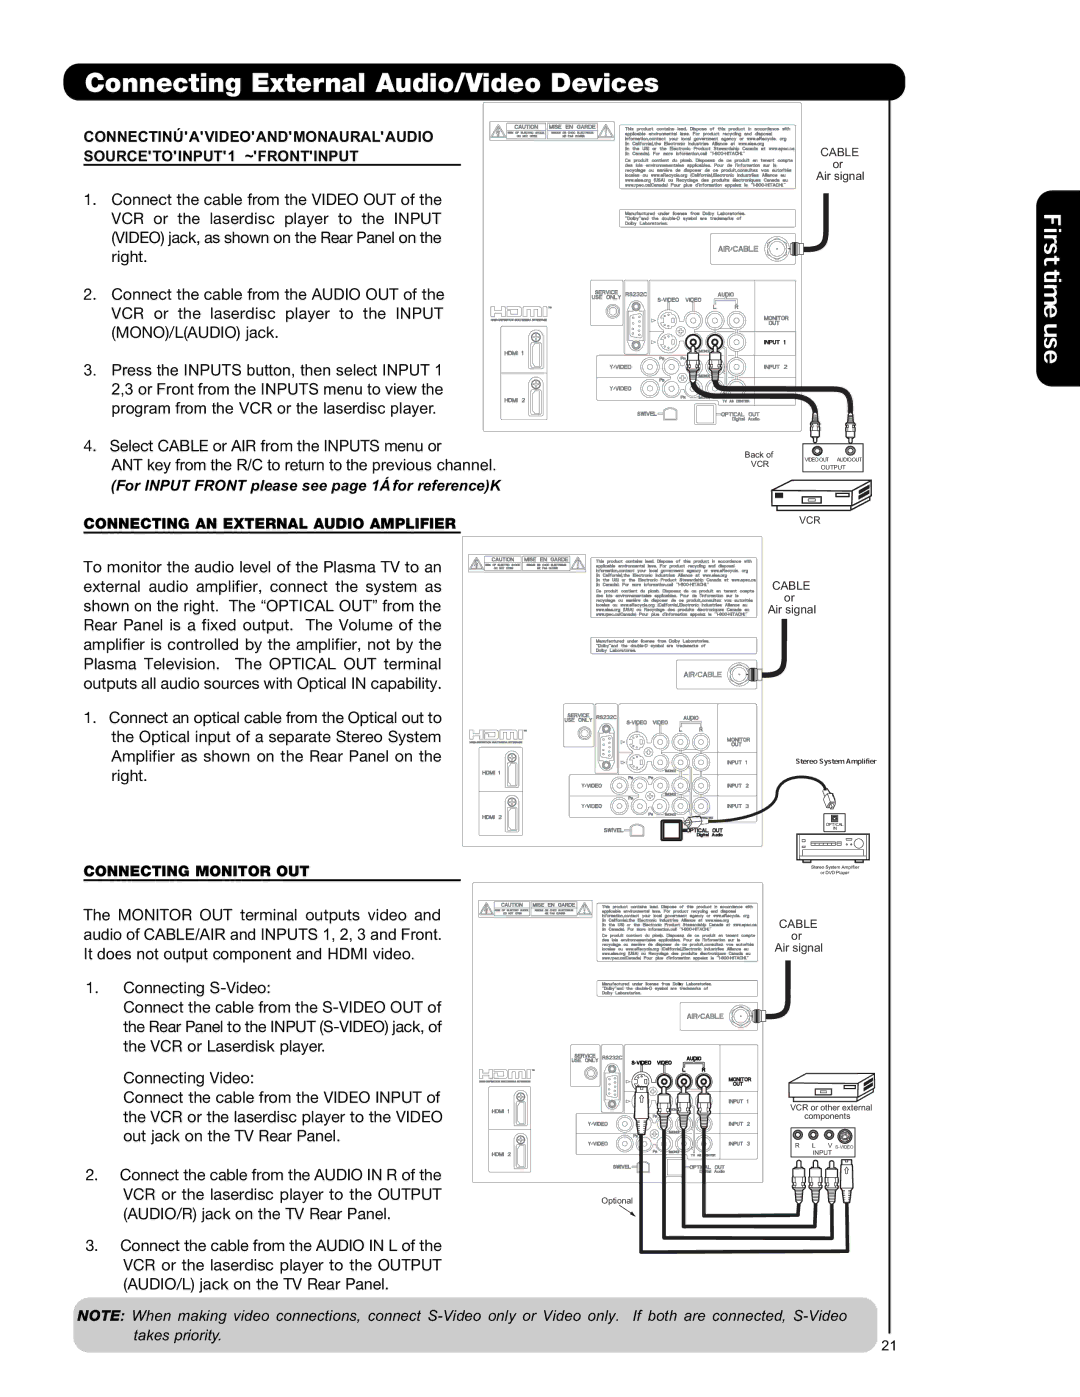
CONNECTING MONITOR OUT

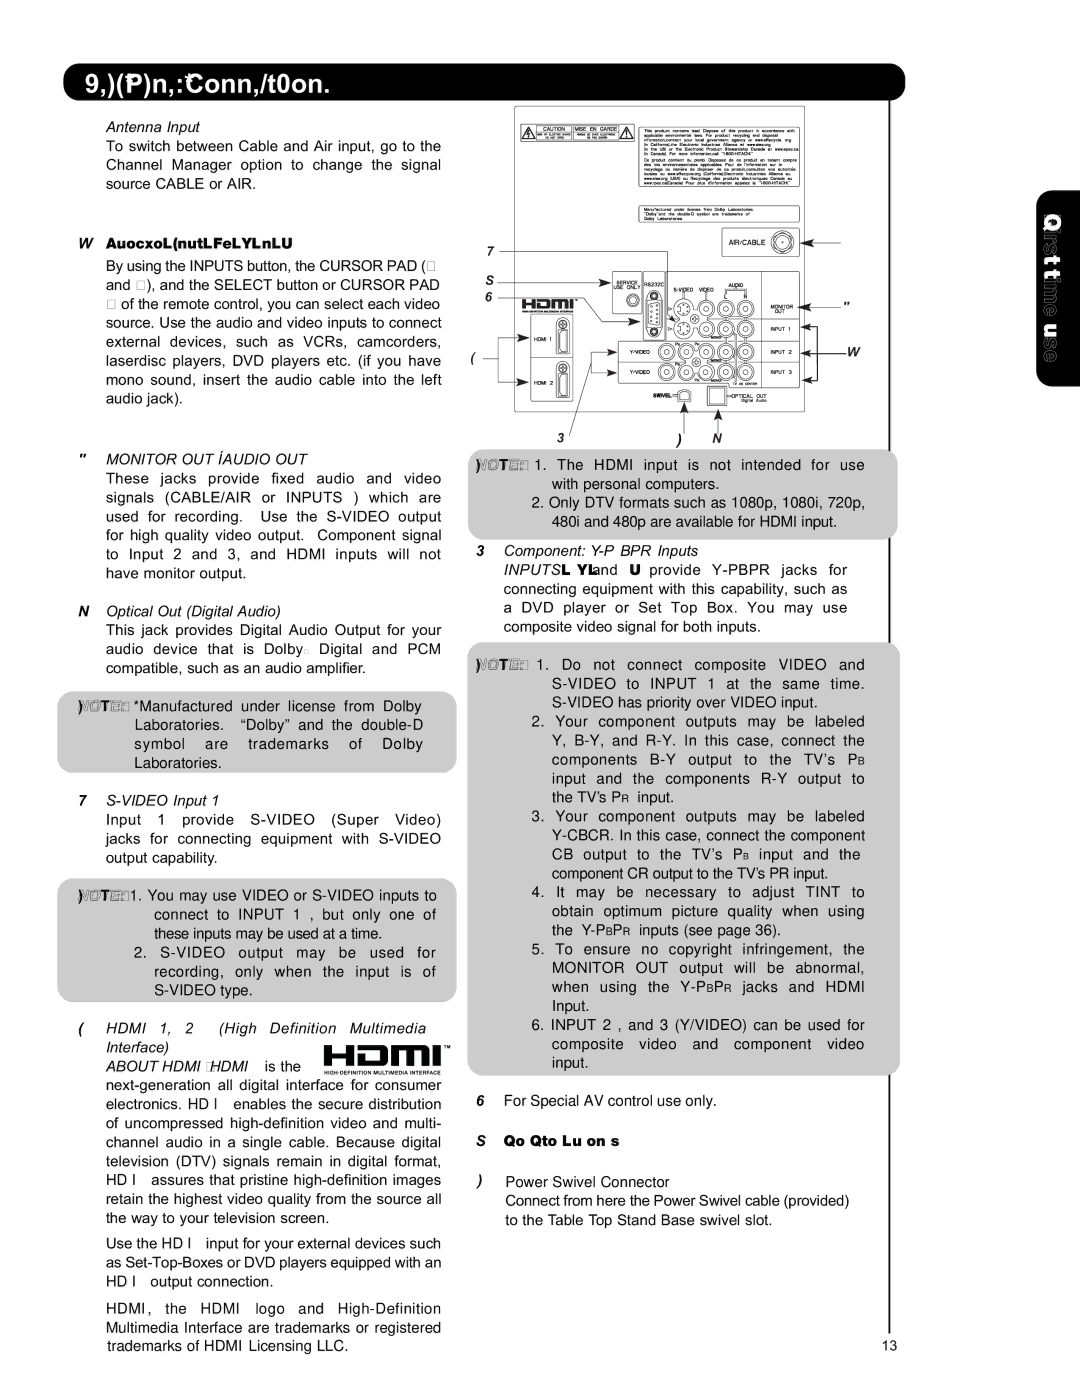
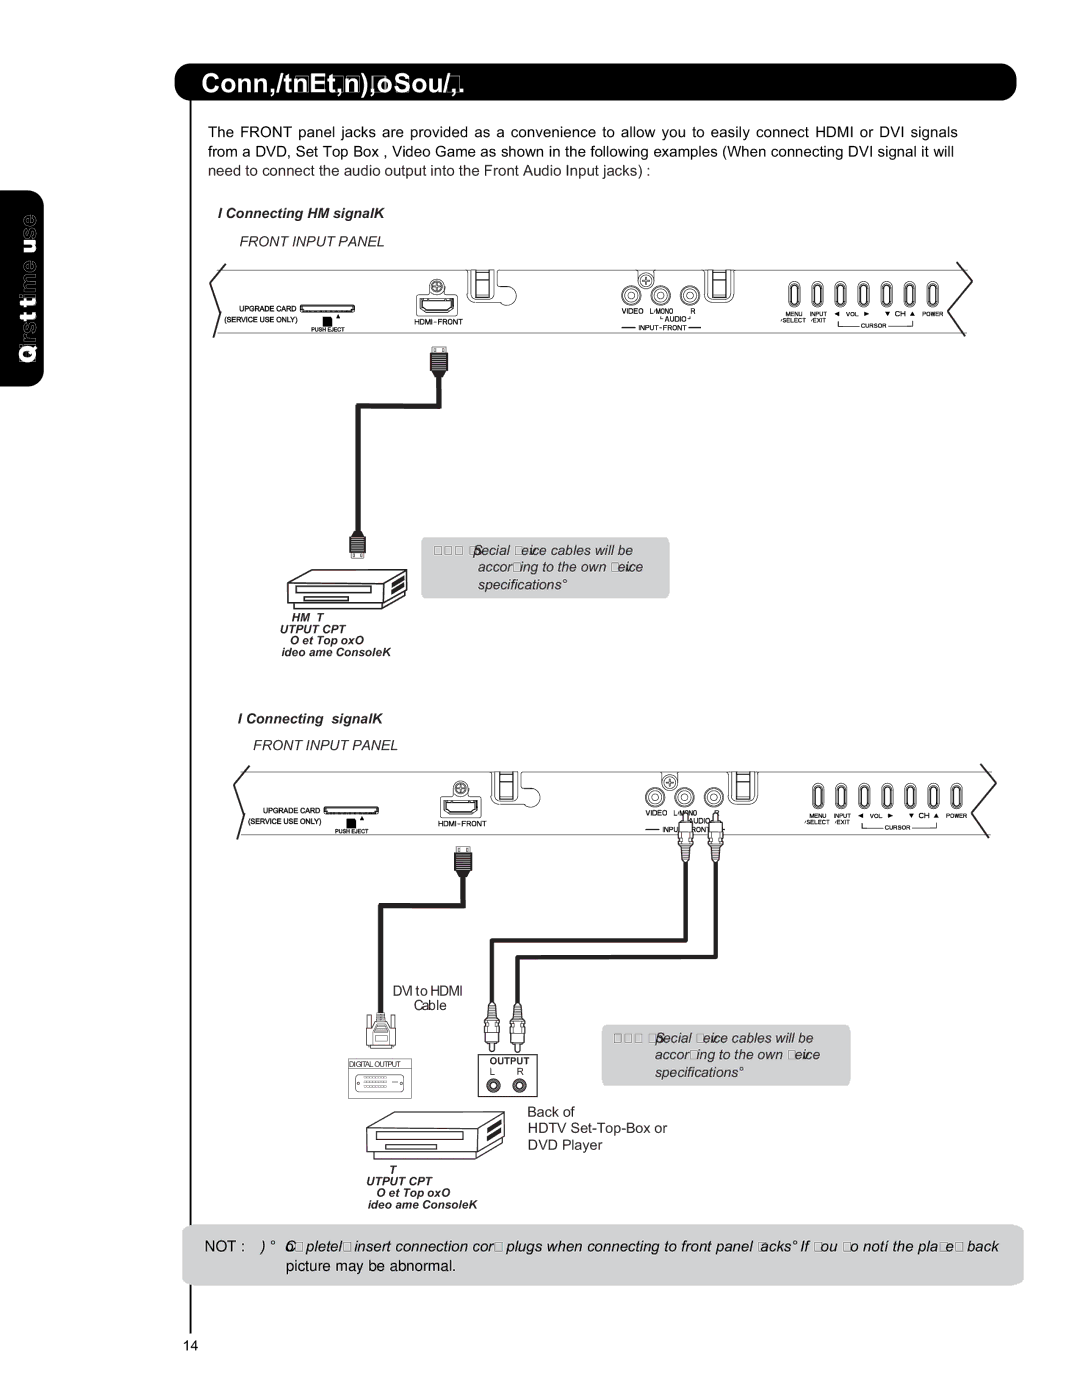
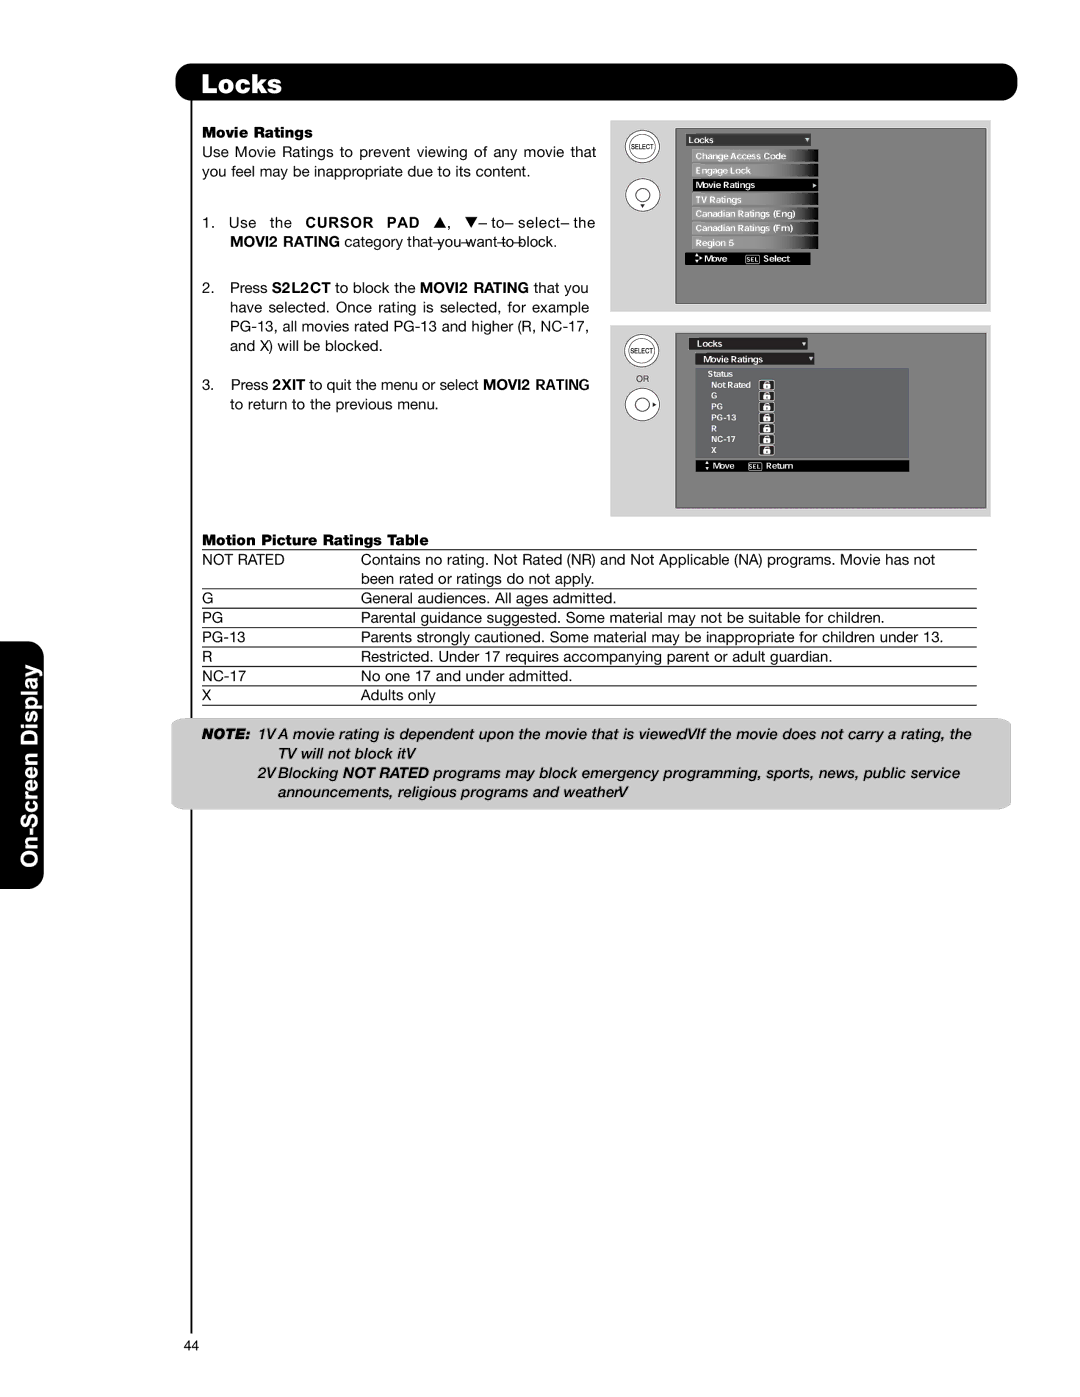
The MONITOR OUT terminal outputs video and audio of CABLE/AIR and INPUTS 1, 2, 3 and Front. It does not output component and HDMI video.

1.Connecting S-Video:

Connect the cable from the S-VIDEO OUT of the Rear Panel to the INPUT (S-VIDEO) jack, of the VCR or Laserdisk player.

Connecting Video:

Connect the cable from the VIDEO INPUT of the VCR or the laserdisc player to the VIDEO out jack on the TV Rear Panel.

2.Connect the cable from the AUDIO IN R of the VCR or the laserdisc player to the OUTPUT (AUDIO/R) jack on the TV Rear Panel.

3.Connect the cable from the AUDIO IN L of the VCR or the laserdisc player to the OUTPUT (AUDIO/L) jack on the TV Rear Panel.

Optional

Stereo System Amplifier or DVD Player

CABLE or

Air signal

VCR or other external components

RL V S-VIDEO

INPUT

NOTE: When making video connections, connect S-Video only or Video only. If both are connected, S-Video takes priority.

21

Image 21
Contents Plasma Television Read Before Operating Equipment Important Safety InstructionsPublic viewing of copyrighted material Power sourcePrevention of screen damages Lead NoticeRemote Control Battery Installation and Replacement AccessoriesConnect Power Swivel Cable How To Set Up Your New Hitachi Plasma TelevisionAntenna LocationAC Cord Step Viewing When both VHF and UHF antennas are ConnectedAntenna Connections to Rear Jack Panel VHF 75-Ohm antenna/CATV Cable TVHook-up Cables and Connectors Quick Reference Remote Control Buttons and Functions CBLSAT Front Panel Controls Power light indicator Remote Control sensorINPUT- Front Jacks $ Monitor OUT & Audio OUT Rear Panel ConnectionsFront Input Panel Connecting External Video SourcesBefore Operating External Video Source Digital Tips on Rear Panel Connections Installation Recommendation Connecting AN S-VIDEO and Stereo Audio Source to Input Connecting a Component Source with Hdmi or Pbpr Connecting External Audio/Video DevicesConnecting Monitor OUT Connecting AN External Audio AmplifierRemote Control Power button How to Use the Remote to Control Your TVMode Indicator Source Select buttonStandard How to Use the Remote to Control YourExpanded ZOOM1/ZOOM2Digital Channels Analog ChannelsInput INPUT- FrontChannel SELECTOR/FAVORITE Channel WhiteOperating the Precoded Function for Your Cable BOX Remote Control for Cable Box FunctionsPrecoded Cable BOX buttons Exclusive TV buttonsPrecoded SET-TOP-BOX/SATELLITE Receiver buttons Remote Control for Set-Top-Box/Satellite Receiver FunctionsMY Satellite Receiver SET-TOP-BOX Code isOperating the Precoded Function for Your DVD Player Remote Control for DVD FunctionsPrecoded DVD Buttons MY DVD Player Code isRemote for VCR/PVR Functions Precoded VCR/PVR ButtonsMY VCR/PVR Code is Input Access How to Use the Source Select ButtonCable Brand Codes Remote Control CodesPVR Brand Video On-Screen DisplayAudio Video Contrast Mode Color TemperatureAuto Movie Mode Black EnhancementAspect Reset Video SettingsAuto Aspect ModeAudio DRC Signal Meter Channel ManagerAuto Channel Scan Channel List Change Access Code LocksEngage Lock Motion Picture Ratings Table Movie RatingsTV Parental Guide Ratings Table TV RatingsCanadian Ratings English Table Canadian Ratings EngPress Select to block the Canadian Ratings Canadian Ratings French ChartDtvcc Set The Clock TimersSet Day/Night Timer Set Sleep TimerUse the Cursor Pads to select DAY Normal Use the Cursor Pads to select DAY DynamicSet Event Timer Setup Set The Menu OptionsSet The Language Automatic Power Saving Image PowerSet The Menu Background Set The Screen SaverInput 3 Auto Link Set The InputsAuto OffSet The Closed Captions Caption ModeCaption Display Analog CaptionsUpgrade NOW Reset The SoftwareReset TV Settings Select The Quick Start OptionLocked Troubleshooting Equipment Care and TroubleshootingSwitch ON/OFF Switch once Switch againReception Problems FCC Information Useful InfoINPUTS/OUTPUTS Rear View, Use as Reference for Wall Mount Bracket Set DimensionsDigital Media Division Home Electronics DivisionUseful Information END User License Agreement for Hitachi DTV Software End User License Agreement for Hitachi DTV SoftwareOperating System License Information Software Module Applicable Software LicenseLicense Agreements 132 No WarrantyEND of Terms and Conditions Preamble GNU Lesser General Public License Version 2.1, February135 136 137 Appendixes 139 Index