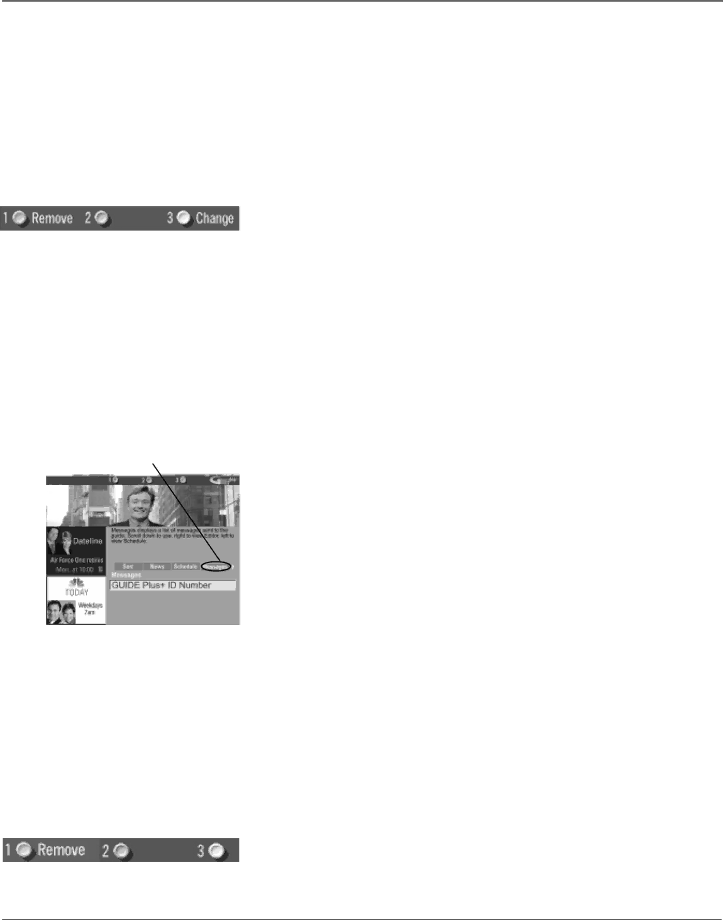
RCA F20648 manual Schedule Menu Action Buttons, Messages Menu Action Button

Page 37

Using the TV’s Features

Messages menu selection

To remove or change the frequency (daily, once, or weekly) of a scheduled event, access the Schedule menu from the Menu bar.

1.Press GUIDE to bring up the GUIDE Plus+ system.

2.Press MENU on the remote to select the Menu bar.

3.Use the arrows to highlight the Schedule menu selection.

4.Use the up and down arrows to highlight the program you want to edit.

Then use the Schedule Menu Action Buttons as described next.

Schedule Menu Action Buttons

When viewing the Schedule menu the following Action buttons appear:

Remove Highlight the Watch or Record timer you wish to remove from the schedule and press 1 on the remote.

Change Highlight the Watch or Record timer you wish to change and press 3 on the remote to toggle the frequency between the following choices:

DAILY records the same program each day Monday through Friday. ONCE records only on that day.

WEEKLY records the program each week at the same time.

Messages

Occasionally you will receive messages regarding your GUIDE Plus+ system, as well as special programming information. You can access these messages from the Messages menu on the Menu bar.

To read messages:

1.If the GUIDE Plus+ system isn’t on your screen, press GUIDE on your remote control.

2.Press MENU on the remote to select the Menu bar.

3.Use the arrows to highlight the Messages menu selection.

4.Highlight the message you want to read by using the up and down arrow buttons.

5.Press INFO to display the full text of the message. If the text continues beyond the screen, press INFO to view the next page of text. Once you have reached the end of the message, press INFO to close the expanded information and return to the Messages screen.

Then use the Messages Menu Action Button as described next.

Messages Menu Action Button

When viewing the Messages menu the following Action button appears:

Remove Highlight the message you want to delete and press 1 on the remote.

Chapter 3

35

Image 37
Contents Changing Entertainment. Again Television User’s GuideProduct Registration Important InformationAuto Tuning Key Features OverviewIntroduction On-screen Program GuideThis page intentionally left blank Table of Contents Other Information Using the TV’s Menu SystemChanging Entertainment. Again Chapter OverviewThings to Consider Before You Connect Connections & SetupCables Needed to Connect Components to Your TV Choose Your ConnectionComponents Cables Connection Go to Needed TitleVCR Connection TV + VCRConnect the TV to your cable or antenna Connection TV OnlySatellite Connect your Satellite Receiver to your TV Connection TV + VCR + Satellite ReceiverFront Panel Front of Your TVFront Panel Jacks Audio and Video Input Jacks Audio R and L/MONO and Video Jacks on the Back of Your TVAudio Output Jacks R and L OUT Link Jack Video JackHow to Find the Remote Sensor Why You Should Connect This G-LINK CablePlacing the G-LINK Wands Put Batteries in the Remote Plug in the TVTurn on the TV Set the Menu Language Complete the Interactive SetupComplete Auto Channel Search Identifying Your TV’s Location Guide Plus+ System SetupConfiguring for Cable Connections & Setup Configuring for a VCR Confirming Your Settings Next Steps What to ExpectUsing the Remote Control Buttons on the Remote Control Using the Remote ControlUsing the Whoinput Button Using Automatic Code Search How to Program the RemoteProgramming the Remote to Operate Other Components Find Out If You Need to Program the RemoteUsing Direct Entry How to Use the Remote After You’ve Programmed ItVCR Using the TV’s Features About the Guide Plus+ System Using the TV’s FeaturesDownloading Data Channel LineupGuide Plus+ System Menus Getting In & Out of the Guide Plus+ SystemGrid Guide Grid Guide Action Buttons Sort Menu Action Buttons SortSchedule NewsSchedule Menu Action Buttons MessagesMessages Menu Action Button Channels SetupChannels Menu Action Buttons Promotional information Guide Plus+ Menu ItemsHow to Set Up the Auto Tuning Feature Why You Should Use the Auto Tuning FeatureChannel Banner SET VCR1 Channel How V-Chip Works Parental Controls and V-ChipTV-14 Chip TV Rating LimitBlocking Age-Based Ratings V-Chip Rating Limit ScreenViewing Age-Based Ratings Blocking Specific Content ThemesSteps on next Viewing Specific Content Themes Blocking Movie Ratings Chip Movie Rating LimitViewing Movie Ratings Channel Block Chip Unrated Program BlockFront Panel Block Lock/Unlock Parental ControlsUsing the TV’s Menu System How to Use Your TV’s Menu System Using the TV’s Menu SystemAudio Menu MenusOn next Picture Quality MenuScreen Menu Using Closed CaptioningClosed-Caption Modes Channel MenuTurning off Closed-Caption Time Menu Other Information Other Information TroubleshootingNo sound, picture okay Guide Plus+ System Problems Problems with V-Chip/Parental Controls Care and CleaningFor how long after your purchase RCA TV Limited WarrantyOn next USE Your Credit Card To OrderDVD Index60%