LG Electronics MW 71PY10 owner manual Screen Adjustments Video1-2 and Component 480i mode only

Page 28

Operation

Screen Menu Options continued

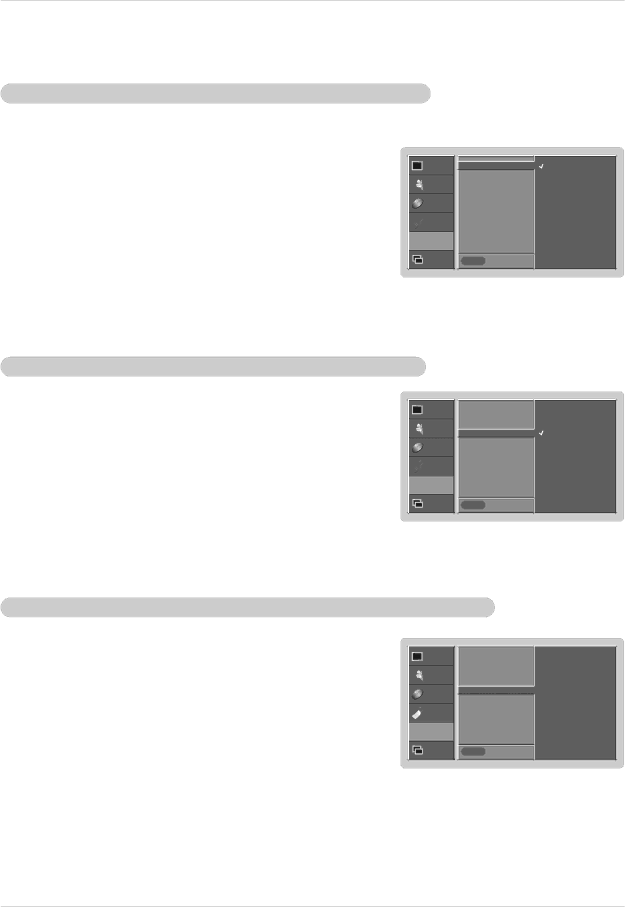
Screen Adjustments (Video1-2 and Component 480i mode only)

- Use this function to correct jittering or picture instability while viewing a video tape.

1.Press the MENU button and then use D / E button to select the SCREEN menu.

2.Press the G button and then use D / E button to select Screen adj..

3.Press the G button and then use D / E button to select TV or VCR.

Select the VCR option if watching a VCR.

Select the TV option for other equipment. (Except VCR)

4.Press the ENTER button to save the new settings.

Cinema Mode Setup (Video1-2 and Component 480i mode only)

- Sets up the monitor for the best picture appearance for viewing movies.

1.Press the MENU button and then use D / E button to select the SCREEN menu.

2.Press the G button and then use D / E button to select Cinema..

3.Press the G button and then use D / E button to select On or Off.

4.Press the ENTER button to save the new settings.

PICTURE

SOUND

TIMER

SPECIAL

SCREEN

PIP/DW

PICTURE

SOUND

TIMER

SPECIAL

SCREEN

PIP/DW

Screen adj.

G

TV

ARC


VCR

Cinema


YNR


Reset


Menu

Prev.


Screen adj.


ARC


Cinema

G

On

YNR


Off

Reset


Menu

Prev.


Luminance Noise Reduction (Video 1-2 and Component 480i modes only)

- Use YNR to reduce the picture noise that may appear on the screen.

PICTURE

1. Press the MENU button and then use D / E button to select the SCREEN menu.

SOUND

2. Press the G button and then use D / E button to select YNR.

TIMER

3. Press the G button and then use D / E button to select On or Off.

SPECIAL

4. Press the ENTER button to save the new settings.

SCREEN

PIP/DW

Screen adj.

ARC

Cinema

YNRG

Reset

Menu Prev.

On Off

28 Plasma Monitor

Image 28
Contents MW-71PY10 MW-71PY10G FCC Notice Class B digital deviceSafety Instructions Safety instruction MW-71PY10G only Safety InstructionsThis may cause a fire or an electric shock Contents What is a Plasma Display Panel PDP? Wide angle range of visionWide Screen MultimediaControls Front Panel ControlsConnection Options Number buttons Remote Control Key FunctionsThumbstick Up/Down/Left/Right/ENTER Installation Option ExtrasInstallation Instructions Wall Mount Installation Desktop Pedestal InstallationVCR Setup How to connectHow to use External Equipment ConnectionsCable TV Setup Cable BoxComponent Input ports DTV SetupDigital Set-top Box PC Setup Monitor Display Specifications RGB-PC / DVI-PC Mode Resolution Horizontal VerticalHdmi ReferenceTurning on the Monitor Turning on the Monitor just after installationMenu Language Selection Picture Menu Options Auto Color Temperature ControlAPC Auto Picture Control SRGB only RGB-PC, DVI-PC Modes Manual Picture Control Off optionAVL Auto Volume Leveler Sound Menu OptionsDasp Digital Auto Sound Processing Manual Sound Control Dasp Off option and balanceTimer Menu Options Clock SetupOn/Off Timer Setup Sleep TimerLow Power Special Menu OptionsKey Lock ISM Image Sticking Minimization MethodSpecial Menu Options XD DemoSetting Picture Format Auto AdjustmentScreen Menu Options Split Zoom Manual Configure RGB-PC mode onlyScreen Position Initializing Reset to original factory value Selecting Wide VGA mode RGB-PC mode onlyScreen Adjustments Video1-2 and Component 480i mode only Cinema Mode Setup Video1-2 and Component 480i mode onlyPIP Picture-In-Picture Feature DW Setup Option Sub Picture Size AdjustmentWatching DW Selecting a Source for the DWType of Connector D-Sub 9-pin Male External Control Device SetupRS-232C Configurations Command Reference List External Control Device SetupPower Command 2a Screen Mute Command 2dInput Select Command 2b Main Picture Input Aspect Ratio Command 2c Main picture formatContrast Command 2g Brightness Command2hTint Command2j Sharpness Command2kPIP / DW Command2n Split Zoom Command2pPIP Position Command2q Treble Command2rPIP Input Select Command2y Abnormal State Command2zLow Power Command2q Picture Size Setting for DW mode Command2tRemote Control IR Code How to ConnectIR Code Code Hexa Function Programming a code into a remote mode Programming the RemoteProgramming Codes VCRsHdstb AudioTroubleshooting Checklist Product Specifications Operating Temperature RangePlasma Monitor Page Warranty Period HOW Service is Handled To Contact the LGE Customer Service Center by Mail No 3828VA0484A a RF04FA