MENU
SIGNAL | PICTURE | PinP/ | PC CARD | AUDIO | INSTALLATION | OPTION | Ver. | |
EXPAND | AUTO PLAY | |||||||
|
|
|
|
|
|
or | or | or | or | or | or | or | or |
Q | W | E | R | T | Y | U | I |
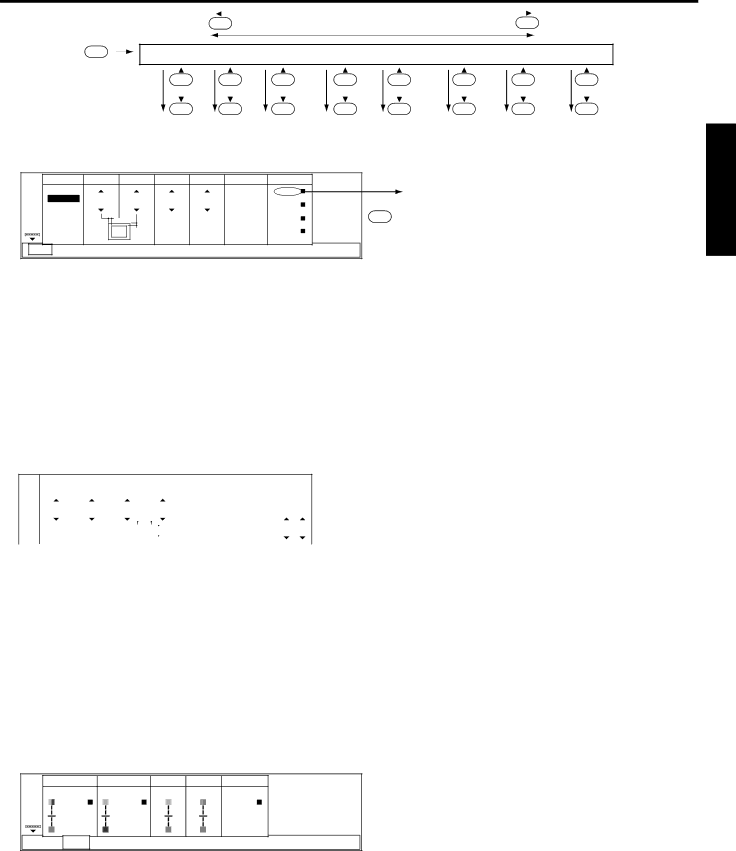
QSIGNAL
| AUTO | HORIZ. | VERT. | FINE SYNC. | TRACKING | RGB/Y,CB,CR |
|
| |
| POSITION | POSITION |
| Qa | |||||
| AUTO |
|
|
|
| RGB | USER | ||
| SXGA70a | 0 | 0 | 0 | 0 | Y,CB,CR |
| ||
|
| MEMORIZE | ENTER | ||||||
| USER1 |
|
|
|
|
| /STILL | ||
|
|
|
|
|
|
| |||
|
|
|
|
|
|
|
| ||
|
|
|
|
|
|
| DELETE |
| |
| USER2 |
|
|
|
|
| RESET |
| |
|
|
|
|
|
|
|
| ||
SIGNAL | PICTURE | PinP/ | PC CARD | AUDIO | INSTALLATION | OPTION | Ver. | ||
EXPAND | AUTO PLAY | ||||||||
|
|
|
|
|
| ||||
AUTO | Use to select AUTO, USER 1 or USER 2. |
HORIZ. POSITION .... | Use to adjust the horizontal position of the image. |
VERT. POSITION | Use to adjust the vertical position of the image. |
FINE SYNC | Use to synchronize the projector with PC input signals so that the image is not blurred. |
TRACKING | Use to avoid image noise such as wide stripes. |
RGB/Y, CB, CR | The unit adjusts itself automatically when connected to either DVD players with a |
| component video output terminal (Y, CB, CR or Y, PB, PR) or equipment with HDTV signal |
| output capabilities. In cases where the unit is connected to equipment that include an RGB |
output terminal and which output HDTV signals, adjust the unit to RGB mode.
Qa SIGNAL - USER (Normally, there is no need for adjustments.)
SIGNAL - USER
| CLAMP | CLAMP | HORIZ. |
|
| VERT. | PLL | VERT. |
| HOLD |
| ||||||
| POSITION | WIDTH | PIXELS |
|
| LINES | SYNC. |
|
| ||||||||
|
|
|
|
|
|
|
|
|
|
|
| AUTO | AUTO | AUTO |
| ||
33 | 33 | 3333 |
|
|
| 3333 | FAST | ON | ON |
| BEGIN | END | |||||
|
|
|
|
|
|
|
|
|
|
|
| NORMAL | OFF | OFF |
| ||
|
|
|
|
|
|
|
|
|
|
|
|
| |||||
|
|
|
|
|
|
|
|
|
|
|
| SLOW |
| 33 | 33 | ||
|
|
|
|
|
|
|
|
|
|
|
|
| |||||
|
|
|
|
|
|
|
|
|
|
|
|
|
|
|
|
|
|
|
|
|
|
|
|
|
|
|
|
|
|
|
|
|
|
|
|
|
|
|
|
|
|
|
|
|
|
|
|
|
|
|
|
|
|
ENGLISH
CLAMP POSITION/ |
|
CLAMP WIDTH | If you use a PC video card or something similar, the lighter colors of the projected image |
| may become blurred. In this case, adjust CLAMP POSITION or CLAMP WIDTH. |
HORIZ. PIXELS .... | Use to adjust the height of the image. The image size grows higher as the number |
| increases. (Adjust to the horizontal pixels of inputting signal for normal setting.) |
VERT. LINES | Use to adjust the width of the image. The image size grows wider as the number increases. |
| (Adjust to the vertical lines of inputting signal for normal setting.) |
PLL | Use to adjust the image which upper right side is awry. Select AUTO for normal setting. |
VERT. SYNC | Use to adjust the image when its motion does not run naturally. Select AUTO for normal |
| setting. |
HOLD | Adjusts the image which upper right side is awry. |
WPICTURE
| CONTRAST | BRIGHTNESS | TINT | COLOR | GAMNMA |
|
| ||
| CORRECTION |
|
| ||||||
0 |
| 0 |
| 0 | 0 |
|
|
| |
| USER | USER |
|
|
| USER |
|
| |
SIGNAL | PICTURE | PinP/ | PC CARD | AUDIO | INSTALLATION | OPTION | Ver. | ||
EXPAND | AUTO PLAY | ||||||||
|
|
|
|
|
| ||||
CONTRAST | Adjusts the picture contrast. The contrast becomes higher as the number increases. |
BRIGHTNESS .... | Adjusts image brightness. The image becomes brighter as the number increases. |
TINT | Adjusts the color balance in the image. The color balance of the image shifts green as the |
| number increases and shifts to purple as the number decreases (only when NTSC or 4.43 |
| NTSC is selected). |
COLOR | Adjusts the color intensity of the image(only when NTSC, PAL, SECAM or 4.43 NTSC is |
| selected). |
GAMMA
CORRECTION ... Corrects the proportion of the brightness of input signals to that of output signals. Also
corrects the contrast of projected images.
19