Panasonic PV-DV53 operating instructions 7PAUSE, Mix, Press Pause to stop Audio Dubbing

Page 39

6, 7PAUSE

To listen to the desired audio sound, set the 12 bit AUDIO setting of the VCR mode MENU (Menu OSD: p. 61) as follows:

12 bit AUDIO:The following selections are available for 12 bit AUDIO dubbed recordings only (sound recorded in SP mode only).

ST 1

Set this position to listen to the

original sound.


ST 2

Set this position to listen to the

audio dubbed sound.


Set this position to listen to both

MIX

the original sound and the audio


dubbed sound.

Note

When a 16 bit recording is dubbed over, the original audio of the recording will be erased.

When a 12 bit recording is dubbed over and played back, and MIX is selected as the AUDIO, both the original audio and the dubbed audio are played back.

If you recorded in LP mode, you cannot use the A.DUB feature.

Editing Features

6 Press (PAUSE) to start Audio Dubbing. “A.DUB indication appears.

Connect the Palmcorder to the TV in order to monitor the sound.

(p. 32)

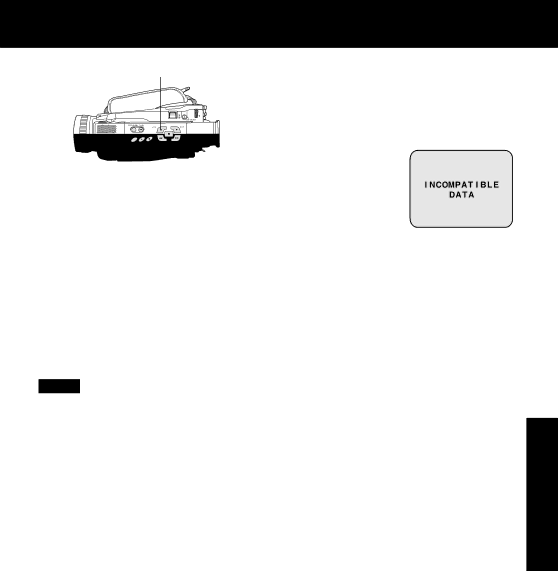
Only NTSC (National Television Standards Committee) recorded tapes can be audio dubbed. The following screen appears if the tape was not recorded in NTSC format.

7 Press (PAUSE) to stop Audio Dubbing.

• If the microphone used for dubbing gets too near the speaker of your TV,

a howling noise (feedback) may occur.

• If the tape position is in or was started in a blank section, you cannot use the

A.DUB feature.Editing Features

39

Image 39
Contents Operating Instructions PV-DV53 Safety PrecautionsThings You Should Know Above markings are located on the appliance bottom coverImportant Safeguards Important Safeguards Table of Contents Record Speed/Playback Time Before UsingHow to remove the Sensor tag Unpack your PalmcorderHand Strap Adjust the LengthEasy Cassette Eject/Insertion Attaching the Shoulder StrapTo turn Self Demo back on Using the Built-in LightSelf Demo Mode Set Power to CameraMonitor, and swing it fully open Insert the Battery PackQuick Guide Insert CassetteTo Watch Playback in the LCD Liquid Crystal Display Camera RecordingBatt Release Charge the Battery Pack on the AC AdaptorInsert the Battery Pack Remove the Battery Pack About the Flashing of the Charge LampSupplying Power Battery CareUse AC Adaptor Example Setting the ClockSet the Date and Time Camera VCR FunctionsVCR Main menu Using the Palmcorder MenuDisplaying the Menu Camera Main menuEVF To conserve powerCamera Recording Simple RecordingEVF/LCD Using the LCD MonitorTo adjust the LCD/EVF Brightness or Color Start recordingPress Photoshot in Record/Pause mode Digital PhotoShot ModeProgressive PhotoShot Mode Set Power to Camera Press Photoshot in Record/PauseZoom quickly Set Power to Camera Zoom slowlyZoom Recording Check2STILL JOG KEY 2MENU 5REC Pause 1POWERRecording Still Pictures Self RecordingStart recording Press Back Light to activate Special Effect FeaturesCinema Mode BacklightProgram AE Audio/Video Fade In/Out FadeFade Out Following cases, the indication flashes Advanced SettingsFor manual White Balance adjustment White BalanceAuto Focus Manual FocusMacro Focus for close-ups Auto Shutter High Speed ShutterAdjusting the Iris Manually Monitor Playback using the LCDConnecting Earphone not supplied Playback Your RecordingsEVF/LCDR Adjusting the VolumeRepeat Playback Blank SearchREWIND/SEARCH Rapid Visual SearchStill Picture Fast Forward/Rewind CheckJOG KEY 1PLAY Rotate JOG KEY to adjustVariable Speed Search Jog Frame by Frame SearchSlow Strobe Multi ModeFast NormalStart playback or begin a recording View Recording/Playback on your TVTV with AUDIO/VIDEO in Jacks OUTDigital Zoom Digital FeaturesJOG KEY 2MENU 1POWER 5PLAY Set Power to VCRMagicPix Images Power 3REC/PAUSE Bplay Dual Digital Electronic Image Stabilization System D.E.I.SI.S. may not function when Other Digital Functions To use the Wipe functionTo use the MIX function Photoshot KEY 1POWER 2MENU 7REC Pause Camera StillPicture in Picture PinP Main Picture Picture in Picture PinP still image12 bit Editing FeaturesAudio Dubbing using the Built-in Microphone Set Power to VCR Press PLAY. Then press7PAUSE MIXPress Pause to stop Audio Dubbing Monitor with your TV Copying your Tapes to VHS CassetteInsert a pre-recorded tape into Copying from Digital Equipment dubbingRecording Palmcorder Pause 6STOP 4RECPC Connection with DV Interface Cable i.LINK PC ConnectionPhotovu Link Driver Optional System Requirements for Photovu Link Driver OptionalConnection Running the Software Photovu Link OptionalUsing Tape Image Data Palmcorder Accessory System Visa Palmcorder Accessory Order FormHandle bulb gently. Excessive force may cause bulb to crack Replacing the BulbMixture Approximate Brightness ValuesSpecifications Lens Hood Area Operation Caution Before Requesting ServiceCleaning Care for Video Heads Tape Operations CautionSymptom Correction Request for Service NoticeFor On-Screen Displays OSDLimited Warranty Limited WarrantyAccessory Purchases Customer Services DirectoryAdvertencia del FCC Precauciones para su seguridadInserte el Cassette Inserte de la bateríaAutomáticamente Grabación con la cámaraCuando el monitor LCD se enchuentra Totalmente abierto, el visor se DesactivaCamera Mode Menu Screen Beep Sound 10 11VCR Mode Menu Screen 11 C.RESET p REC Speed pAudio DUB p Important Note CAMERA/VCR ModeCHK RECPhoto PauseRear View Index of ControlsFront View Side ViewBack View Top ViewPower Lamp Charge Lamp Tripod Receptacle AC Power Cord pp VCR DC Output ConnectorUnderside View AC Adaptor Index Menu OSDPhotovu Link