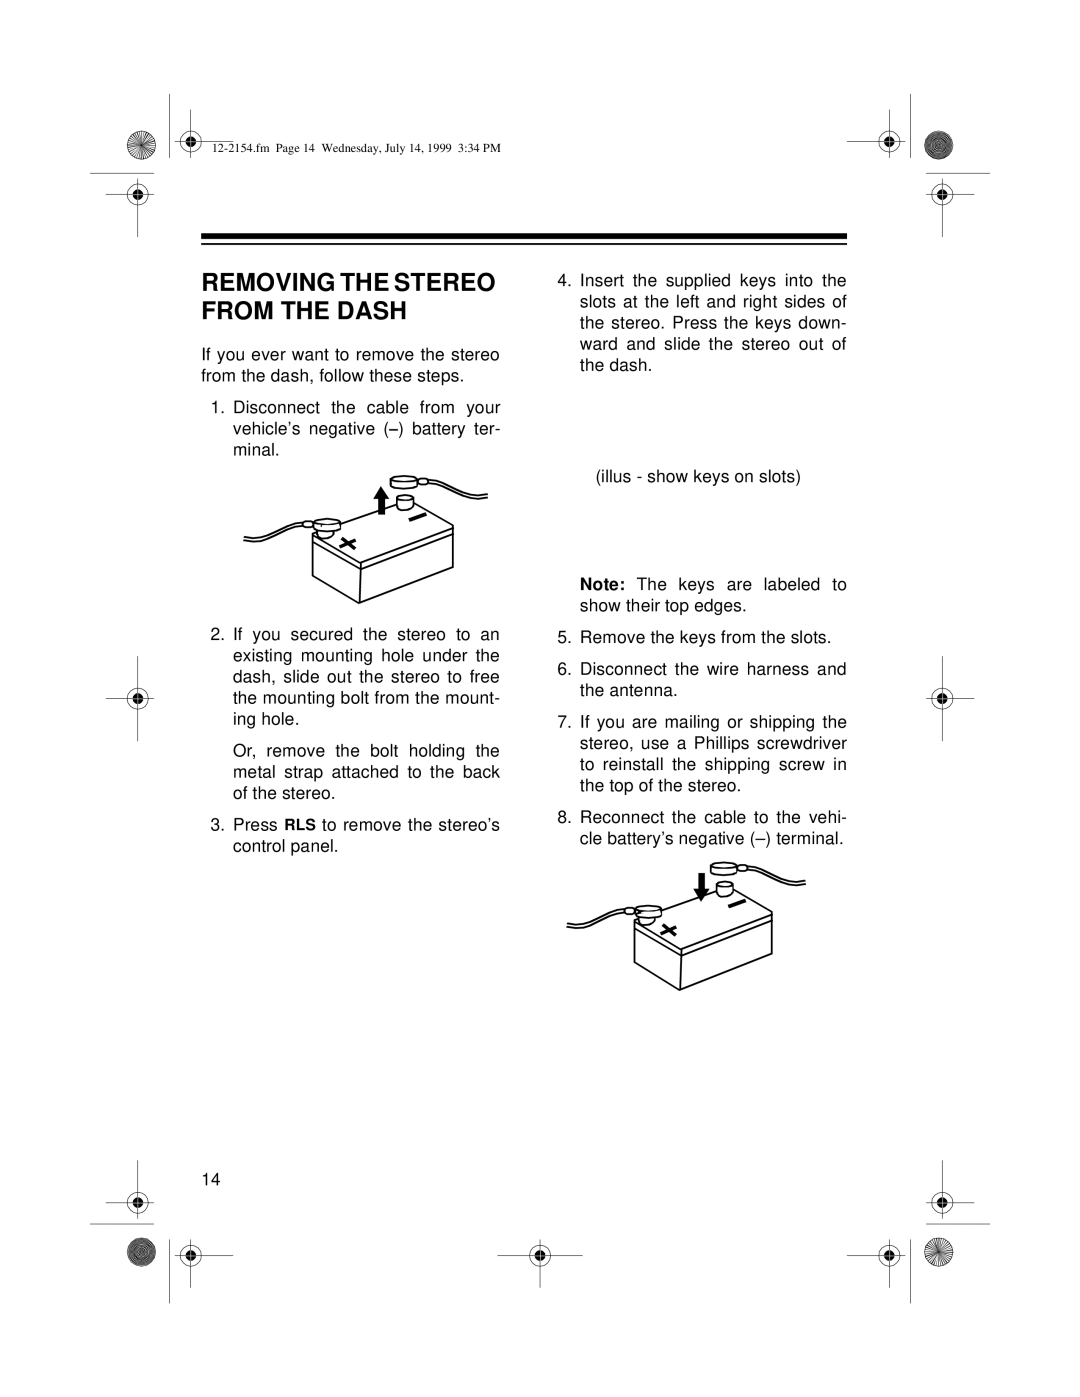
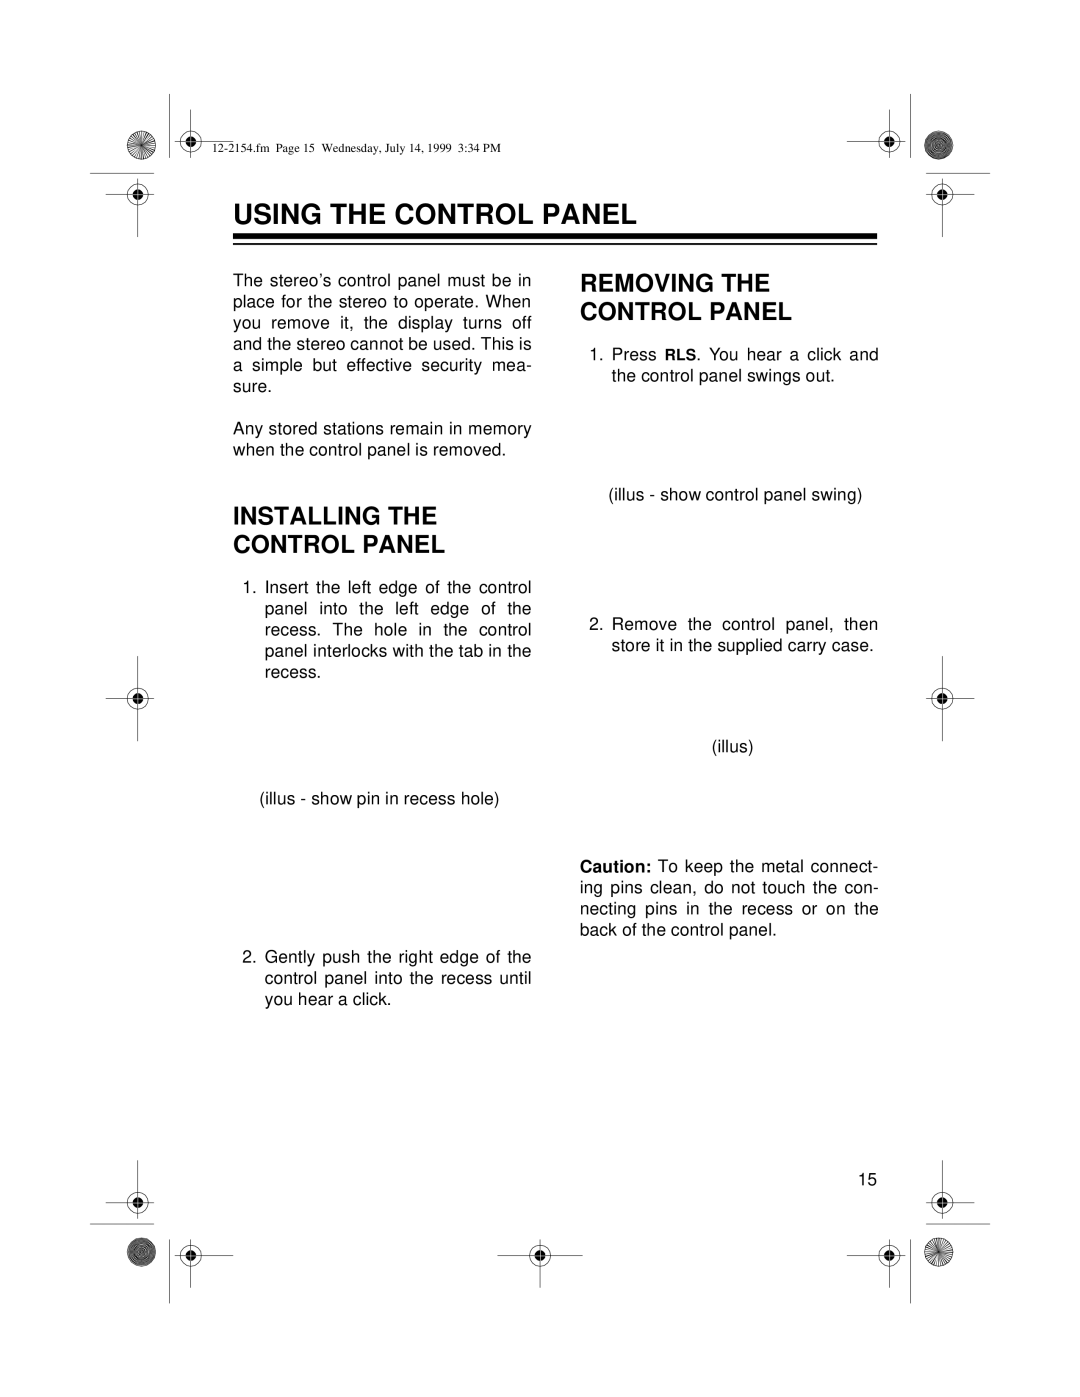
Optimus 12-2154, 12-2155 owner manual Making Connections

Page 7

12-2154.fm Page 7 Wednesday, July 14, 1999 3:34 PM

(illus)

Note: Save the shipping screw in case you ever want to mail or ship the stereo. You can secure it to the back of the stereo with a piece of tape.

MAKING THE

CONNECTIONS

The supplied harness with the 14-pin connector includes all the lead wires you need to connect the stereo to ground, power, some optional compo- nents, and speakers.

Important: Do not cut these wires. If you cut any wire, you cannot obtain a refund or exchange on this product. However, your local RadioShack store will provide warranty service if you cut a wire and find the product is defec- tive.

You might need additional wire, de- pending on your individual autosound system, to complete the connections. Your local RadioShack store carries a full line of wire and wire management accessories.

Cautions:

For added safety and to protect your stereo, disconnect the cable from your vehicle battery’s nega- tive (–) terminal before you begin.

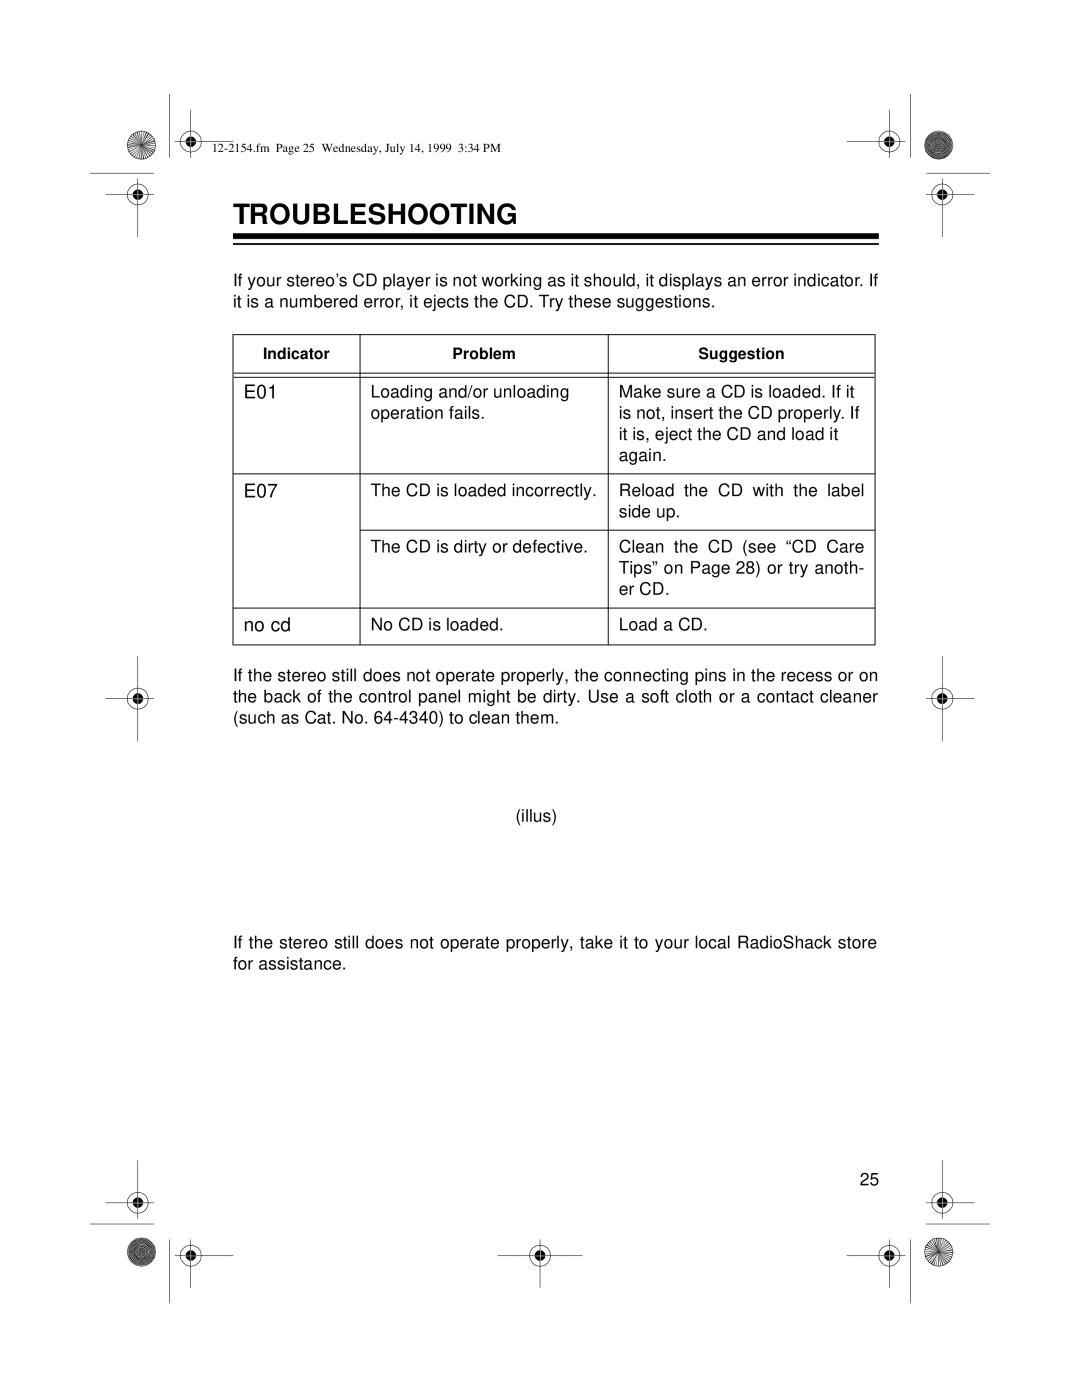
Be sure your speakers can handle 64 watts of power (16 watts per channel). Each speaker must have an impedance of at least 4 ohms. Your local RadioShack store carries a full line of speak- ers.

You must connect the GROUND, +12V TO IGNITION, and +12V TO BATTERY wires first, then make all other connections as described in the following sections before you plug the harness with the 14- pin connector into the stereo. If you do not make connections in the order shown, damage to the stereo is possible if any wire con- nections are made incorrectly.

You must connect a separate wire to each speaker terminal as described in the following proce- dure. Do not use a common wire or chassis ground for any speaker connection.

7
Image 7
Contents High-Power In-Dash AM/FM Stereo CD Player CD Player FeaturesAM/FM Stereo Tuner General Contents Resetting the Stereo Preparing the Mounting Area InstallationBefore YOU Begin the Installation Routing Speaker WiresMaking Connections Connecting Ground, Power, and Optional Components Using an Adapter HarnessConnecting Two Pairs of Speakers Connecting an Equalizer/ BoosterConnecting One Pair of Speakers Connecting the Antenna Testing ConnectionsCompleting the Connections Mounting the Stereo Fm Page 13 Wednesday, July 14, 1999 334 PM Removing the Stereo from the Dash Installing Control Panel Using the Control PanelRemoving Control Panel Basic Operation Setting the ClockTurning the Stereo on and OFF Favorite Sound Adjusting the SoundOnly Turning the KEY Tone on and OFF ClockDisplaying Radio Operation Memory TuningPlaying the Radio Storing Stations in Automatic Travel Programming Memory Storing StationsSelecting a Stored Station Scanning Stored Stations Playing a CD CD Player OperationAudible Search Selecting a TrackShuffle Play Repeat Play Switching Between the CD and the RadioE01 TroubleshootingResetting Stereo FCC Wants YOU to Know Care and MaintenanceCD Care Tips Replacing the Red Power Wire’s FuseReplacing a Fuse Replacing the Blade-Type Fuse Radio SpecificationsGeneral RadioShack