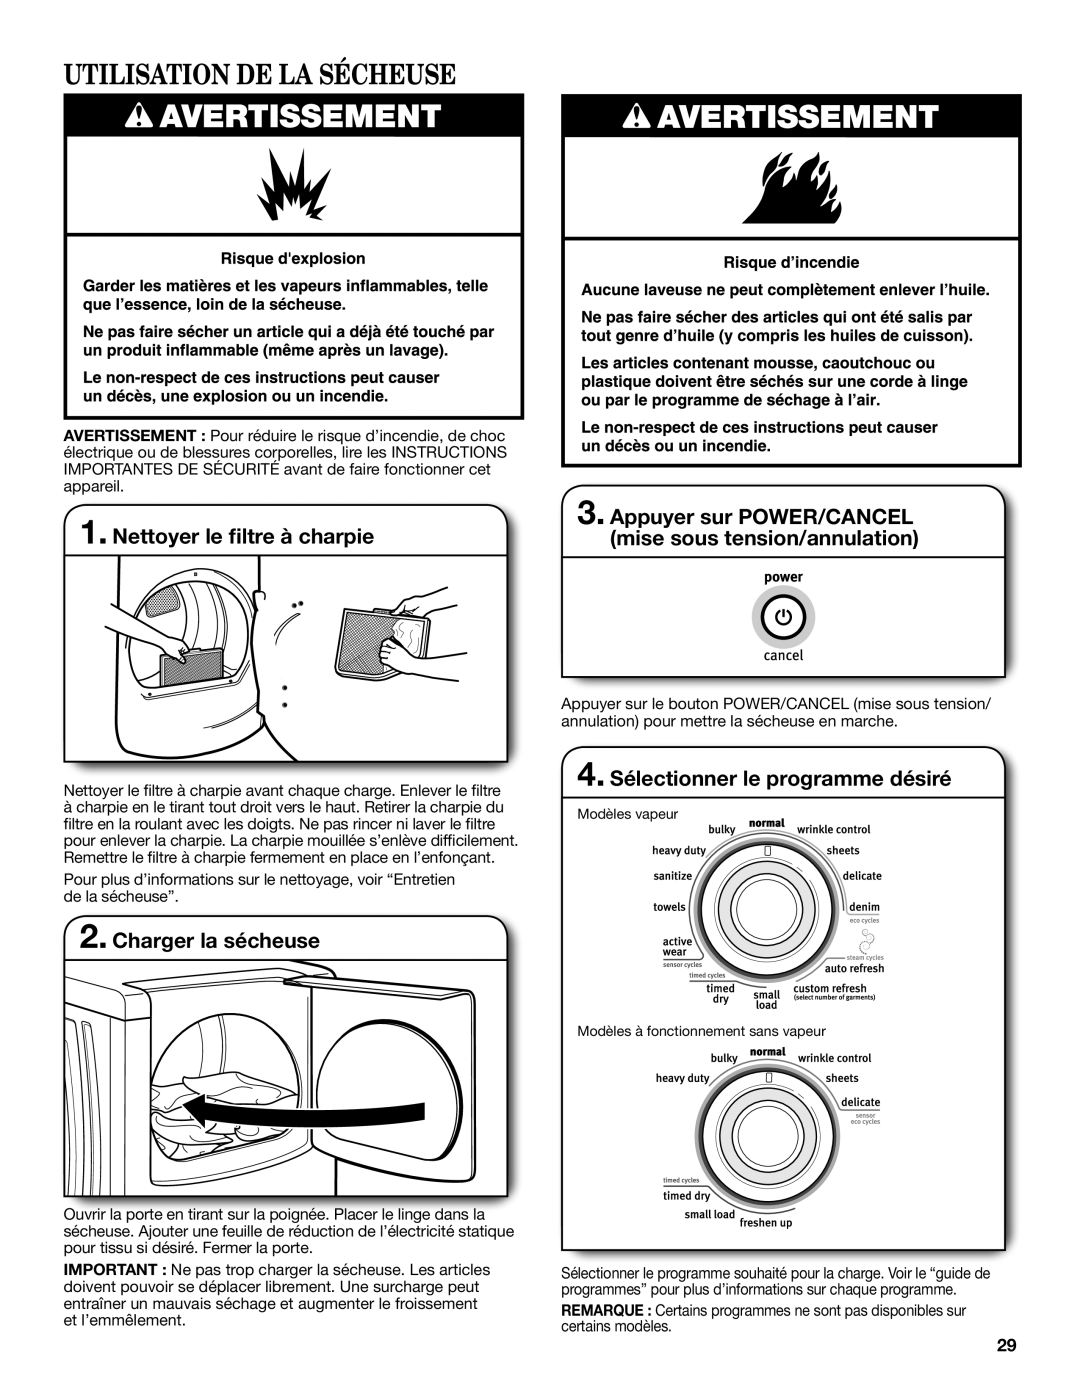
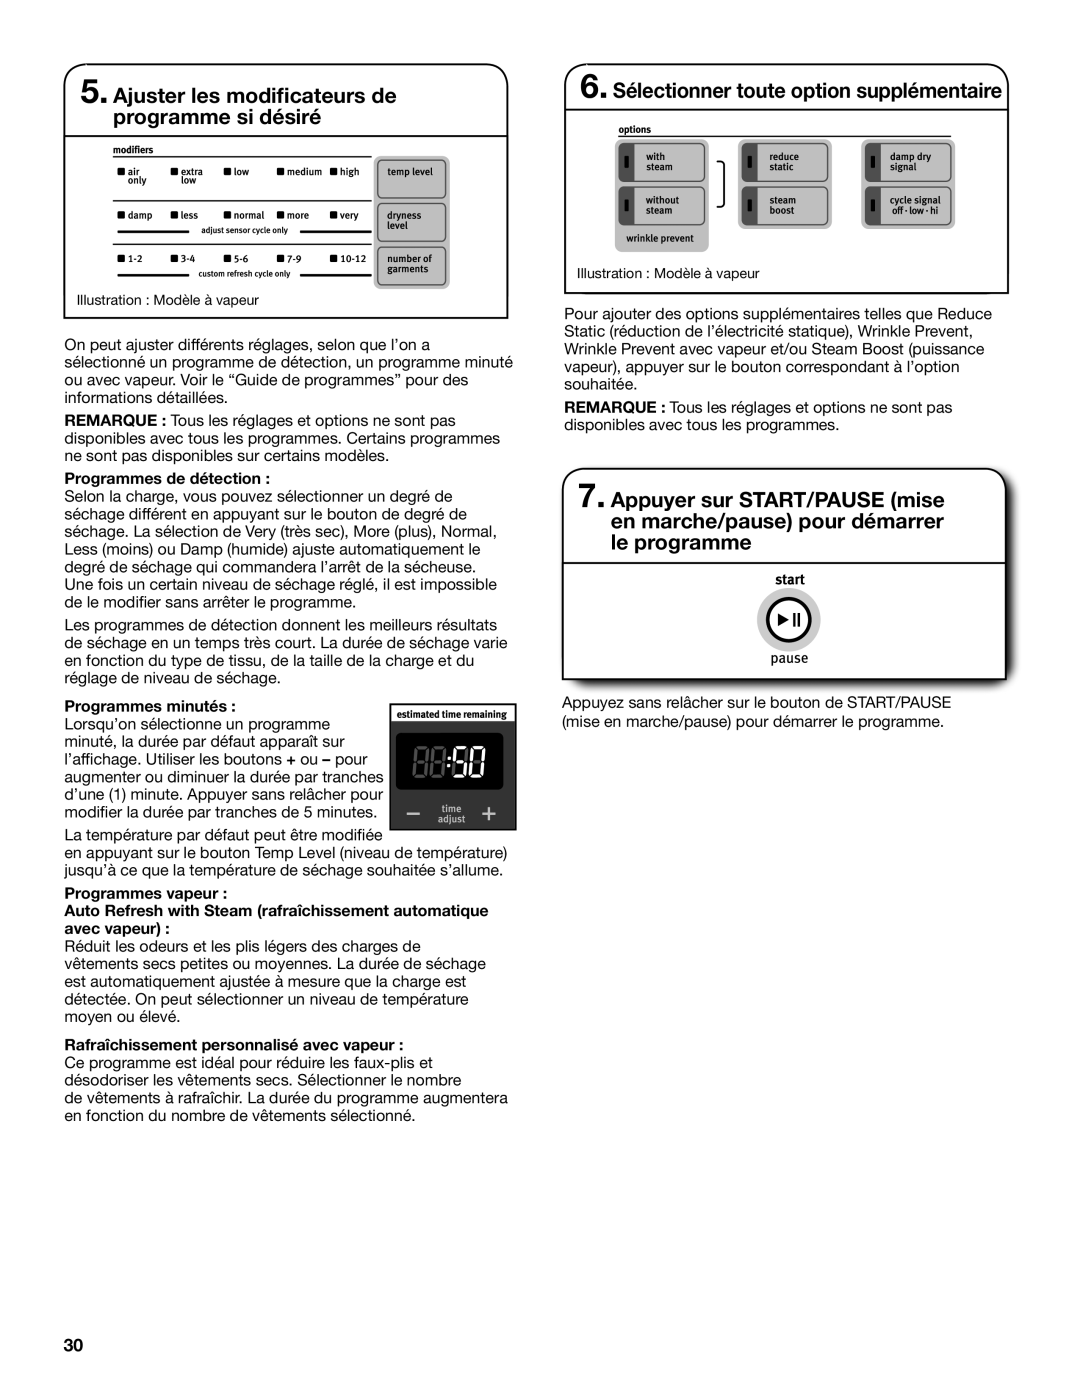
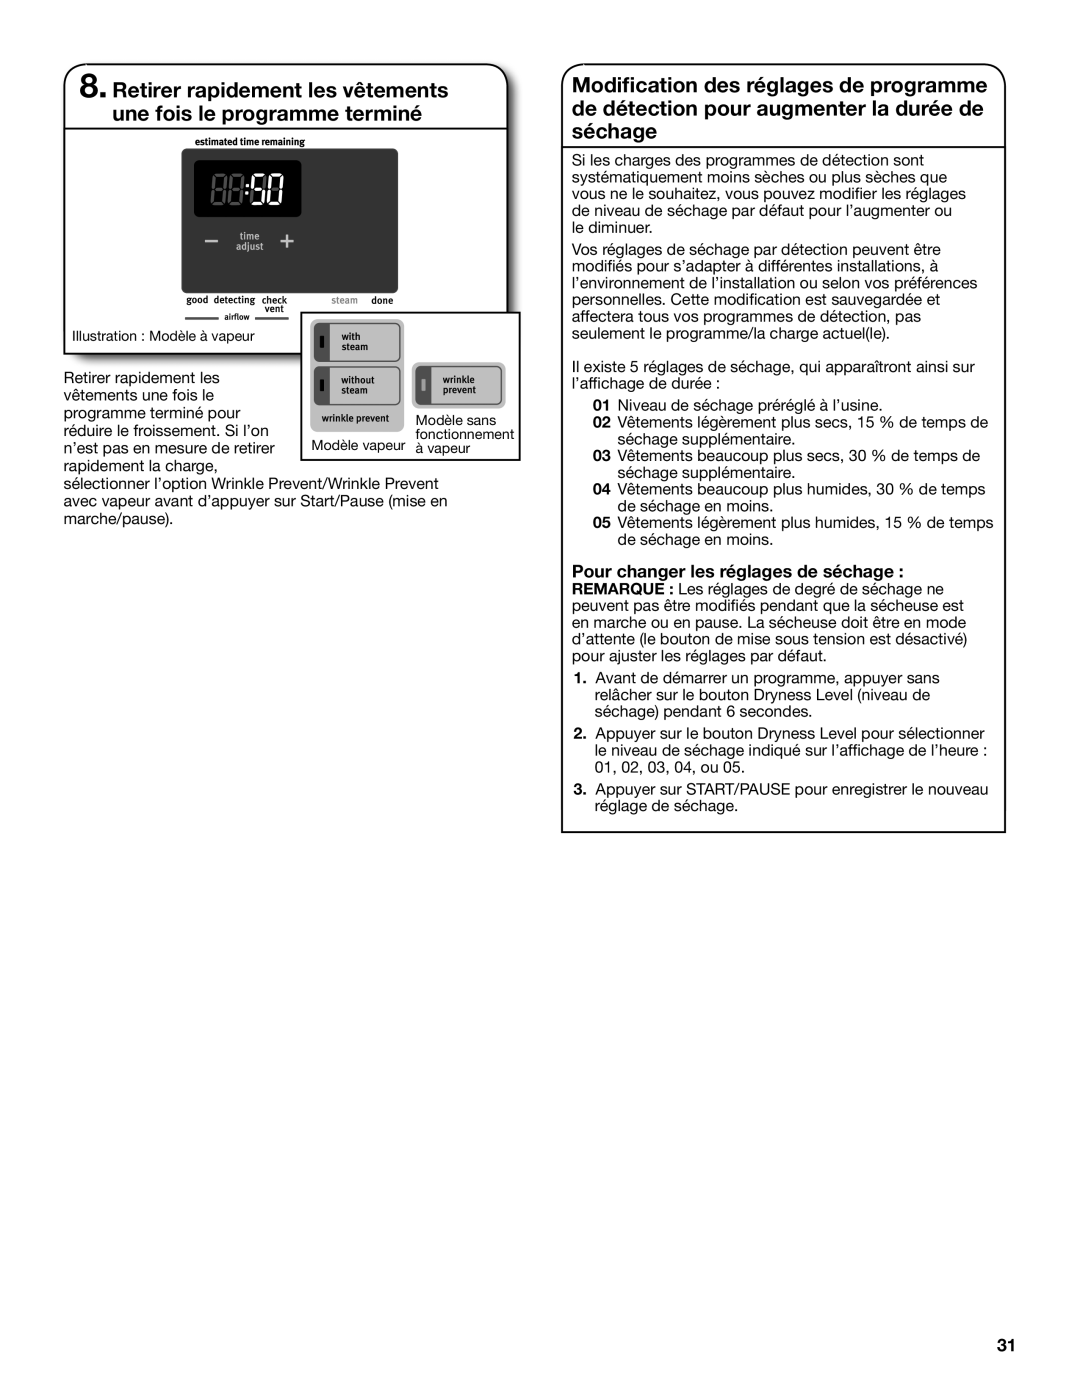
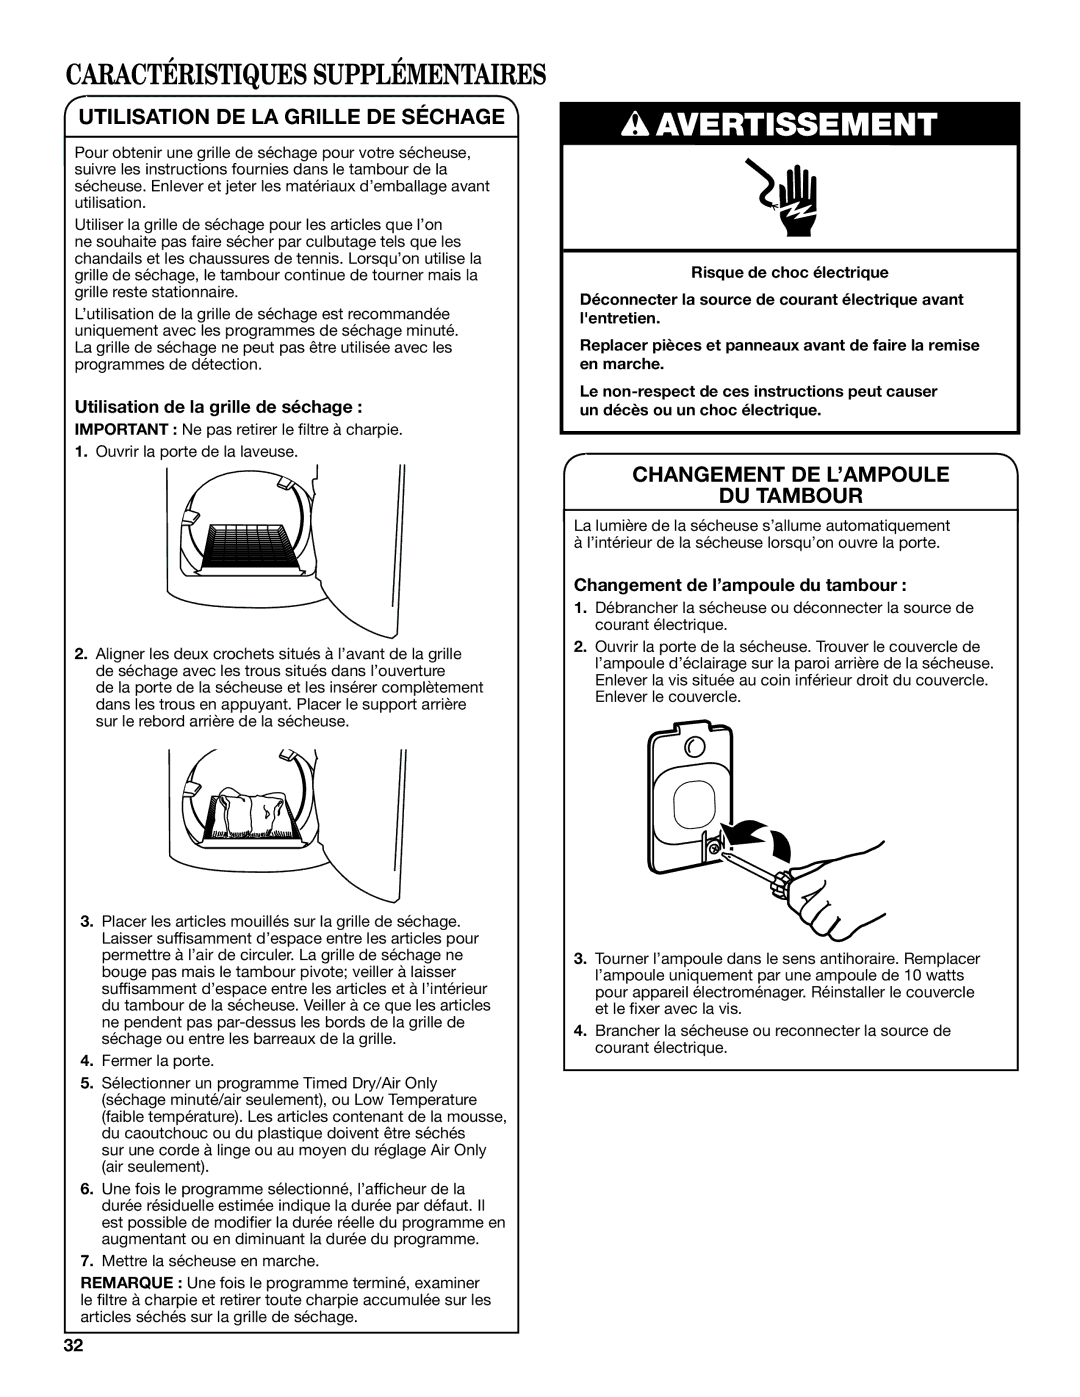
Maytag W10562338A - SP Dryer Care, Cleaning the Dryer Location, Cleaning the Dryer Interior

Page 12

DRYER CARE

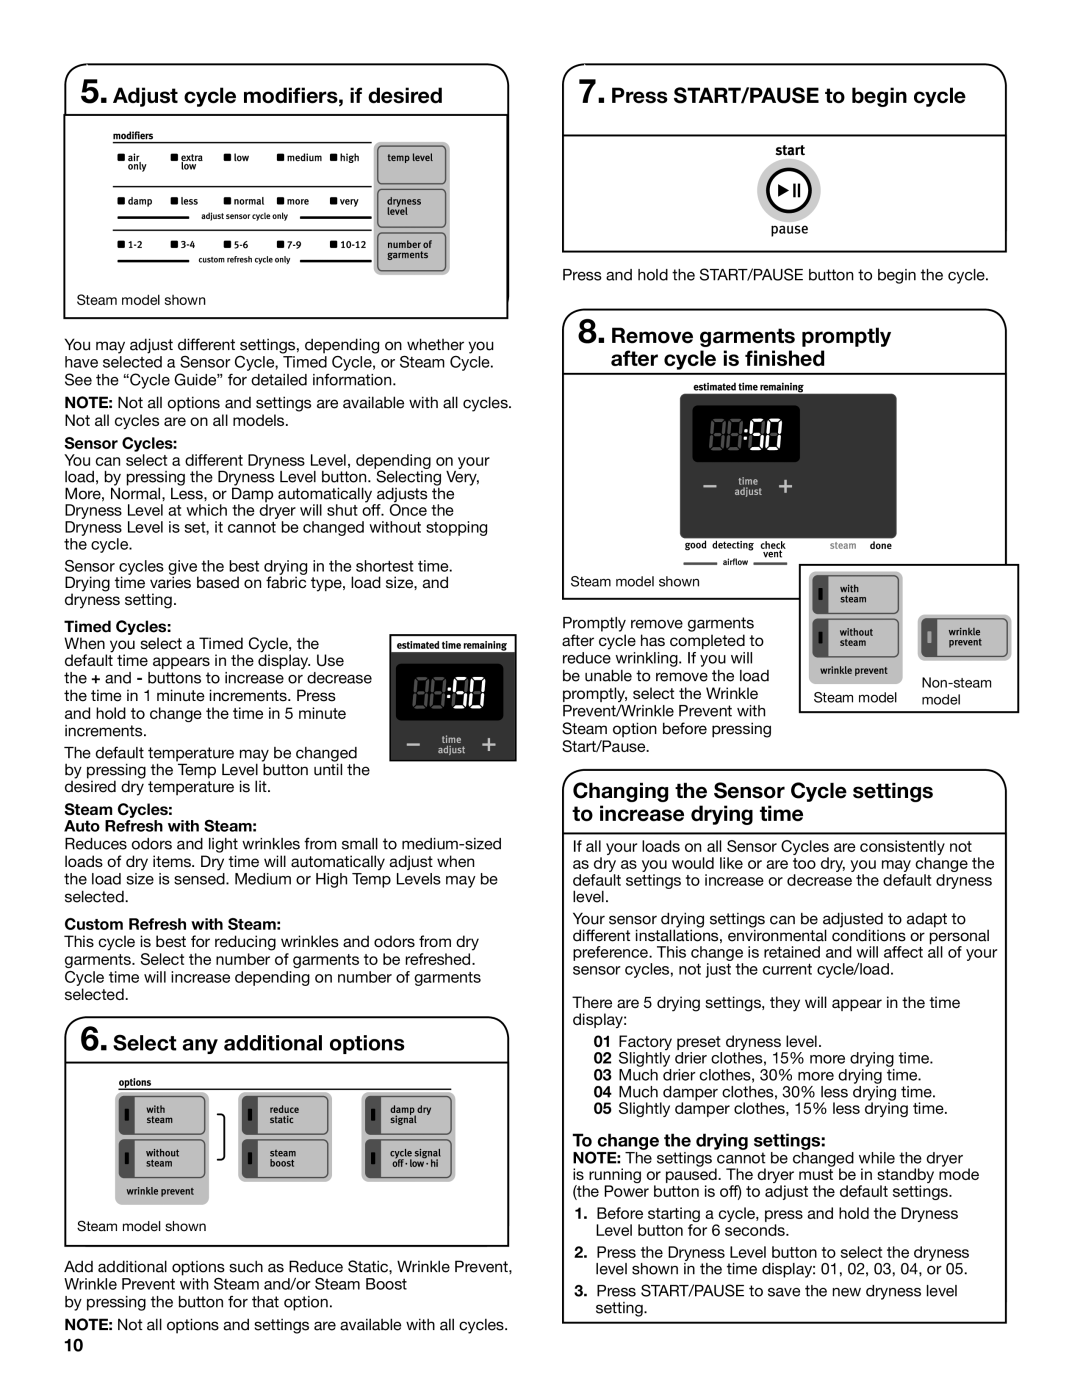
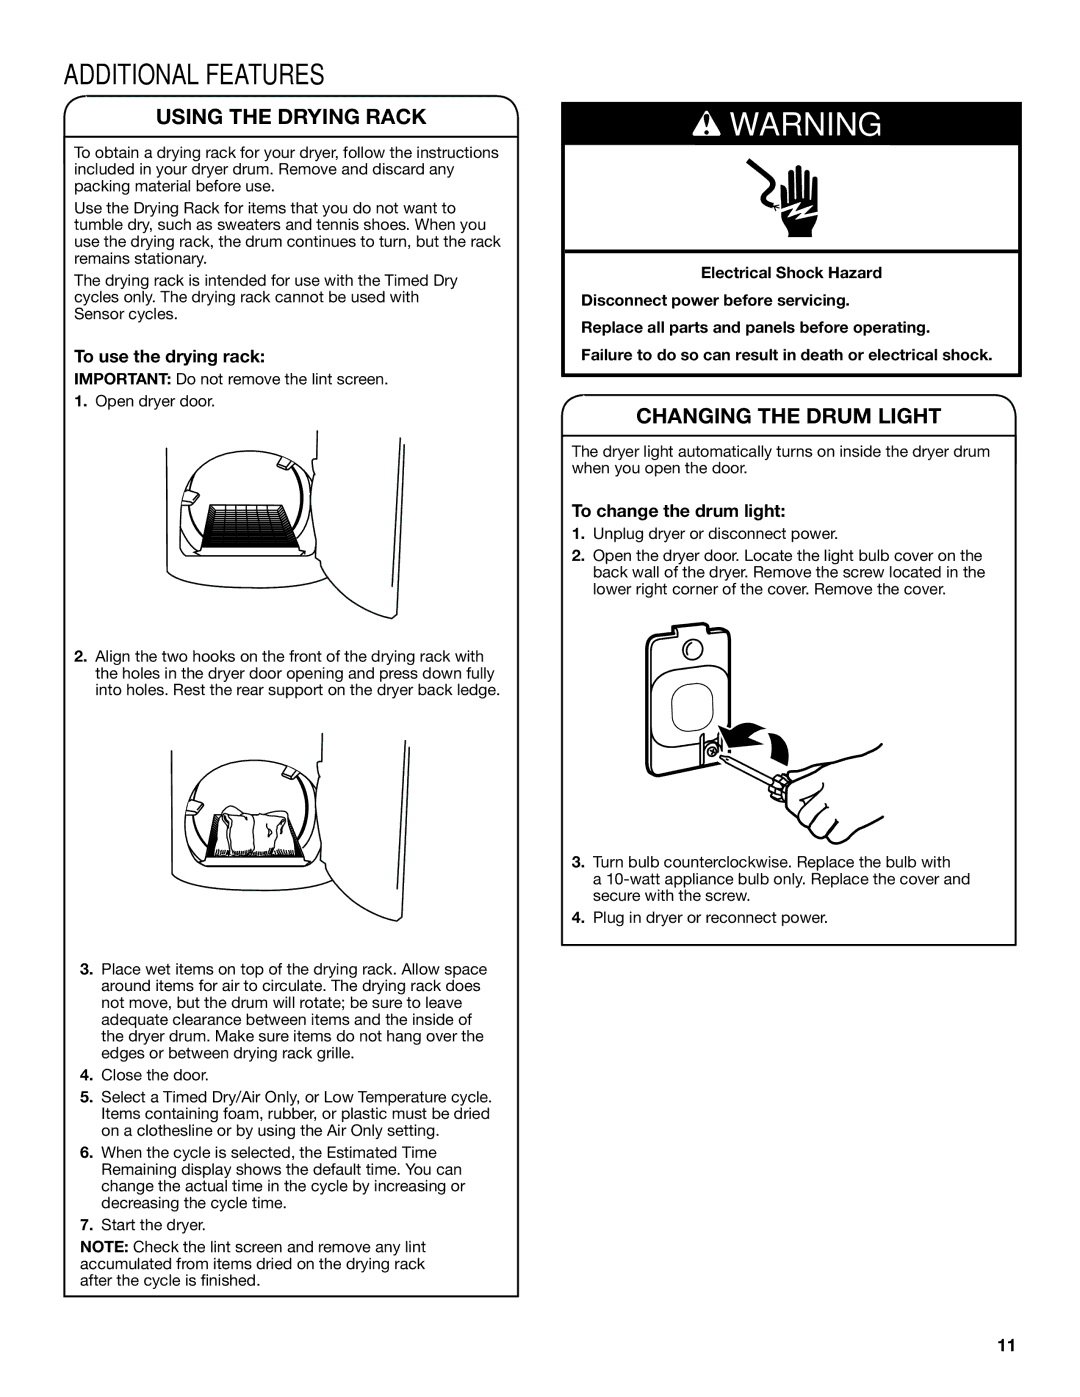
CLEANING THE DRYER LOCATION

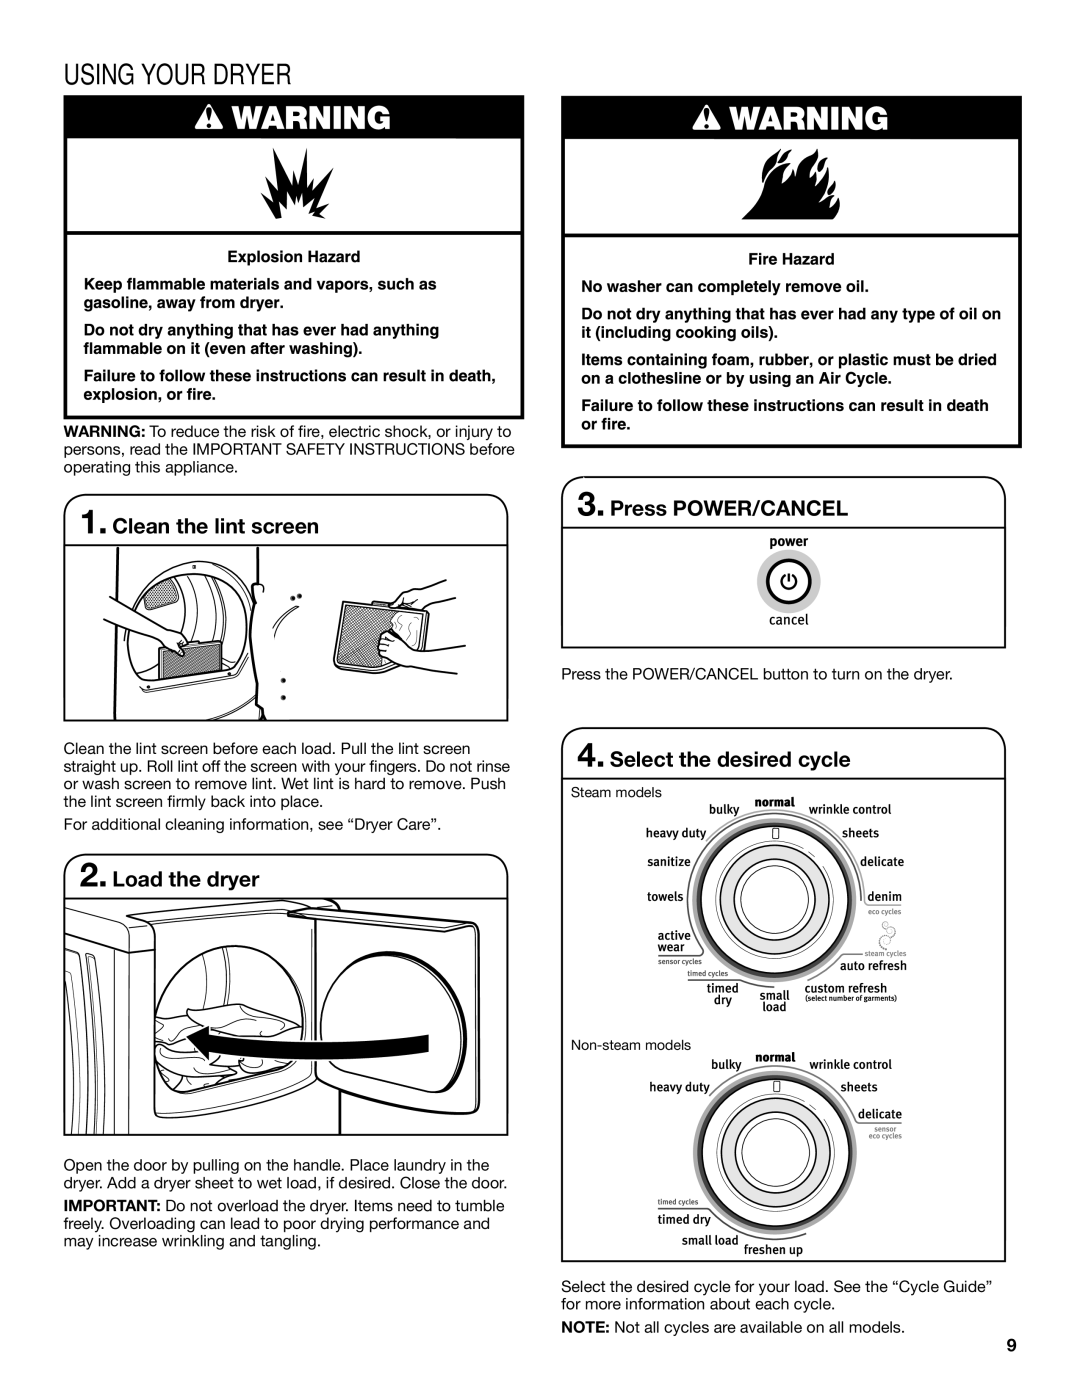
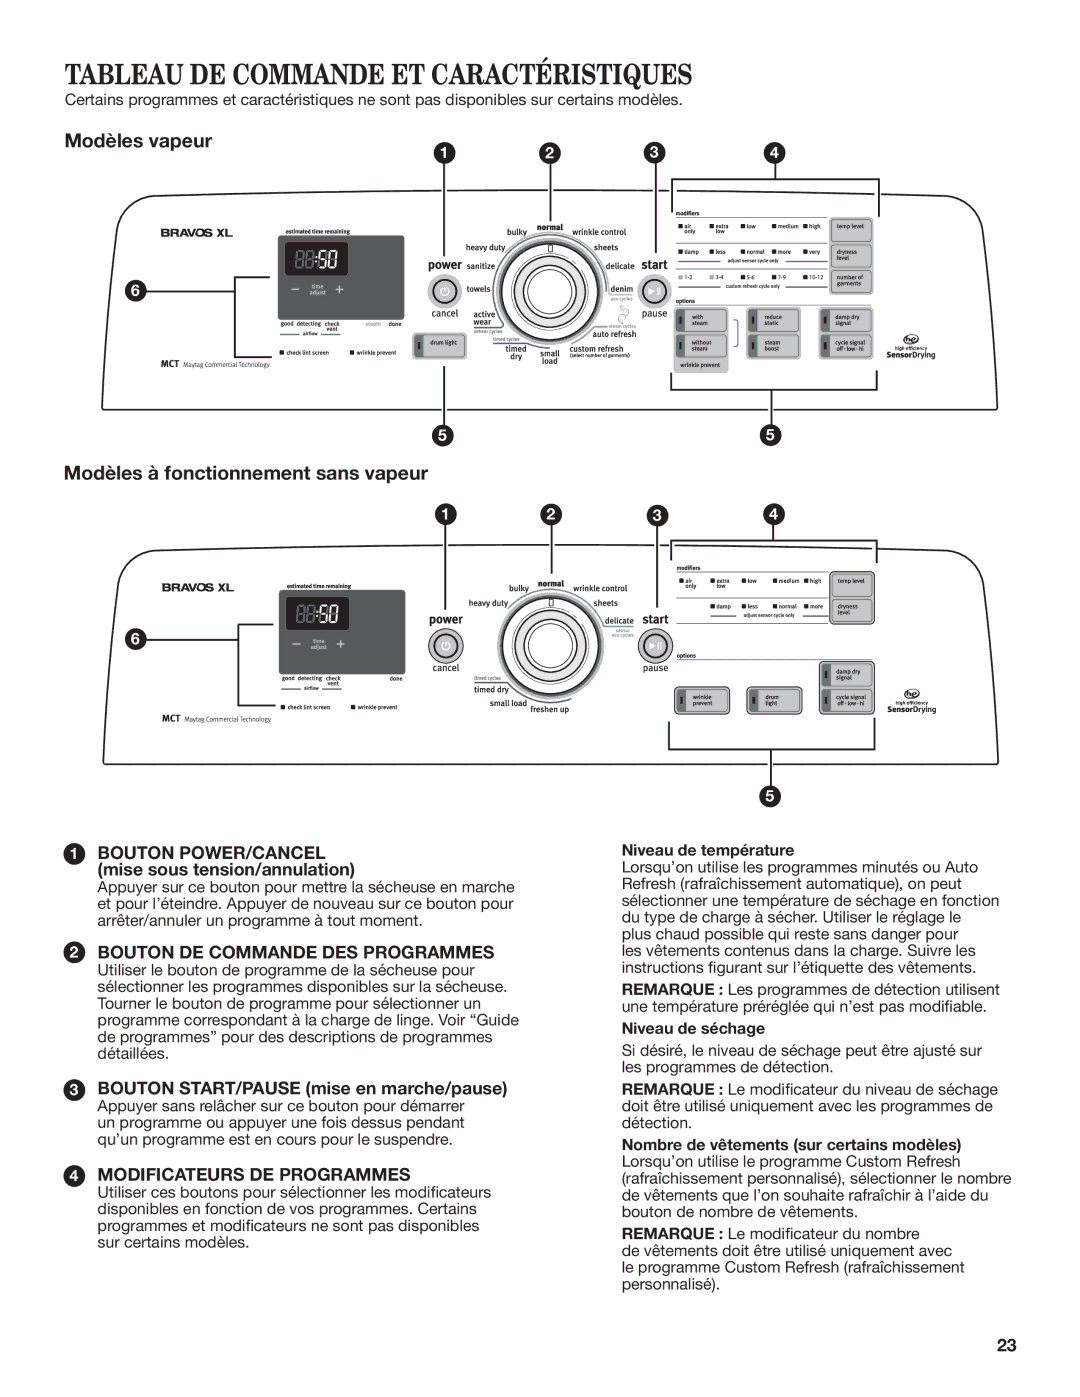
Keep dryer area clear and free from items that would block the air flow for proper dryer operation. This includes clearing piles of laundry in front of the dryer.

CLEANING THE DRYER INTERIOR

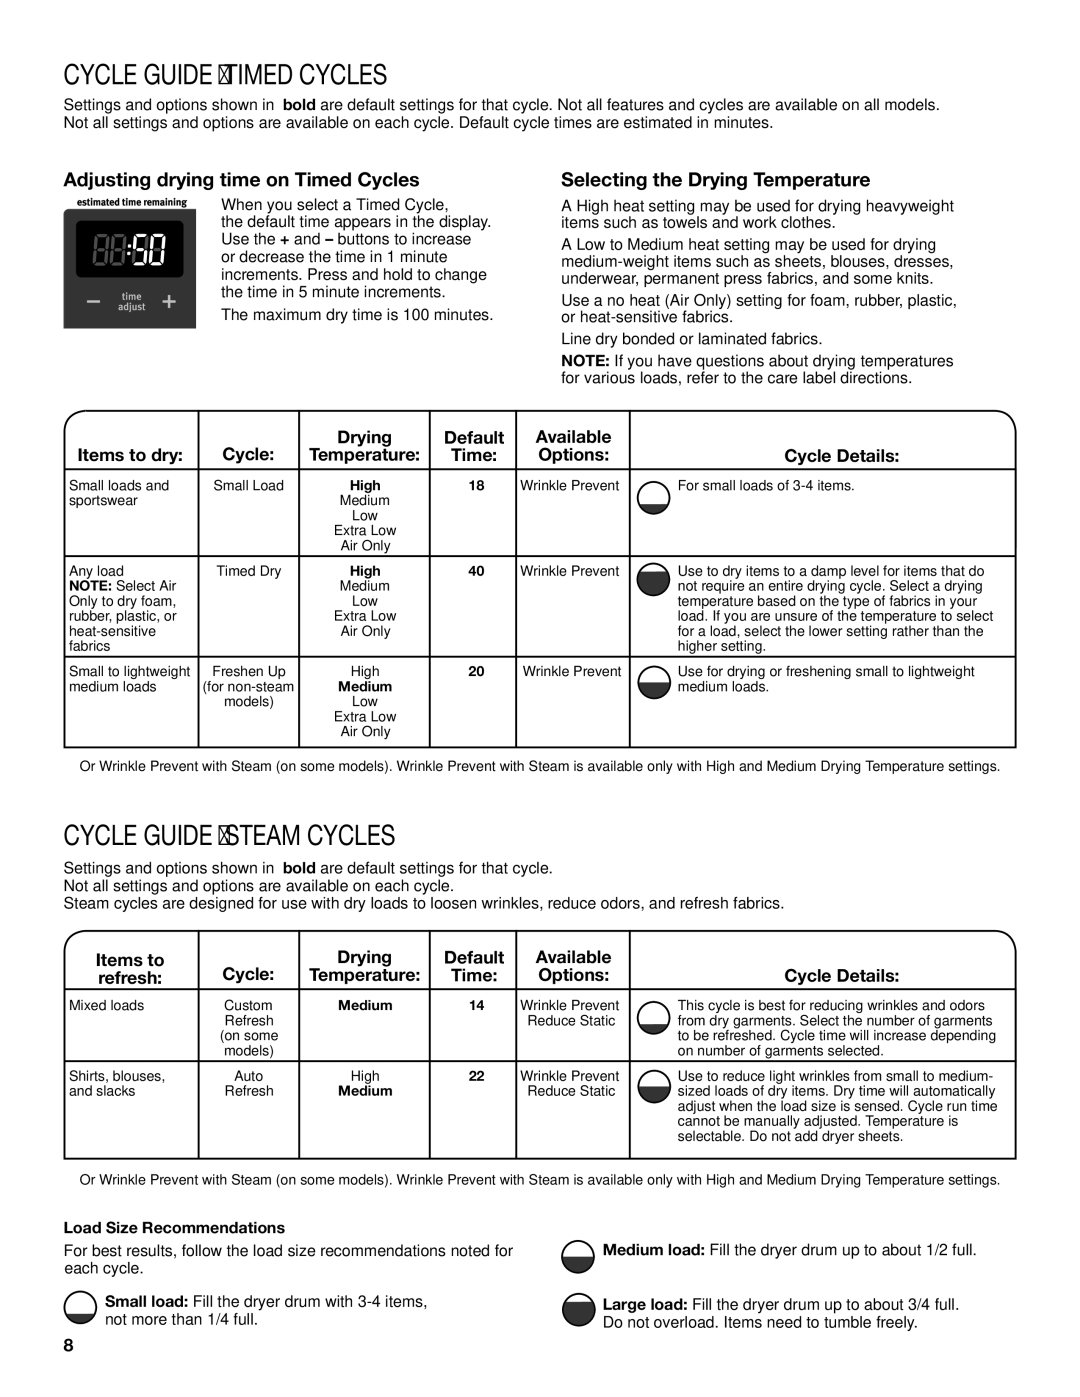
To clean dryer drum

1.Use a mild hand dish detergent mixed at a low concentration with very warm water, and rub with a soft cloth.

2.Rinse well with a wet sponge or towel.

3.Tumble a load of clean clothes or towels to dry drum

OR

Use a microfiber cloth and hot water in a spray bottle to clean the drum and a second microfiber towel to dry.

NOTE: Garments that contain unstable dyes, such as denim blue jeans or brightly colored cotton items, may discolor the rear of the dryer interior. These stains are not harmful to your dryer and will not stain future loads of clothes. Dry unstable dye items inside out to avoid transfer of dye.

REMOVING ACCUMULATED LINT

From Inside the Dryer Cabinet

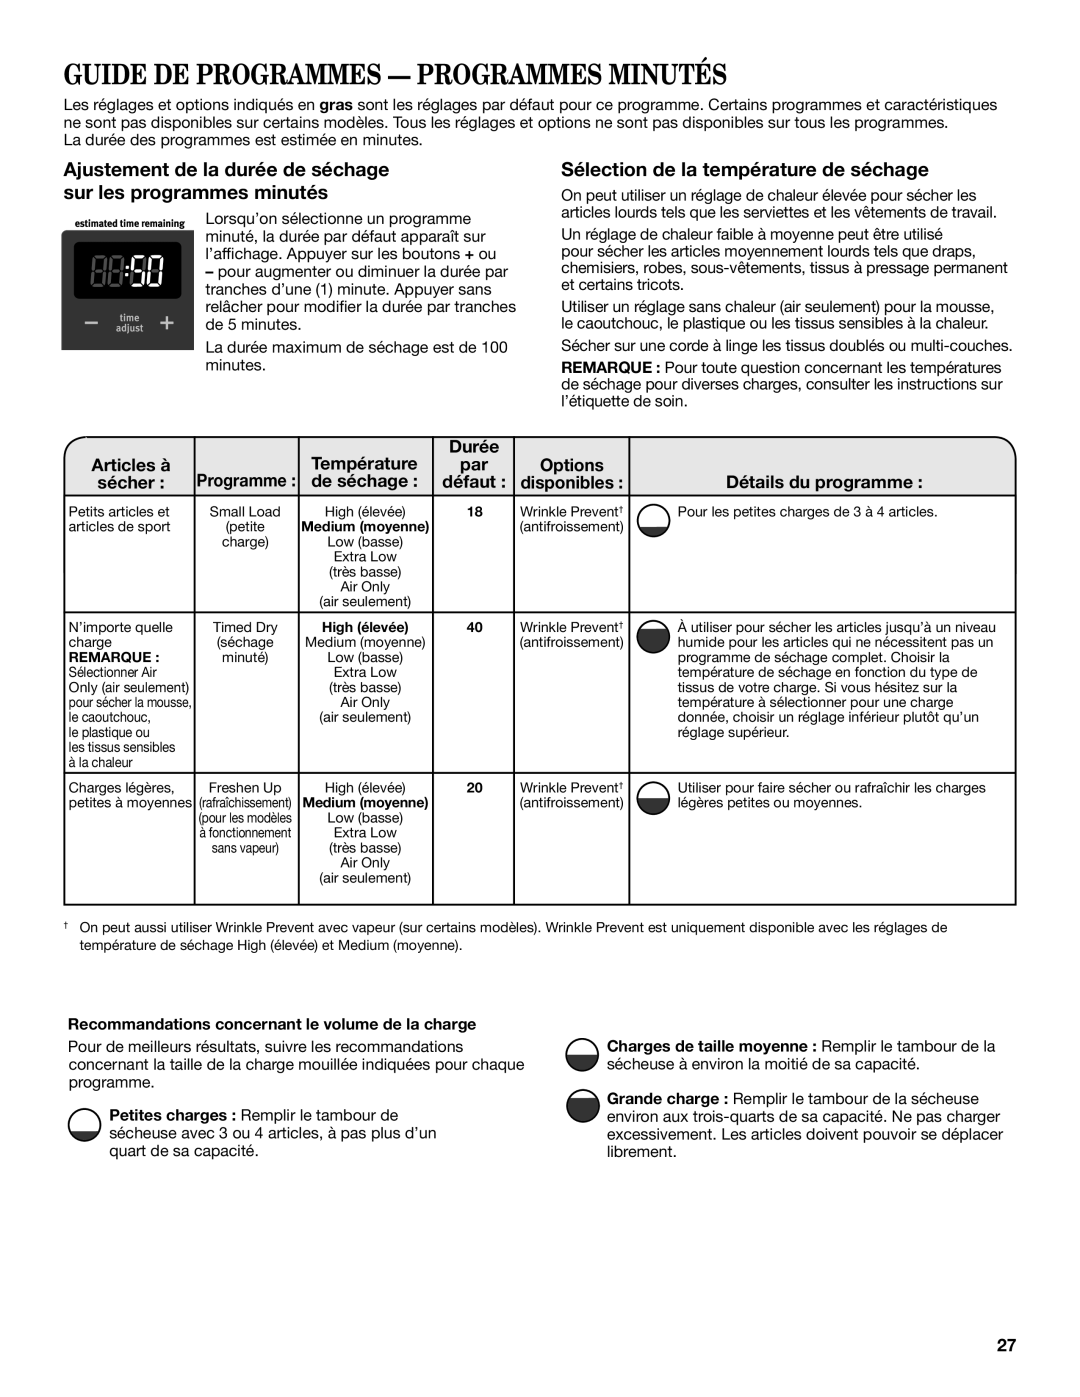
Lint should be removed every 2 years, or more often, depending on dryer usage. Cleaning should be done by a qualified appliance servicer.

From the Exhaust Vent

Lint should be removed every 2 years, or more often, depending on dryer usage.

CLEANING THE LINT SCREEN

Every load cleaning

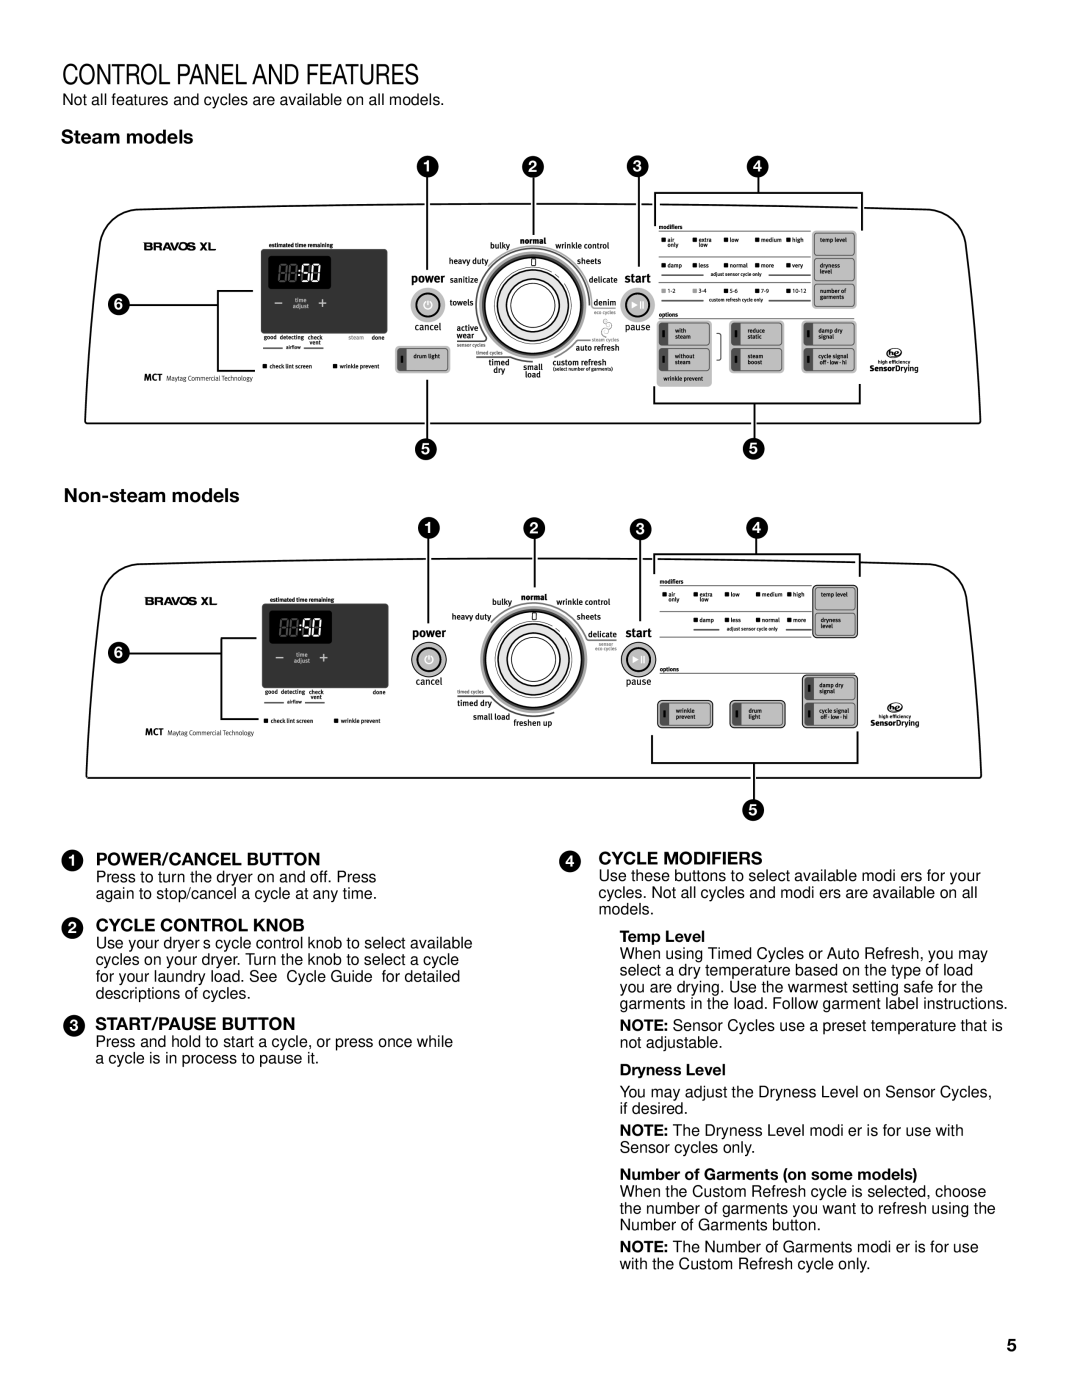
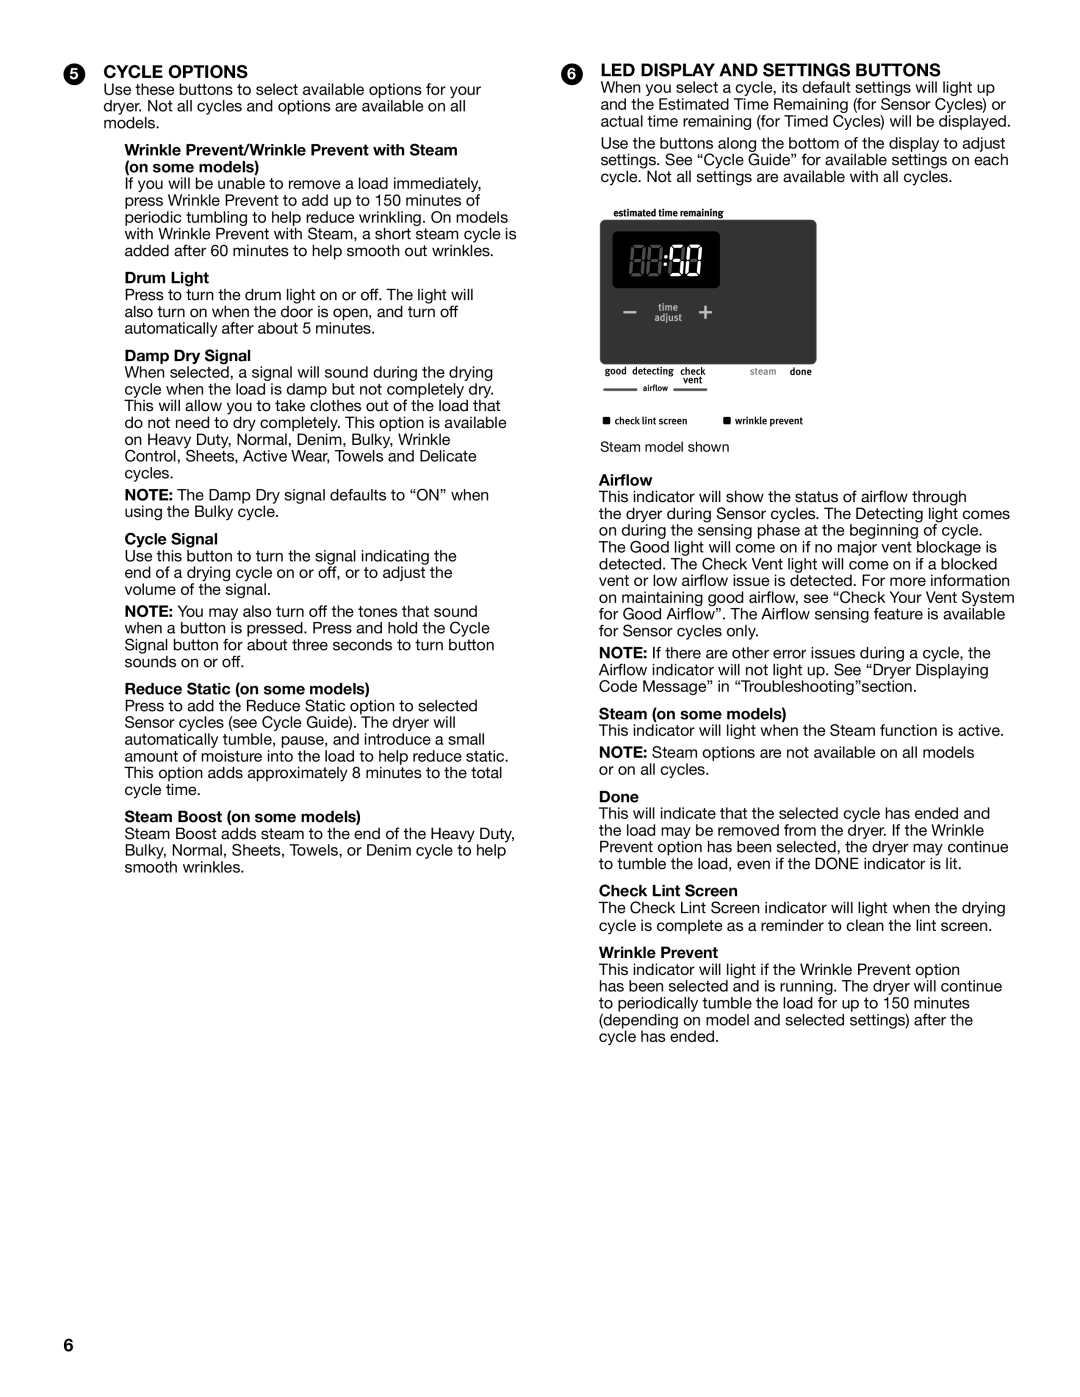
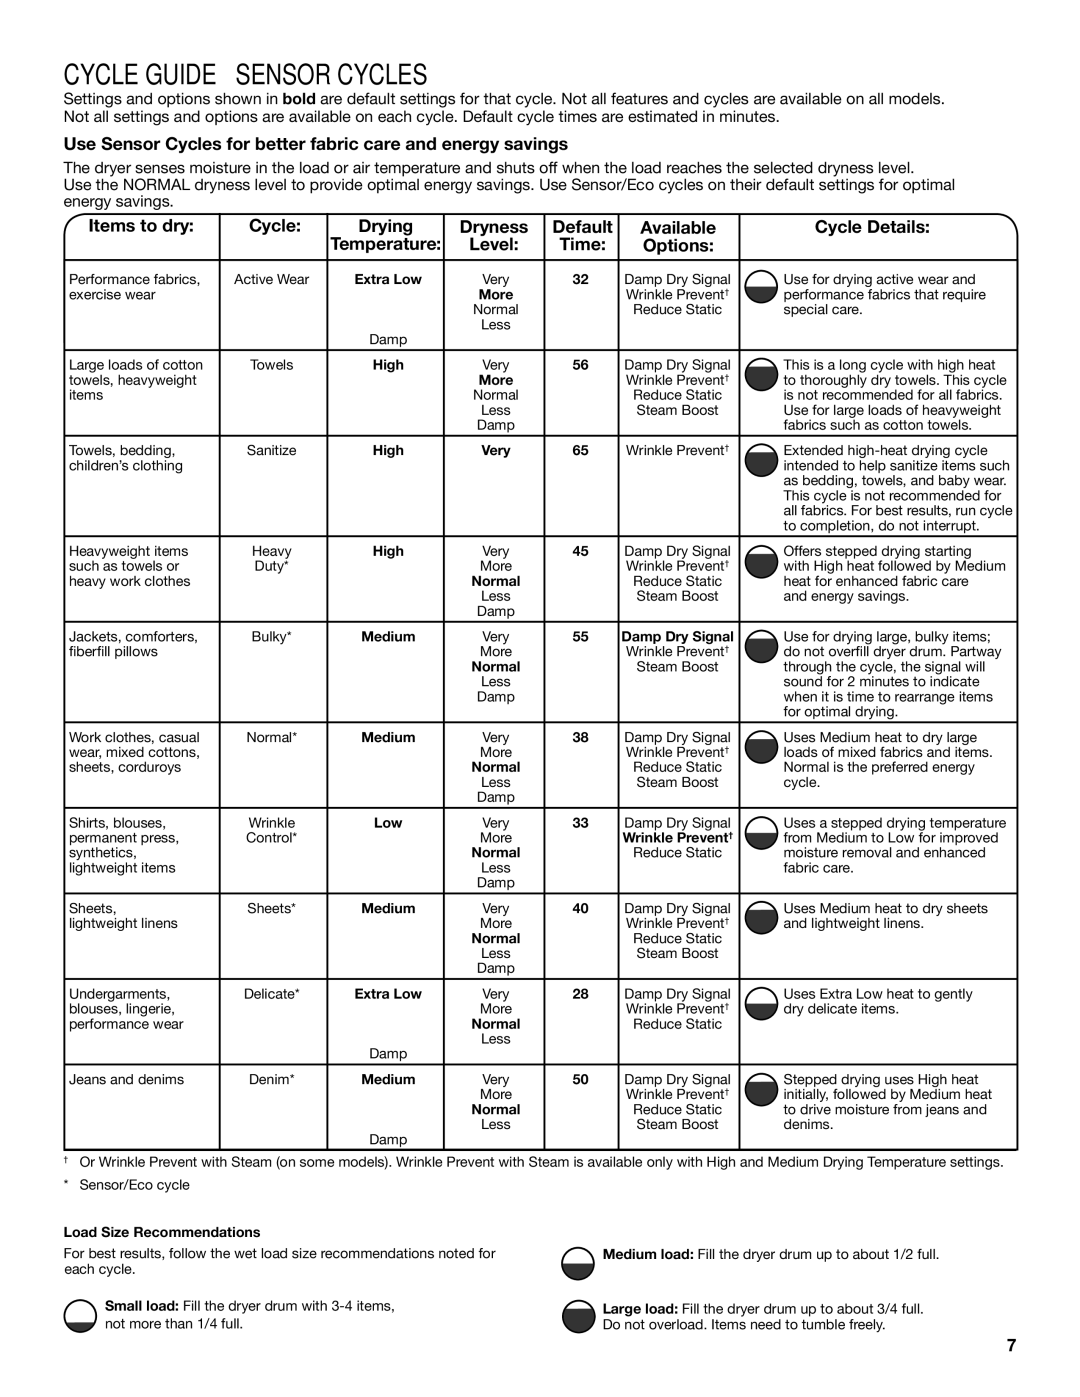
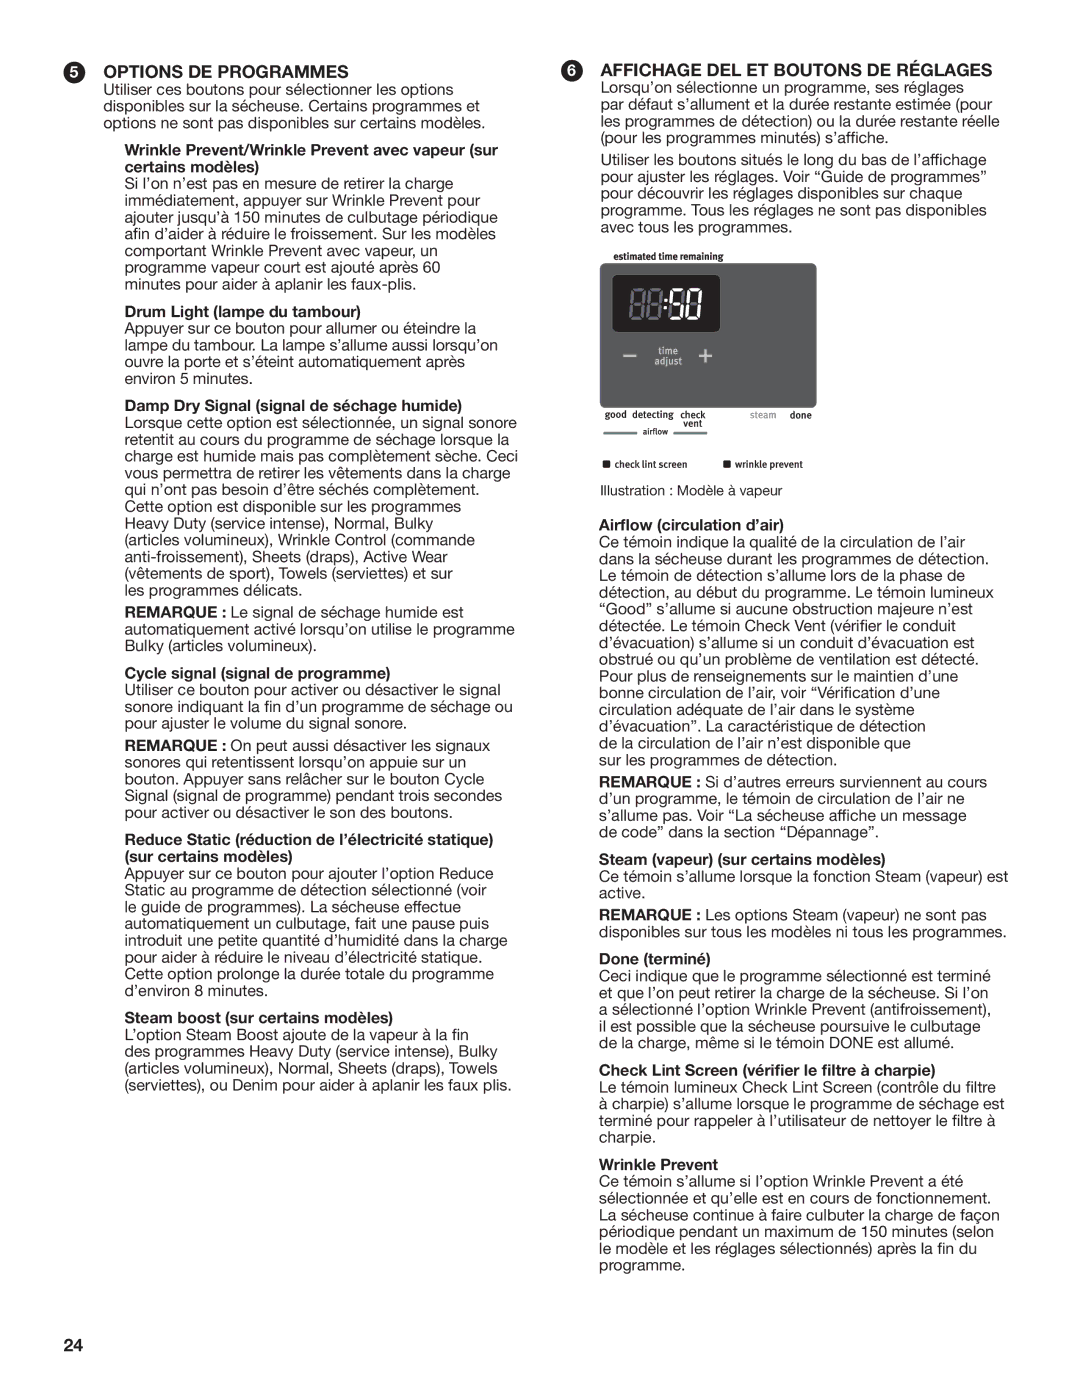
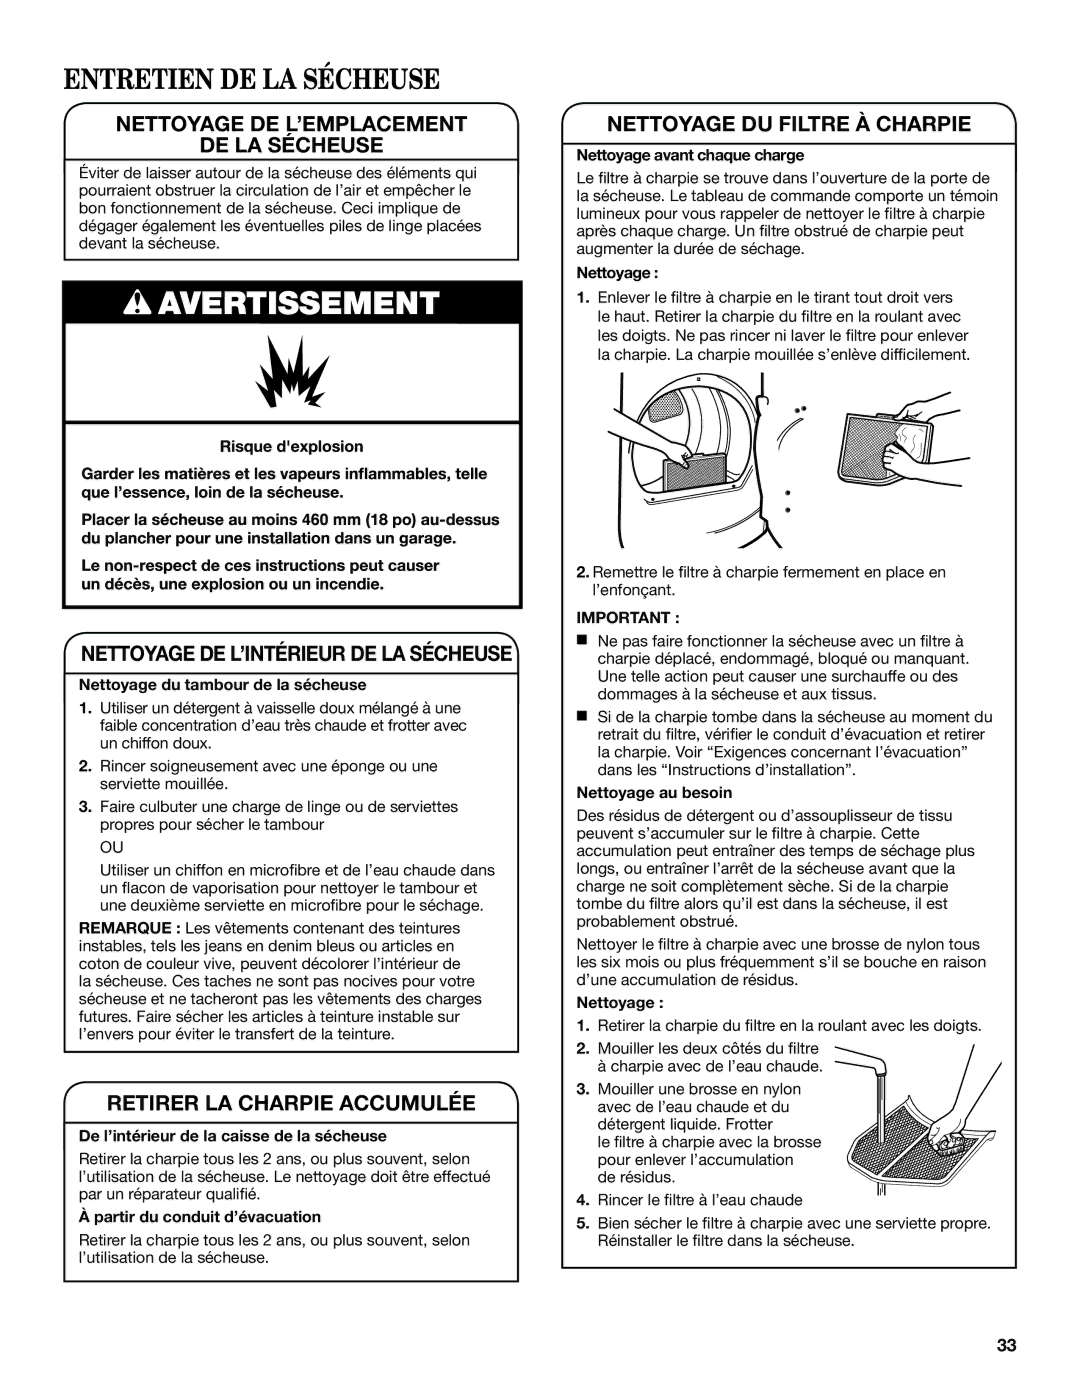
The lint screen is located in the door opening of the dryer. The control panel has an indicator light to remind you to clean the lint screen after each load. A screen blocked by lint will increase drying time.

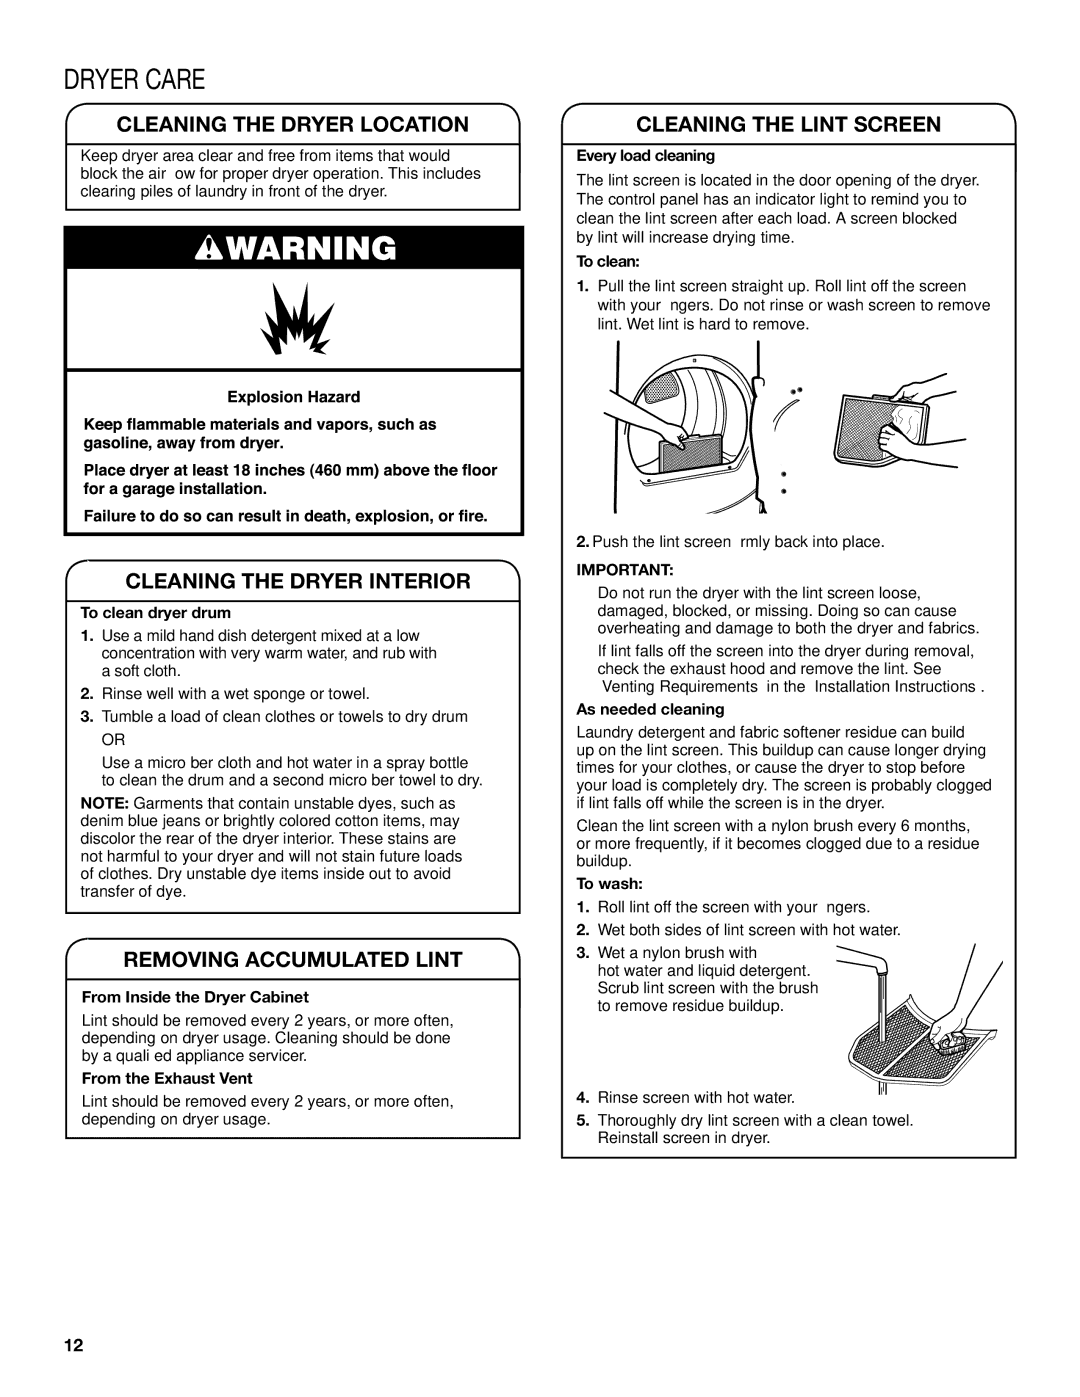
To clean:

1.Pull the lint screen straight up. Roll lint off the screen with your fingers. Do not rinse or wash screen to remove lint. Wet lint is hard to remove.

2.Push the lint screen firmly back into place.

IMPORTANT:

nDo not run the dryer with the lint screen loose, damaged, blocked, or missing. Doing so can cause overheating and damage to both the dryer and fabrics.

nIf lint falls off the screen into the dryer during removal, check the exhaust hood and remove the lint. See “Venting Requirements” in the “Installation Instructions”.

As needed cleaning

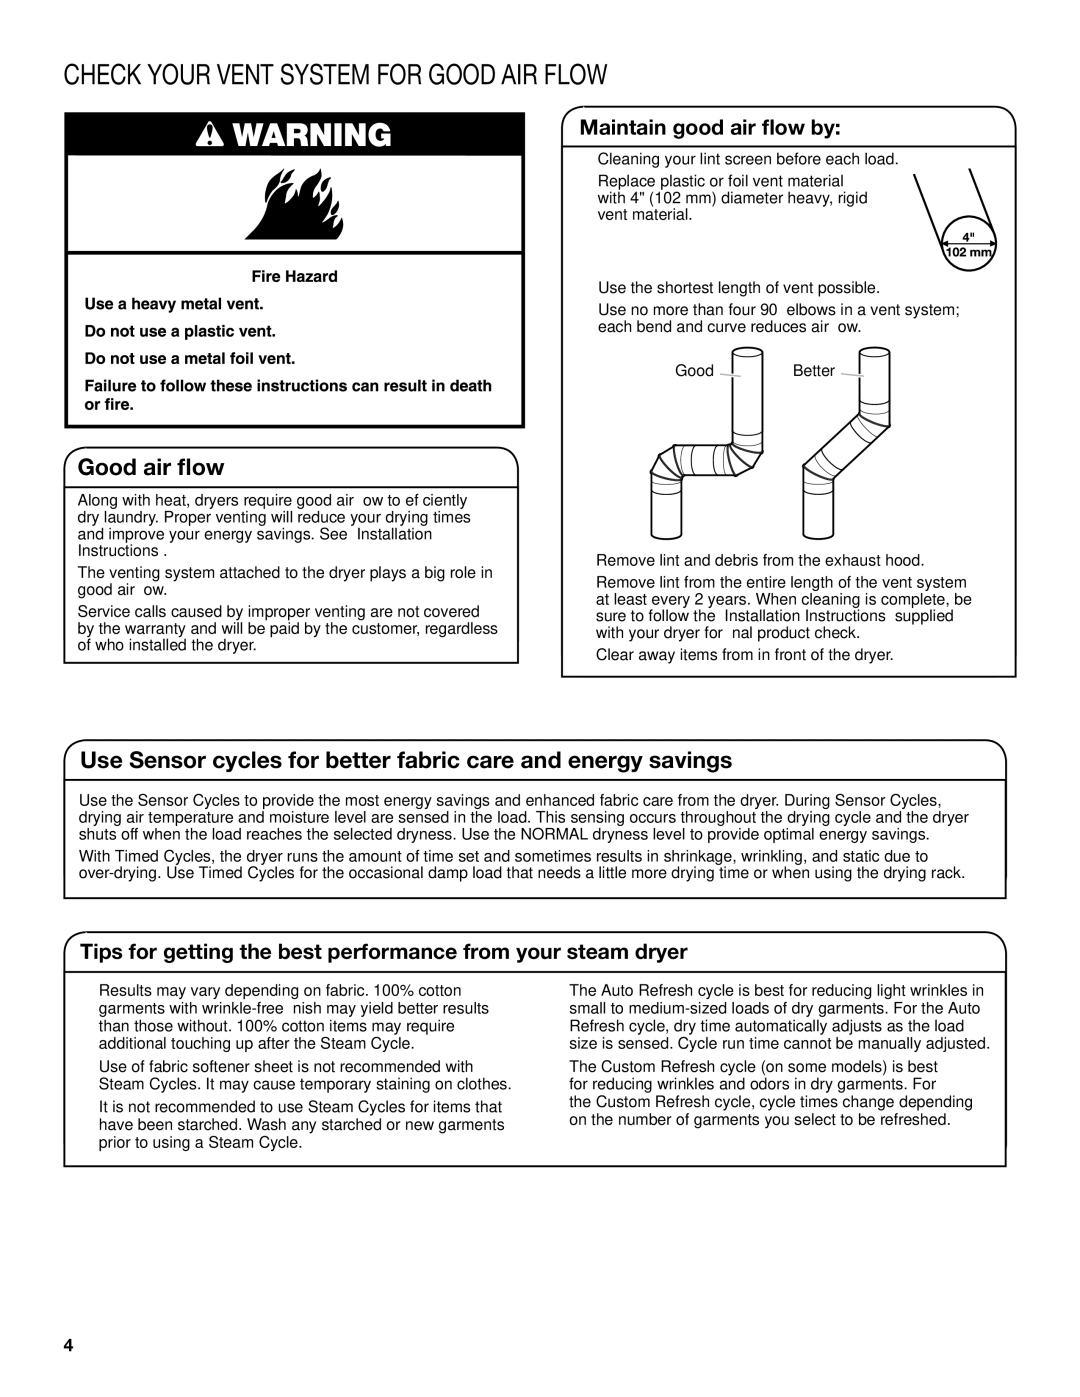
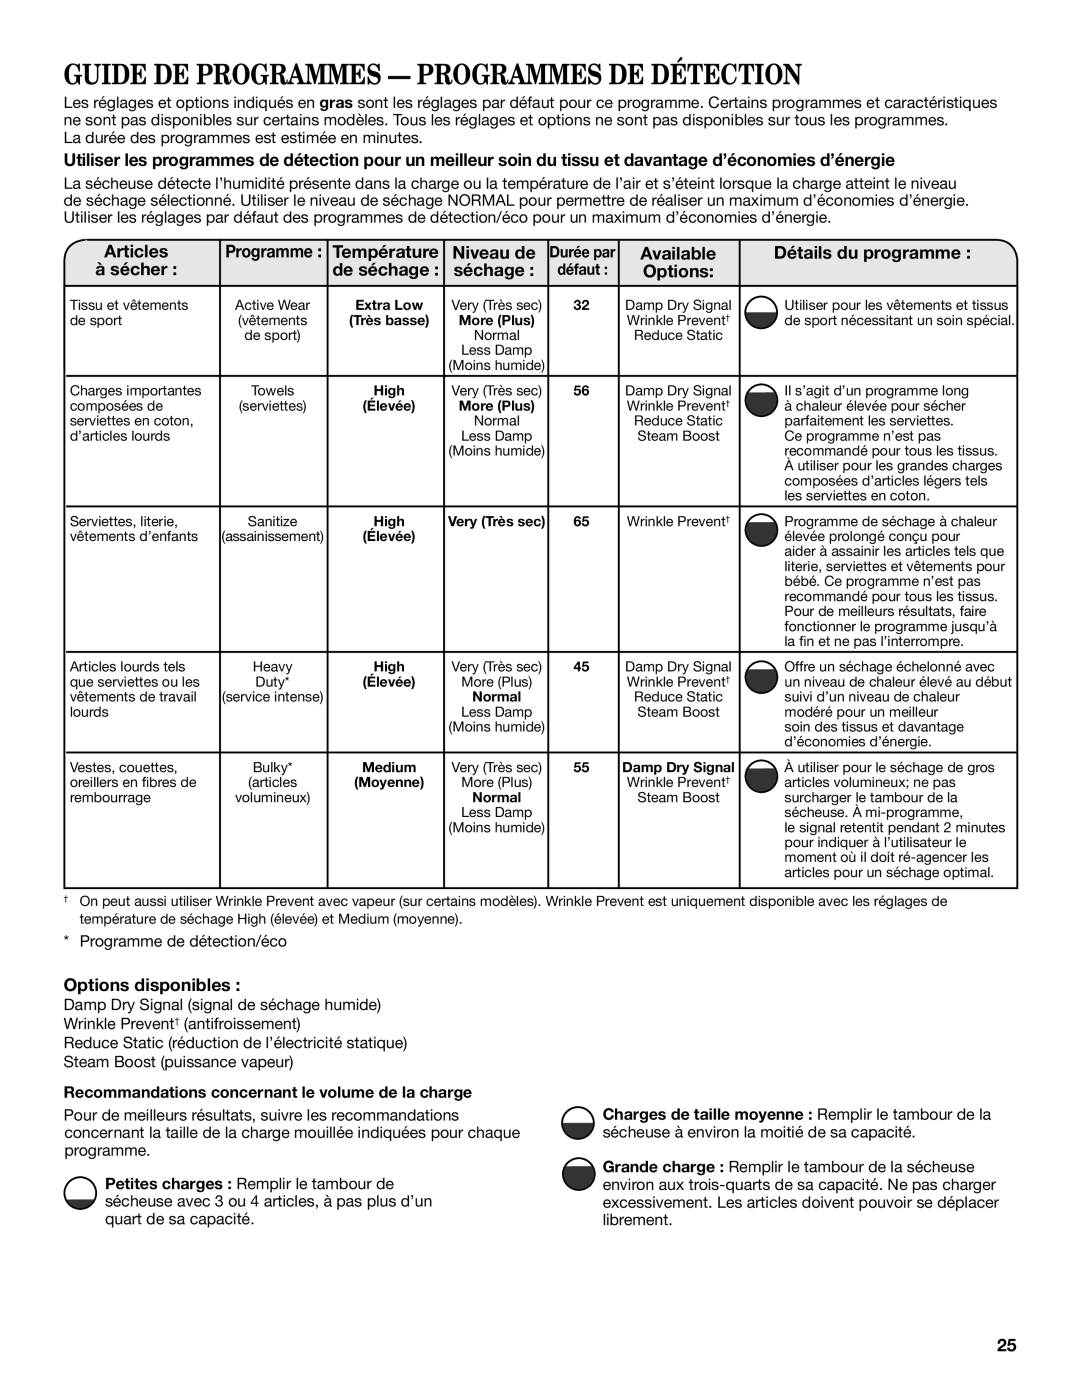
Laundry detergent and fabric softener residue can build up on the lint screen. This buildup can cause longer drying times for your clothes, or cause the dryer to stop before your load is completely dry. The screen is probably clogged if lint falls off while the screen is in the dryer.

Clean the lint screen with a nylon brush every 6 months, or more frequently, if it becomes clogged due to a residue buildup.

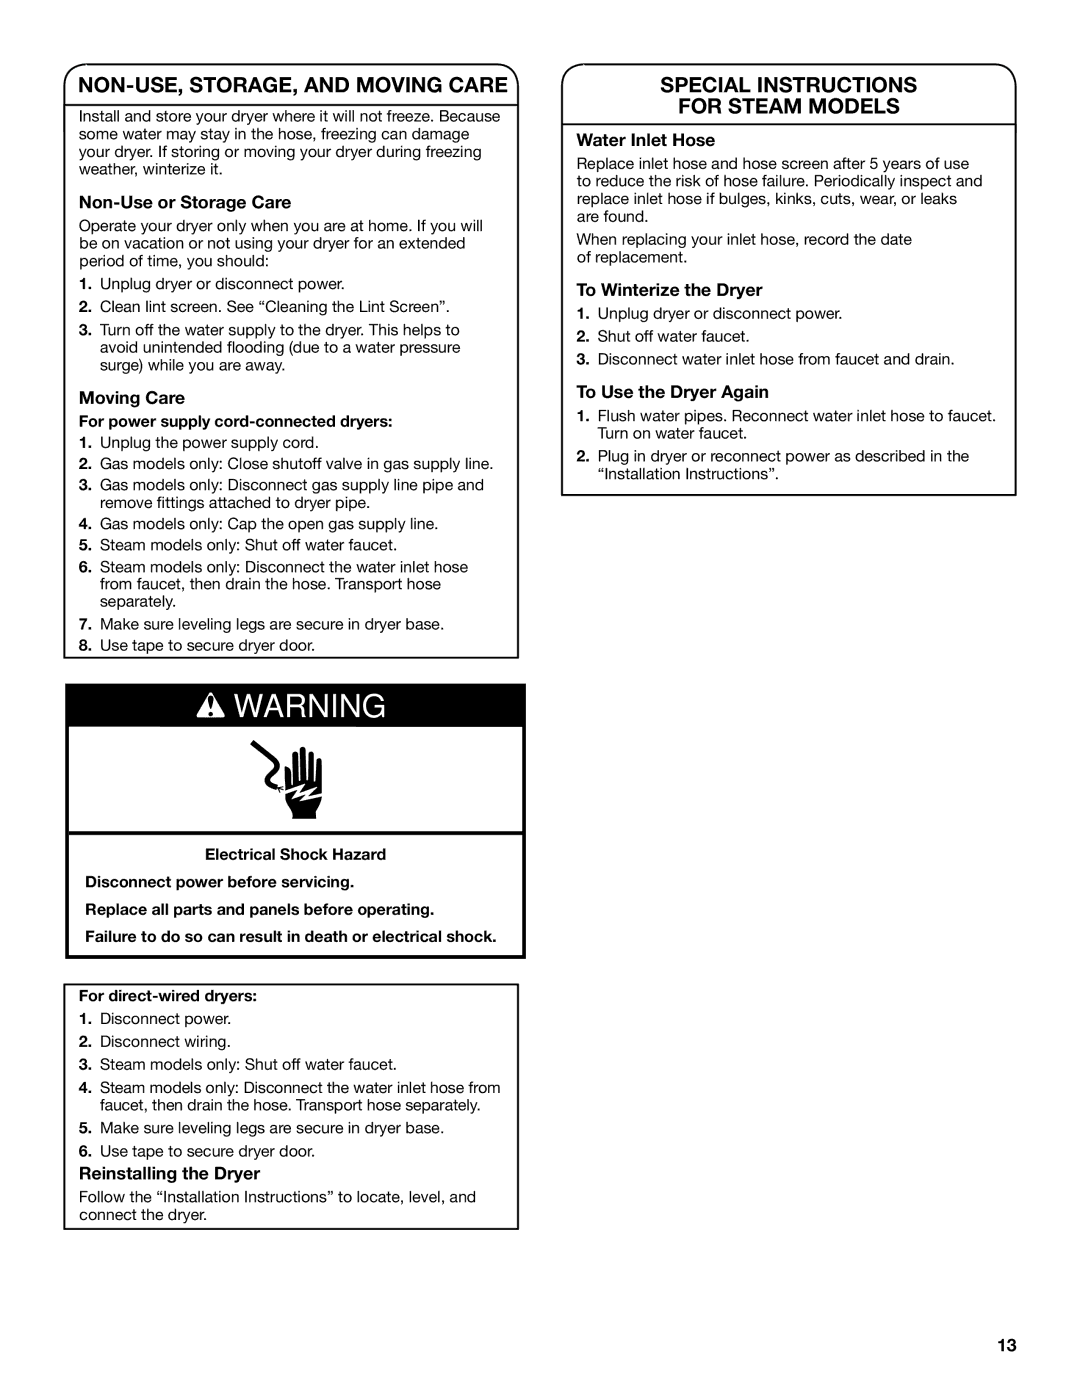
To wash:

1.Roll lint off the screen with your fingers.

2.Wet both sides of lint screen with hot water.

3.Wet a nylon brush with

hot water and liquid detergent. Scrub lint screen with the brush

to remove residue buildup.

4. Rinse screen with hot water.

5.Thoroughly dry lint screen with a clean towel. Reinstall screen in dryer.

12

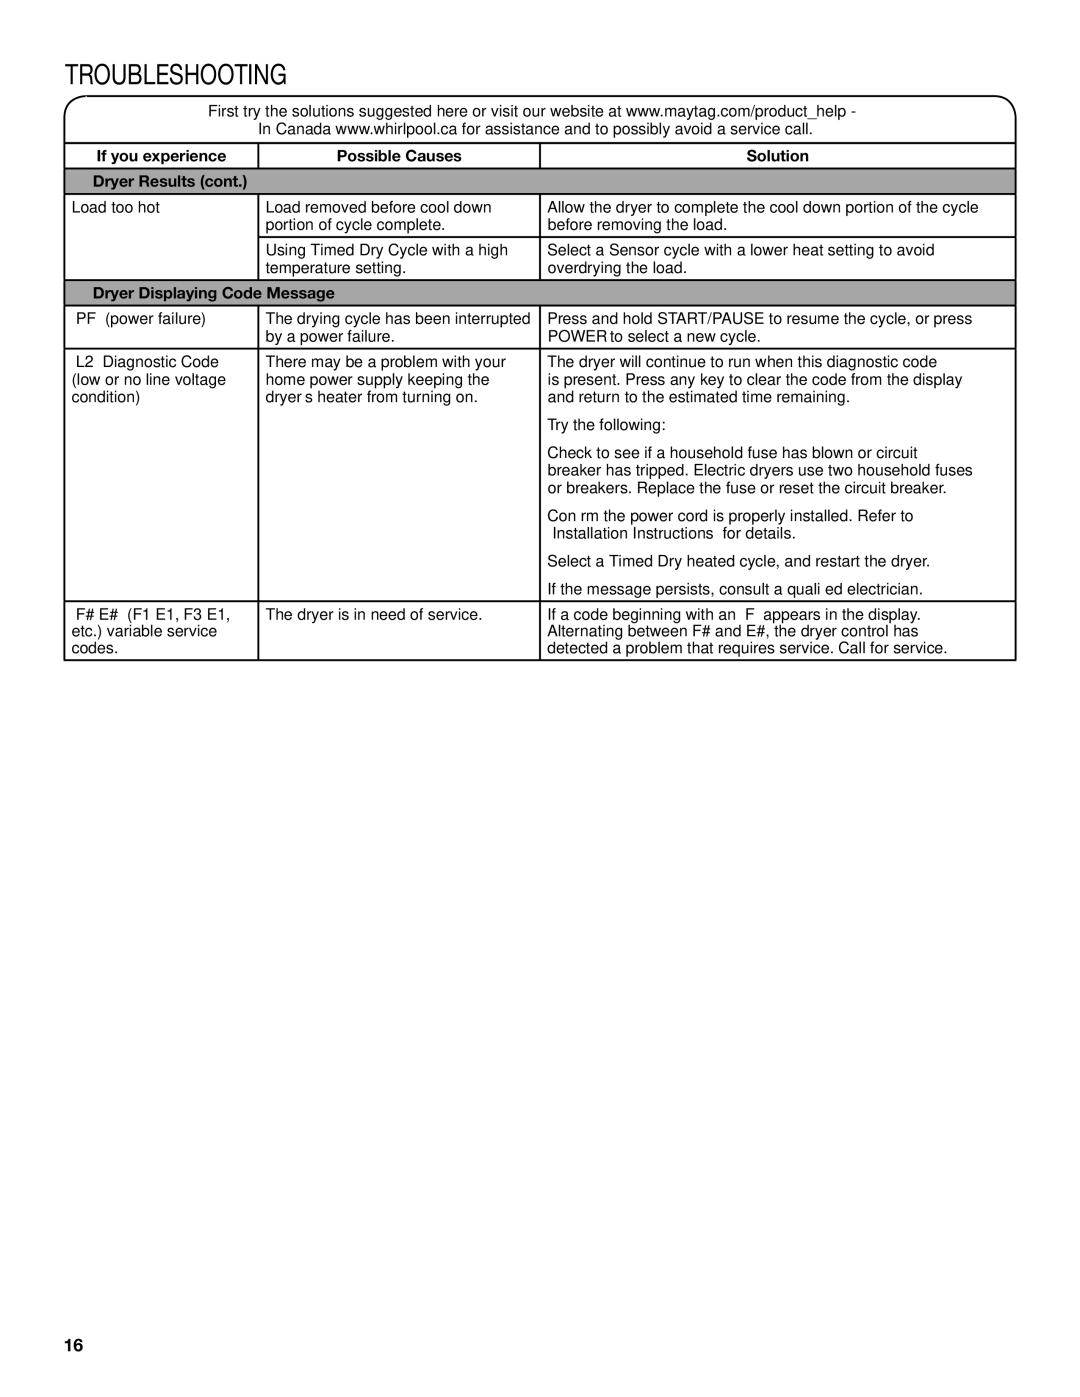
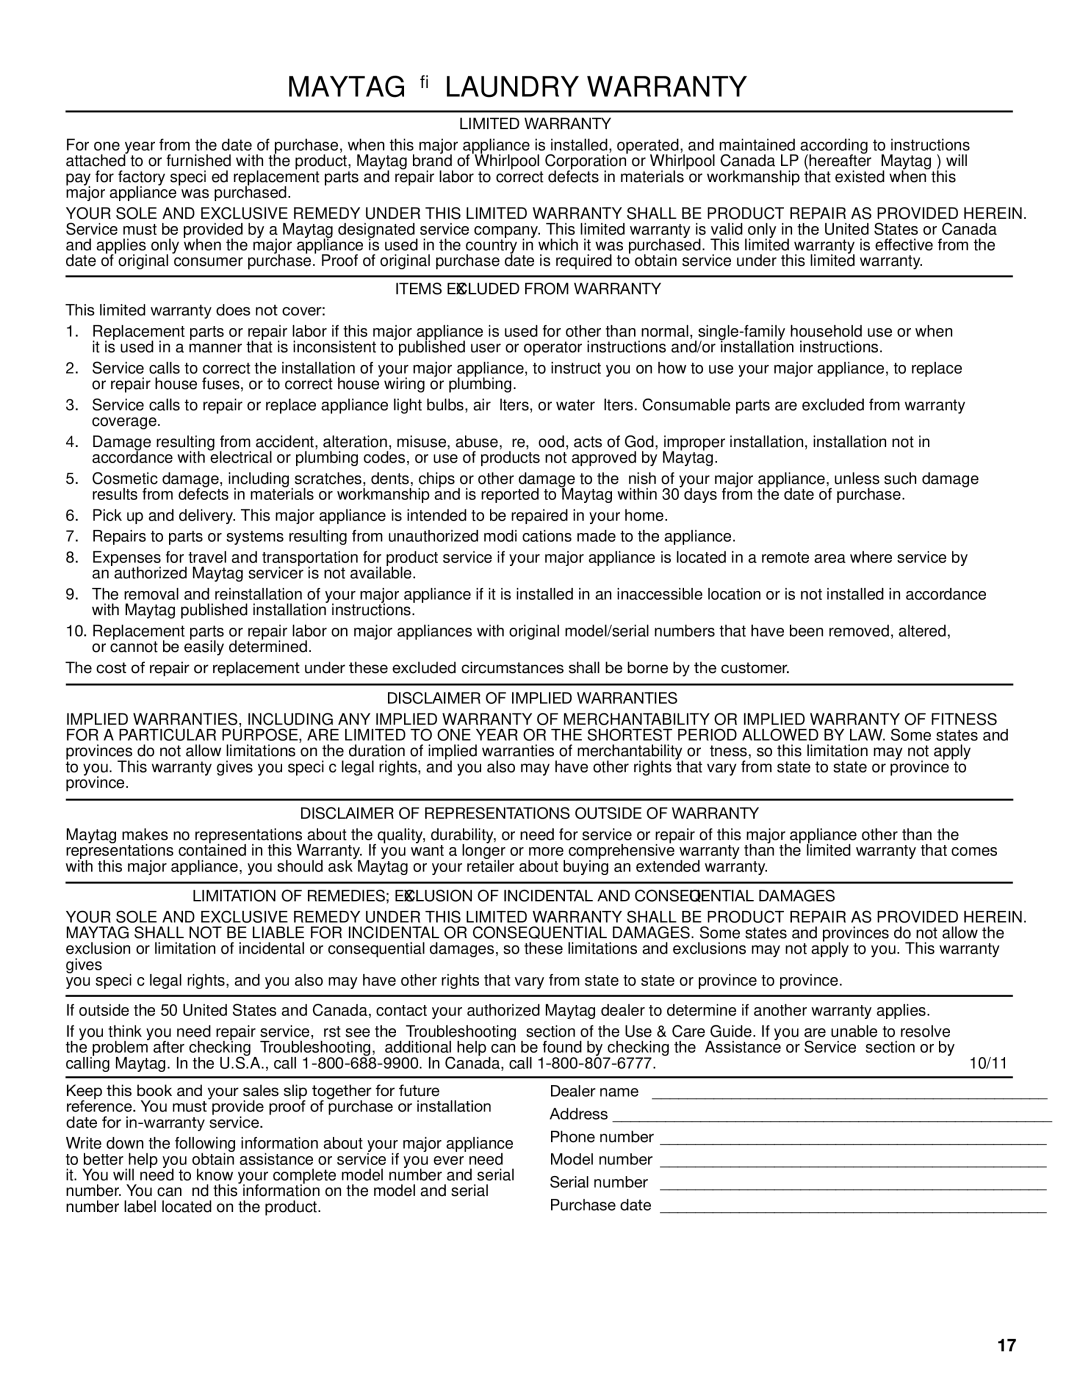
Image 12
Contents Table of Contents Dryer Safety Page Check Your Vent System for Good AIR Flow Maintain good air flow byTips for getting the best performance from your steam dryer Control Panel and Features Temp LevelDryness Level Number of Garments on some modelsDamp Dry Signal Cycle SignalWrinkle Prevent/Wrinkle Prevent with Steam On some modelsTemperature Level Time Cycle Guide Sensor CyclesUse Sensor Cycles for better fabric care and energy savings OptionsCycle Drying Default Available Items to dry Items to Cycle Drying Default Available RefreshCycle Guide Timed Cycles Cycle Guide Steam Cycles Using Your Dryer Clean the lint screen Press POWER/CANCEL Load the dryerChanging the Sensor Cycle settings to increase drying time To change the drying settingsSelect any additional options Remove garments promptly after cycle is finishedAdditional Features Using the Drying RackChanging the Drum Light To use the drying rackCleaning the Dryer Location Cleaning the Dryer InteriorCleaning the Lint Screen Dryer CareNON-USE, STORAGE, and Moving Care Special Instructions For Steam ModelsTroubleshooting If you experience Possible Causes Solution Dryer OperationUnusual Noise Dryer ResultsIf you experience Possible Causes Solution Dryer Results Dryer Displaying Code Message Maytag Laundry Warranty This limited warranty does not coverSécurité DE LA Sécheuse Page Page Circulation d’air adéquate Page Tableau DE Commande ET Caractéristiques Bouton POWER/CANCEL mise sous tension/annulationBouton START/PAUSE mise en marche/pause Niveau de températureCycle signal signal de programme Drum Light lampe du tambourSteam boost sur certains modèles Airflow circulation d’airGuide DE Programmes Programmes DE Détection ArticlesTempérature Niveau de Available Détails du programme Sécher De séchage SéchageVêtements de travail Normal Guide DE Programmes Programmes Minutés Température Durée Articles àPar Options Sécher De séchage Défaut DisponiblesGuide DE Programmes -- Programmes Avec Vapeur Appuyer sur POWER/CANCEL mise sous tension/annulation Utilisation DE LA SécheuseNettoyer le filtre à charpie Charger la sécheuseAjuster les modificateurs de programme si désiré Sélectionner toute option supplémentaireProgrammes de détection Programmes minutésPour changer les réglages de séchage Utilisation DE LA Grille DE Séchage Changement DE L’AMPOULE DU TambourUtilisation de la grille de séchage Changement de l’ampoule du tambourNettoyage DE L’EMPLACEMENT DE LA Sécheuse Entretien DE LA SécheuseRetirer LA Charpie Accumulée Nettoyage DU Filtre À CharpieInstructions Spéciales Pour LES Modèles Vapeur Dépannage Fonctionnement de la sécheuseSons inhabituels Résultats de la sécheuse Résultats de la sécheuse suite Message codé Garantie DES Appareils DE Buanderie Maytag La présente garantie limitée ne couvre pasIf you need replacement parts or to order accessories Our consultants provide assistance withSi vous avez besoin de pièces de rechange Nos consultants fournissent ’assistance pour