
MAINTENANCE  (CLEANING)
![]()
![]() WARNING
WARNING
Disconnect power source before working on unit.
![]()
![]() CAUTION
CAUTION
Routine maintenance must be done every year. Please wear gloves during the cleaning work. Never use gasoline, benzene, thinner or any other such chemicals for cleaning the ventilating fan.
Do not immerse motor in water when cleaning. Do not soak resin parts in water over 140![]() F (60
F (60![]() C).
C).
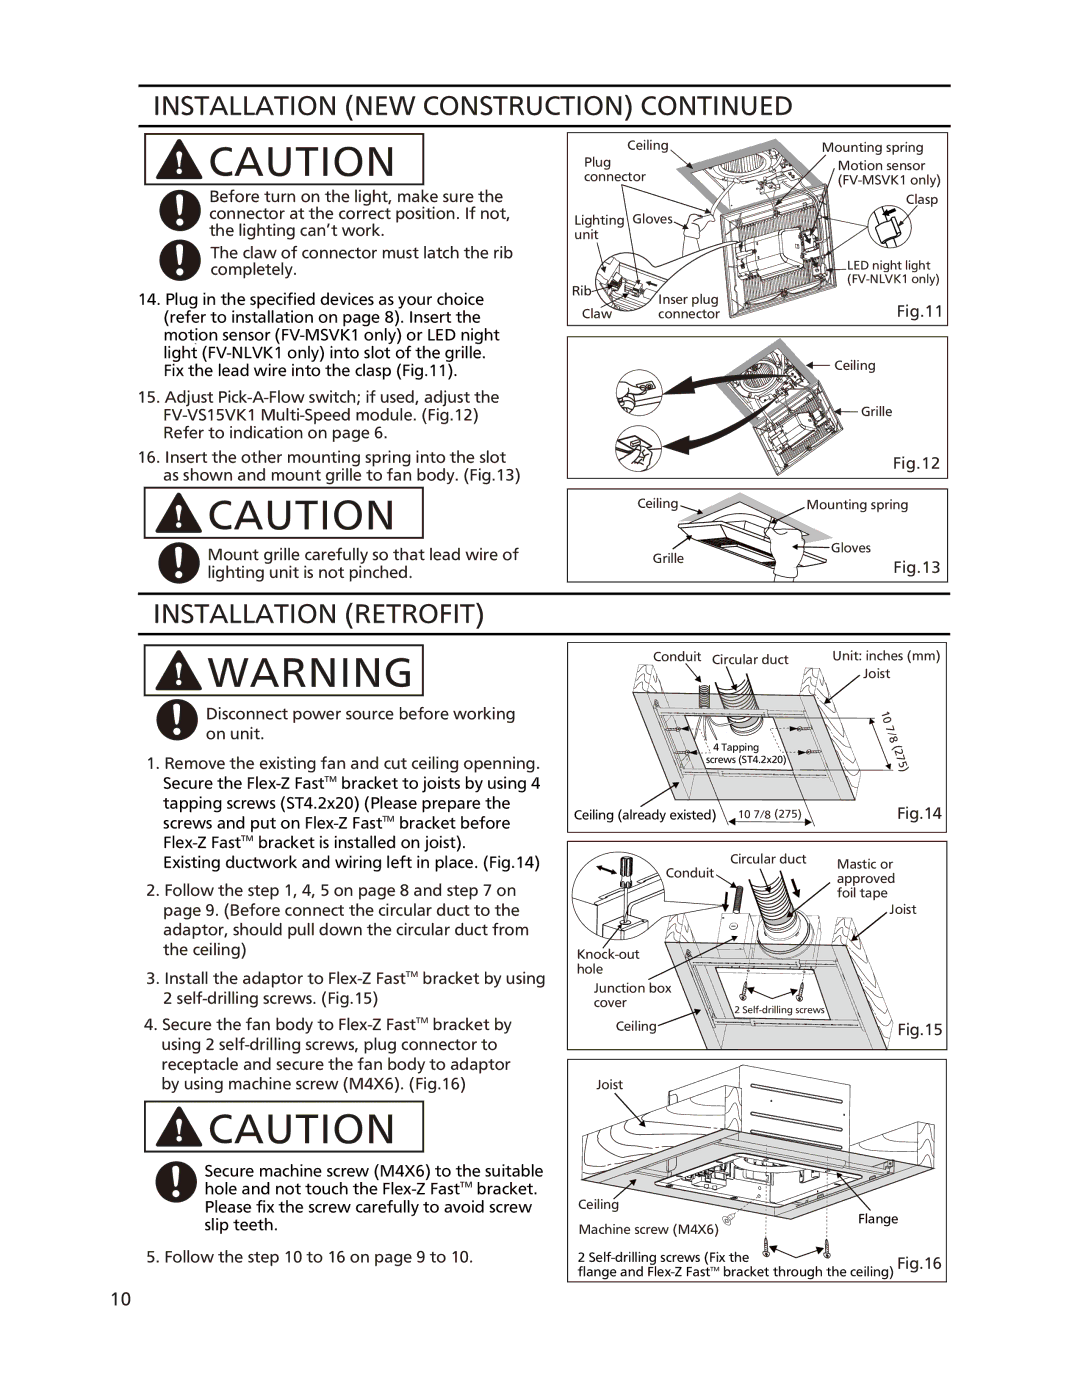
1.Clean grille. (Don’t put into hot water. Use
2.The grille should be dry after cleaning.
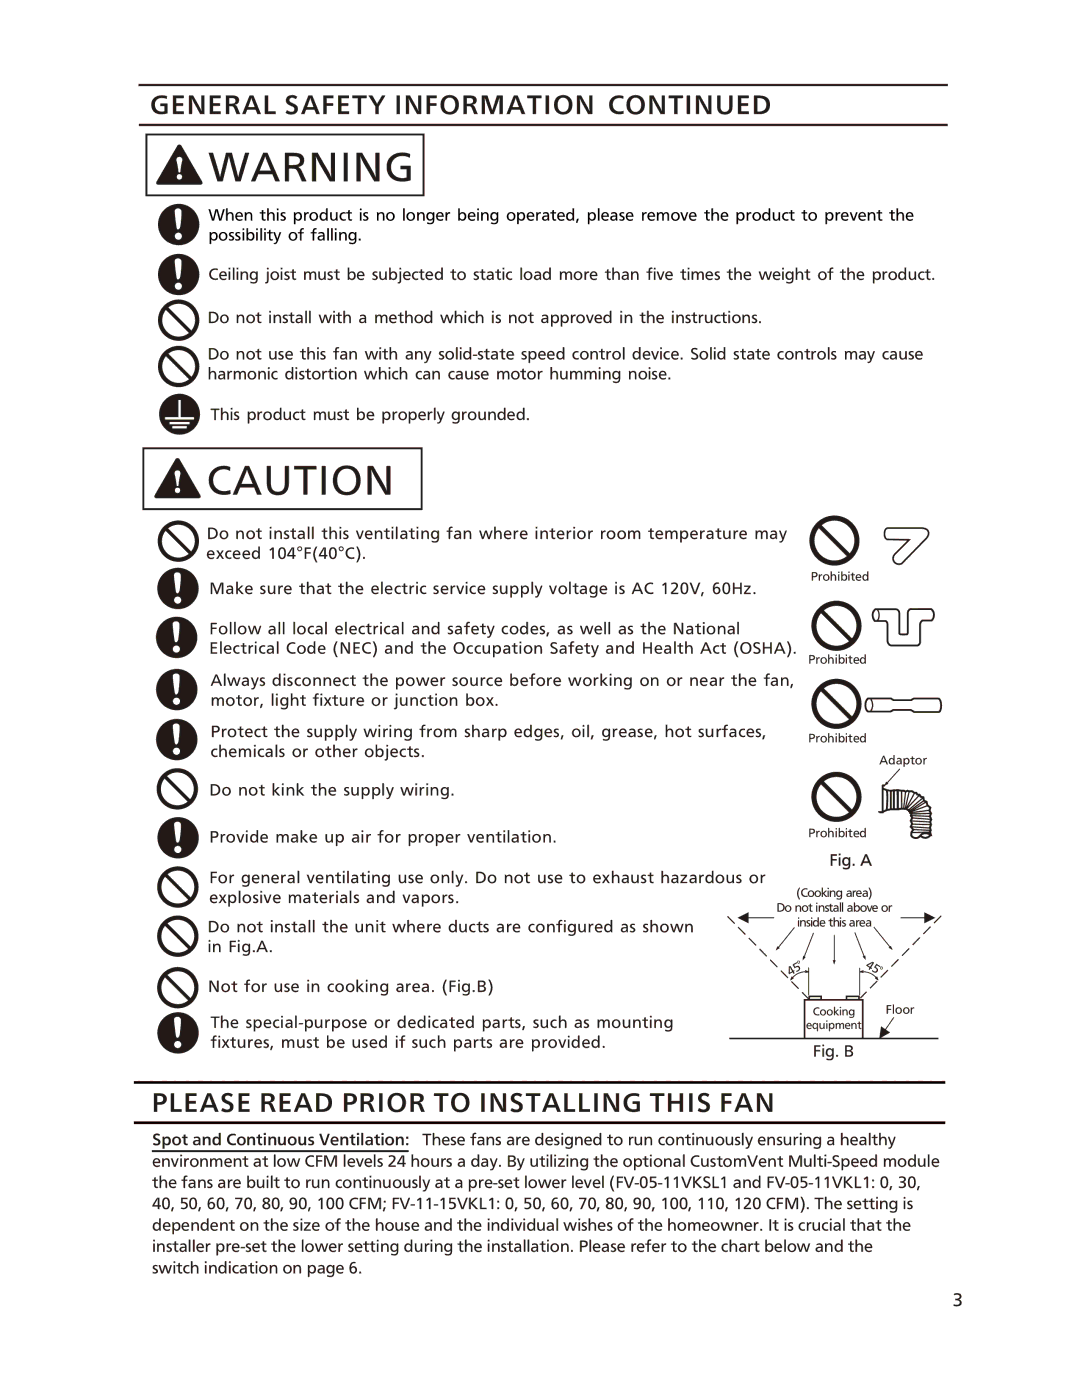
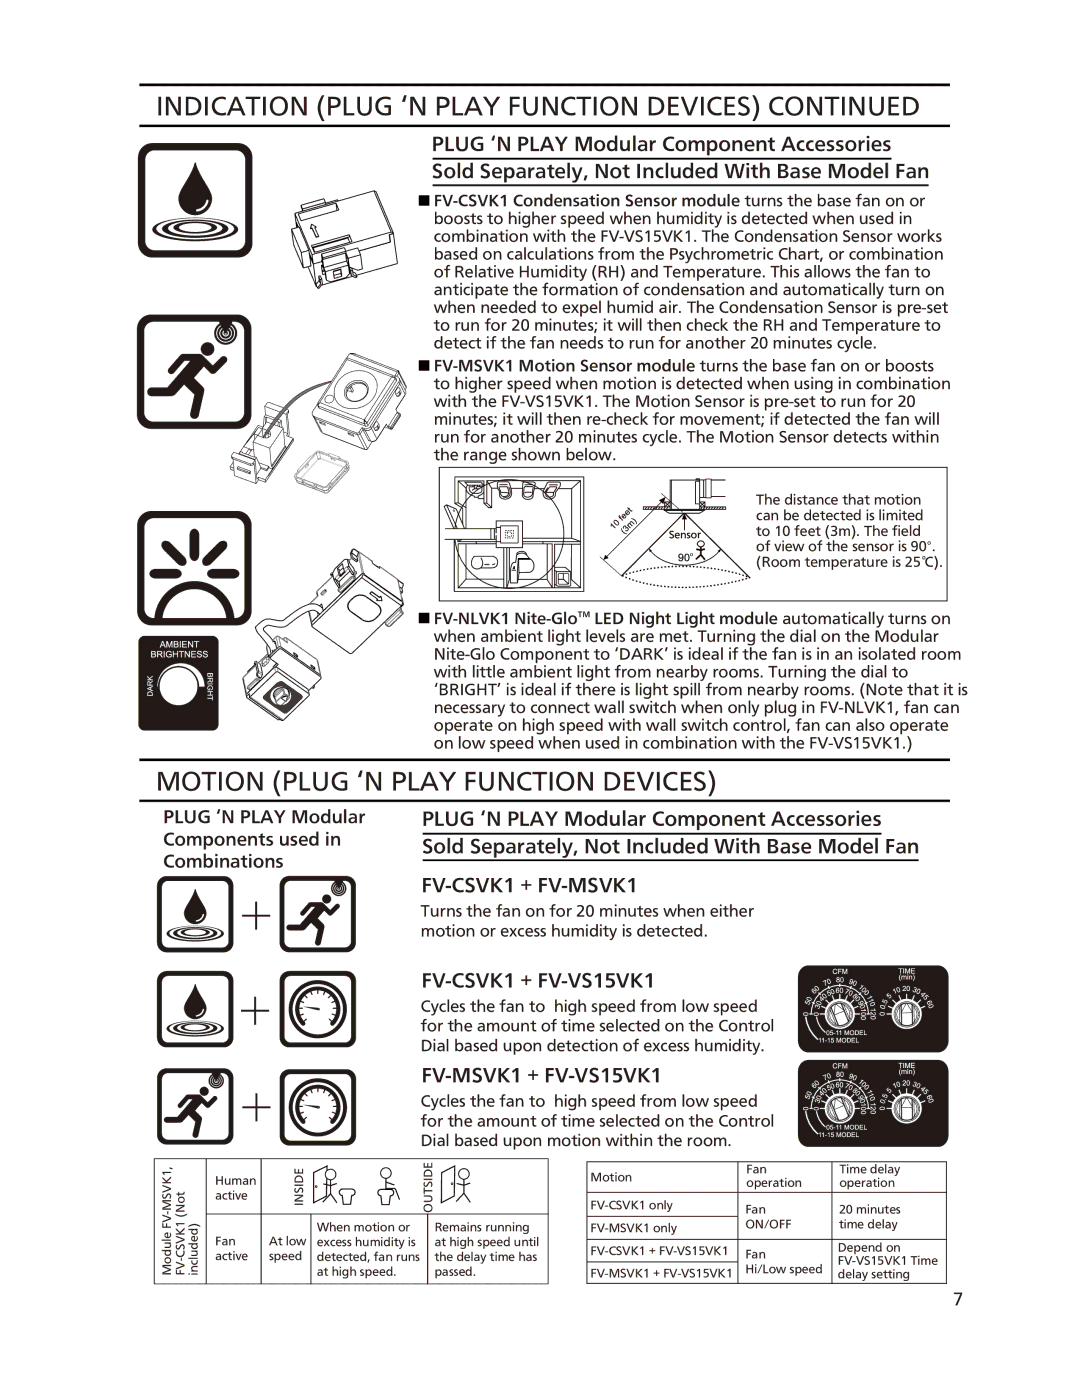
3.Remove dust and dirt from fan body using a vacuum cleaner. (Fig.18)
4.Using a cloth dampened with kitchen detergent, remove any dirt from fan body. Wipe dry with clean cloth. (Fig.19)
5.Reinstall grille.
Gloves
Fig.17
![]() Ceiling
Ceiling
Vacuum |
cleaner |
Fig.18
![]()
![]()
![]()
![]()
![]()
![]()
![]()
![]()
![]()
![]()
![]() Ceiling
Ceiling
Gloves![]()
Fig.19
MAINTENANCE  (REPLACEMENT OF LAMP)
![]()
![]() WARNING
WARNING
Disconnect power source before working on unit. The lamp’s glass is fragile, be careful when the lamp is replaced.
Make sure the temperature of lens and lighting unit has cooled down before maintenance (cleaning) or replacement of lamp.
![]()
![]() CAUTION
CAUTION
Remove dust and dirt from light cover and lens, before replace the lamps.
The LED lamps should be replaced as the specified type. The supplied LED lamps are not intended for other use.
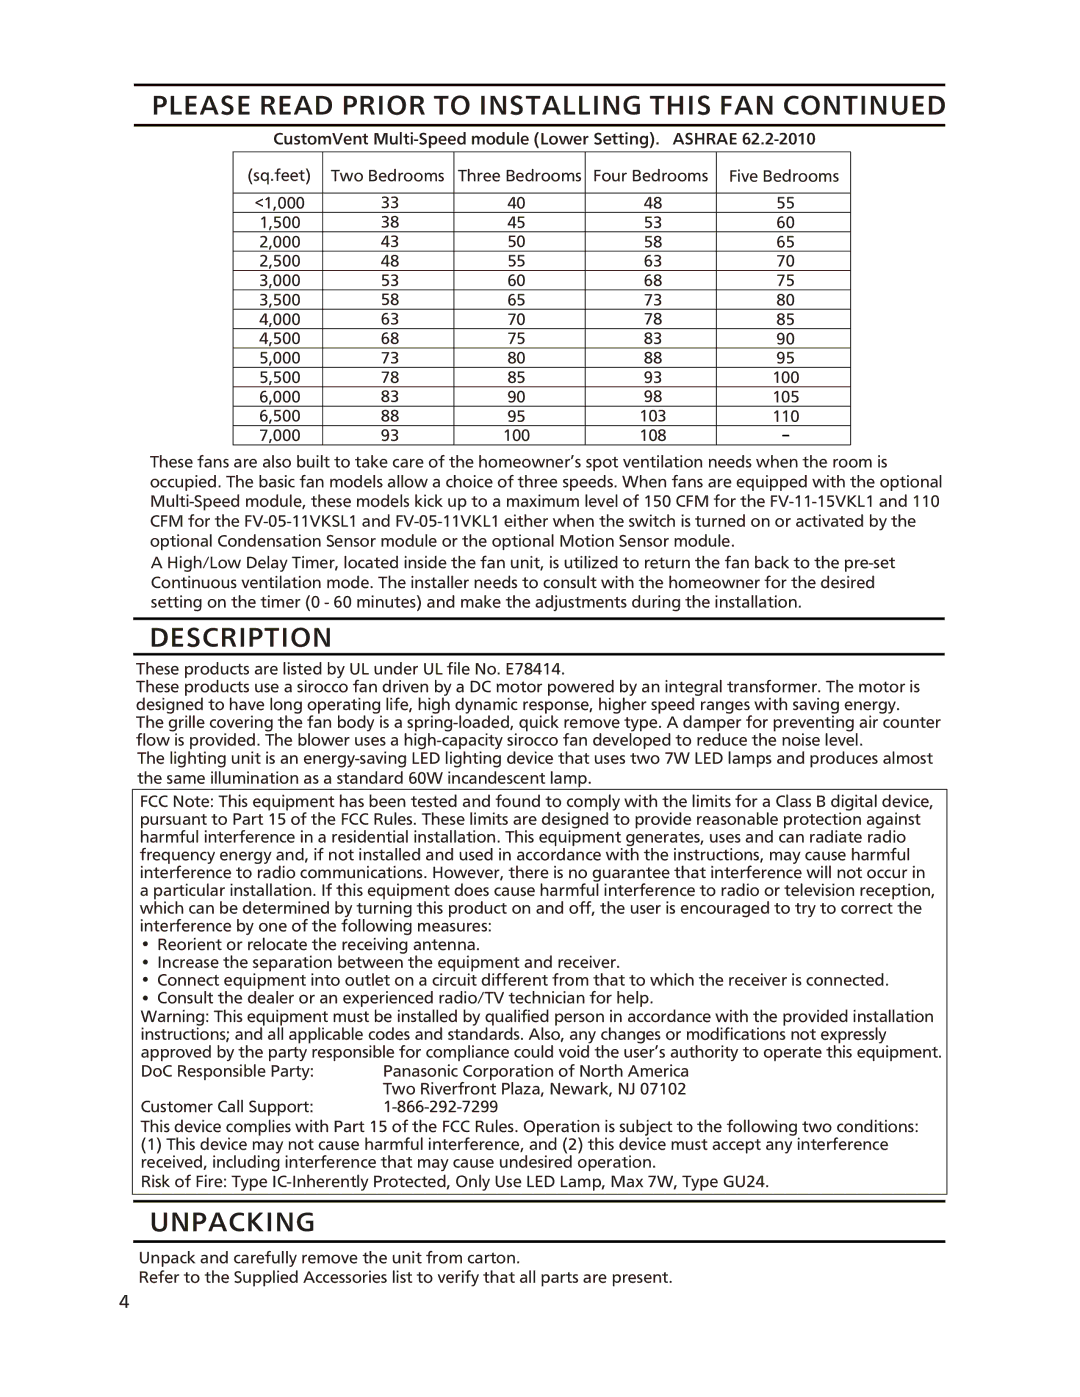
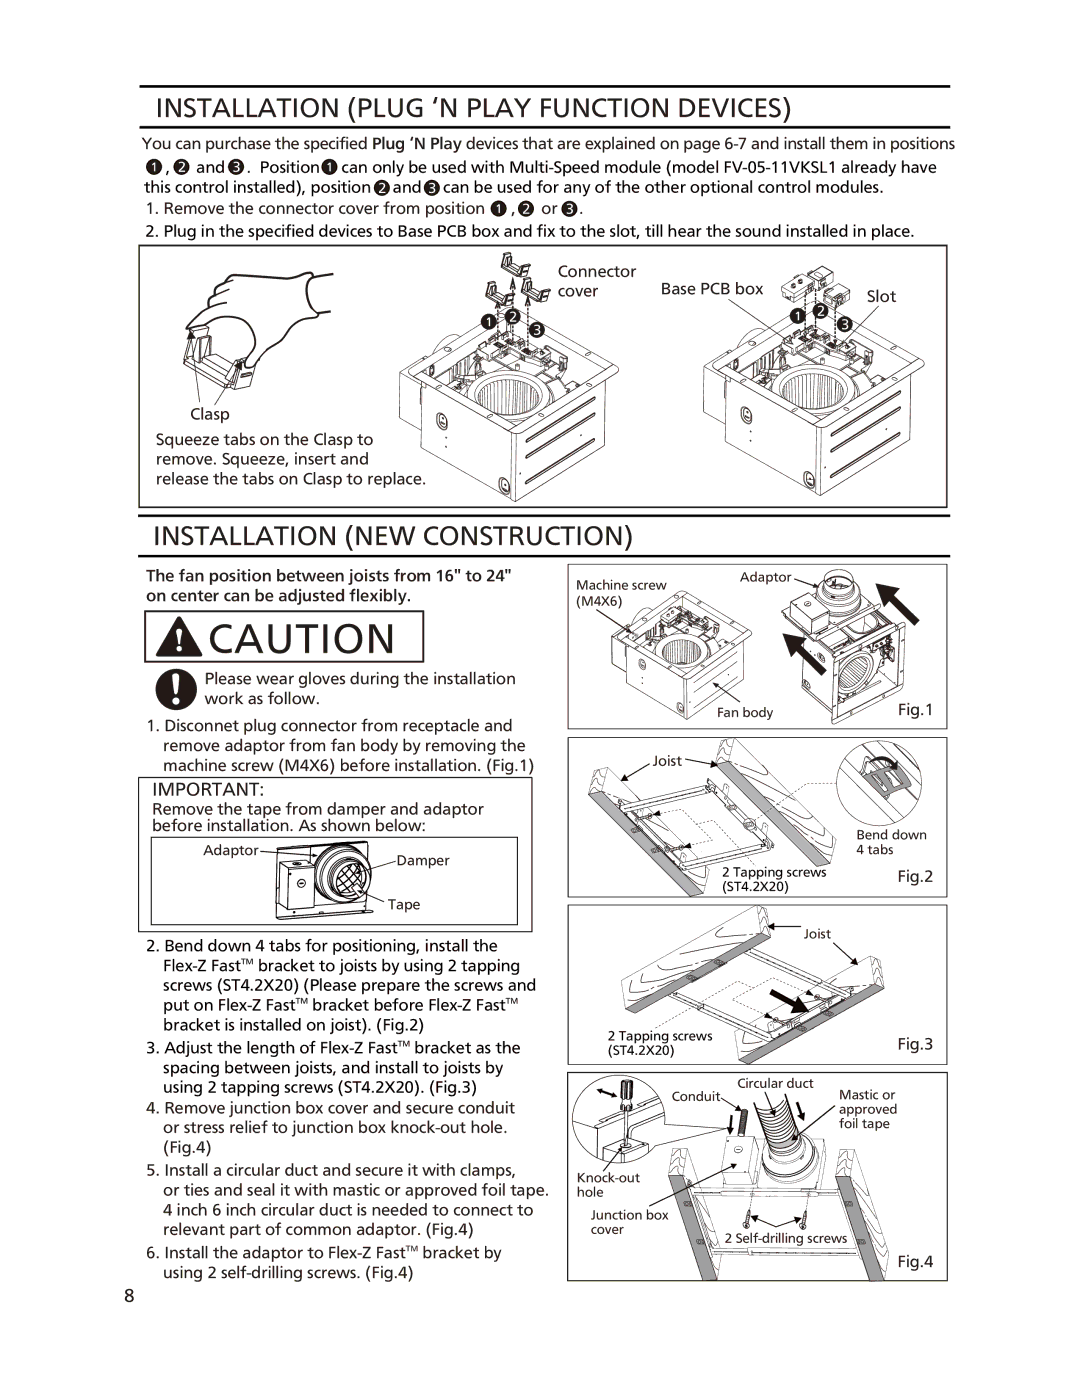
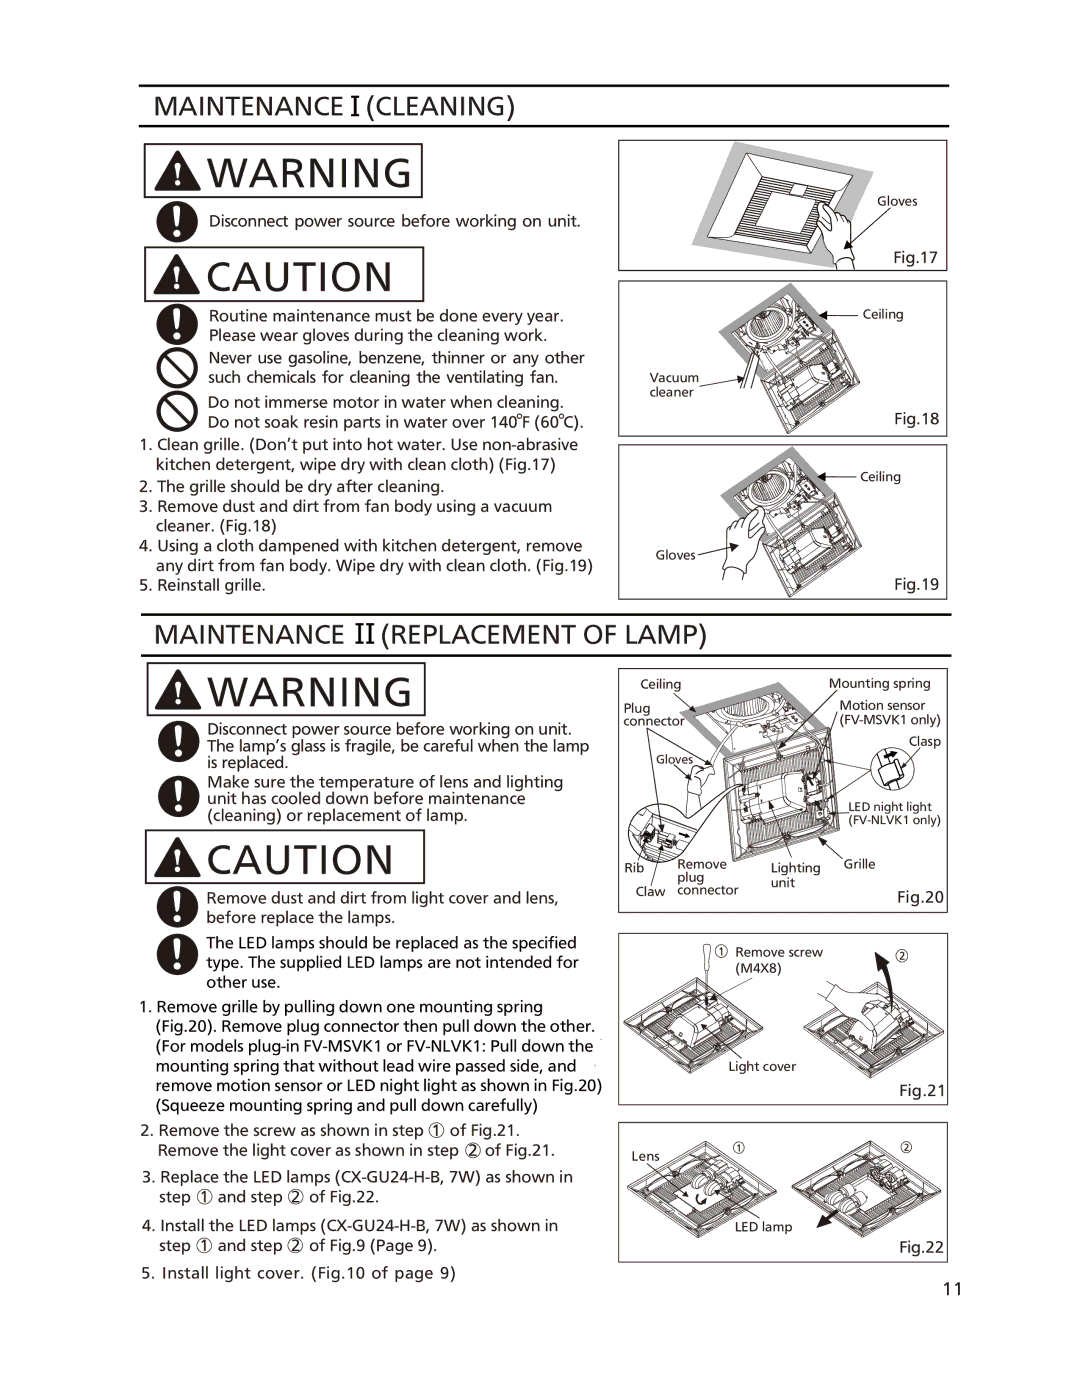
1.Remove grille by pulling down one mounting spring (Fig.20). Remove plug connector then pull down the other. (For models
2.Remove the screw as shown in step ![]() of Fig.21. Remove the light cover as shown in step
of Fig.21. Remove the light cover as shown in step ![]() of Fig.21.
of Fig.21.
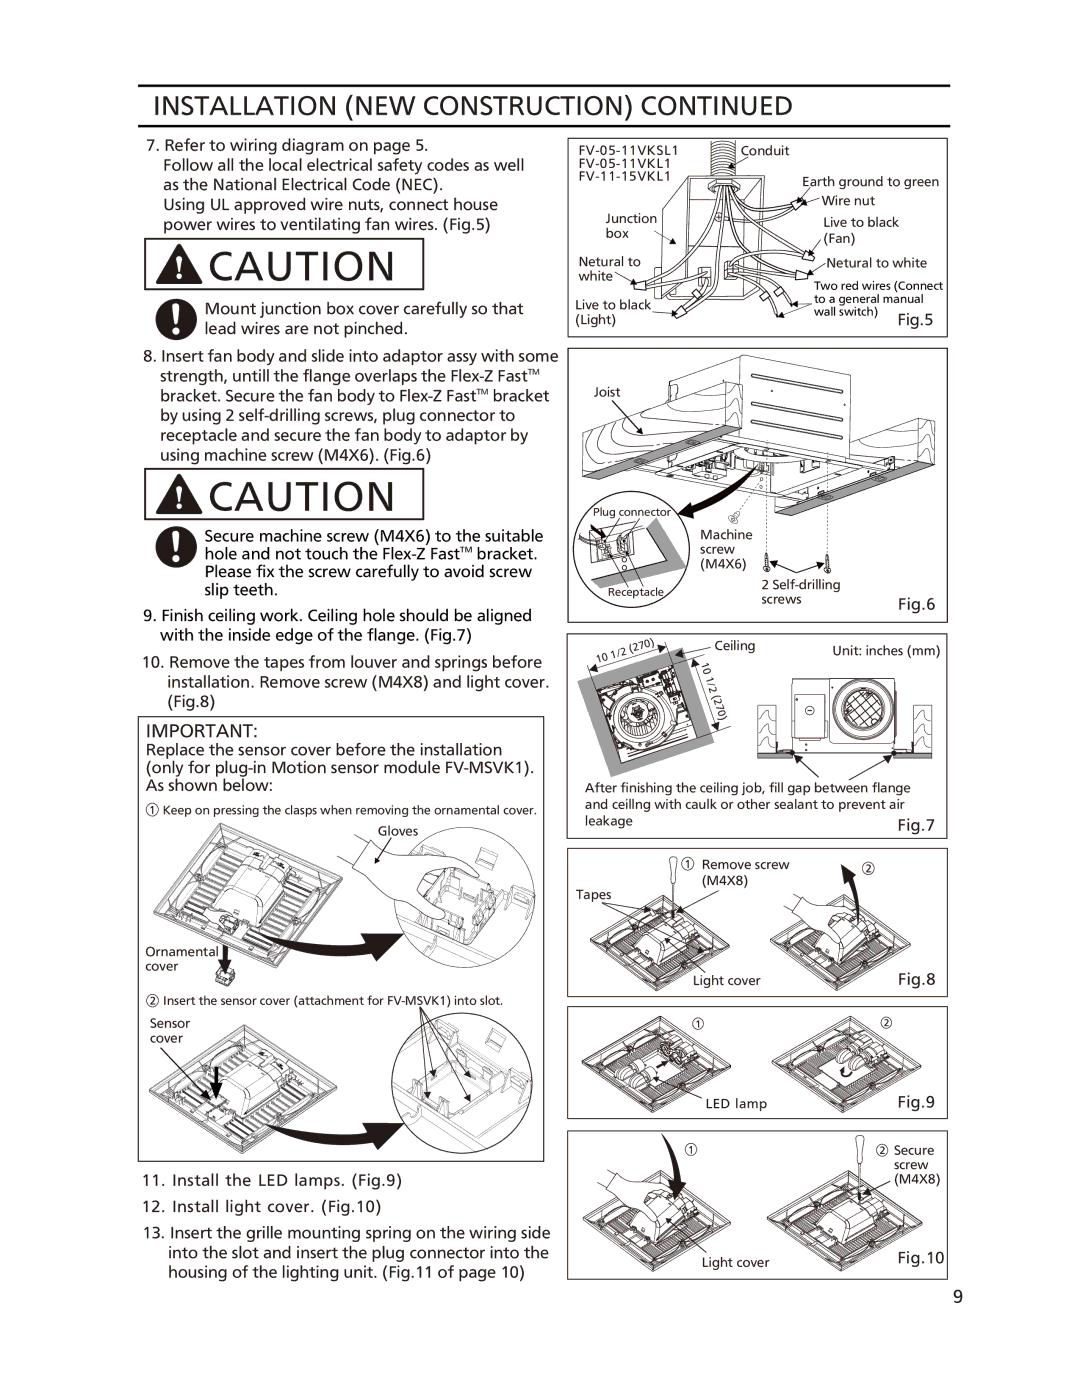
3.Replace the LED lamps
4.Install the LED lamps
5.Install light cover. (Fig.10 of page 9)
Ceiling |
| Mounting spring | ||
Plug |
|
| Motion sensor | |
connector |
| |||
|
|
| Clasp | |
Gloves |
|
| ||
|
|
| LED night light | |
|
|
| ||
Rib | Remove | Lighting | Grille | |
| plug | unit |
| |
Claw | connector | Fig.20 | ||
| ||||
|
|
| ||
Remove screw |
(M4X8) |
Light cover |
Fig.21 |
Lens |
![]()
![]()
![]()
![]() LED lamp
LED lamp
Fig.22
11