
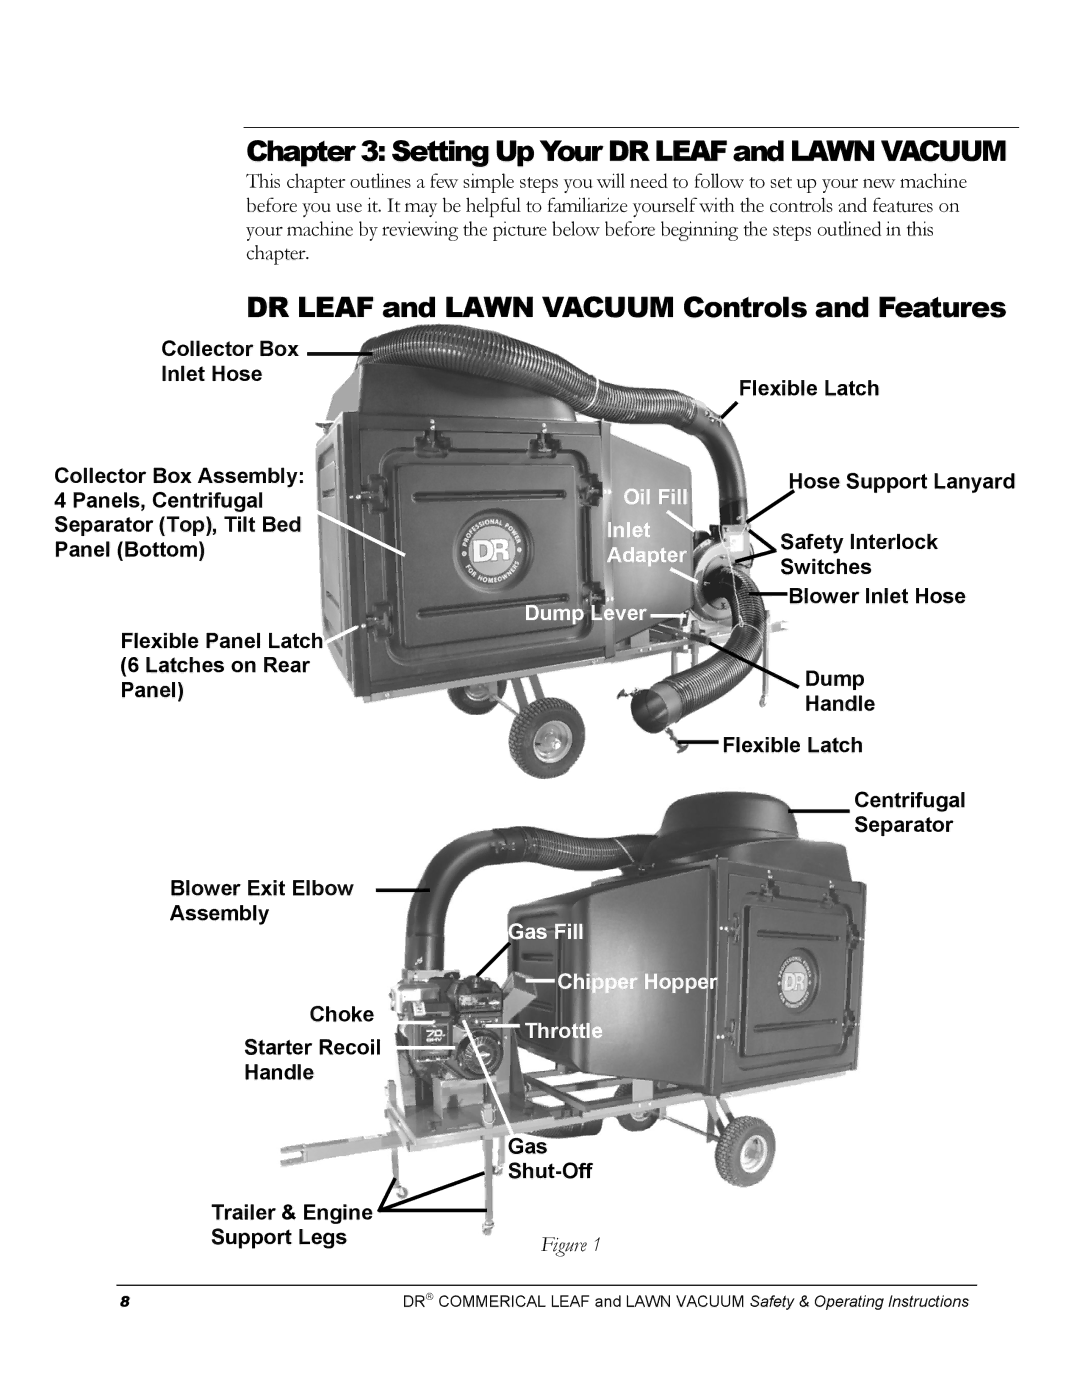
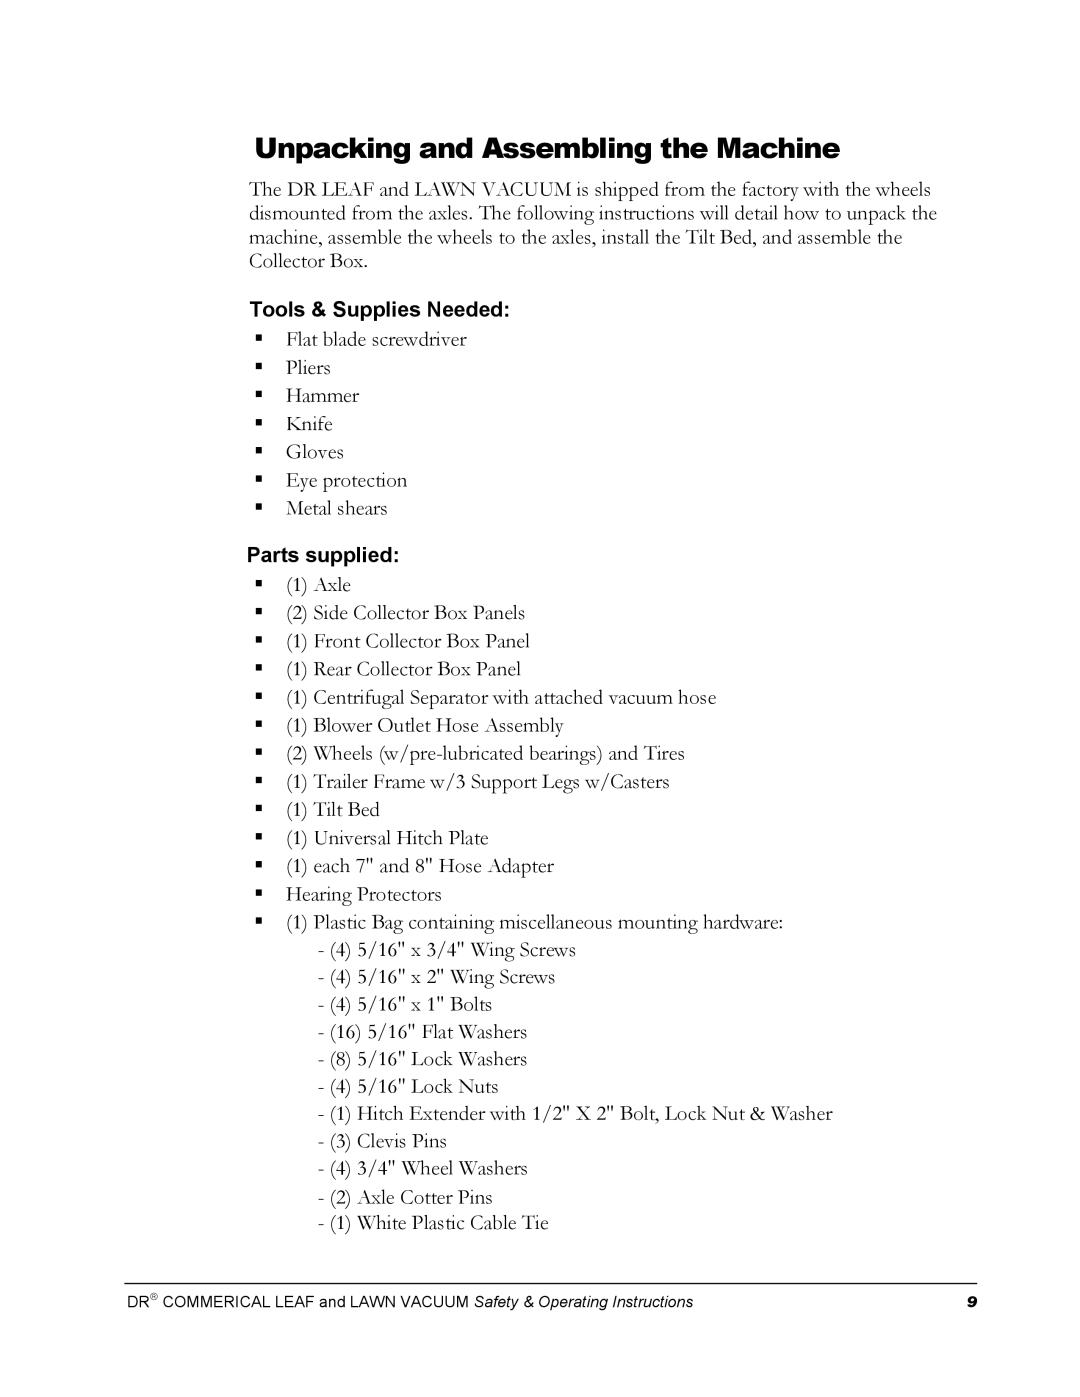
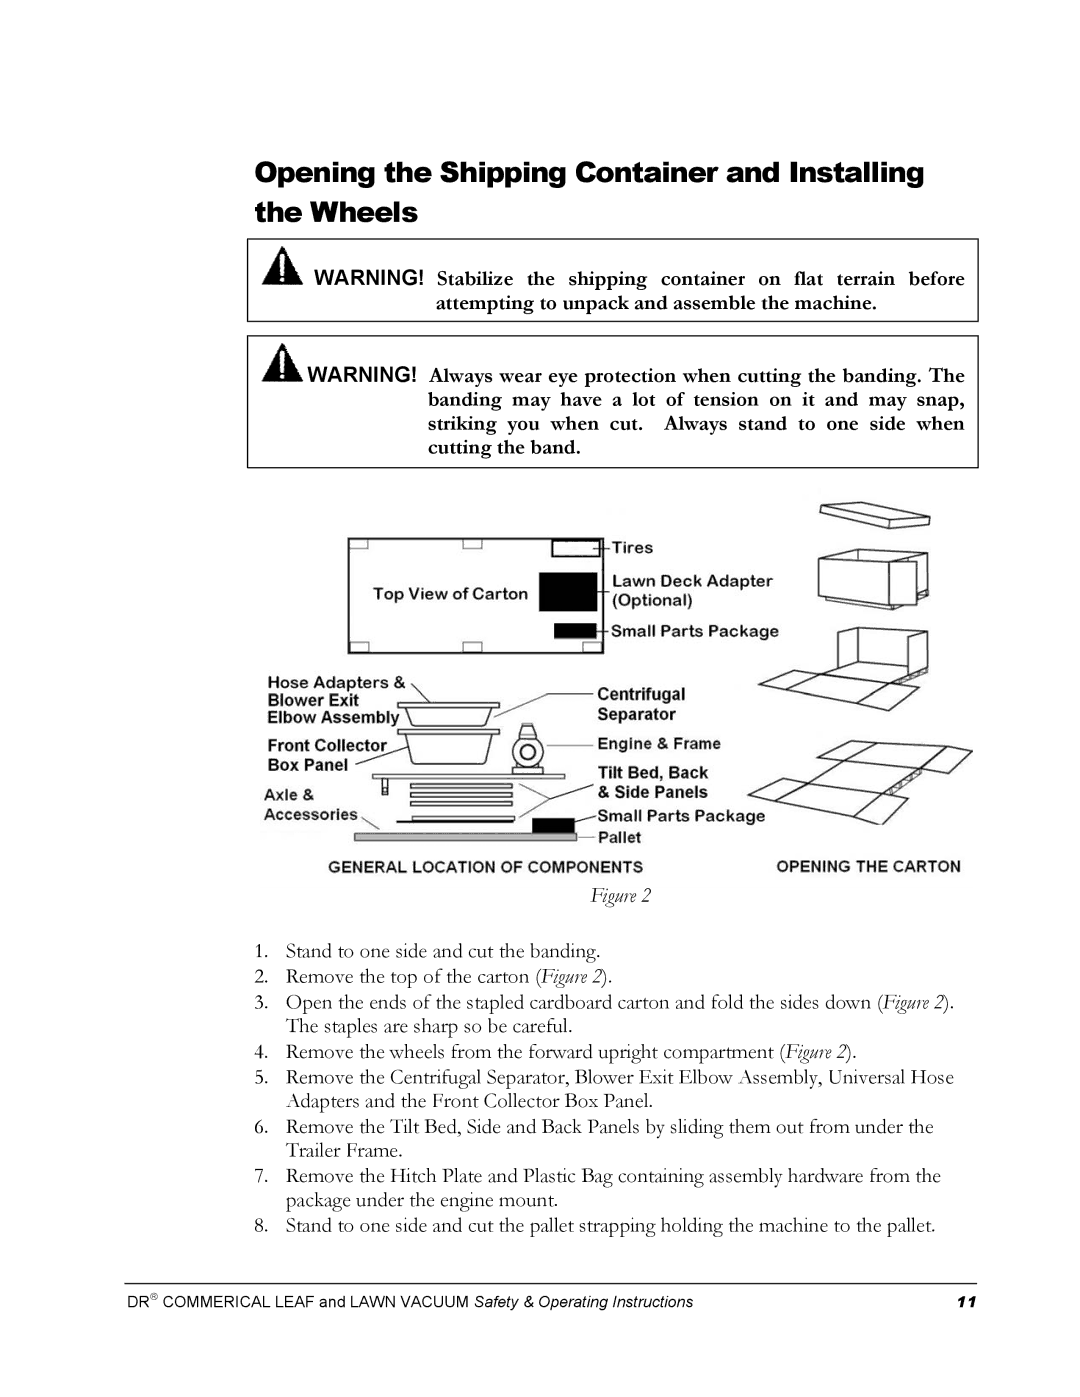
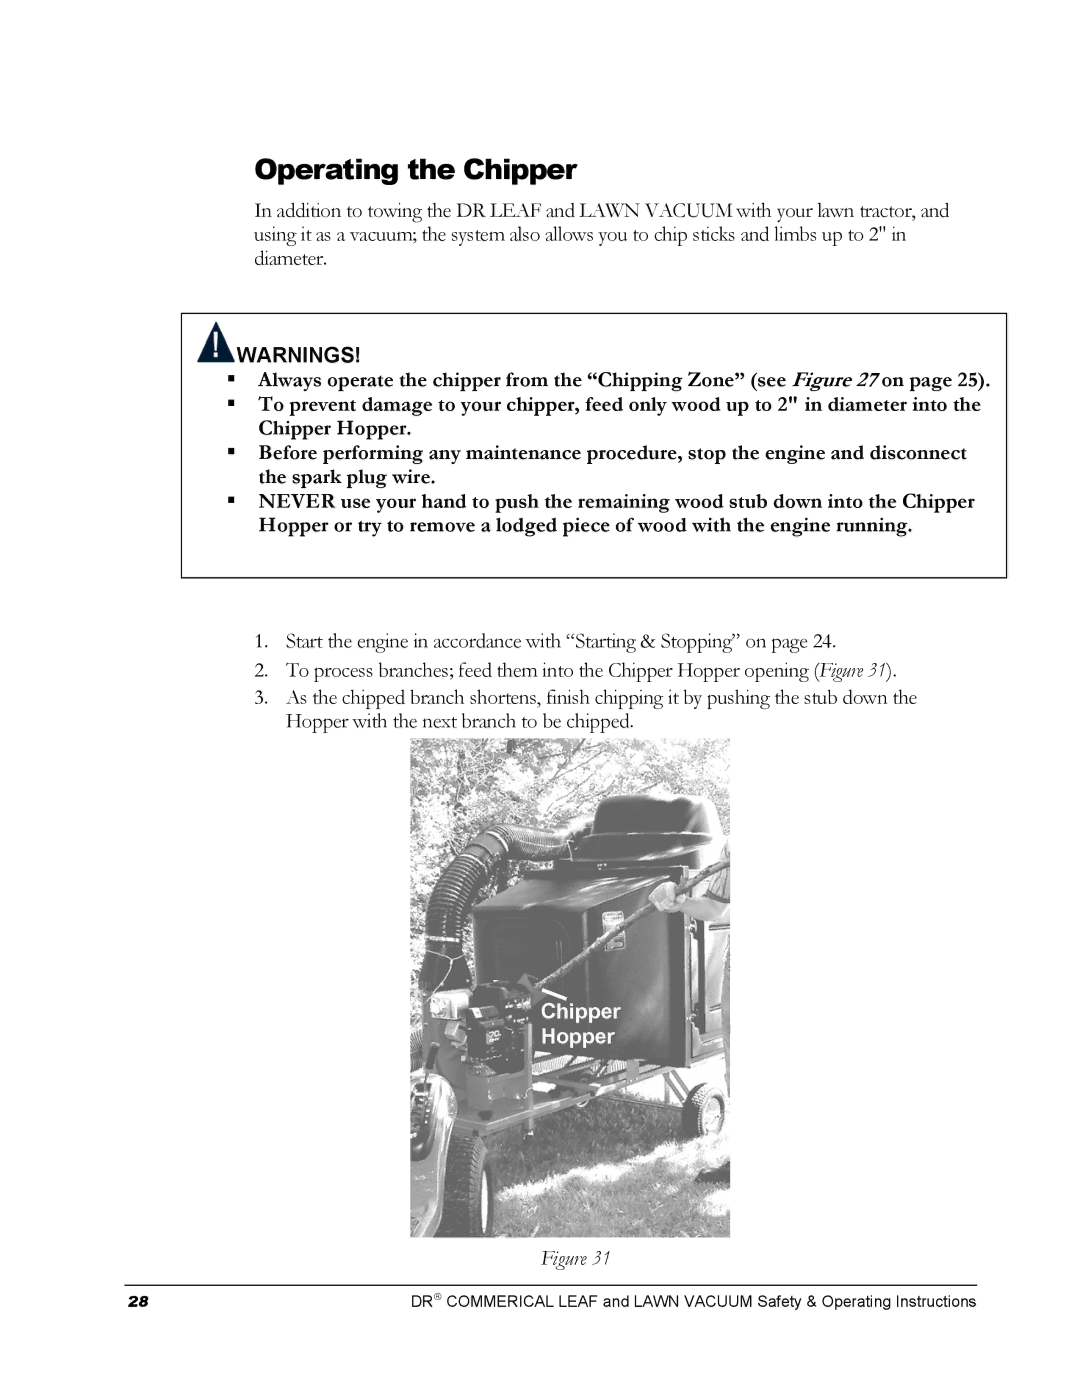

Opening the Shipping Container and Installing the Wheels
![]() WARNING! Stabilize the shipping container on flat terrain before attempting to unpack and assemble the machine.
WARNING! Stabilize the shipping container on flat terrain before attempting to unpack and assemble the machine.
![]() WARNING! Always wear eye protection when cutting the banding. The banding may have a lot of tension on it and may snap, striking you when cut. Always stand to one side when cutting the band.
WARNING! Always wear eye protection when cutting the banding. The banding may have a lot of tension on it and may snap, striking you when cut. Always stand to one side when cutting the band.
Figure 2
1.Stand to one side and cut the banding.
2.Remove the top of the carton (Figure 2).
3.Open the ends of the stapled cardboard carton and fold the sides down (Figure 2). The staples are sharp so be careful.
4.Remove the wheels from the forward upright compartment (Figure 2).
5.Remove the Centrifugal Separator, Blower Exit Elbow Assembly, Universal Hose Adapters and the Front Collector Box Panel.
6.Remove the Tilt Bed, Side and Back Panels by sliding them out from under the Trailer Frame.
7.Remove the Hitch Plate and Plastic Bag containing assembly hardware from the package under the engine mount.
8.Stand to one side and cut the pallet strapping holding the machine to the pallet.
DR COMMERICAL LEAF and LAWN VACUUM Safety & Operating Instructions | 11 |