Whirlpool SF397PEY, SF387PEY Using the Off/Cancel pad, Audible signals, To cancel Minute Timer

Page 12

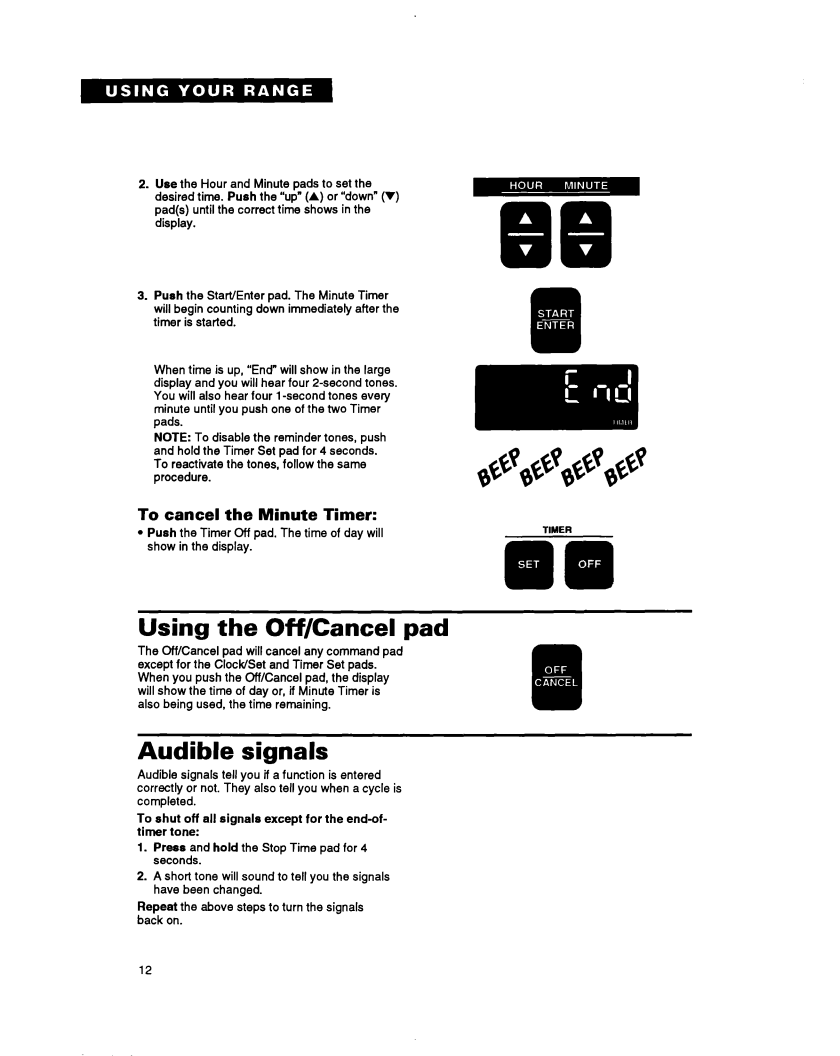
2.Use the Hour and Minute pads to set the desired time. Push the “up”(A) or “down” (V) pad(s) until the correct time shows in the display.

3.Push the Start/Enter pad. The Minute Timer will begin counting down immediately after the timer is started.

When time is up, “End” will show in the large display and you will hear four P-second tones. You will also hear four 1-second tones every minute until you push one of the two Timer pads.

NOTE: To disable the reminder tones, push and hold the Timer Set pad for 4 seconds. To reactivate the tones, follow the same procedure.

To cancel

the Minute

Timer:


l Push

the Timer Off pad. The time of day will

TIMER


show

in the

display.


Using the Off/Cancel pad

The Off/Cancel pad will cancel any command pad except for the Clock/Set and Timer Set pads. When you push the Off/Cancel pad, the display will show the time of day or, if Minute Timer is also being used, the time remaining.

Audible signals

Audible signals tell you if a function is entered correctly or not. They also tell you when a cycle is completed.

To shut off all signals except for the end-of- timer tone:

1.Press and hold the Stop Time pad for 4 seconds.

2.A short tone will sound to tell you the signals have been changed.

Repeat the above steps to turn the signals back on.

12

Image 12
Contents SELF-CLEANING GAS Range CaringYour safety is important to us Thank you for buying a Whirlpool applianceSerial Number Dealer Purchase DateImportant Safety Instructions GeneralWhen using the cooktop When using the ovenKnow where your main gas shutoff valve is located Keep range vents unobstructedCare and cleaning GreasePar&And Features ControlUsing Your Range Using the surface burnersBurner heat settings This SectionCase of a prolonged power failure Setting Recommended USECookware tips Home canning informationPositioning racks and pans 6th oven rack position Roasting rackFood Frozen pies, large roasts, turkeysMealtimer For best air circulationElectronic oven control Display/clockSetting the clock Using the electronic Minute TimerCommand pads Using the Off/Cancel pad Audible signalsTo cancel Minute Timer Push Timer Off pad. The time of day willBaking/roasting Adjusting the oven temperature control BroilingTo broil at a lower temperature Broiling tipsBroiling rack position chart Energy saving tipsUsing the electronic Mealtimer control Position the oven racks properly and put food in the ovenMethod Z-Using Stop Time Display will count down the baking/ roasting time in minutesDisplay will count down the baking/ roasting time in minutes Position the oven racks properly and put food in the oven Page Method Z-Using Delay Start Time and Stop Time Position the oven racks property and put food in the ovenMethod 3-Using Cook Time and Stop Time Page Page Oven vent Storage drawerAnti-tip bracket Using The Self-Cleaning Cycle How the cycle worksBefore you start This Section PawPageSetting the controls Remove any pots and pans being stored in the ovenSkip to Step Page To stop the Self-Cleaning cycle at any time Caring For Your RangeSpecial tips This Section PawCleaning the contoured well areas Surface burner gratesSurface burners and cooktop Cleaning the burners Cleaning chart HOW to CleanPart What OFFUsing and replacing the light bulbs Cooktop lightOven light To replace the oven lightProblem SolutionYou Need Assistance Or Sewice Before calling for assistanceThere has been a power failure Possible CauseIf you need service If you are not satisfied with how the problem was solvedIf you need FSP replace- ment parts Gas Cooking Product Warranty Length of WarrantyWarranty Full ONE-YEAR