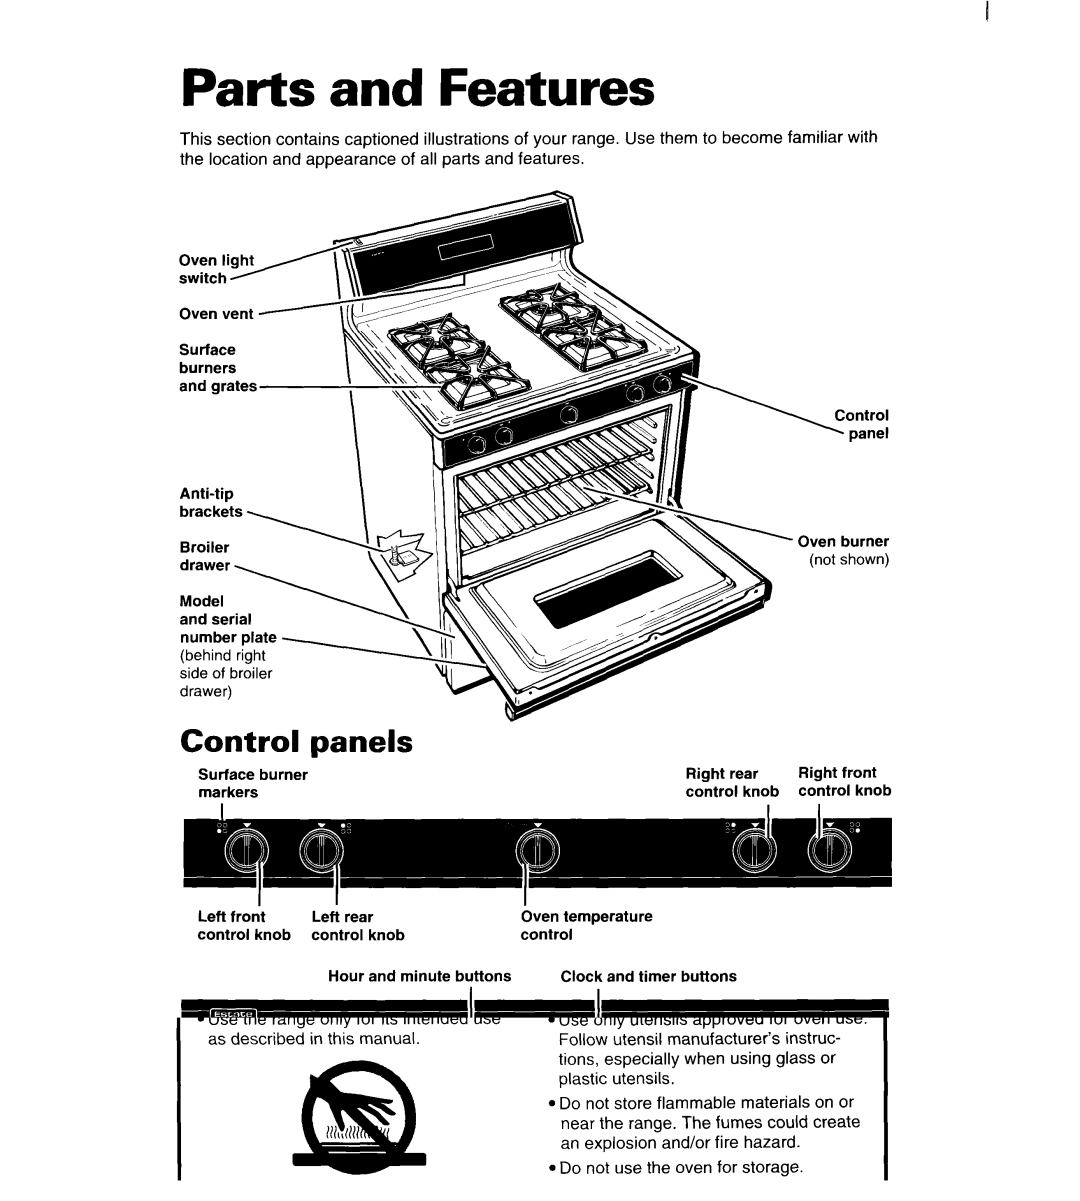
Setting | the | clock |
| |
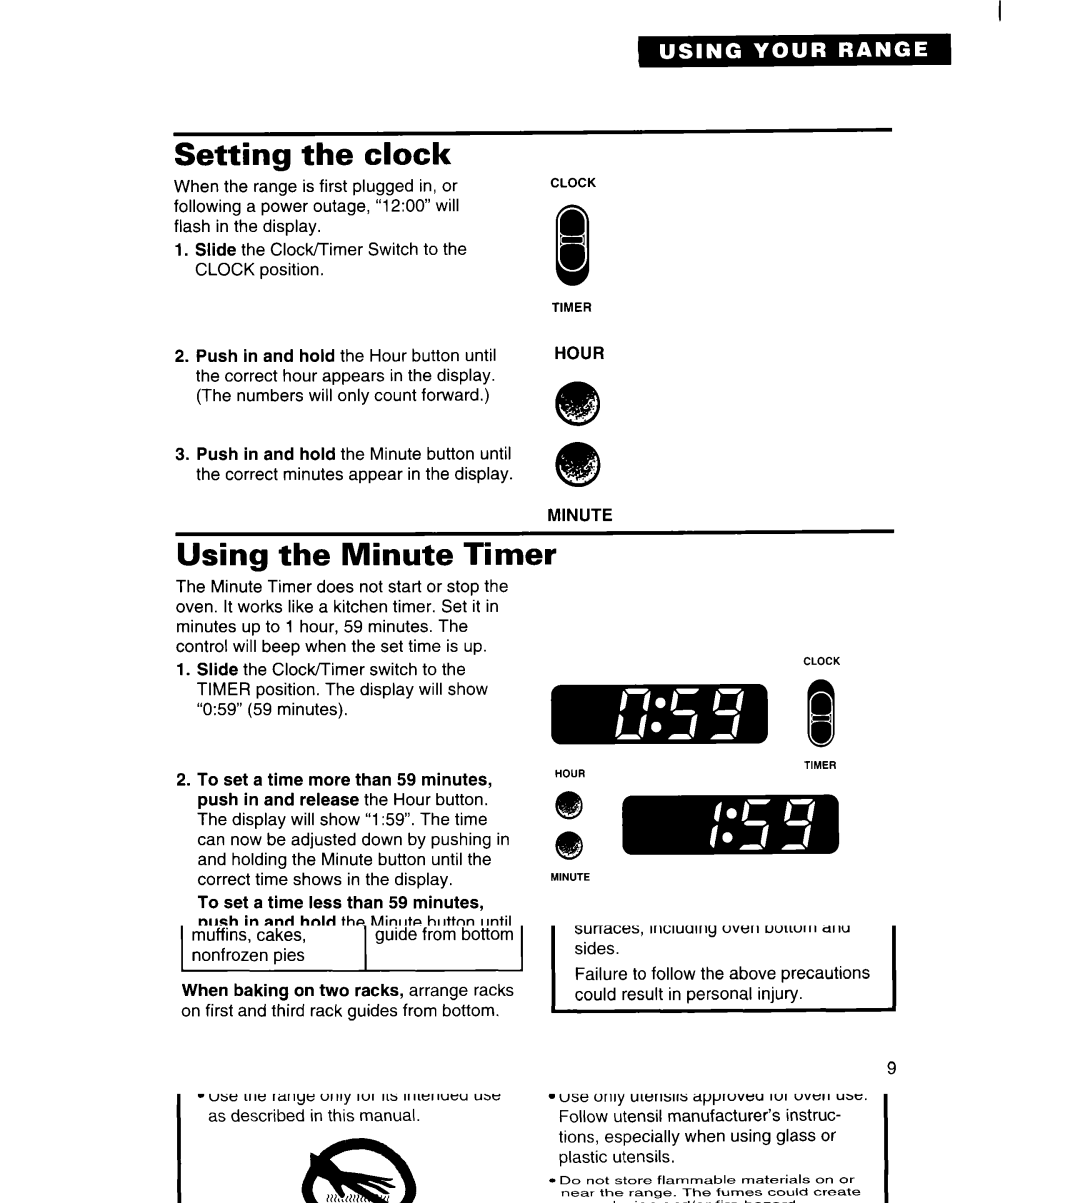
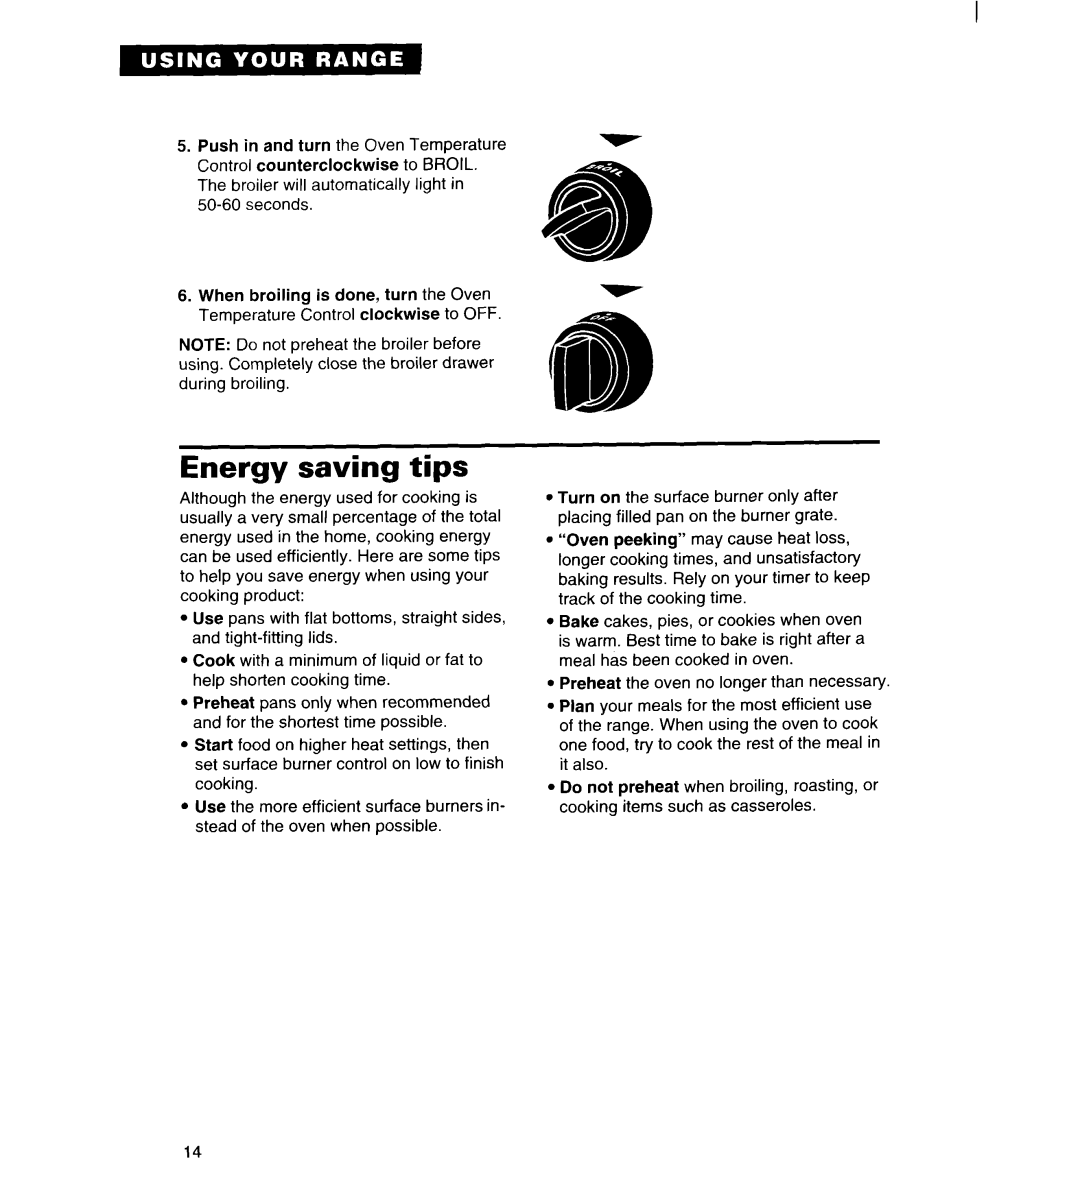
When the range is first | plugged in, or | CLOCK | ||
following a power outage, “12:Oo”will | 0 | |||
flash in the | display. |
| ||
| l | |||
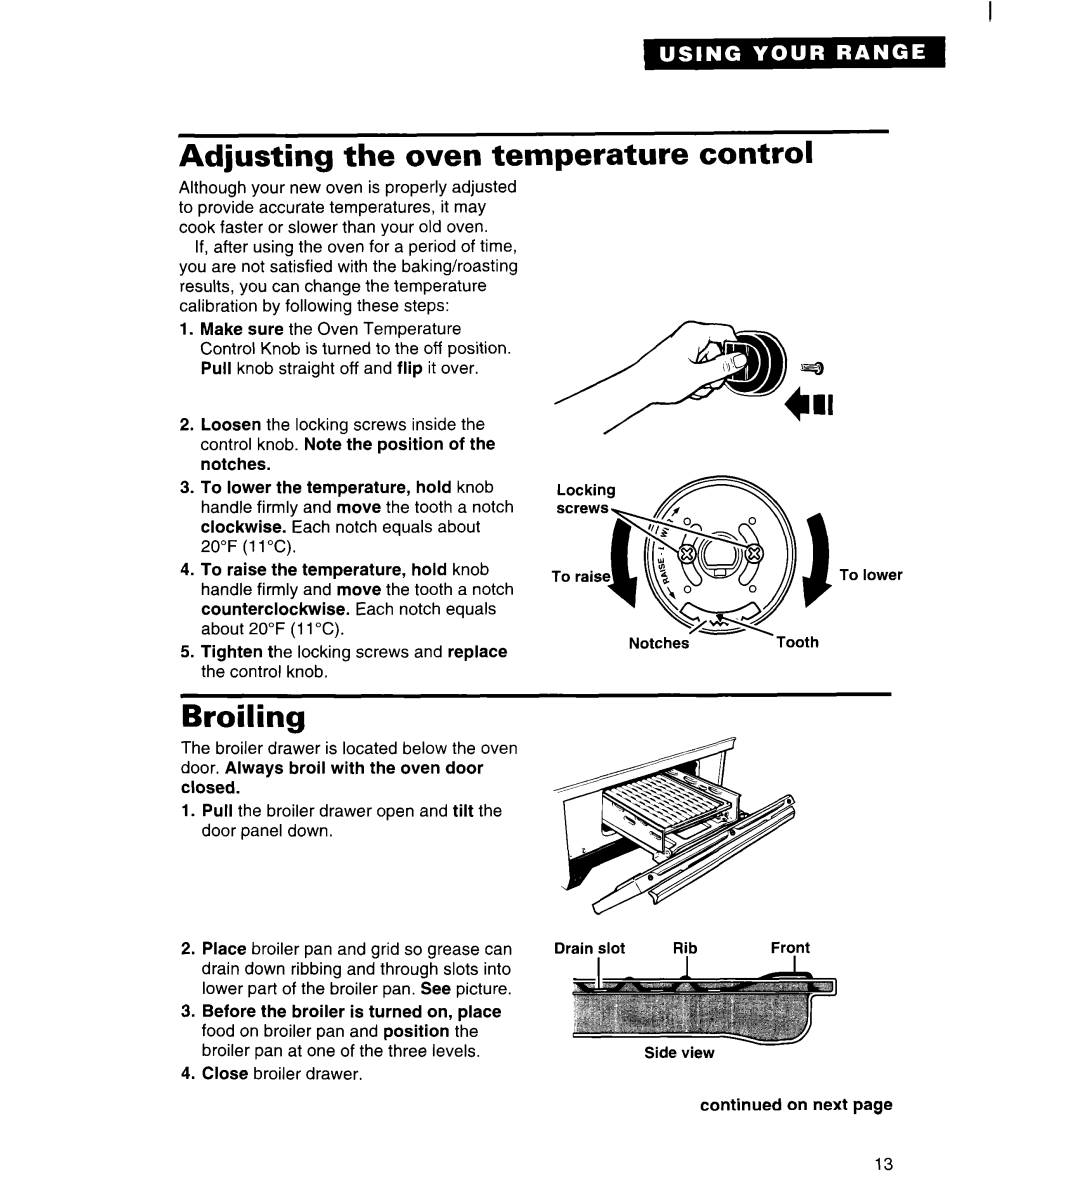
1. Slide the Clock/Timer Switch to the | ||||
l | ||||
CLOCK | position. |
| ||
|
|
| TIMER | |
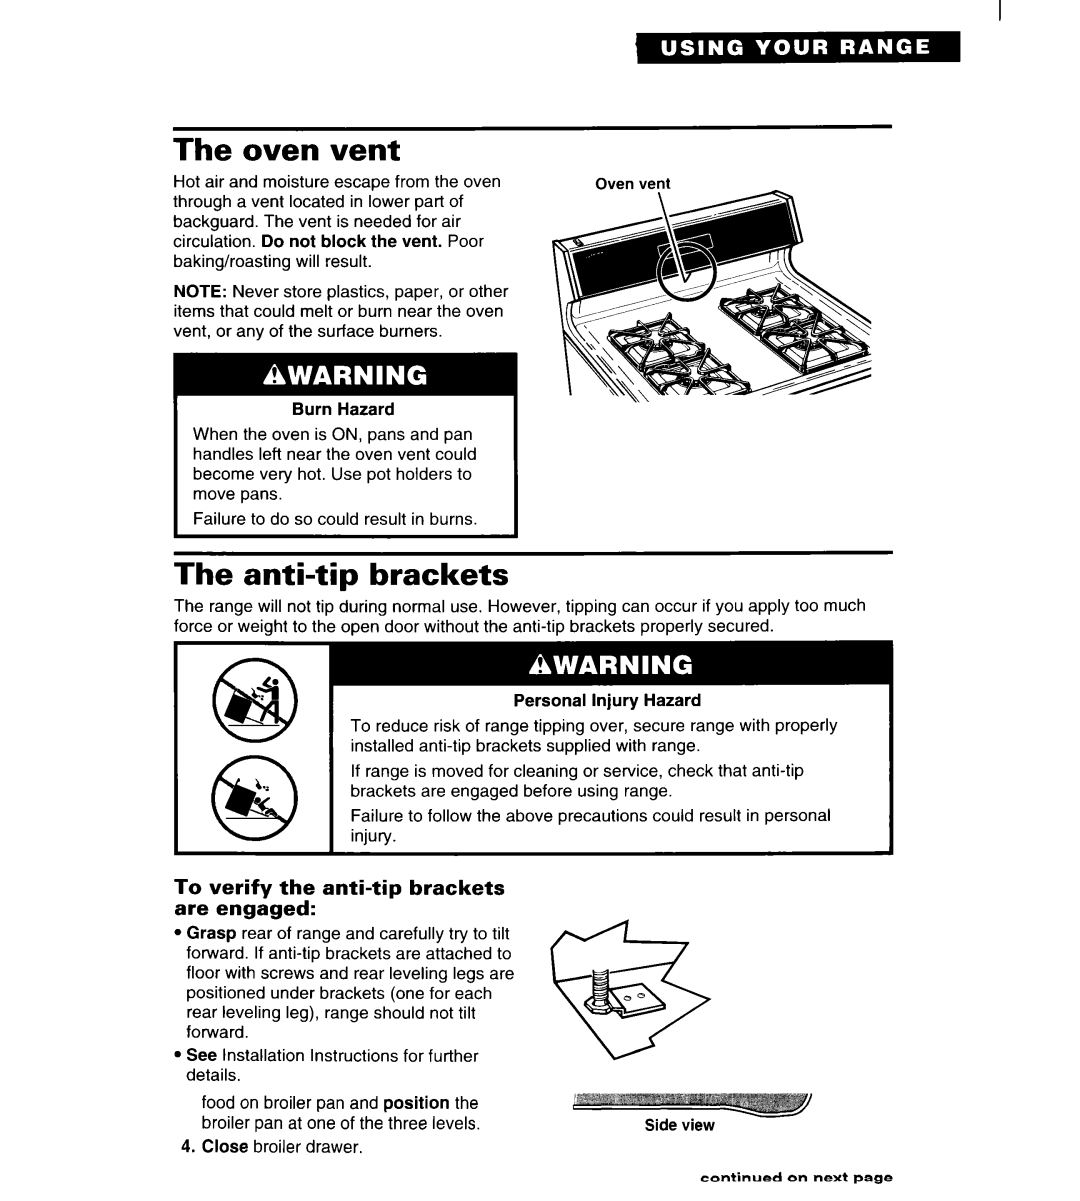
2. Push in | and hold the Hour button until | HOUR | ||
the correct hour appears in the display. |
| |||
(The numbers will only count forward.) |
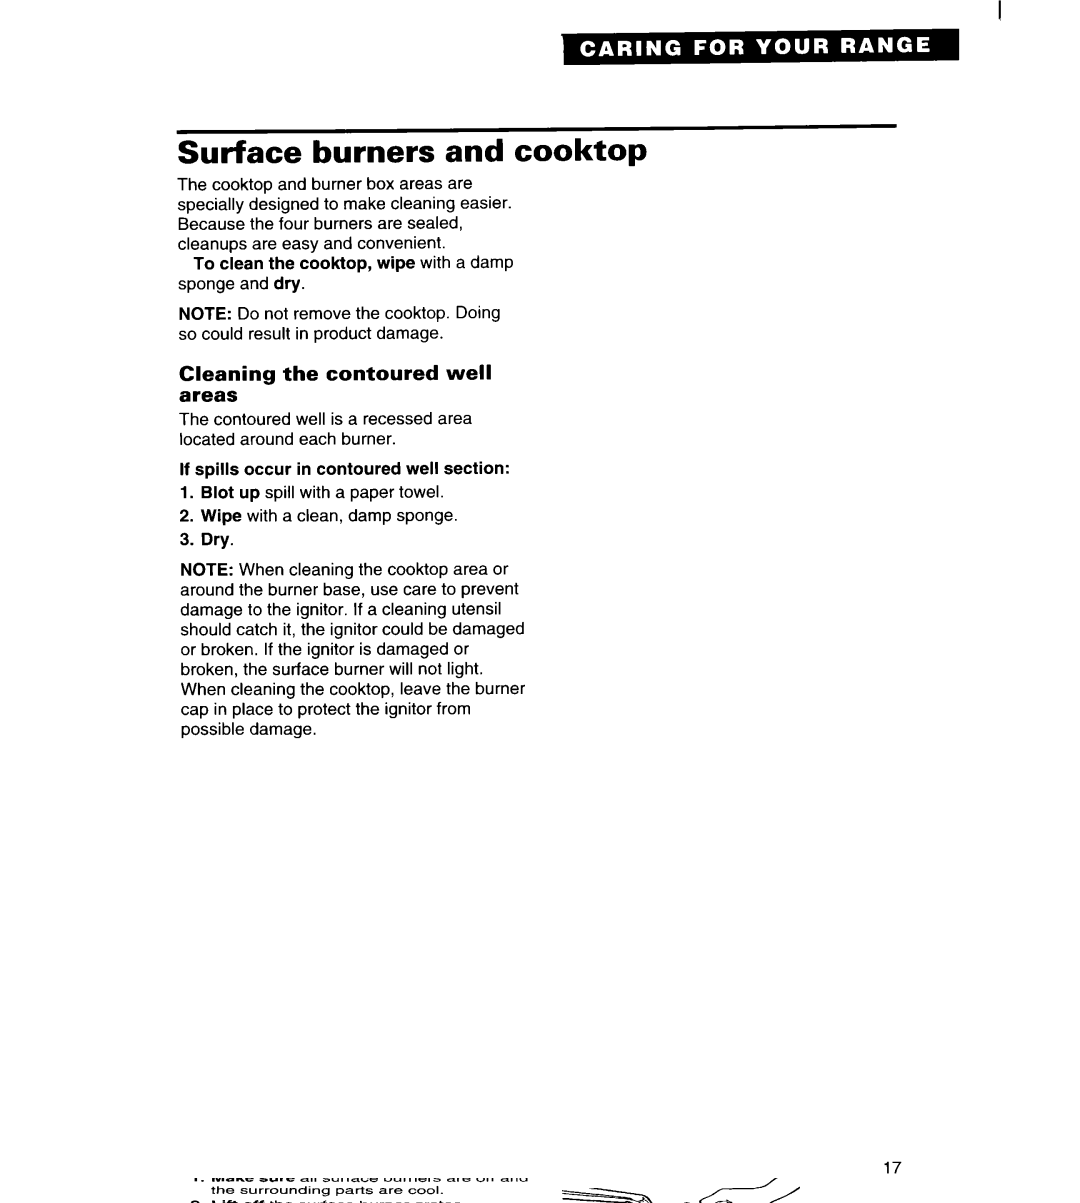
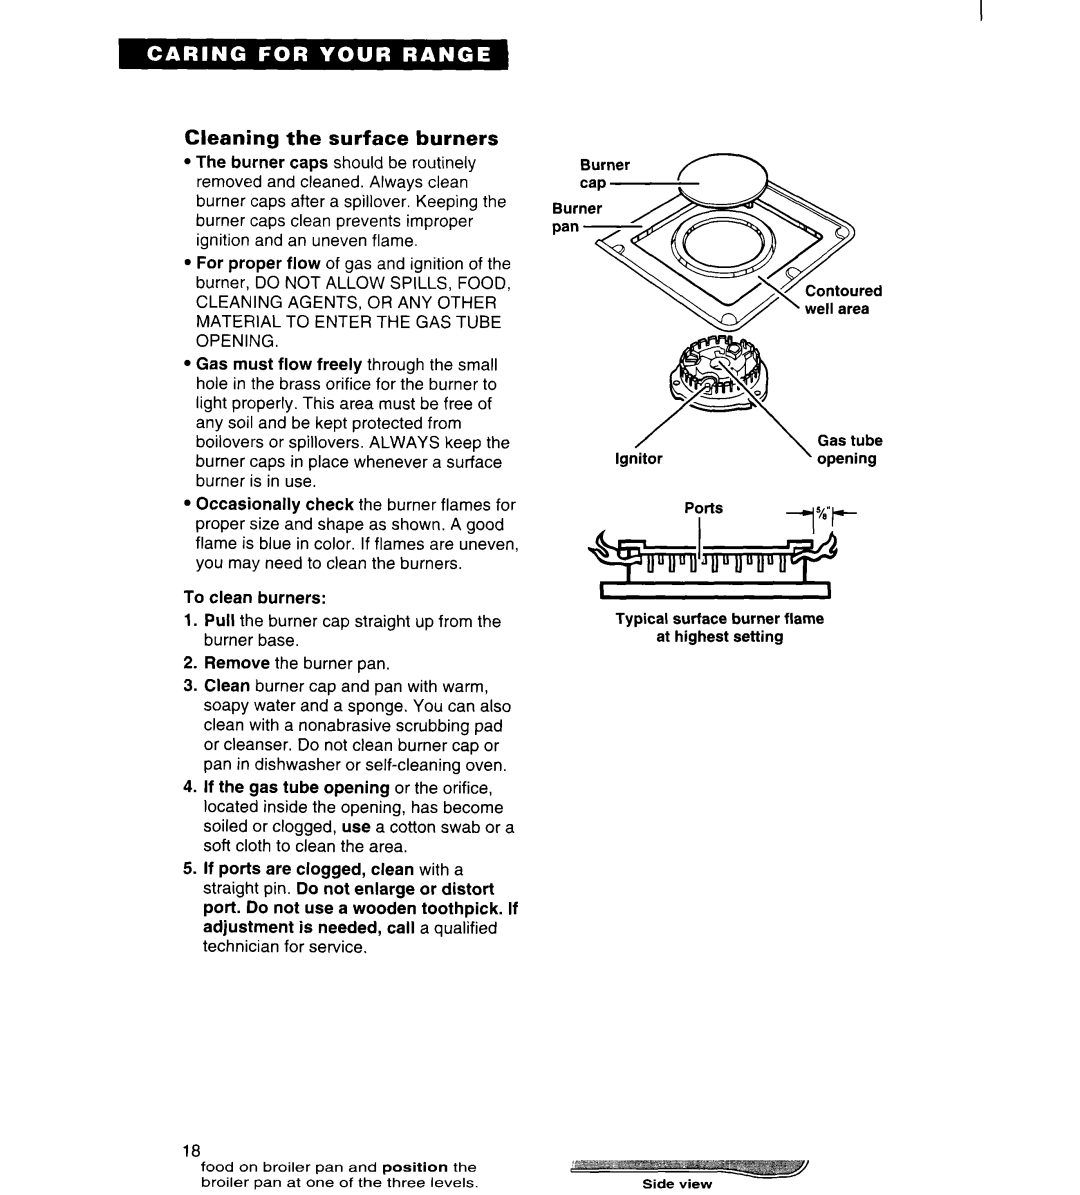
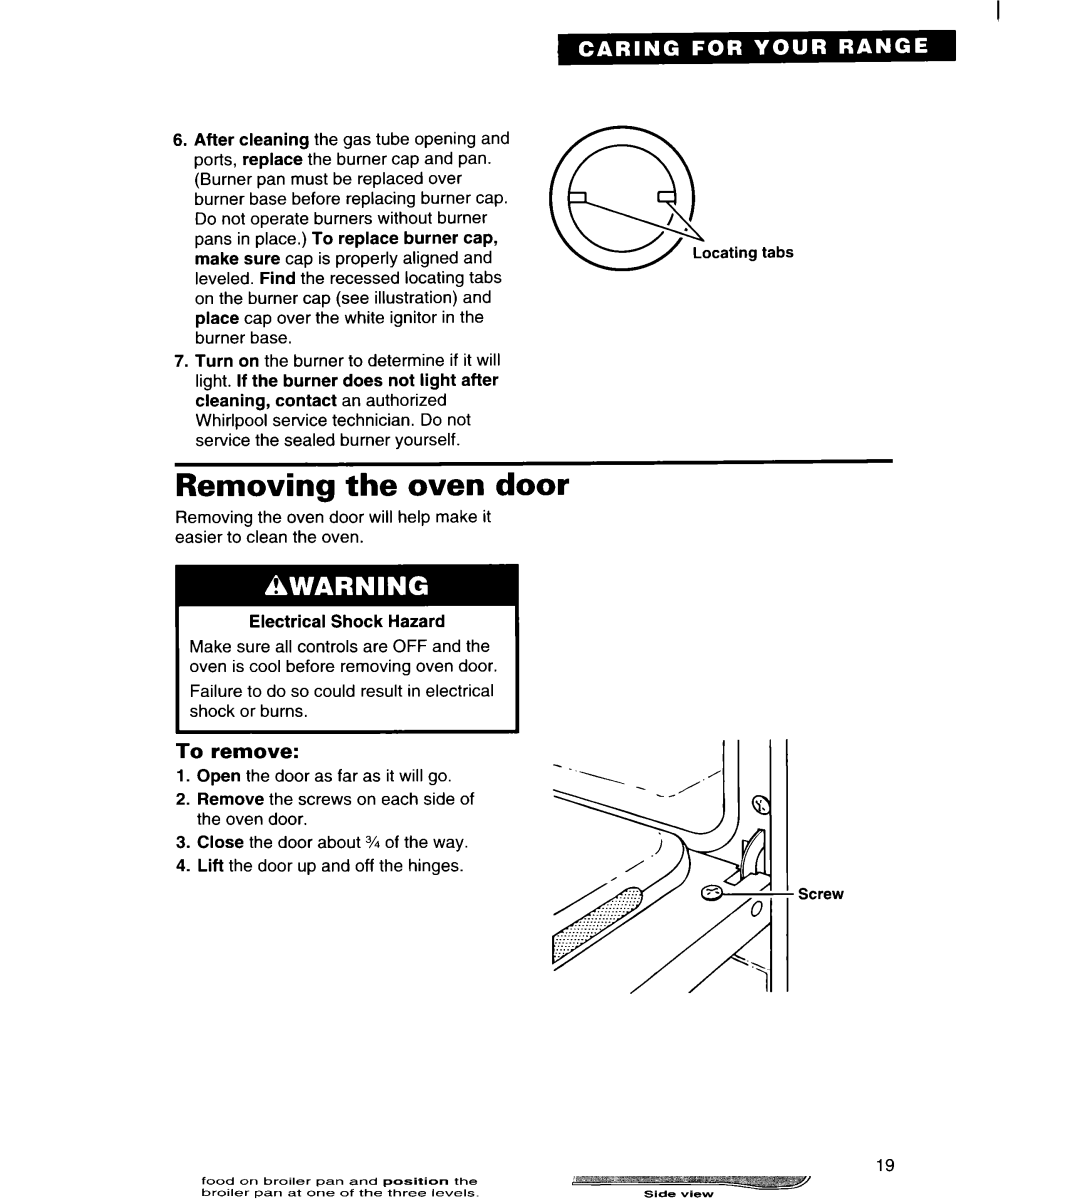
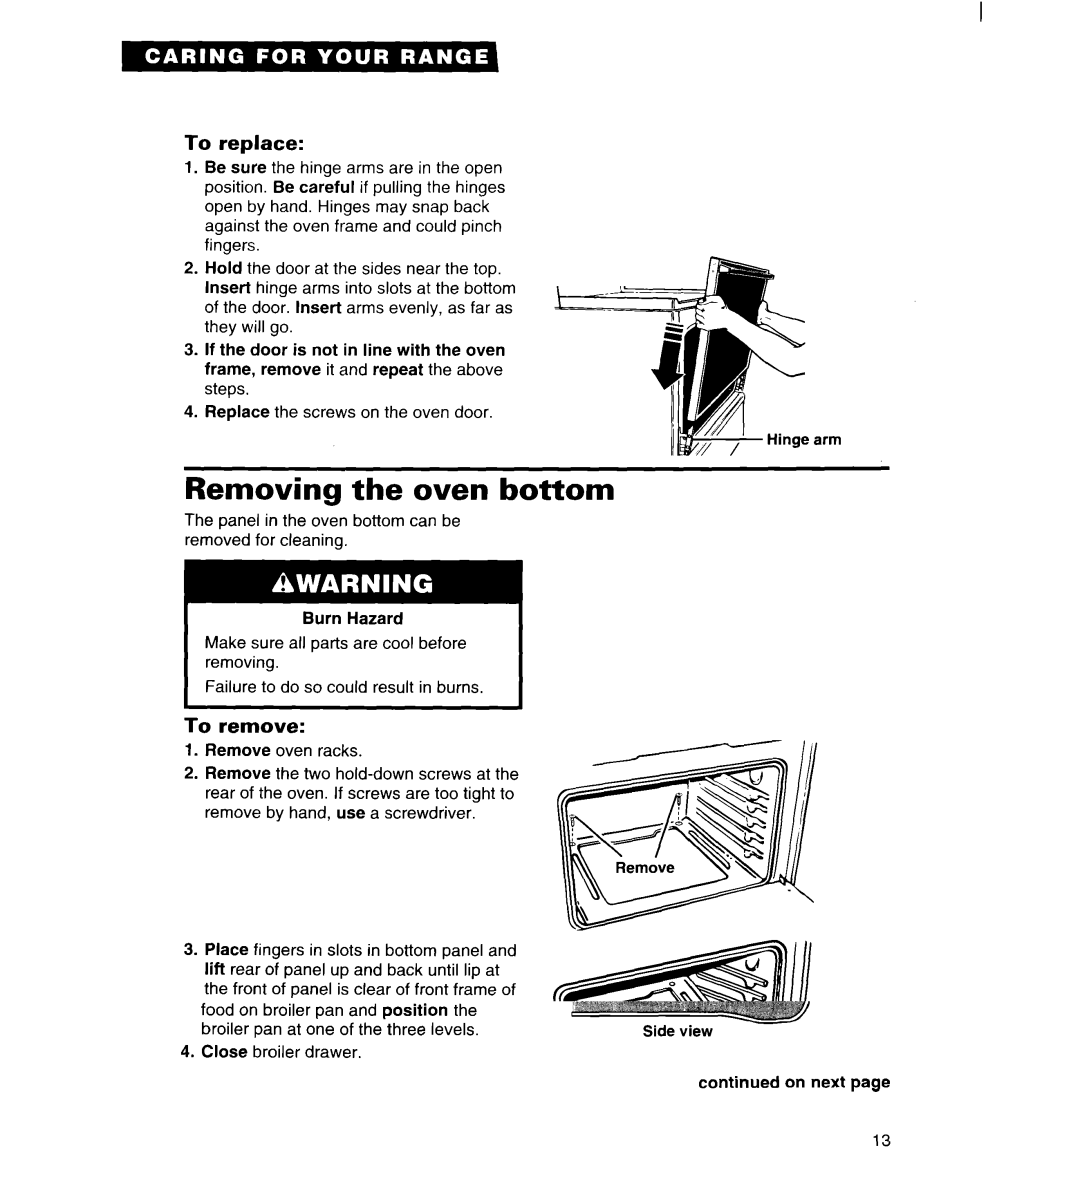
| |||
3.Push in and hold the Minute button until the correct minutes appear in the display.
MINUTE
Using the Minute Timer
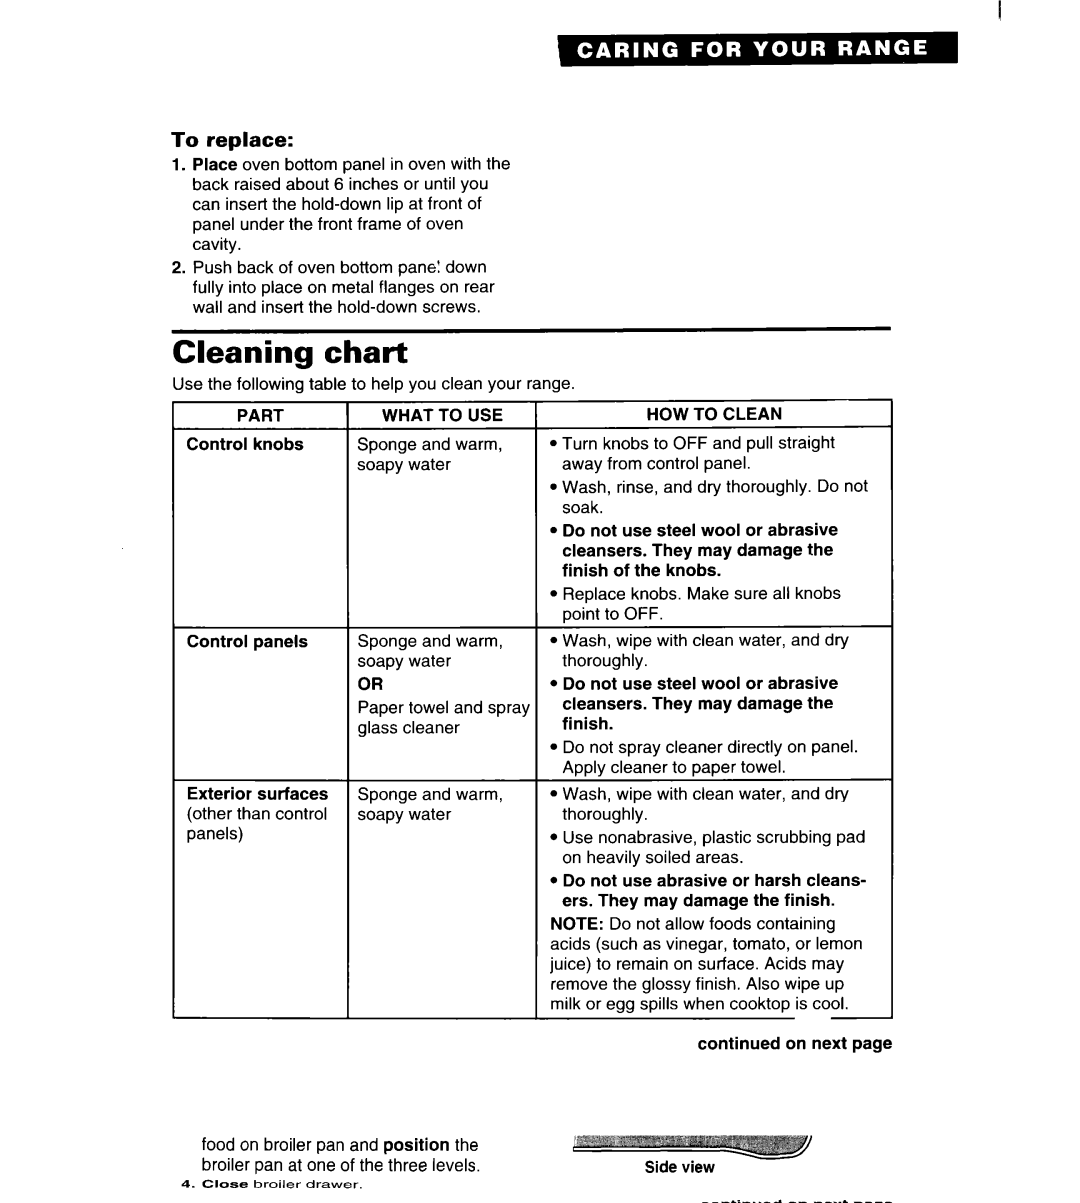
The Minute Timer does not start or stop the oven. It works like a kitchen timer. Set it in minutes up to 1 hour, 59 minutes. The control will beep when the set time is up.
1. Slide the Clock/Timer switch to the TIMER position. The display will show “0:59” (59 minutes).
2. To set a time more than 59 minutes, | HOUR |
| |
push in and release the Hour button. |
|
The display will show “1:59”. The time |
|
can now be adjusted down by pushing in |
|
and holding the Minute button until the |
|
correct time shows in the display. | MINUTE |
| |
To set a time less than 59 minutes, |
|
push in and hold the Minute button until |
|
the correct time shows in the display. |
|
The Minute Timer will automatically start |
|
when the Minute button is released. |
|
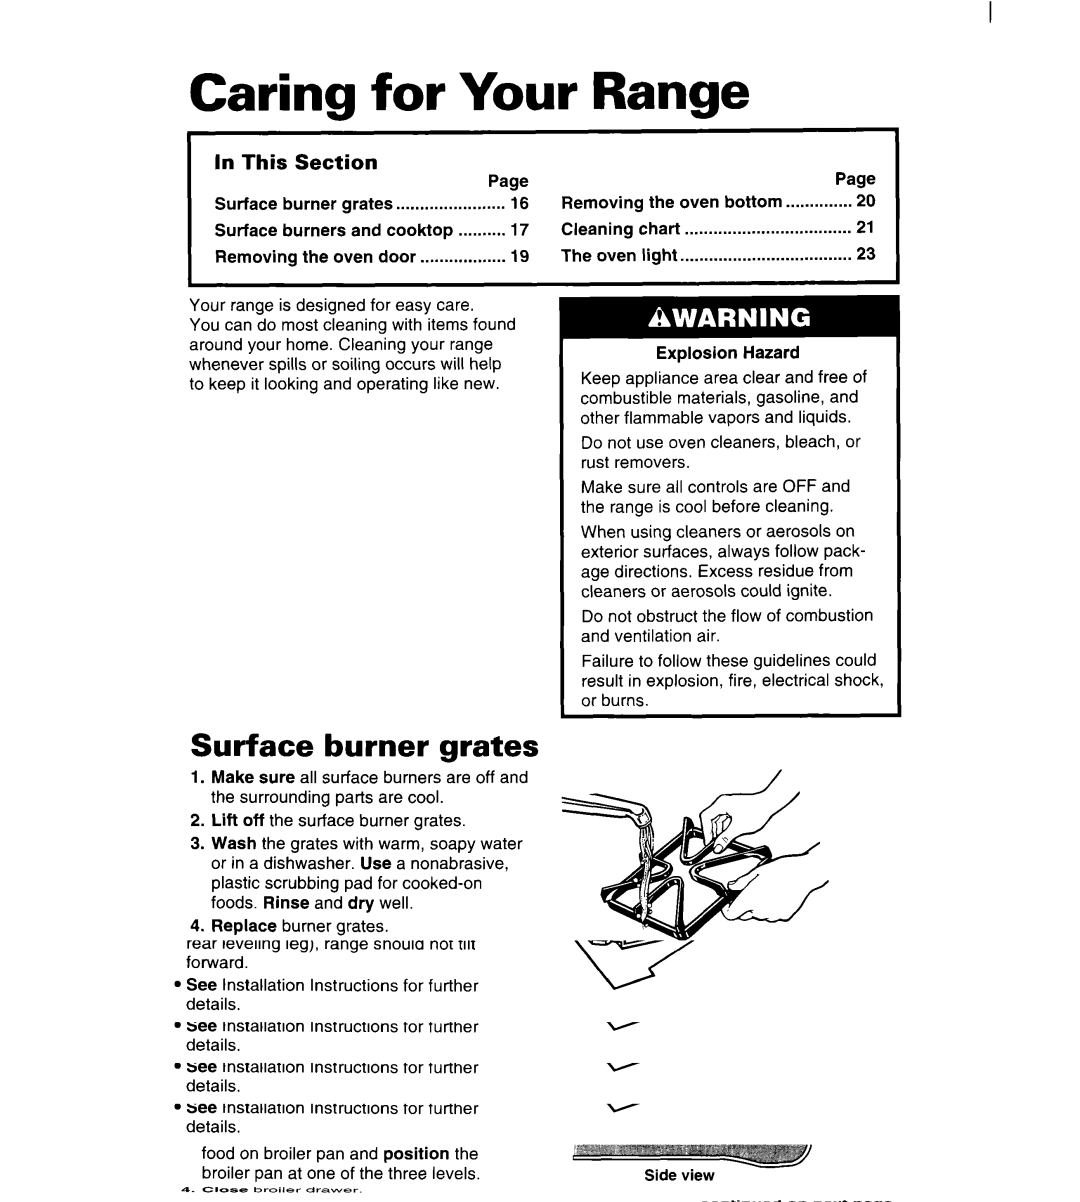
3.When the set time has passed, the display will show “0:OO”and the control will beep continuously. Slide the Clock/ Timer Switch to the CLOCK position to cancel the Minute Timer and return to the clock mode.
CLOCK
TIMER
CLOCK
