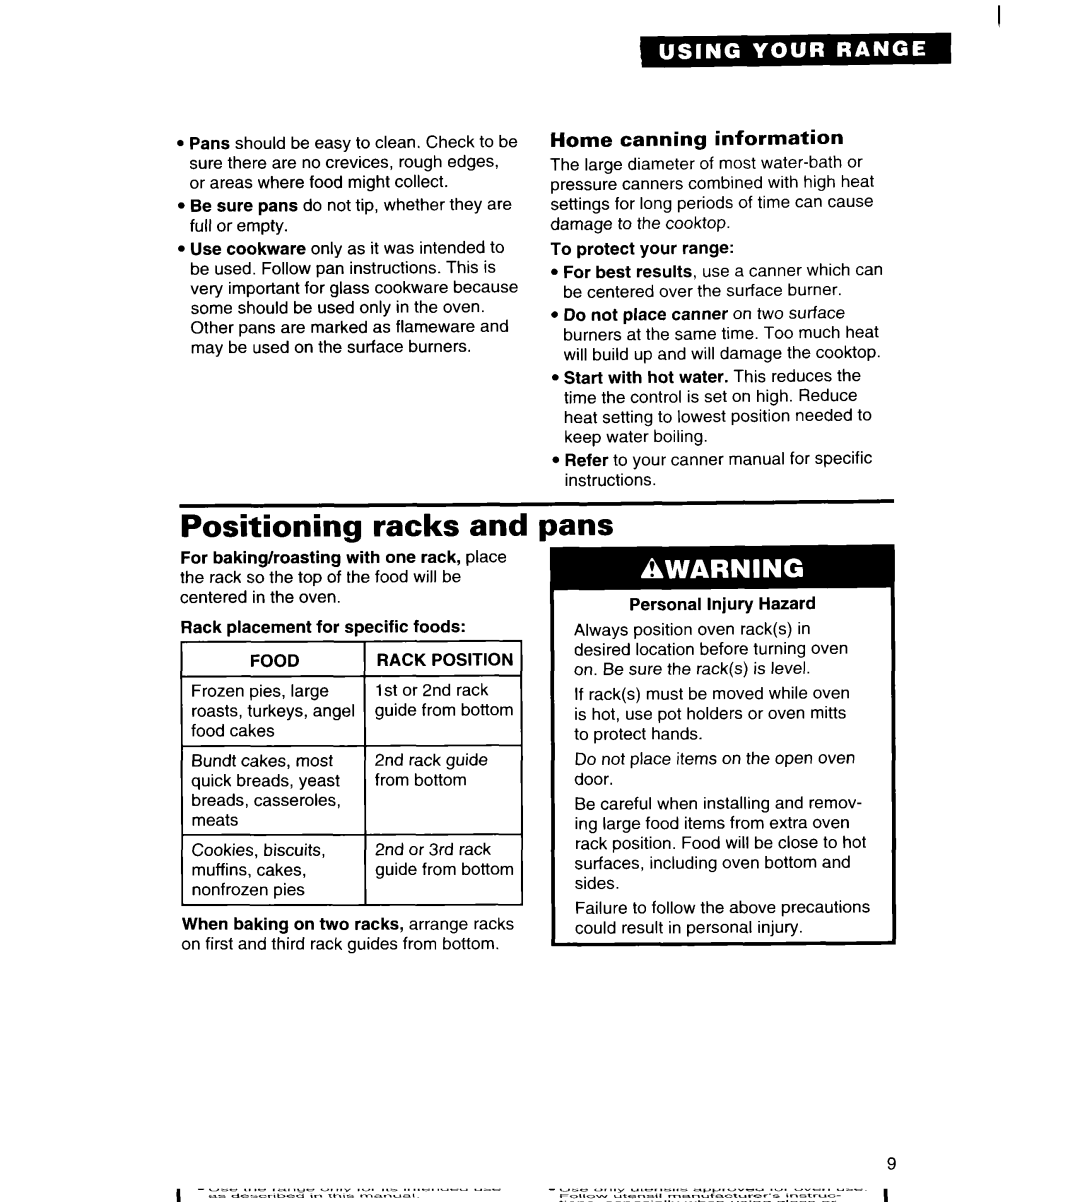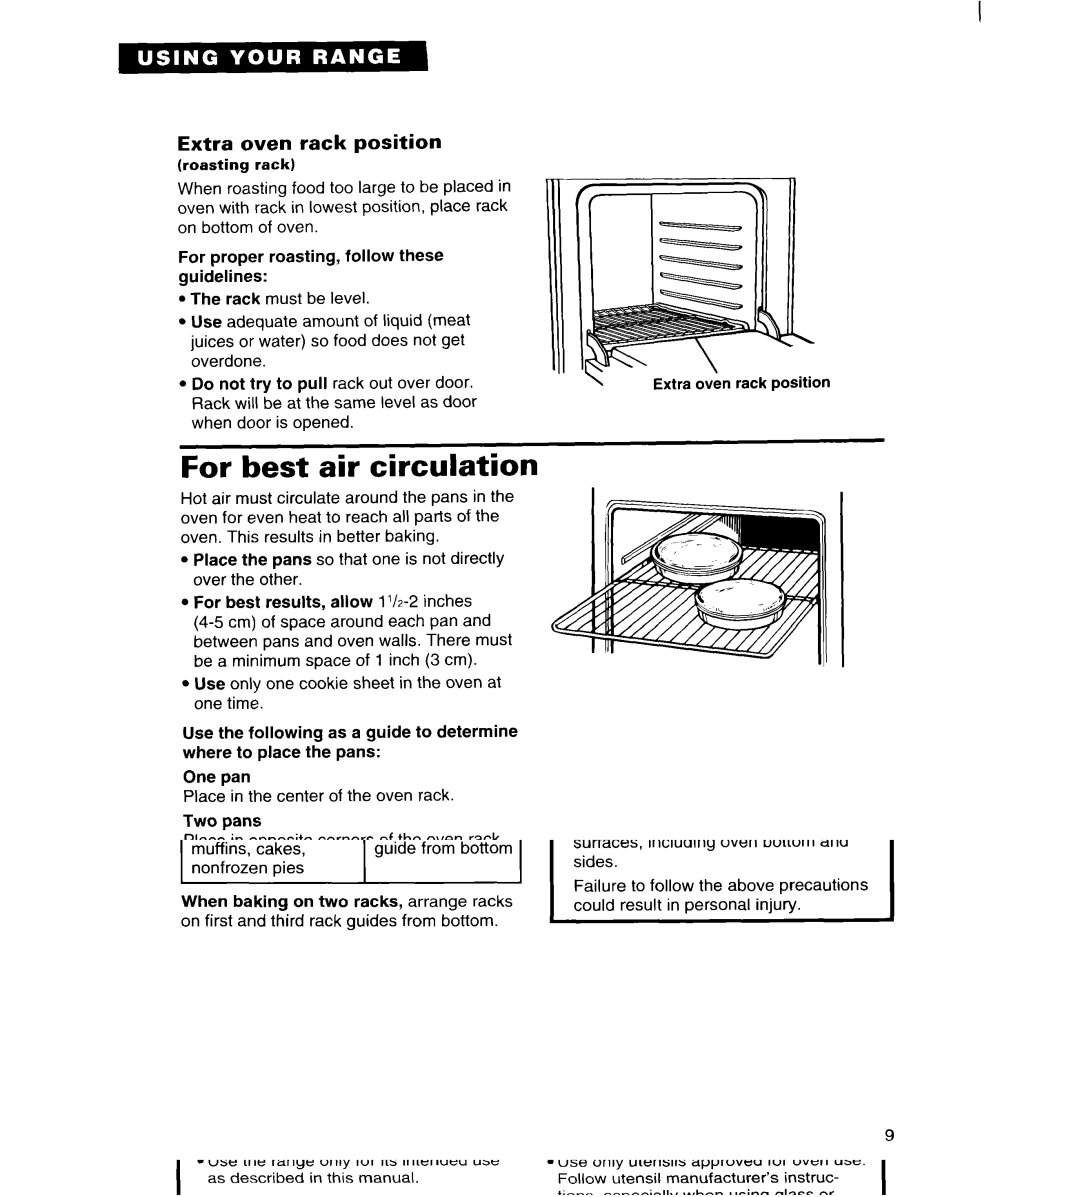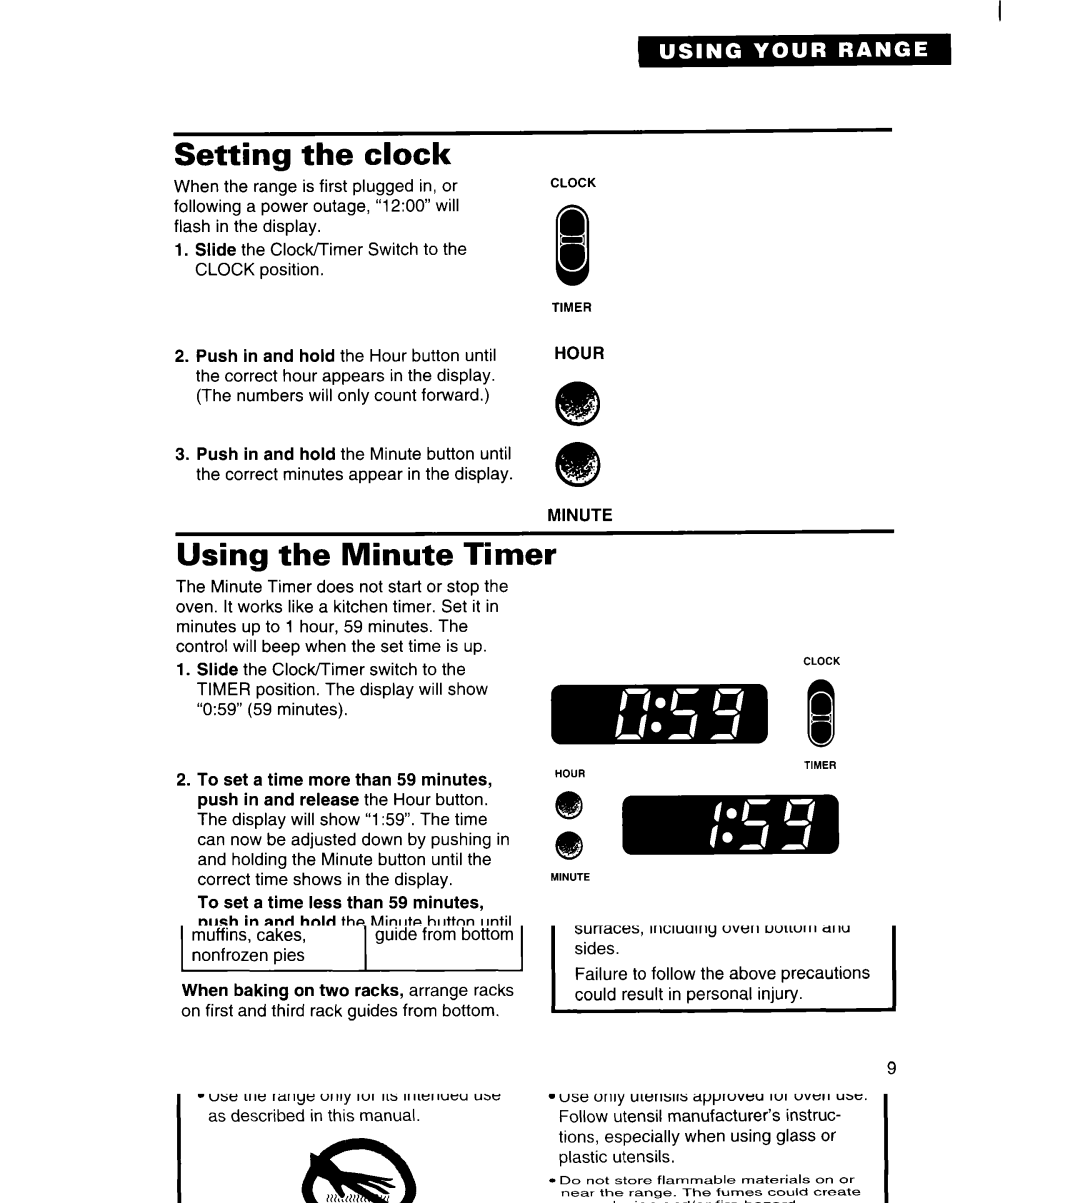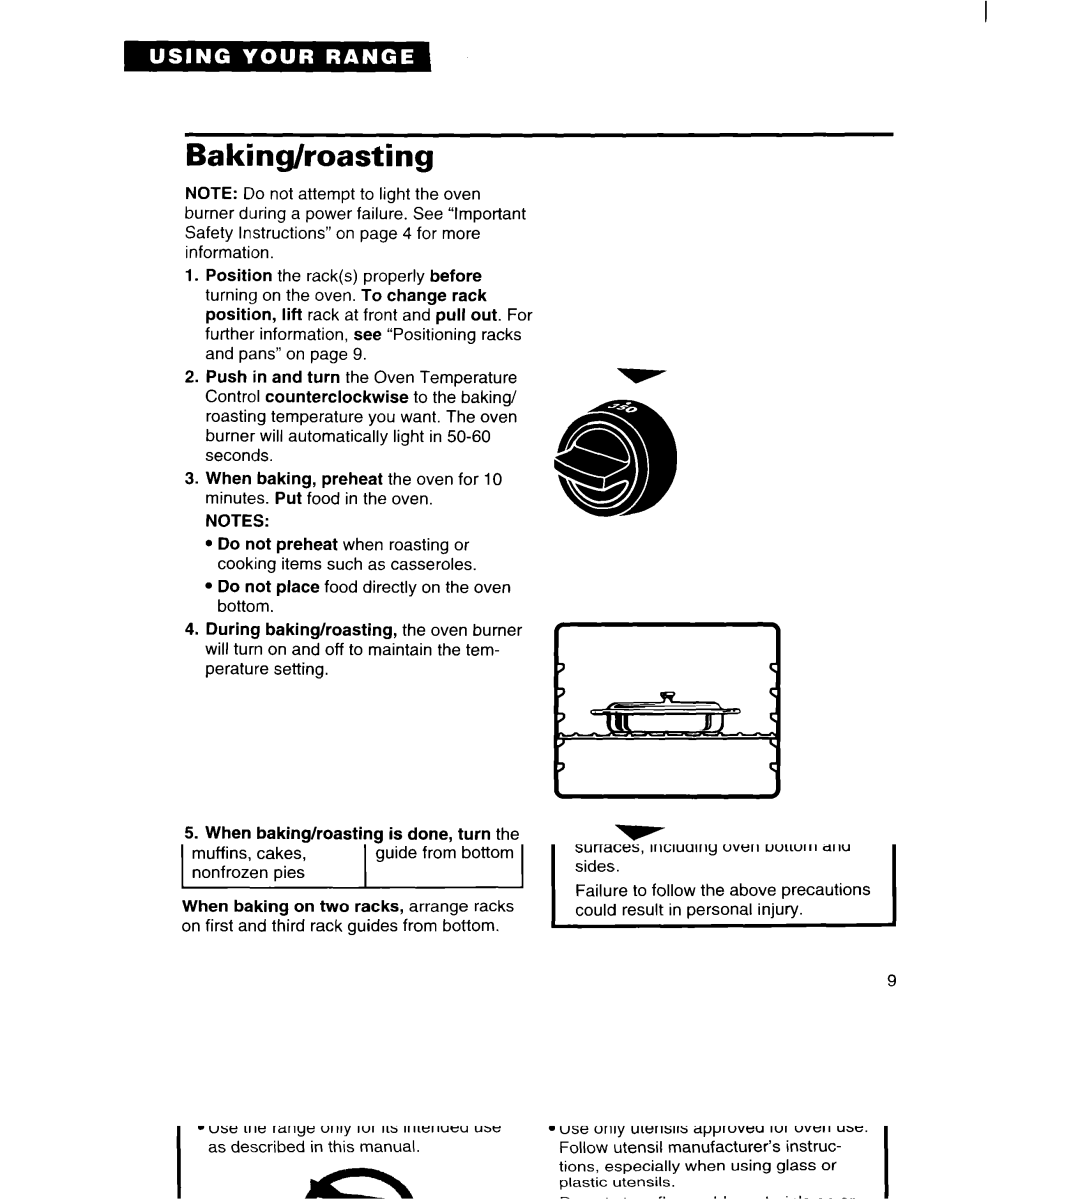
Adjusting the oven temperature control
Although your new oven is properly adjusted to provide accurate temperatures, it may cook faster or slower than your old oven.
If, after using the oven for a period of time, you are not satisfied with the baking/roasting results, you can change the temperature calibration by following these steps:
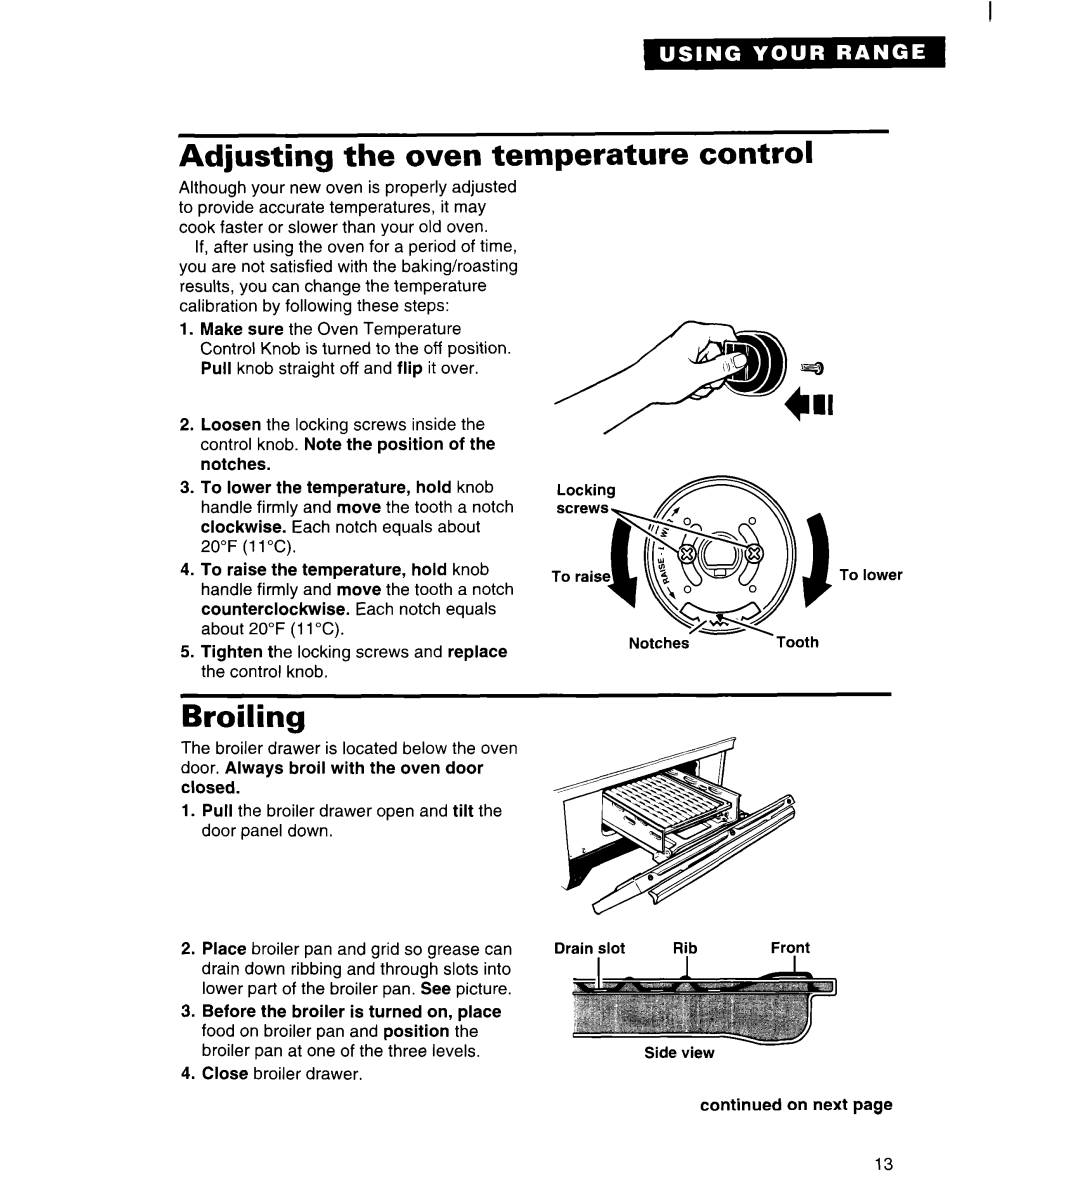
1.Make sure the Oven Temperature Control Knob is turned to the off position. Pull knob straight off and flip it over.
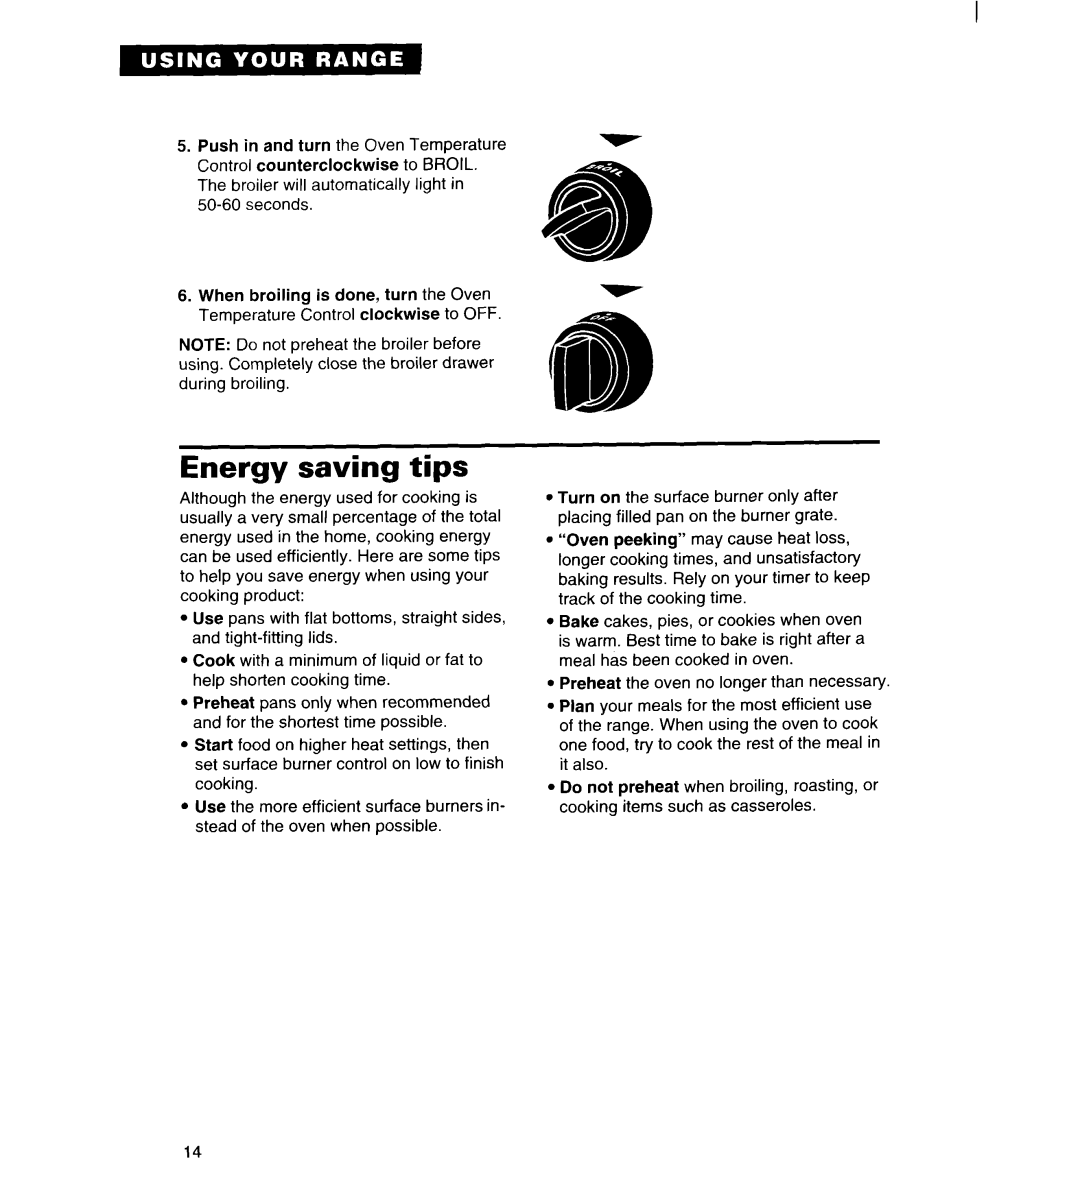
2.Loosen the locking screws inside the control knob. Note the position of the notches.
3.To lower the temperature, hold knob handle firmly and move the tooth a notch clockwise. Each notch equals about 20°F (11 “C).
4. To raise the | temperature, | hold | knob | To lower | |
handle firmly | and | move the tooth a notch |
| ||
counterclockwise. | Each | notch | equals |
| |
about 20°F (11 “C). |
|
|
| ||
5.Tighten the locking screws and replace the control knob.
Broiling
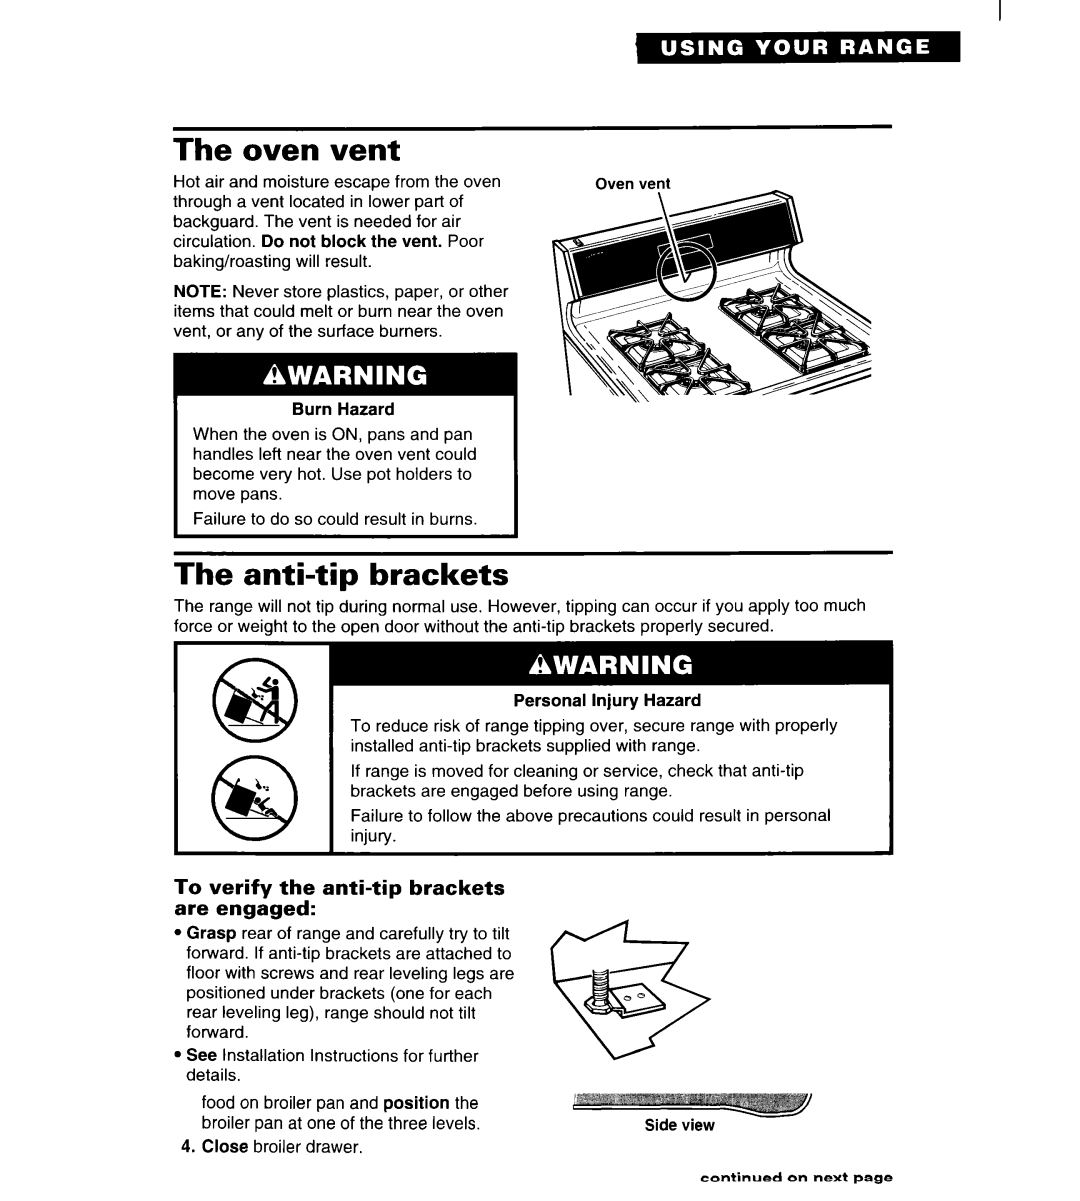
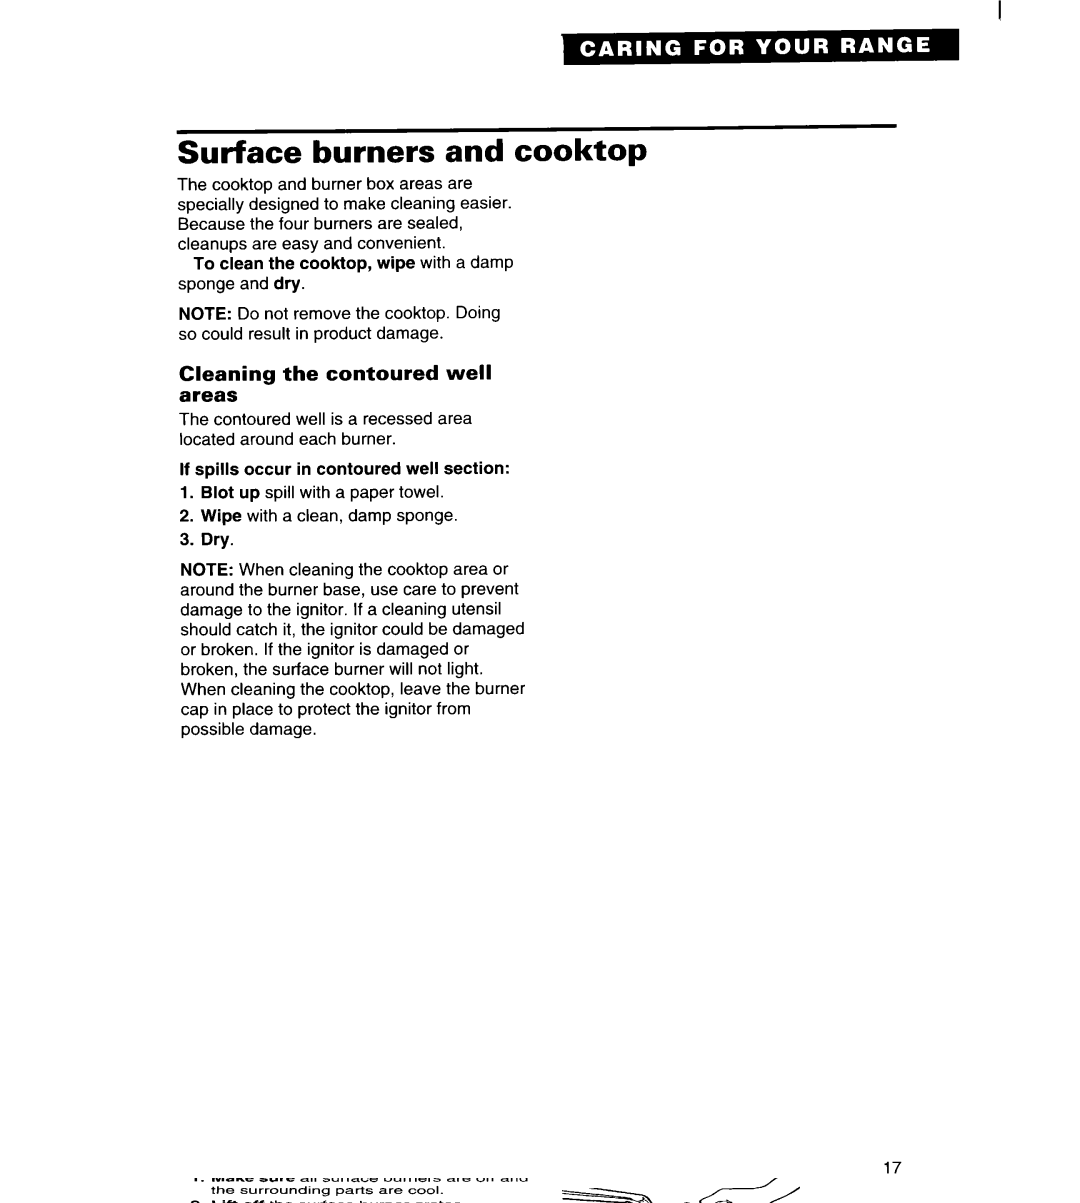
The broiler drawer is located below the oven door. Always broil with the oven door closed.
1.Pull the broiler drawer open and tilt the door panel down.
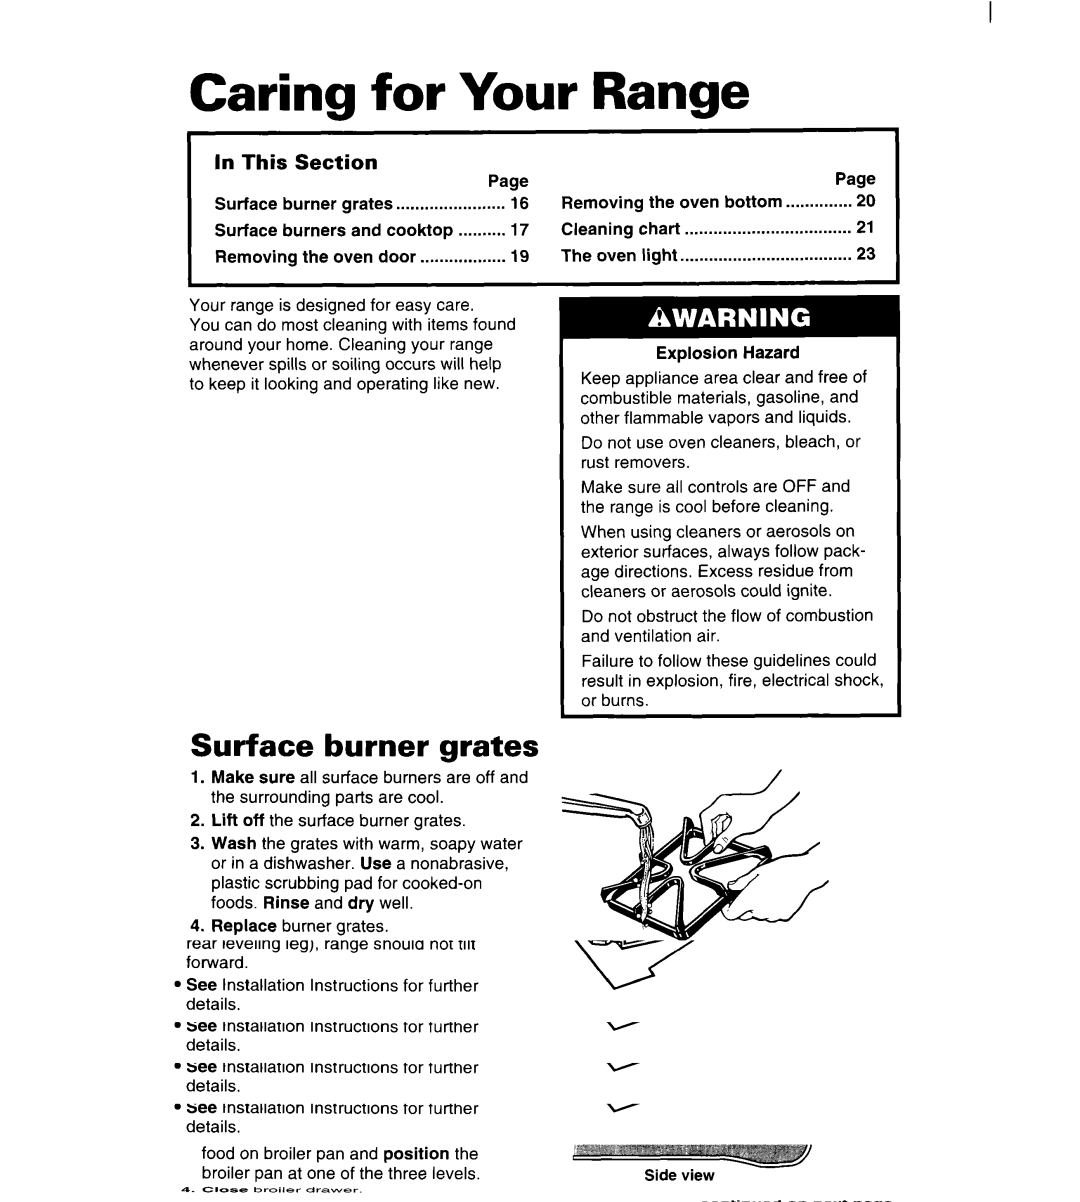
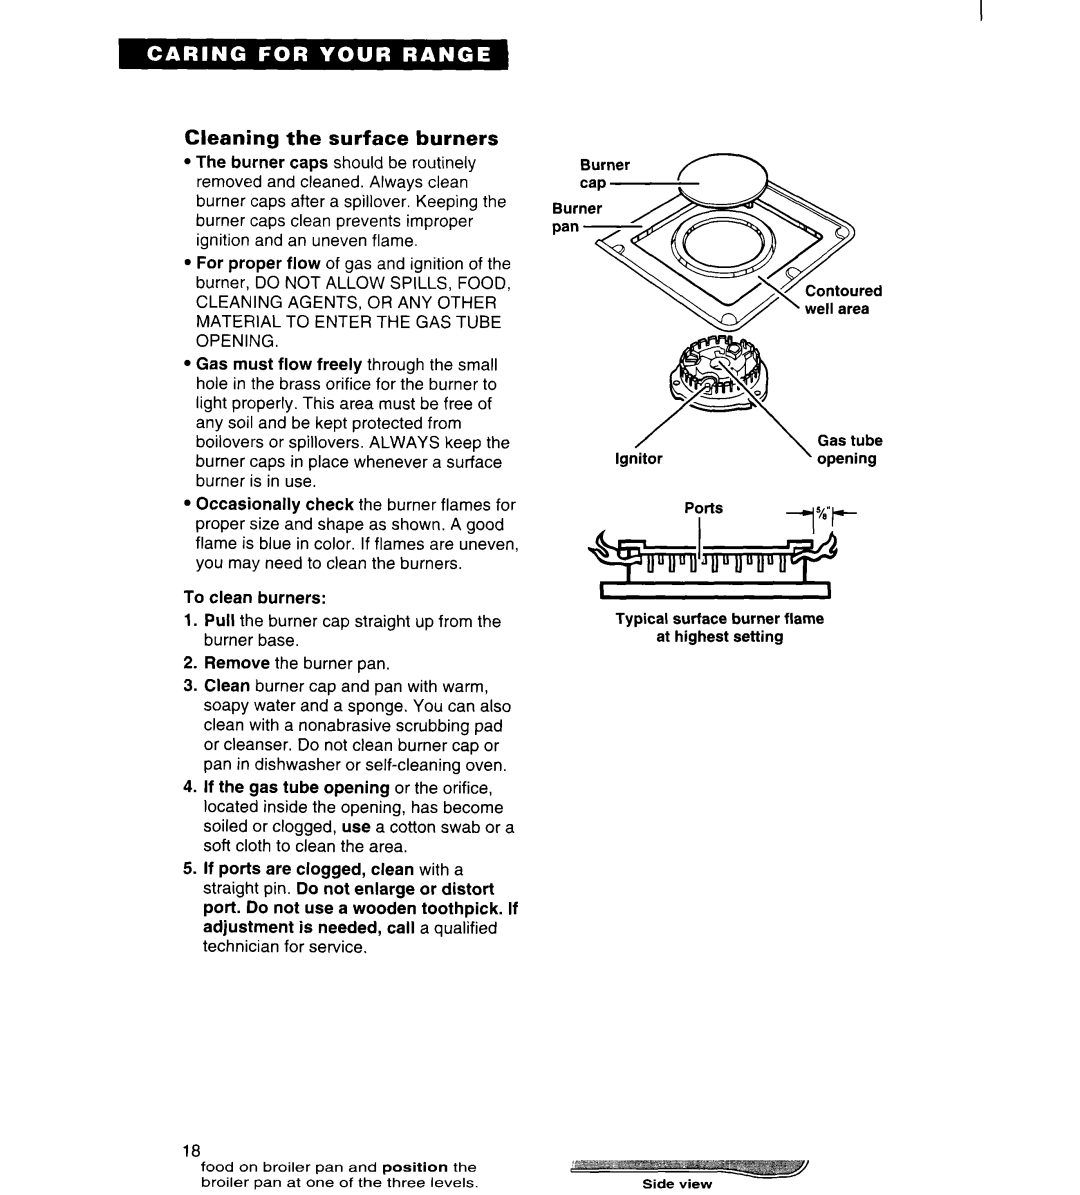
2. Place broiler pan and grid so grease can | Drain slot | Rib | Front |
drain down ribbing and through slots into |
|
|
|
lower part of the broiler pan. See picture. |
|
|
|
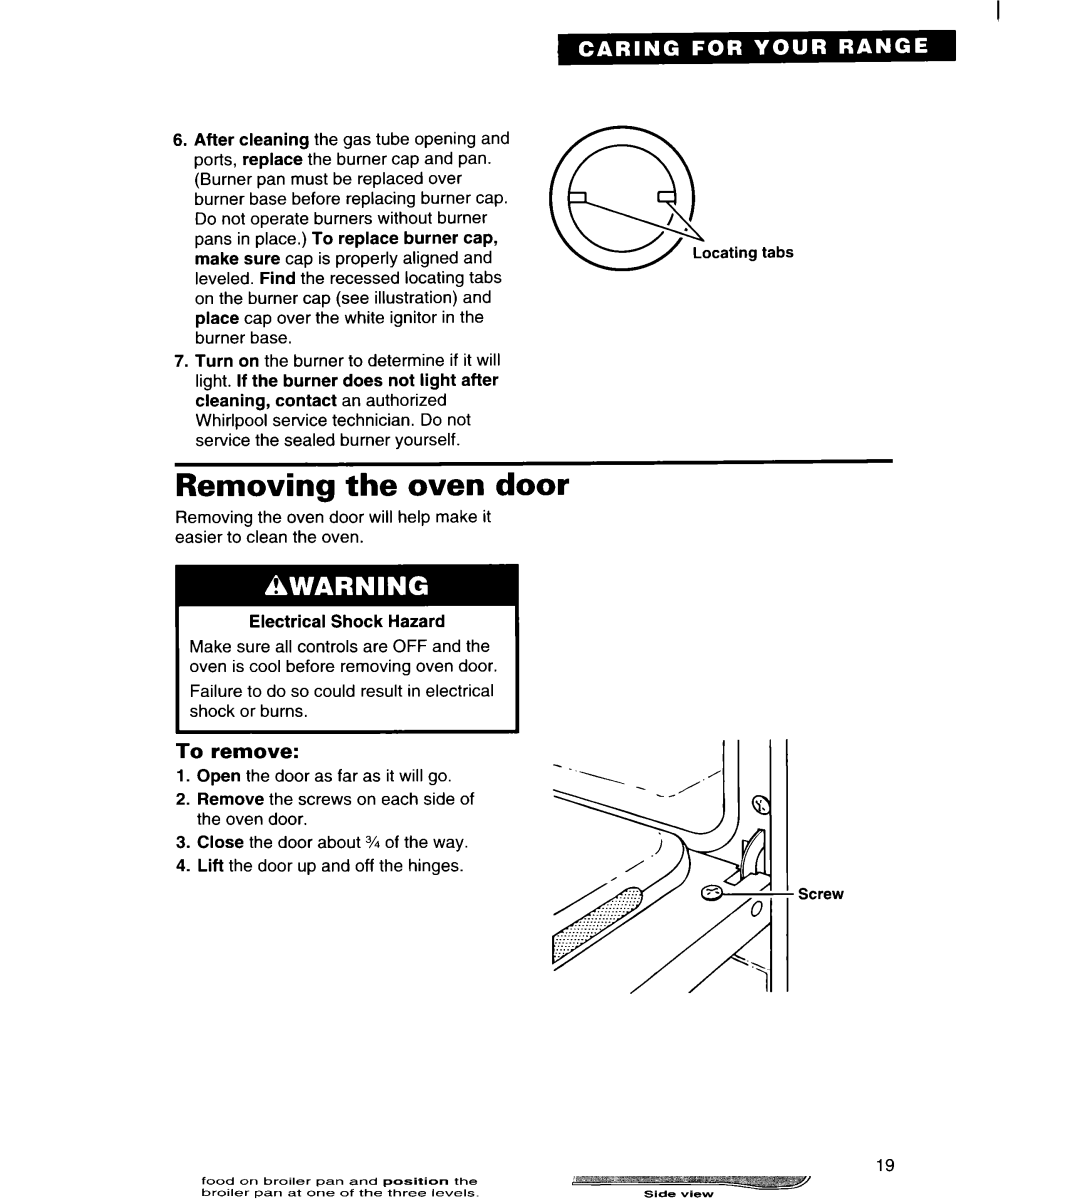
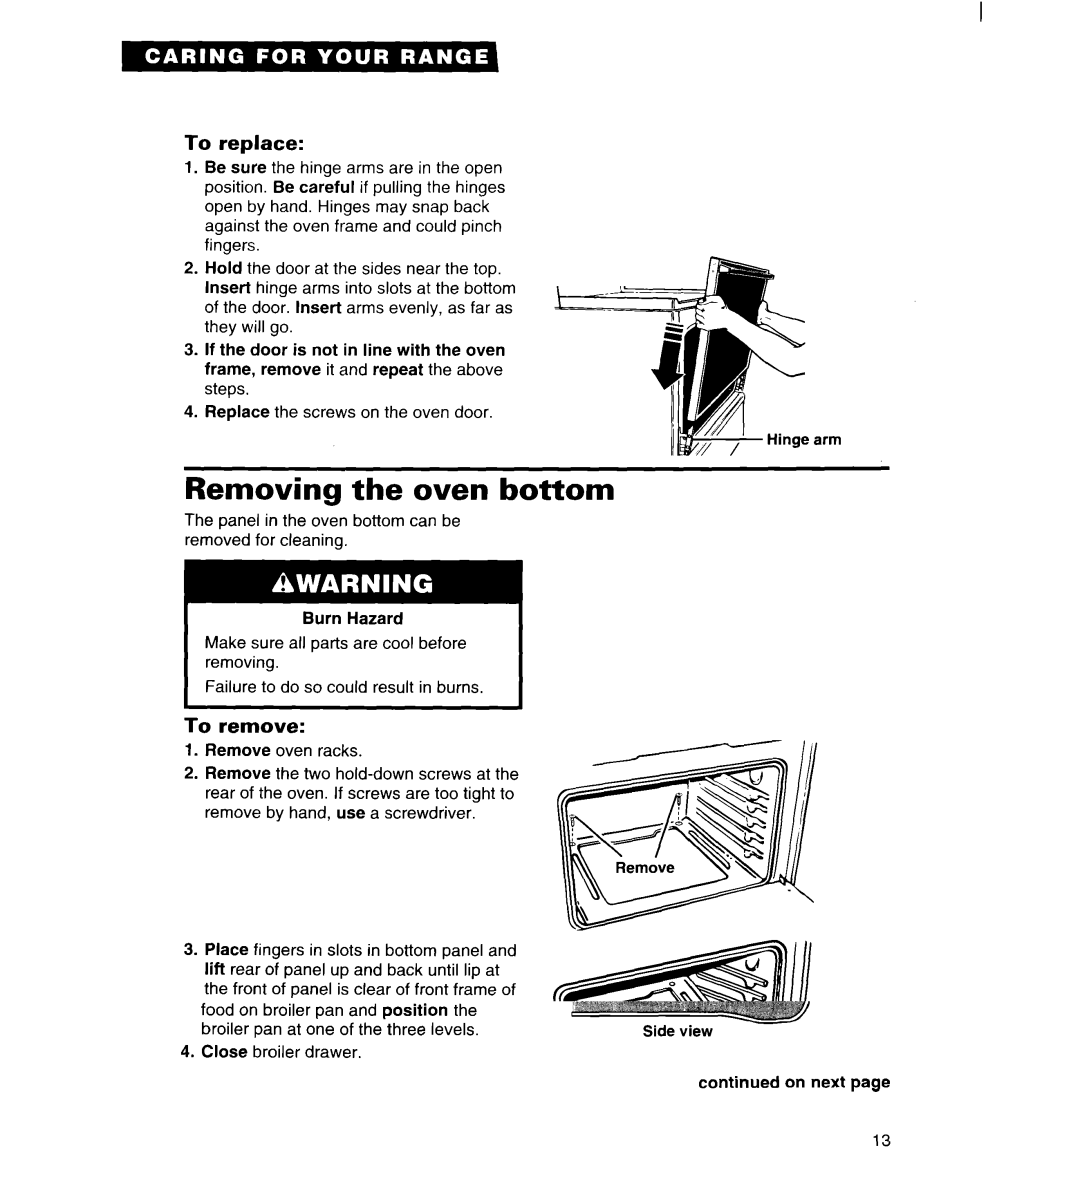
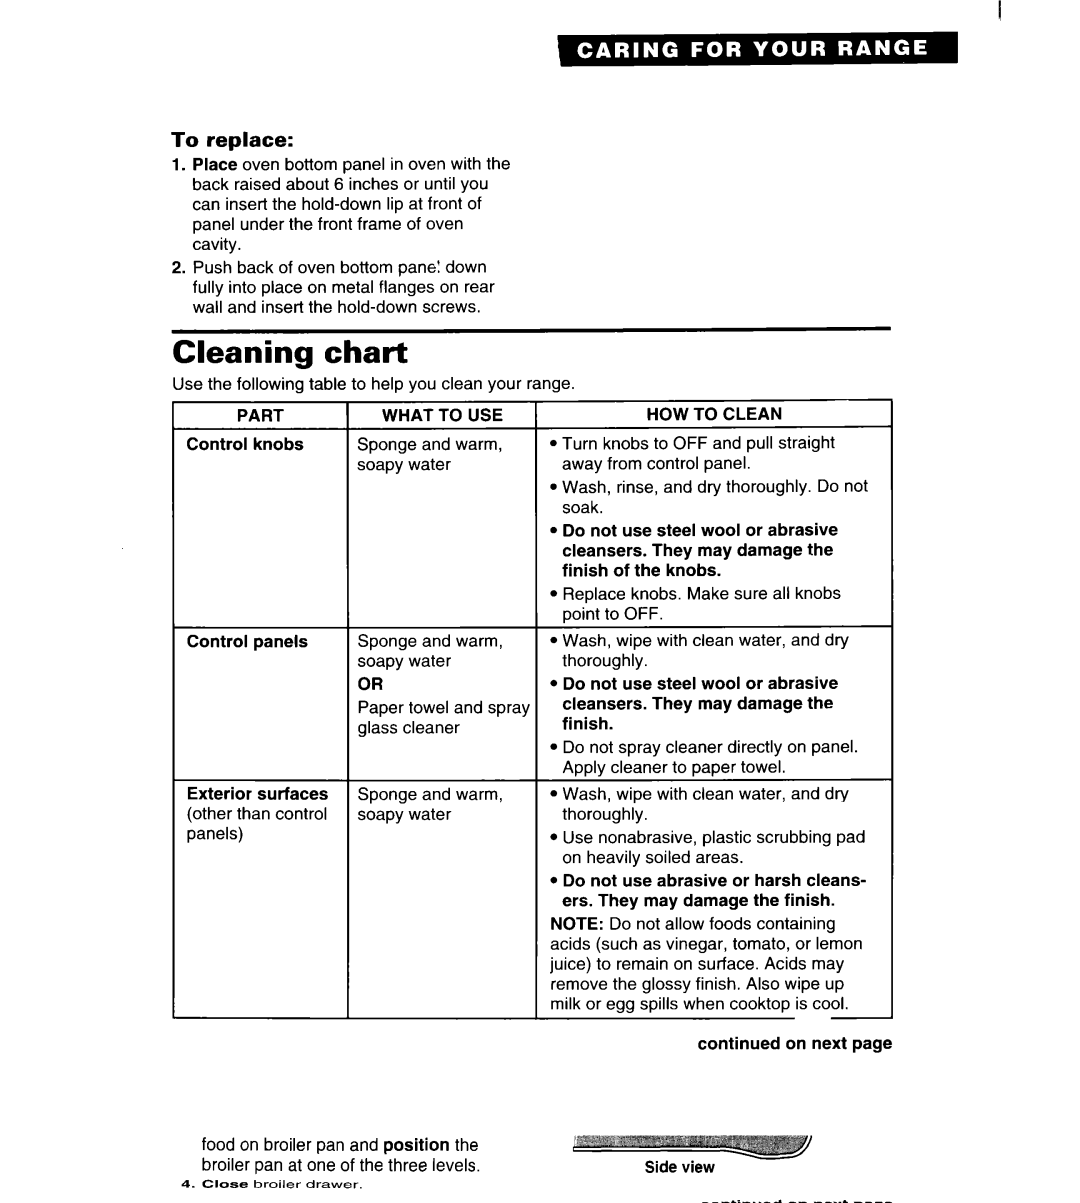
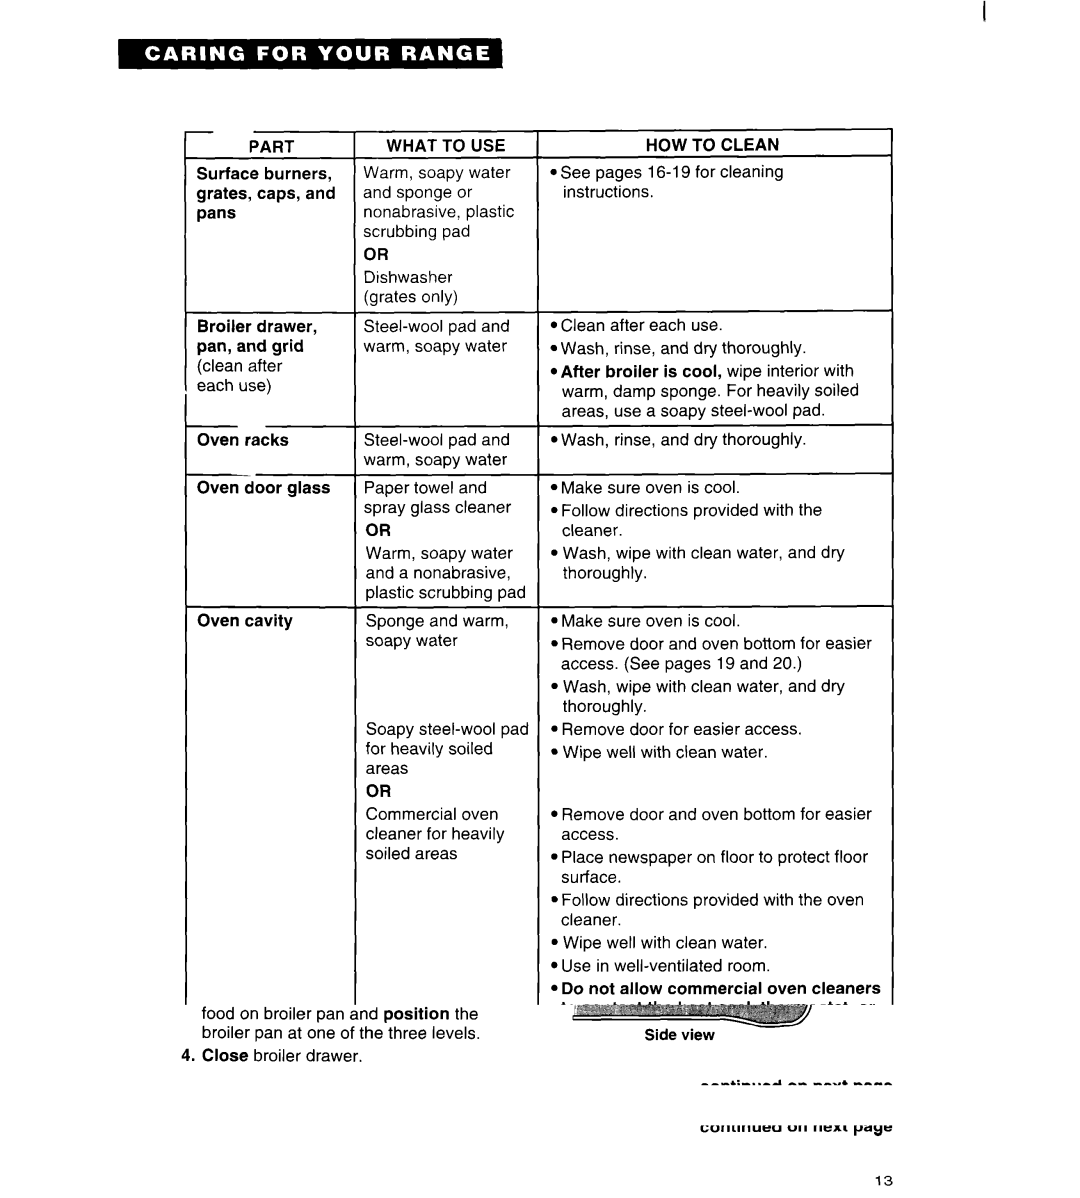
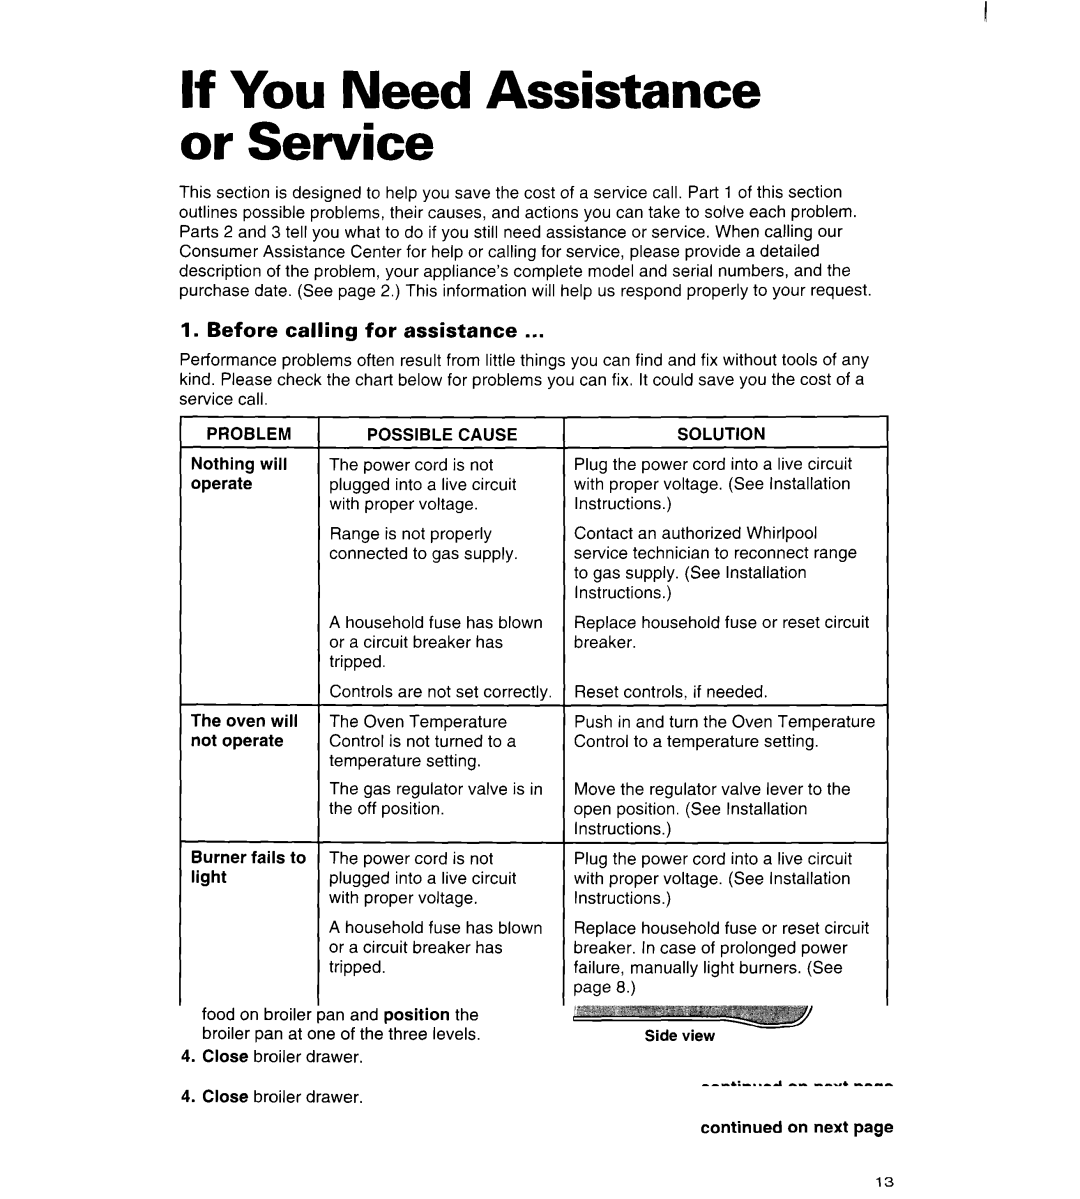
3.Before the broiler is turned on, place food on broiler pan and position the
broiler | pan at one of the three levels. | Side view |
4. Close | broiler drawer. |
|
|
| continued on next page |
13
