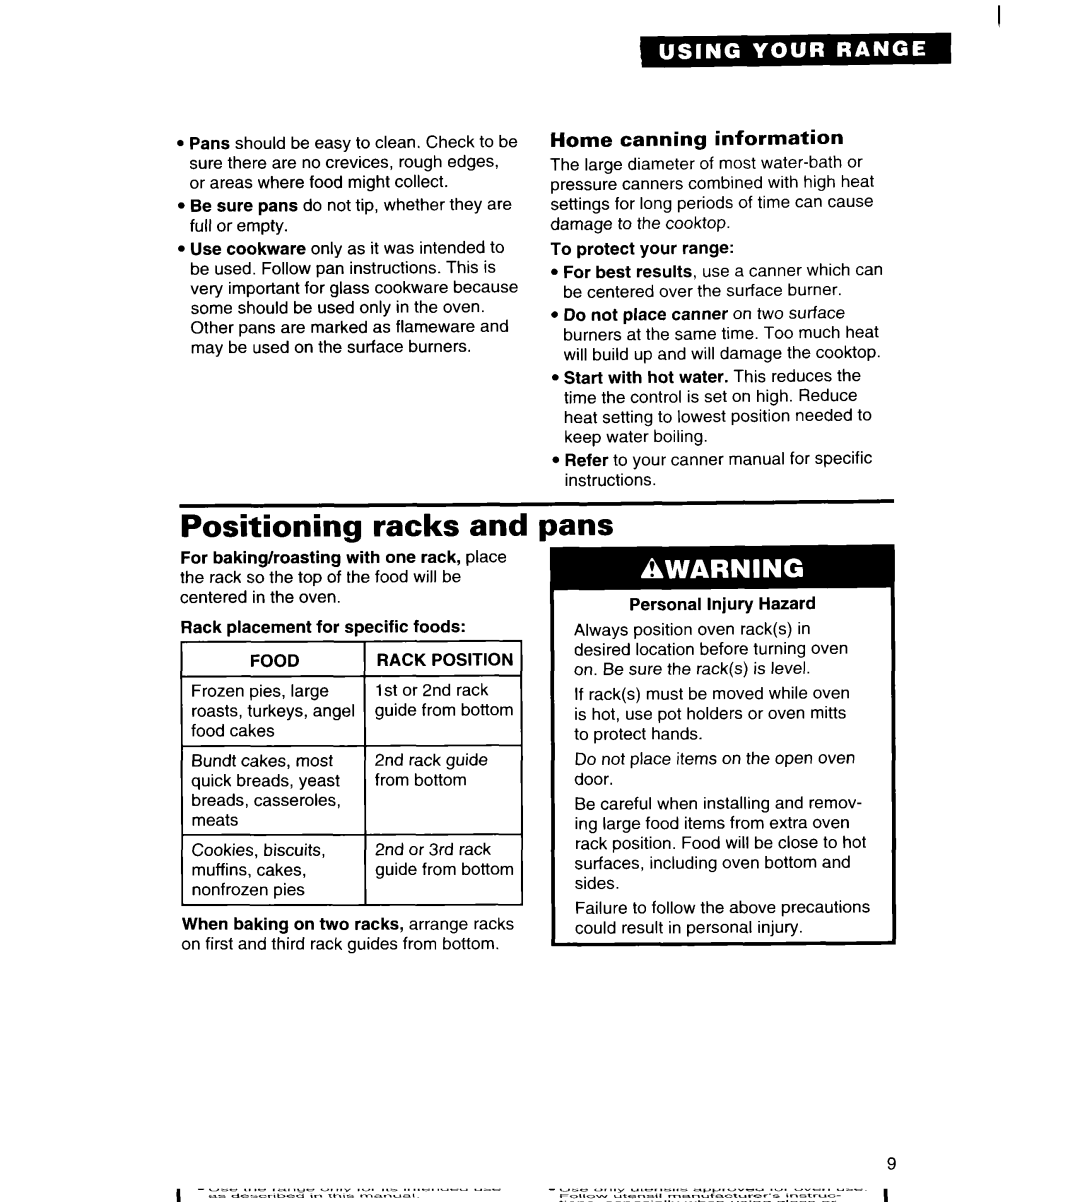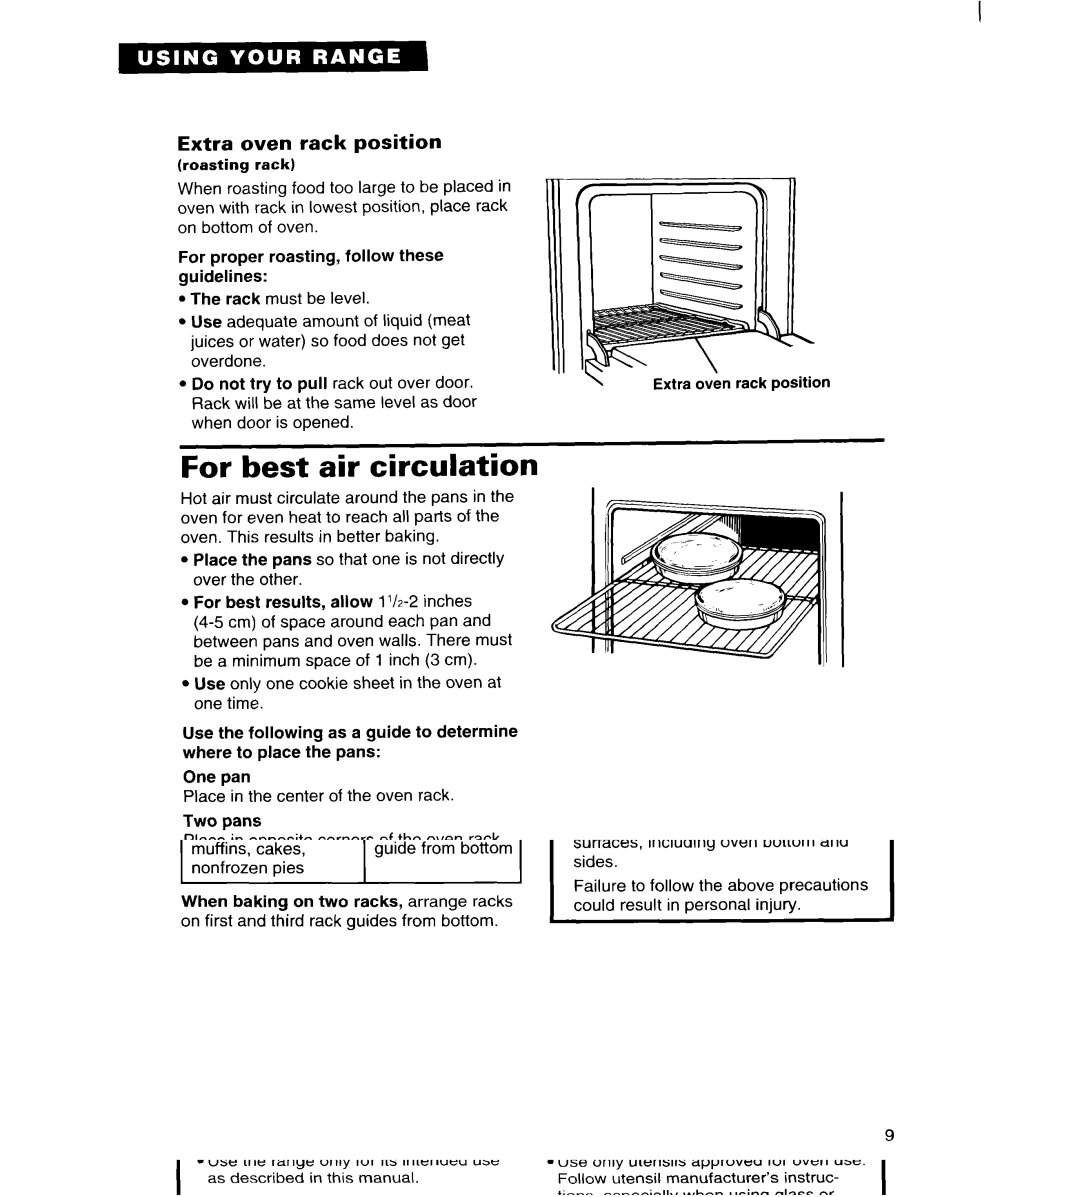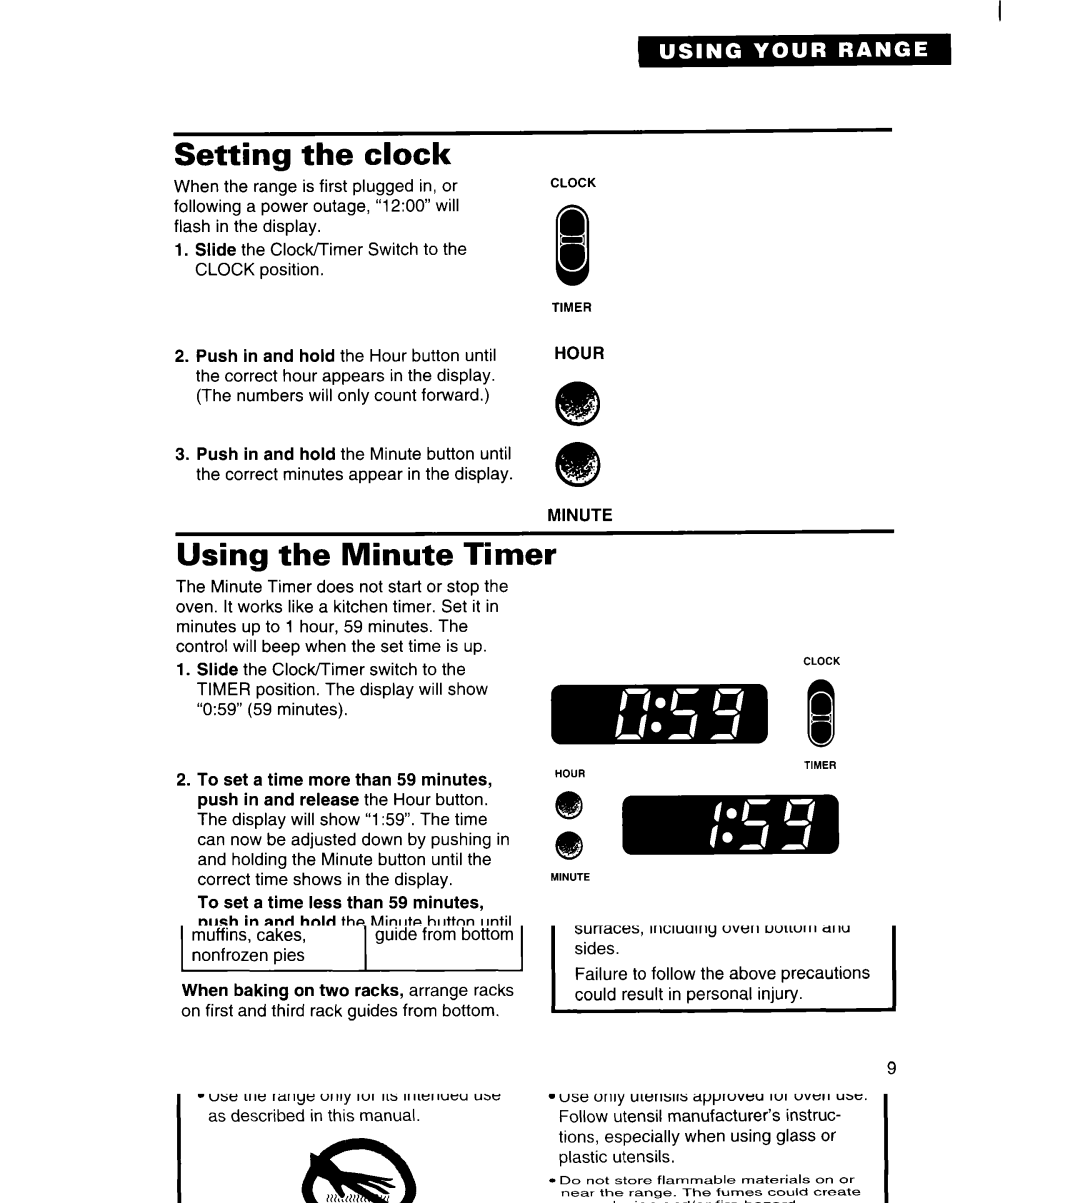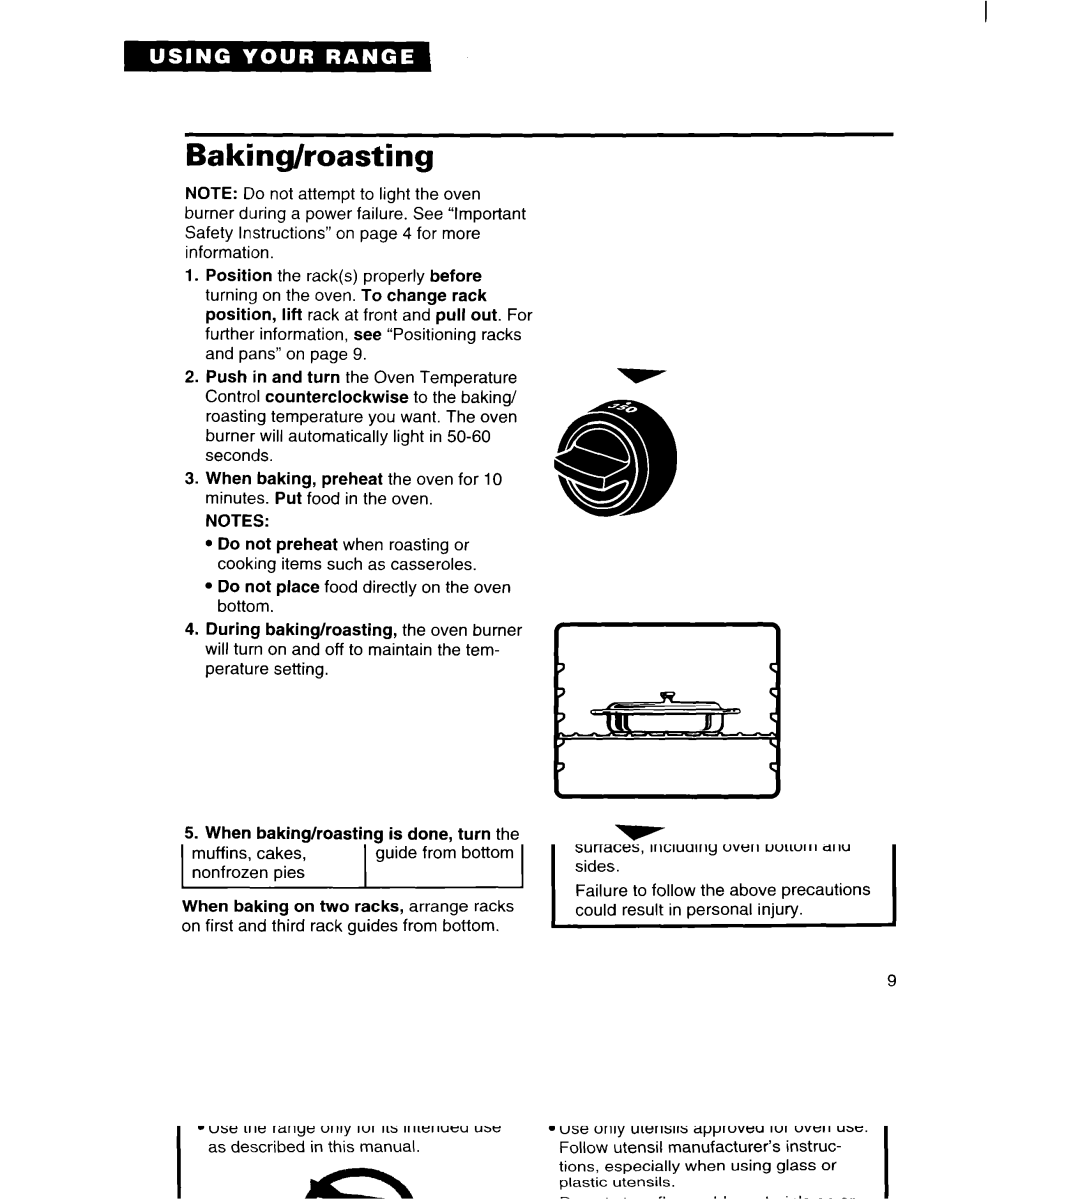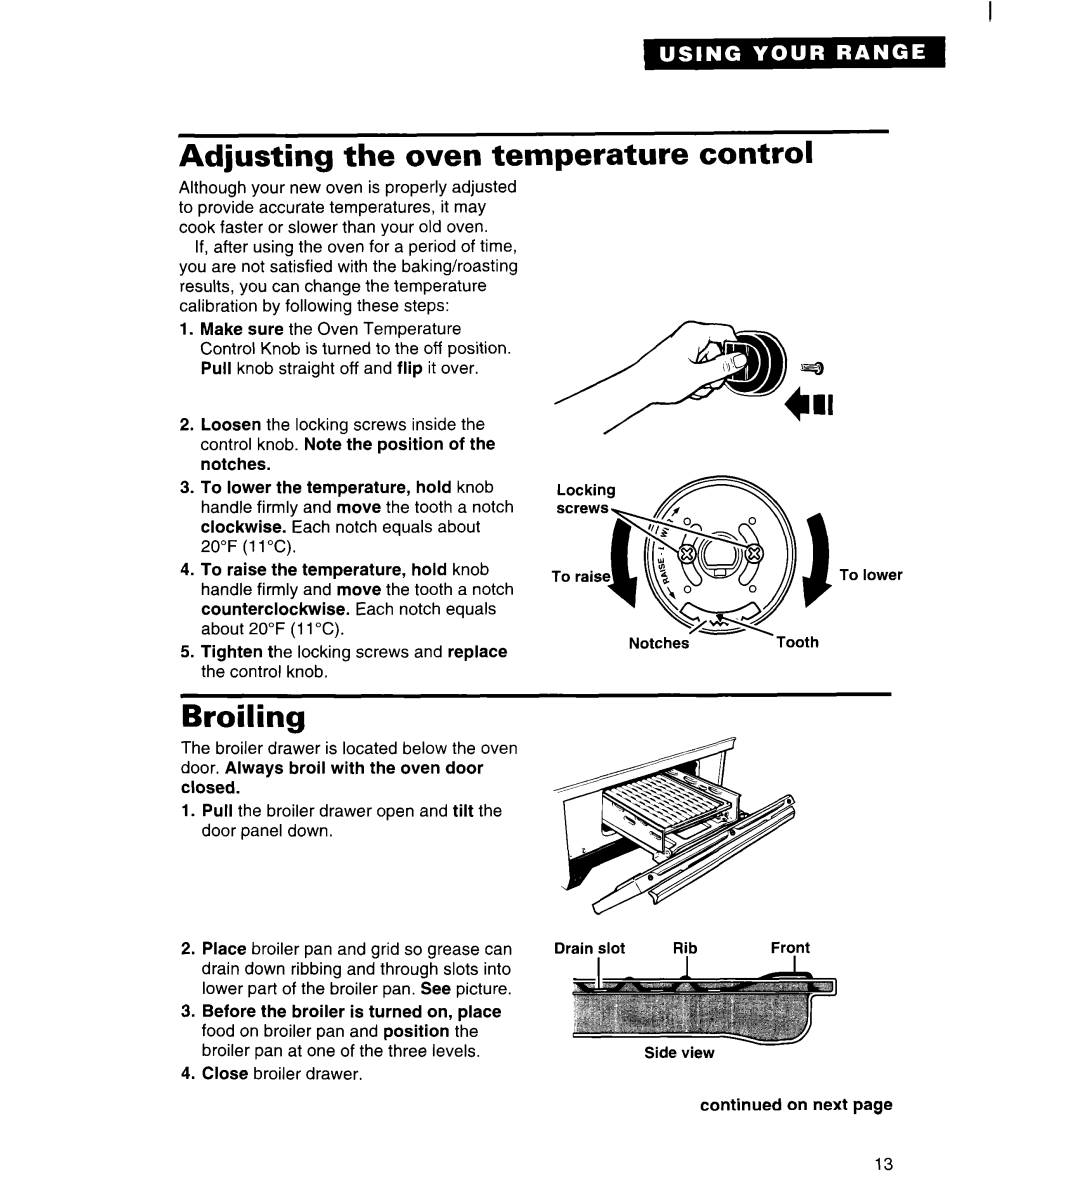
Until you get used to the settings, use the following as a guide. For best results, start cooking at the high setting; then turn the control knob down to continue cooking.
SETTING |
| RECOMMENDED | USE | ||
LITE | l To light the burner. After the | ||||
|
| burner lights, | turn control | ||
|
| back to a desired setting. | |||
| l To start foods cooking. | ||||
(Hyjh) | l | To bring | liquids to a boil. | ||
l | To hold a rapid boil. |
| |||
(Medium | l | To fry chicken | or pancakes. | ||
High) | l | For gravy, pudding, | and | ||
| |||||
|
| icing. |
|
|
|
| l To cook large amounts of | ||||
|
| vegetables. |
|
| |
l To keep food cooking. | |||||
(Medium | l | To poach | and | stew. |
|
Low) |
|
|
|
|
|
LO | l | To keep | food | warm | until |
(Simmer) |
| ready to serve. |
| ||
| l | To melt. |
|
|
|
| l | To simmer. |
|
| |
NOTE: Do not cook with the control in the LITE position.
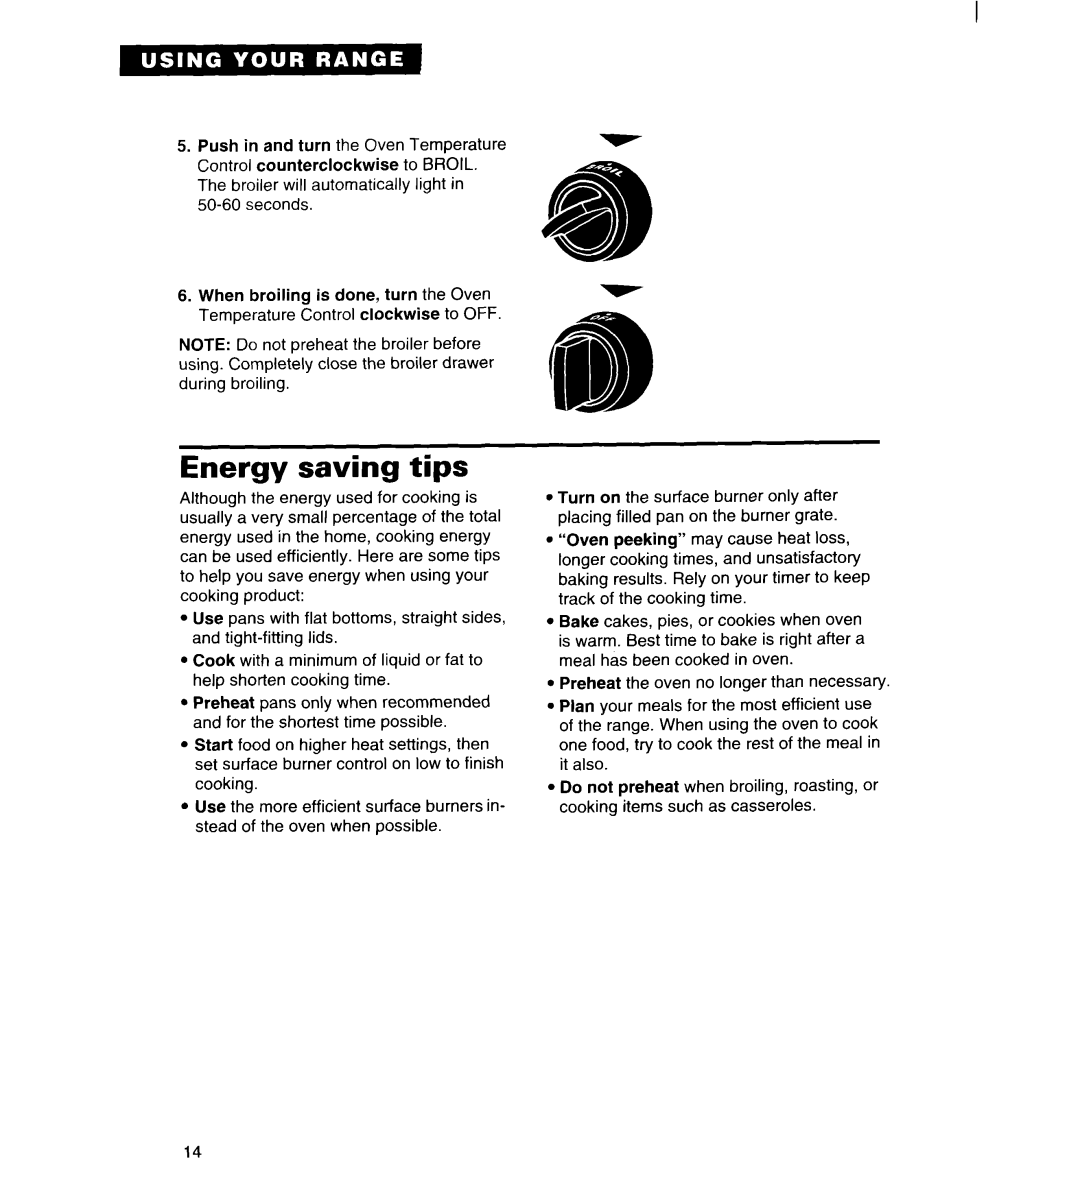
In case of a prolonged power failure
Surface burners can be manually lighted. Hold a lit match near a burner and turn the control knob to the LITE position. After the burner lights, turn the control knob to the desired setting.
Fire Hazard
Burner flame should not extend
beyond the edge of the cooking utensil.
Be sure all control knobs are turned to OFF when you are not cooking.
Failure to follow these precautions could result in fire or burns.
NOTE: Do not leave an empty utensil, or one which has boiled dry, on a hot surface burner. The utensil could overheat and damage the utensil or cooking product.
Cookware tips
No one brand of cookware is best for all people. Knowing something about pan materials and construction will help you select the correct cooking utensils for your needs.
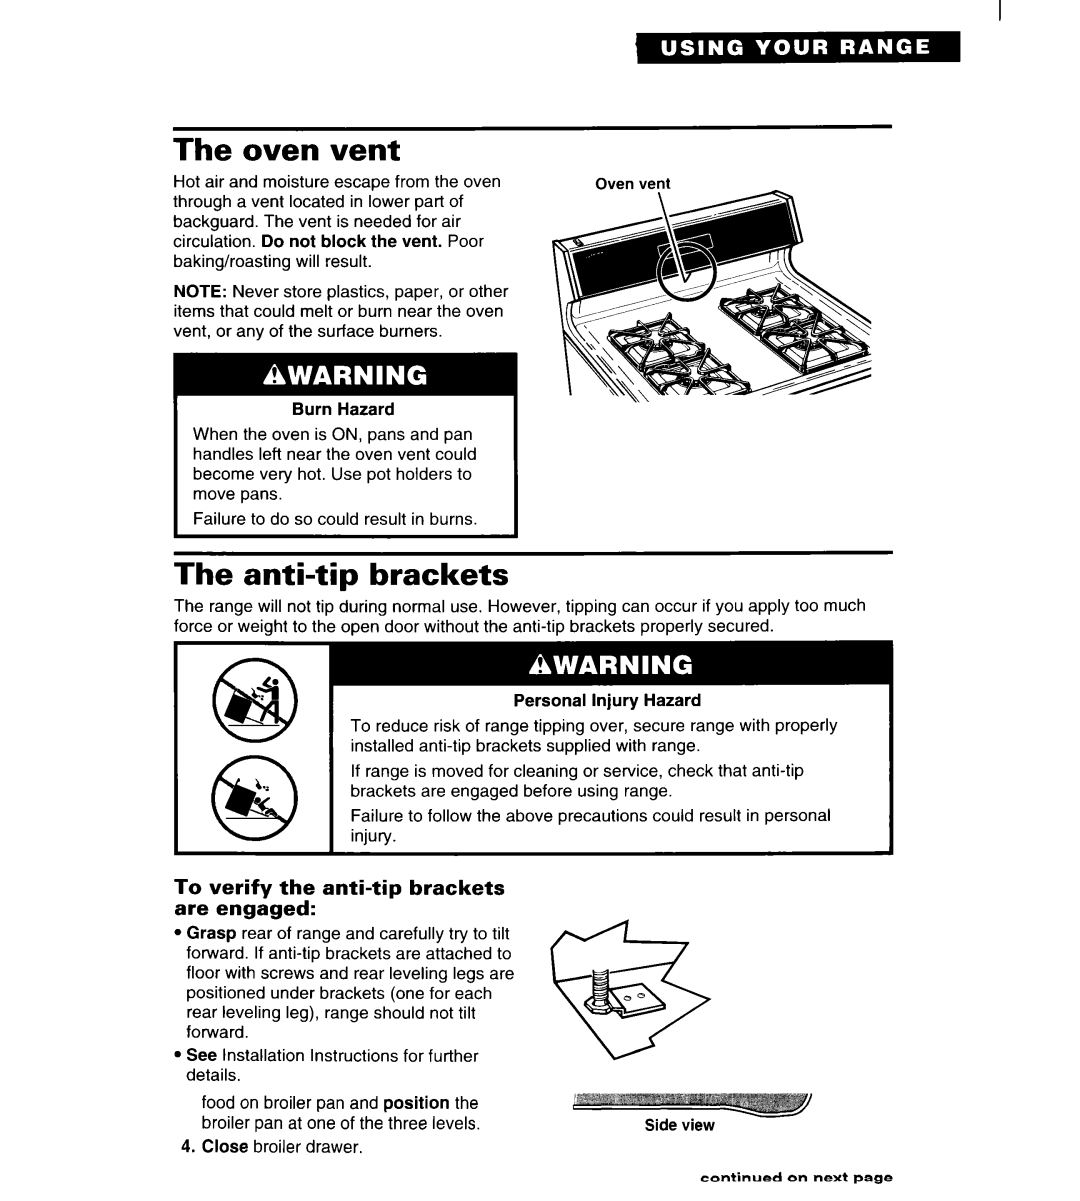
l NOTE: For best results and greater fuel efficiency, use only
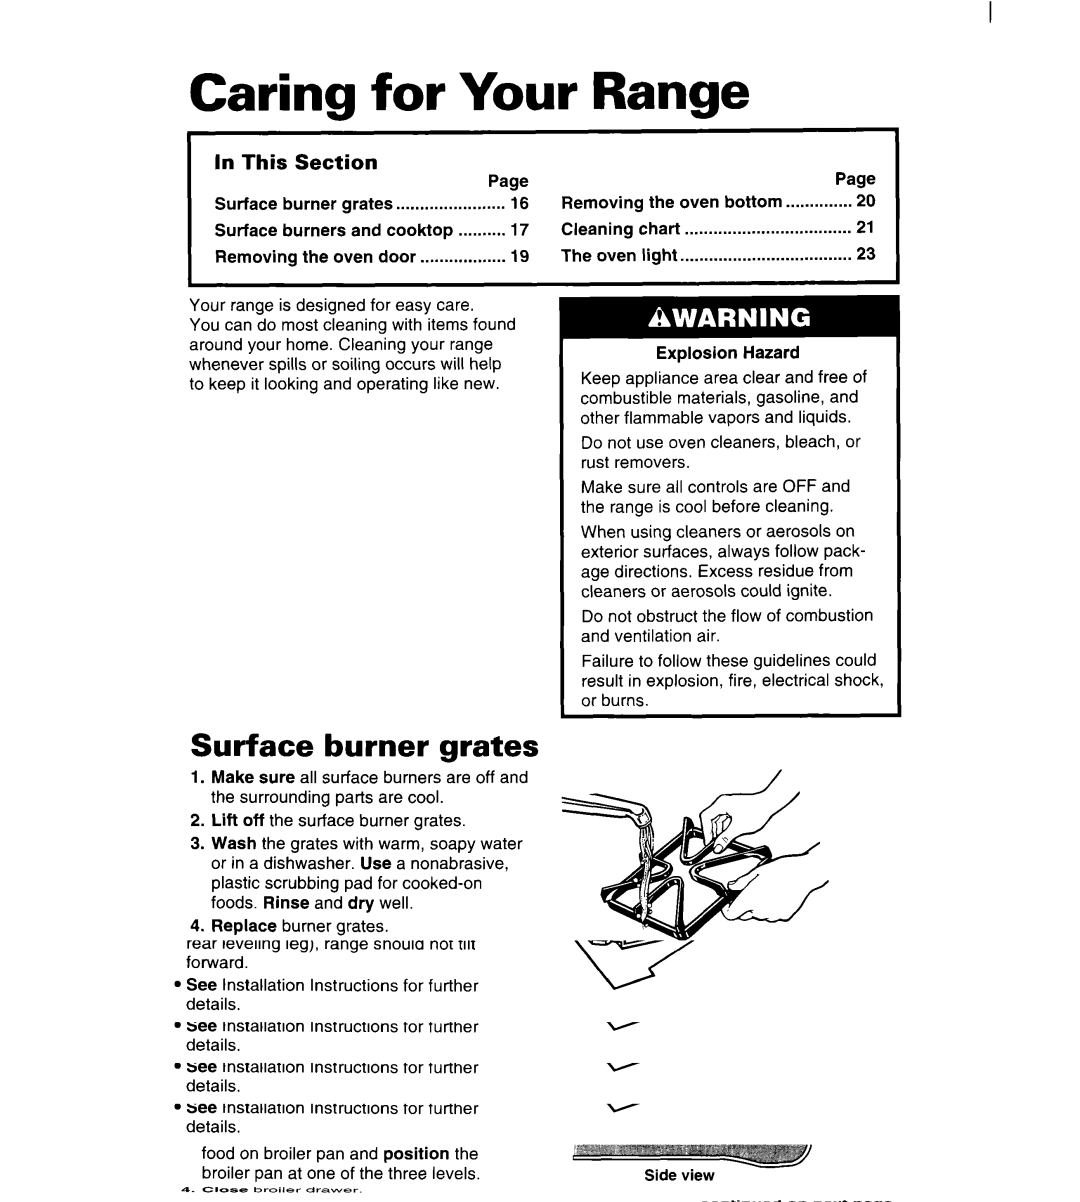
l The pan should have straight sides and a
l Choose medium to heavy gauge (thick- ness) pans that are fairly lightweight.
l The pan material (metal or glass) affects how fast heat transfers from the surface burners through the pan material and how evenly heat spreads over the pan bottom. Choose pans that provide the best cooking results.
l Handles should be made of a sturdy, heat- resistant material and be securely attached to the pan.
8
