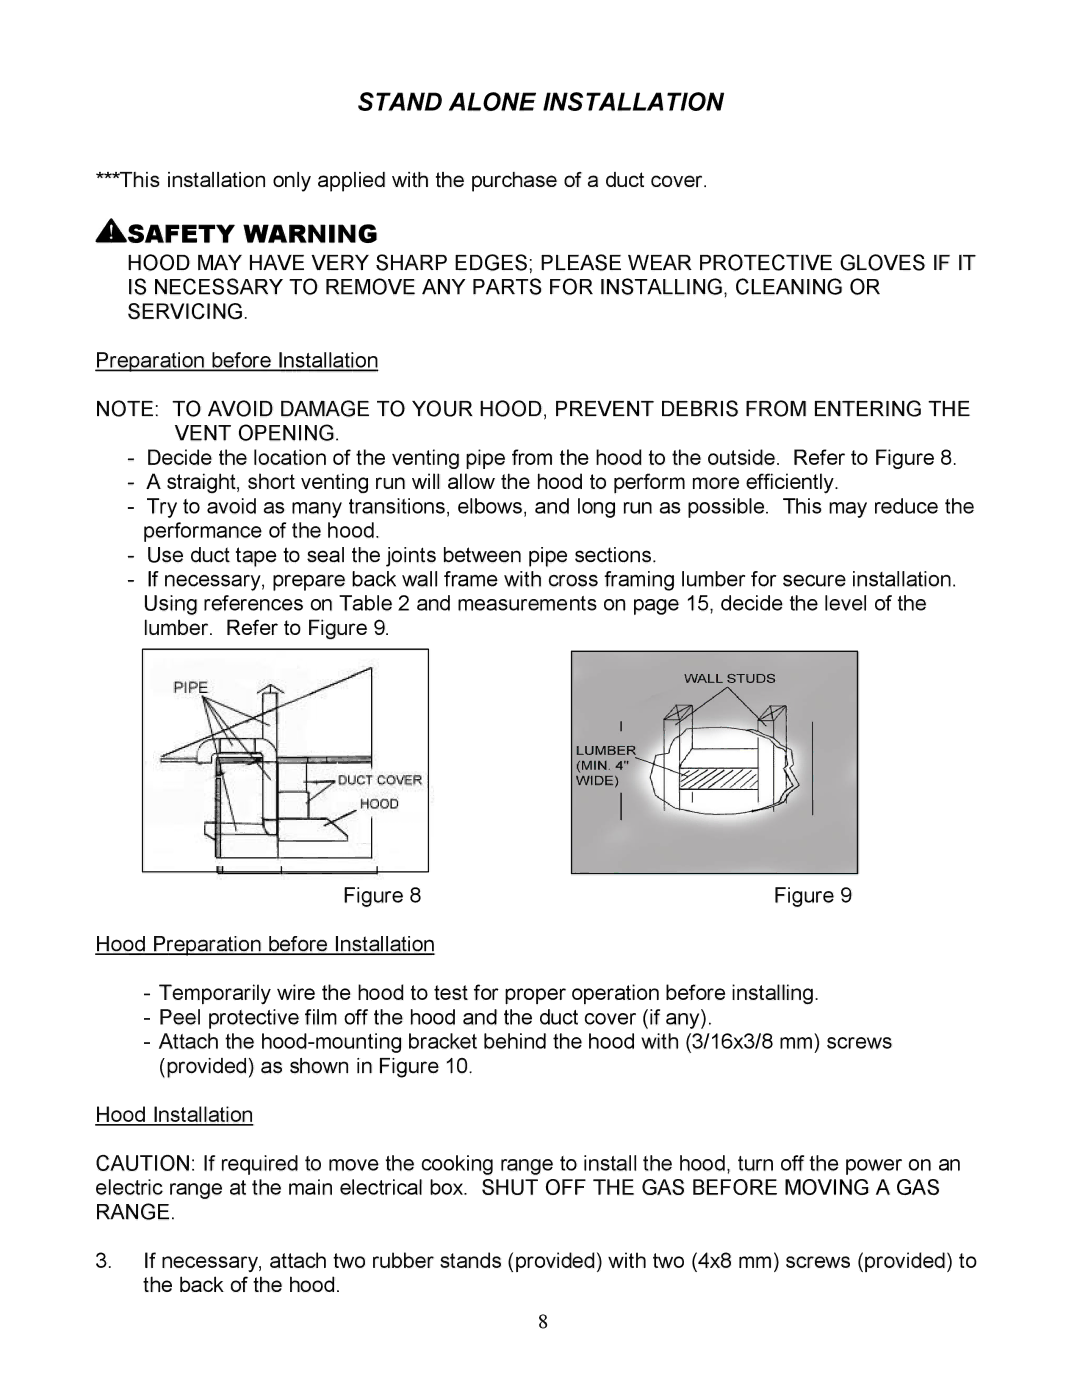
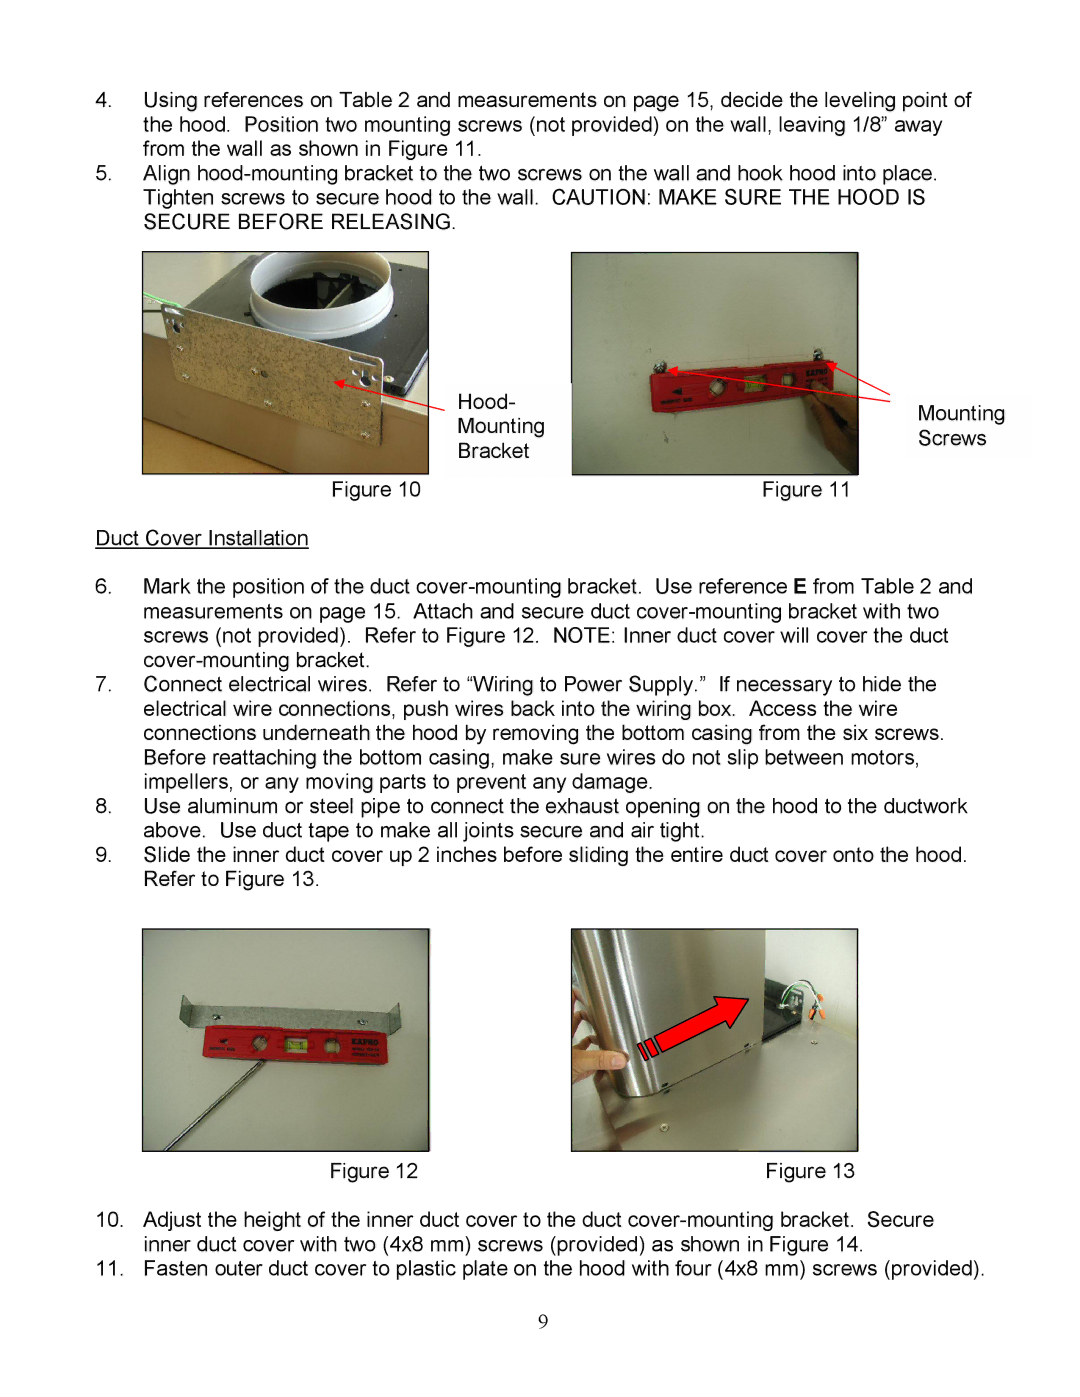
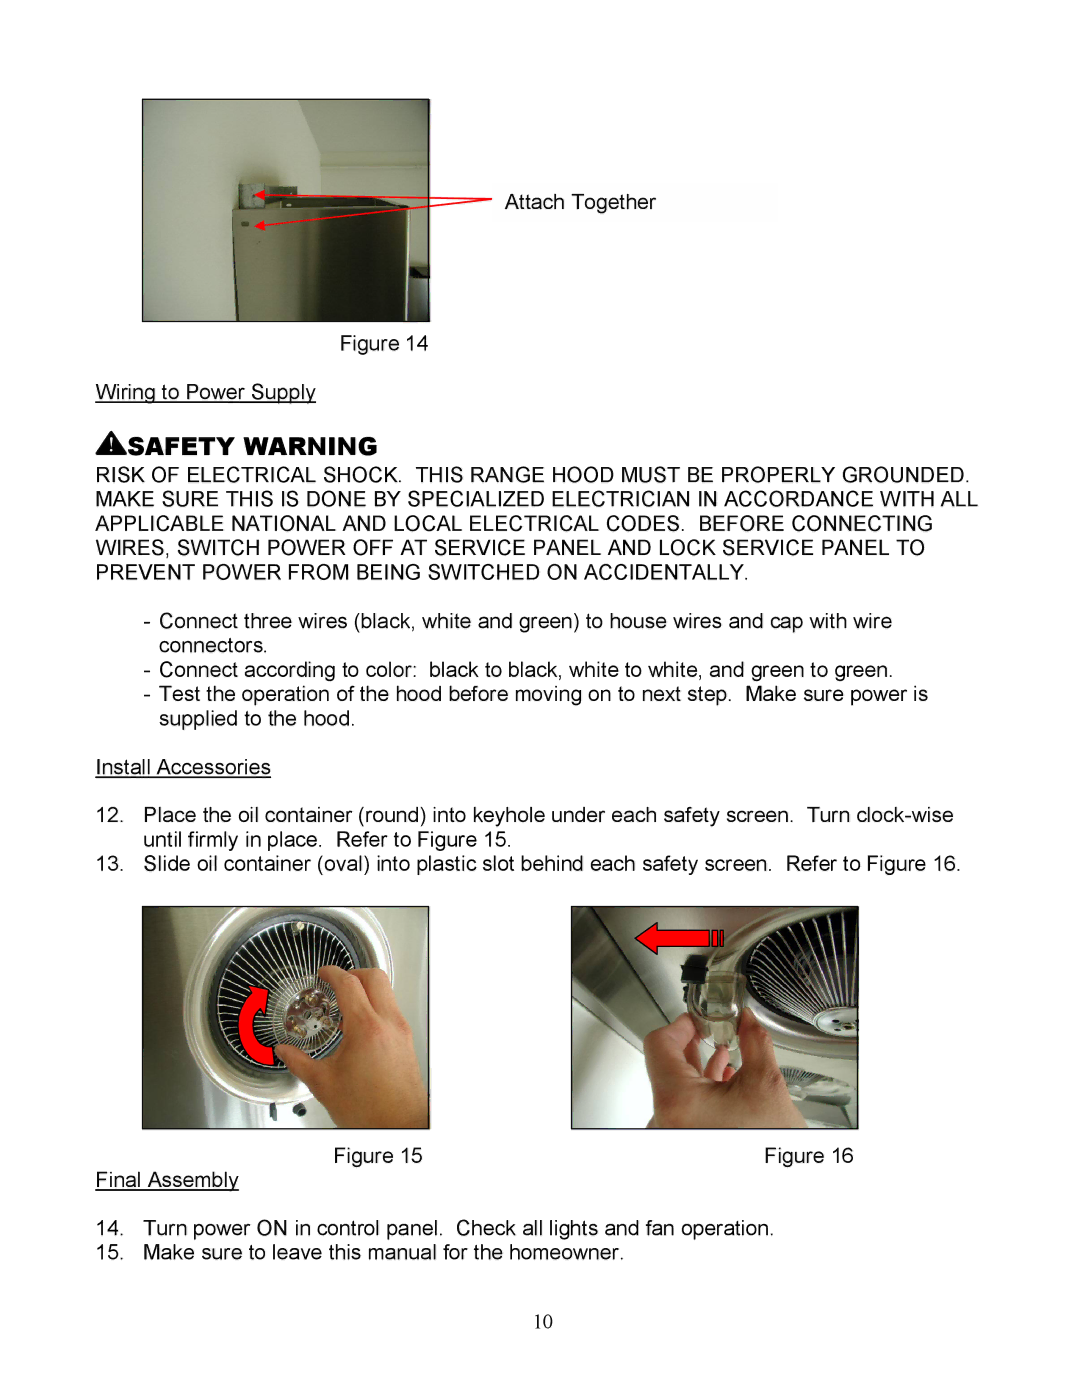
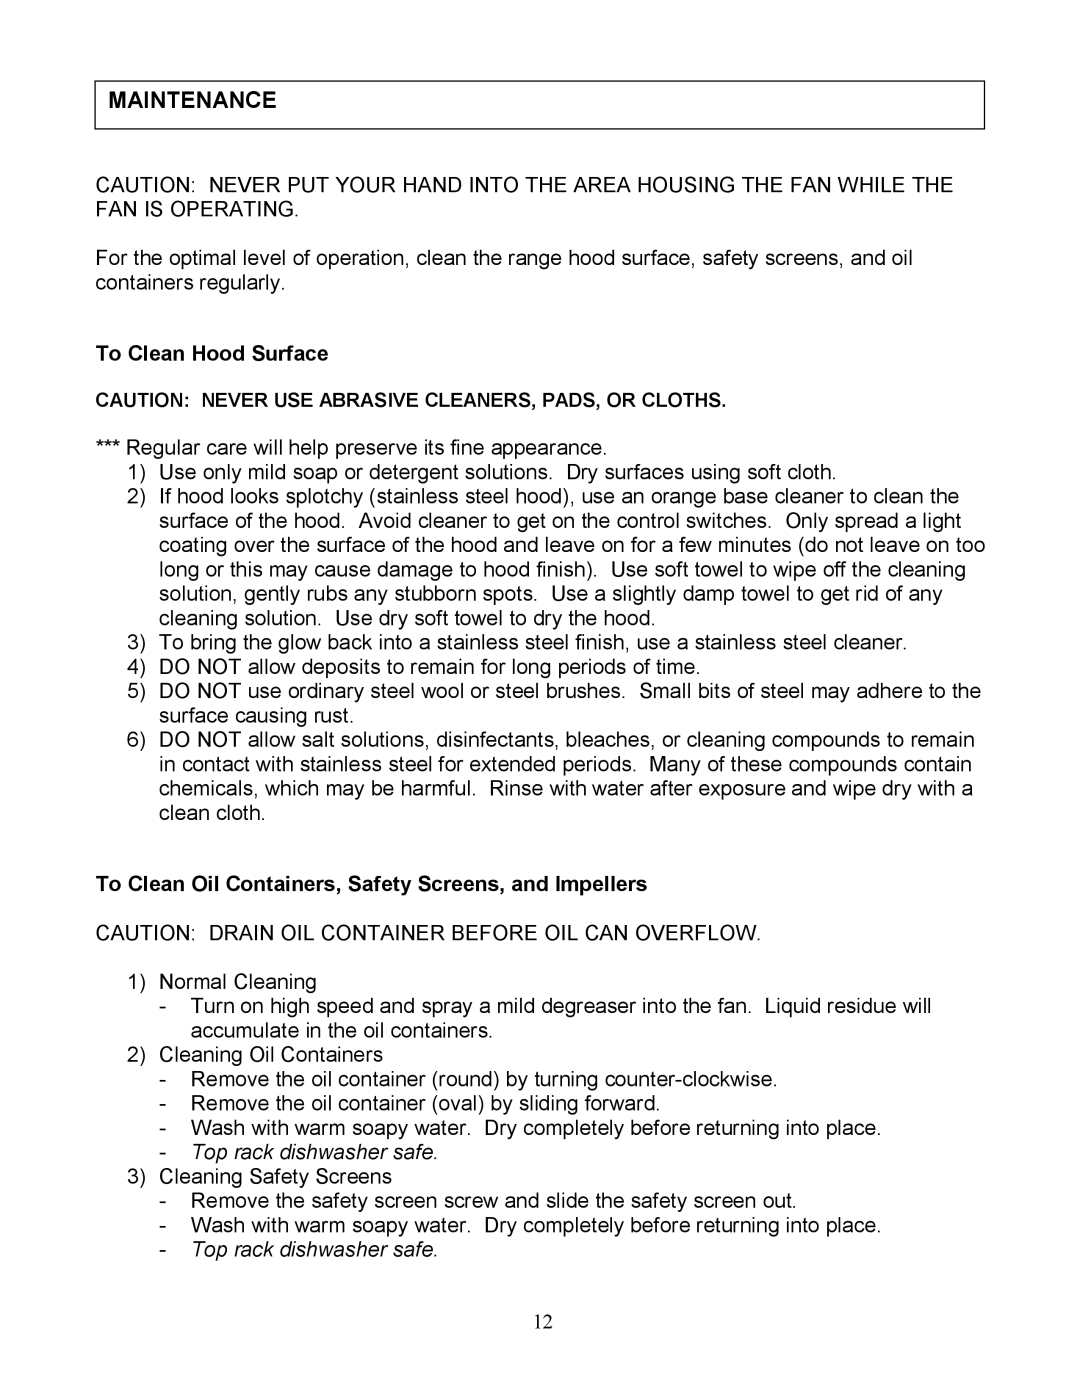
Kobe Range Hoods RA3836S, RA3830S installation instructions Connect the electrical wires

Page 9

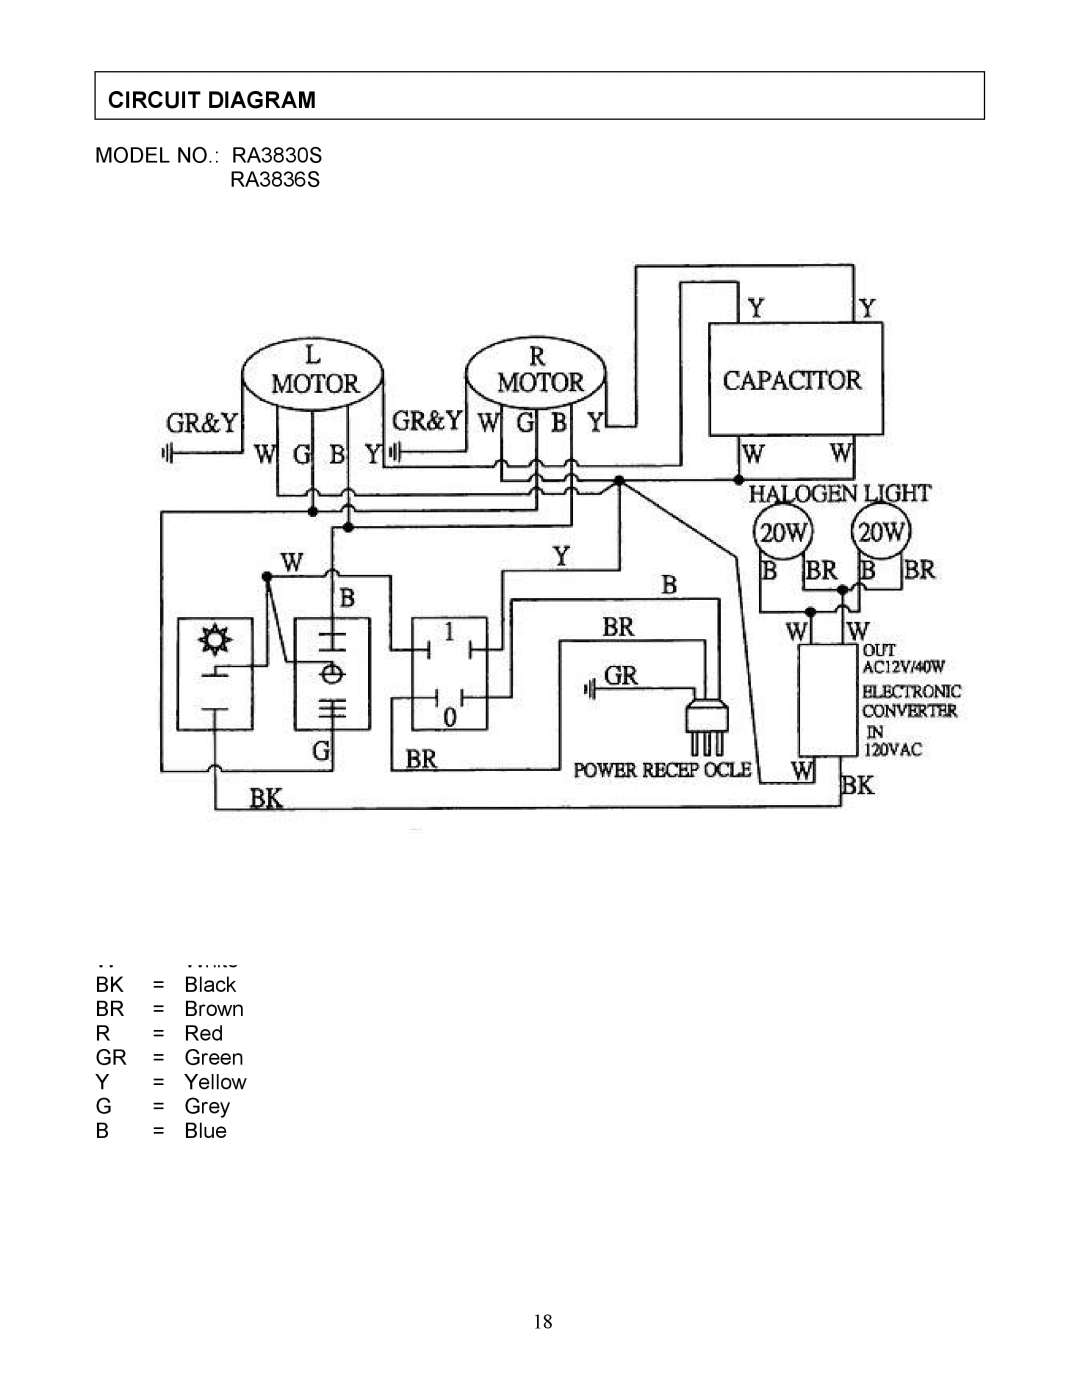
7.Connect the electrical wires.

-If necessary to hide the electrical wire connections, push wires back into t Access the wire connections underneath the hood by removing the bottom casing the six screws. Before reattaching the bottom casing, make sure wires do not between motors, impellers, or any moving parts to prevent any damage. Connec wires (black, white and green) to house wires and cap with wire connectors.

-Connect according to color: black to black, white to white, and green to gr

-Test the operation of the hood before moving on to next step. Make sure pow supplied to the hood.

Install Accessories

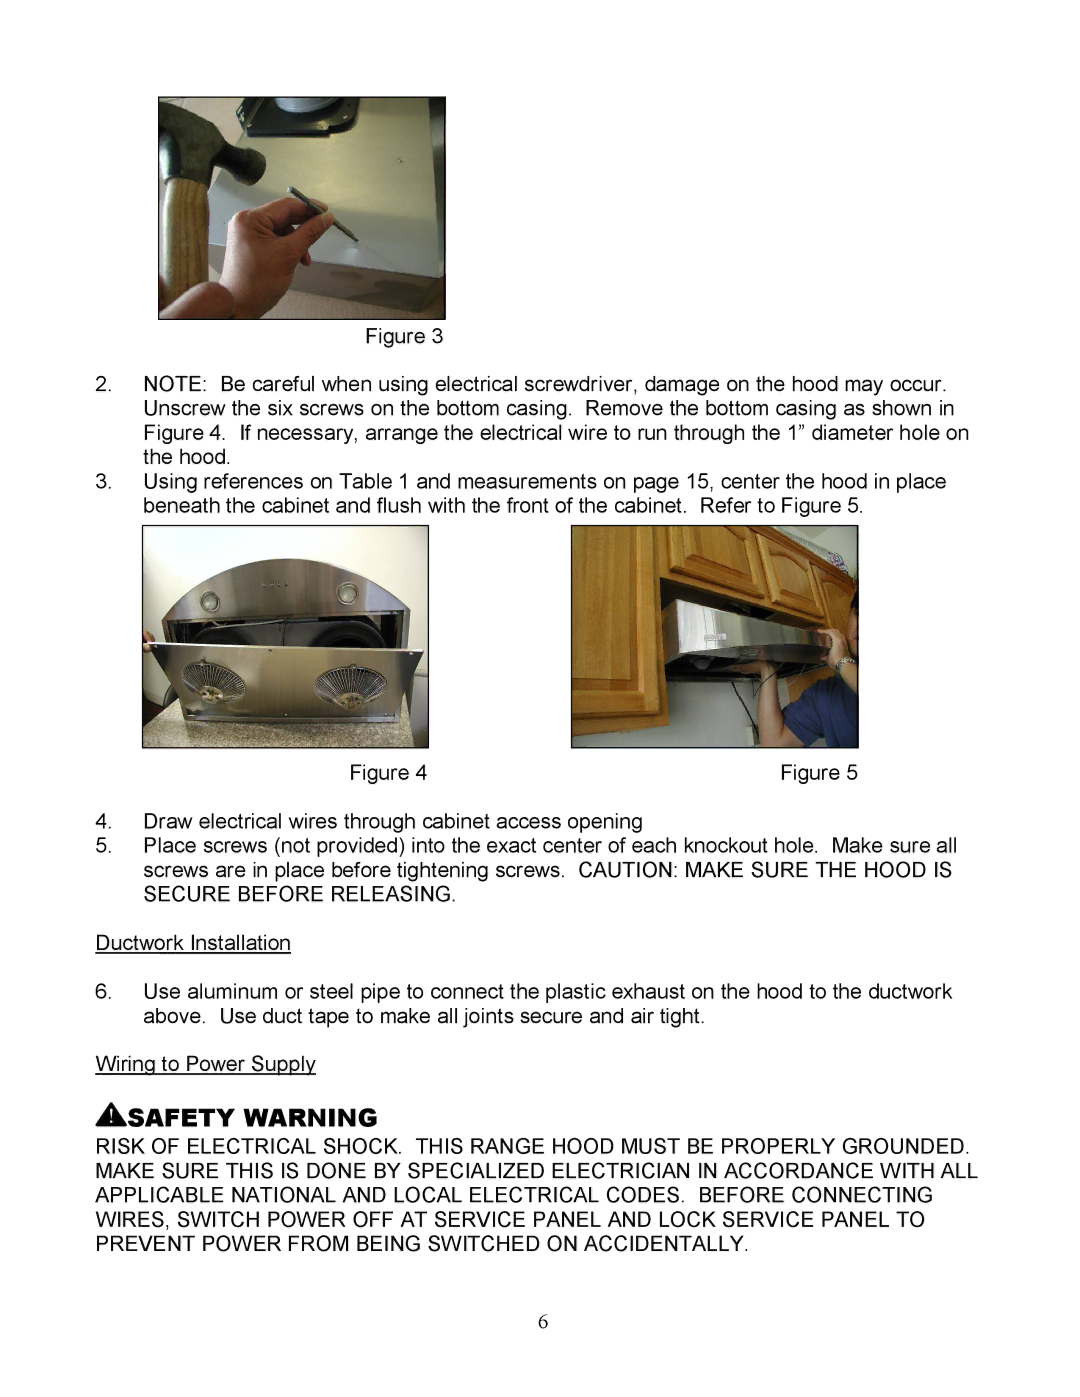
8.Place the oil container (round) into keyhole under each safety screen. Turn c until firmly in place. Refer to Figure 6.

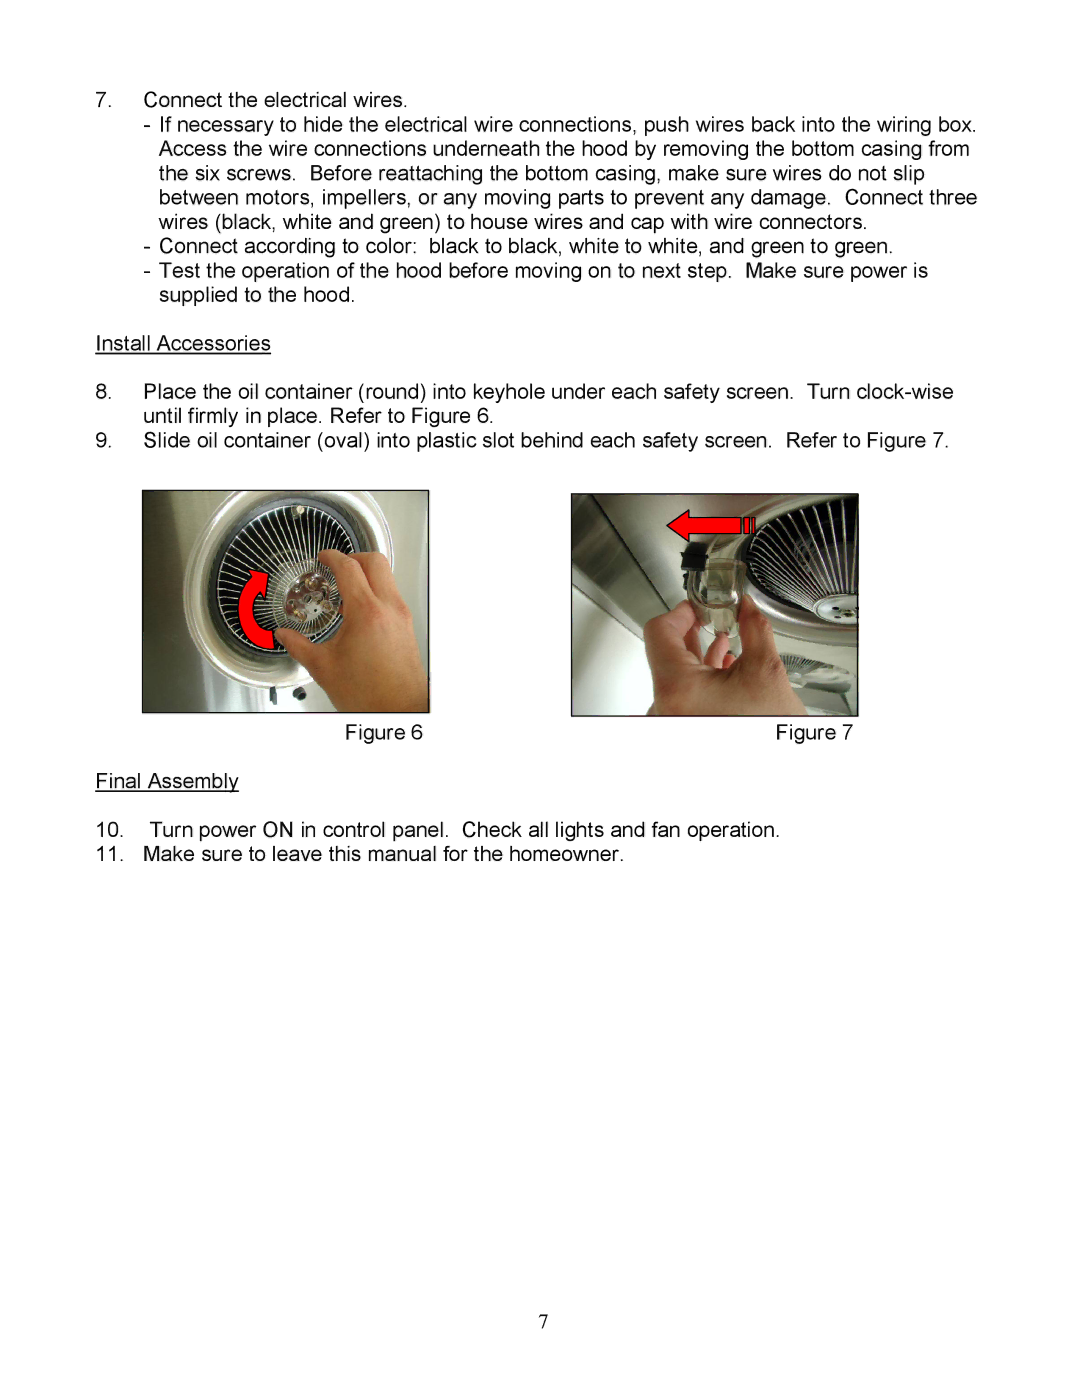
9.Slide oil container (oval) into plastic slot behind each safety screen. Refer

Figure 6

Final Assembly

10.Turn power ON in control panel. Check all lights and fan operation.

11.Make sure to leave this manual for the homeowner.

7
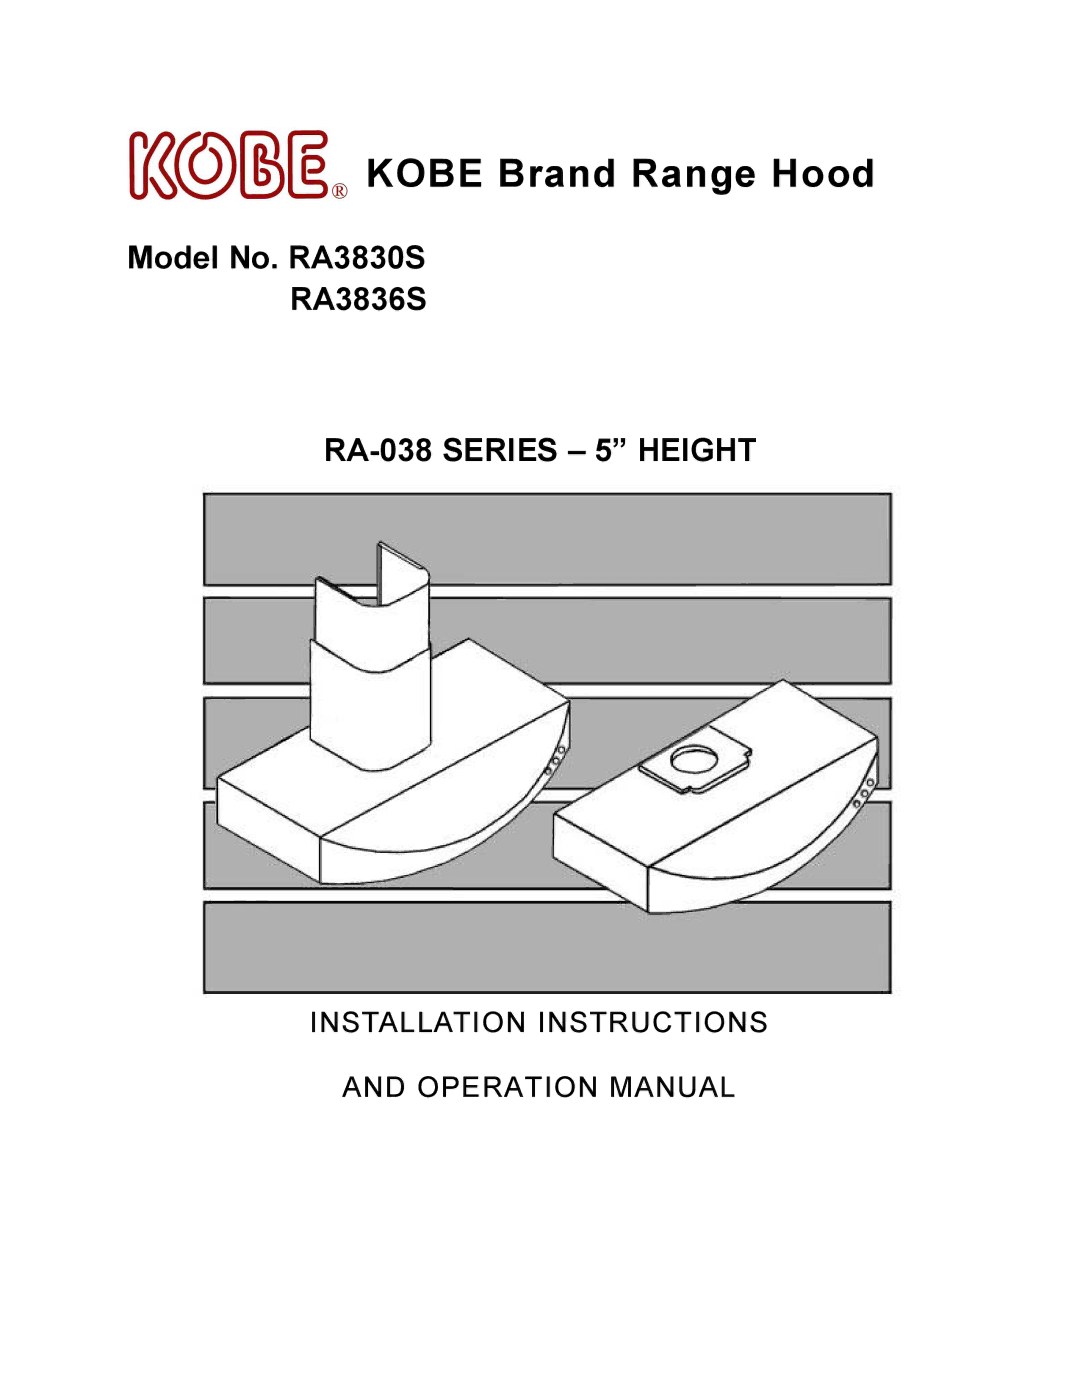
Image 9
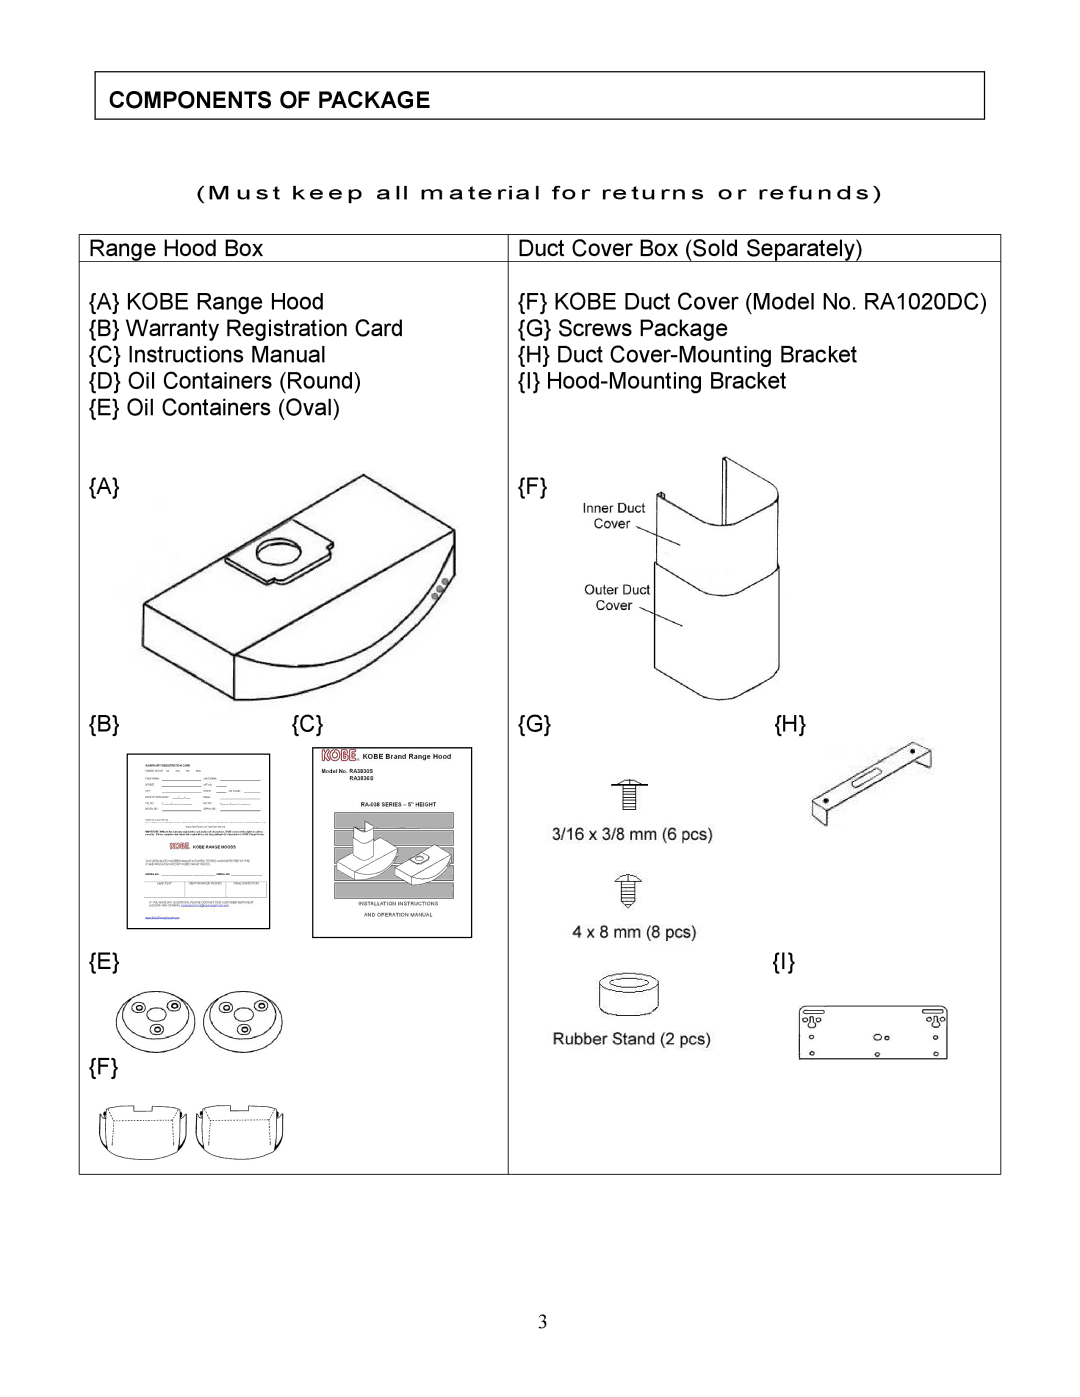
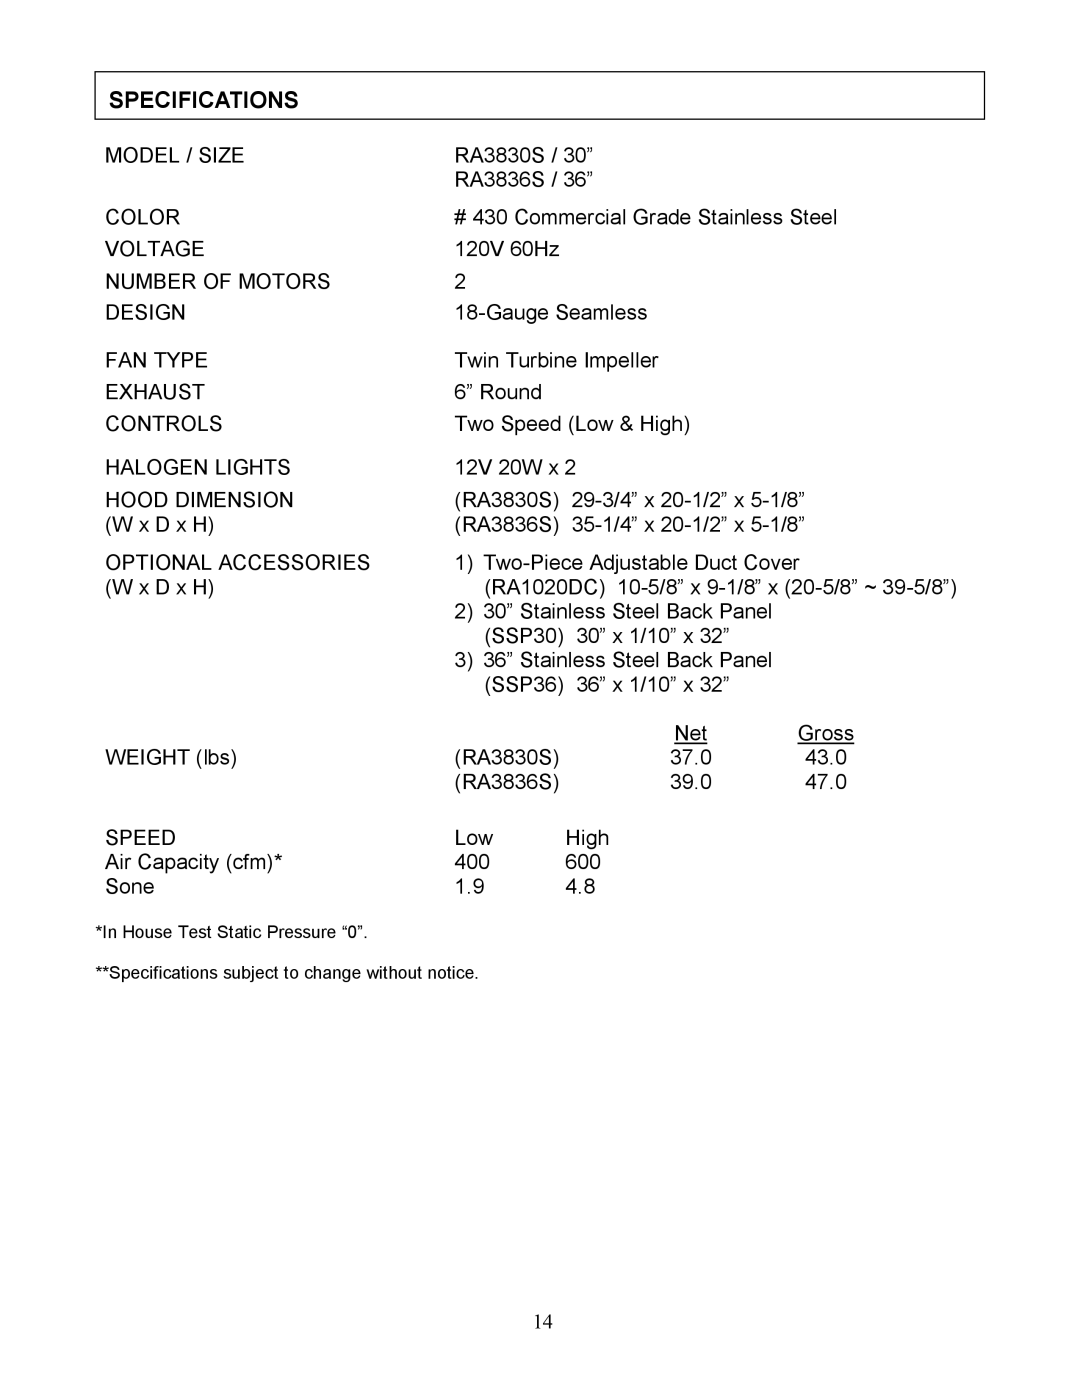
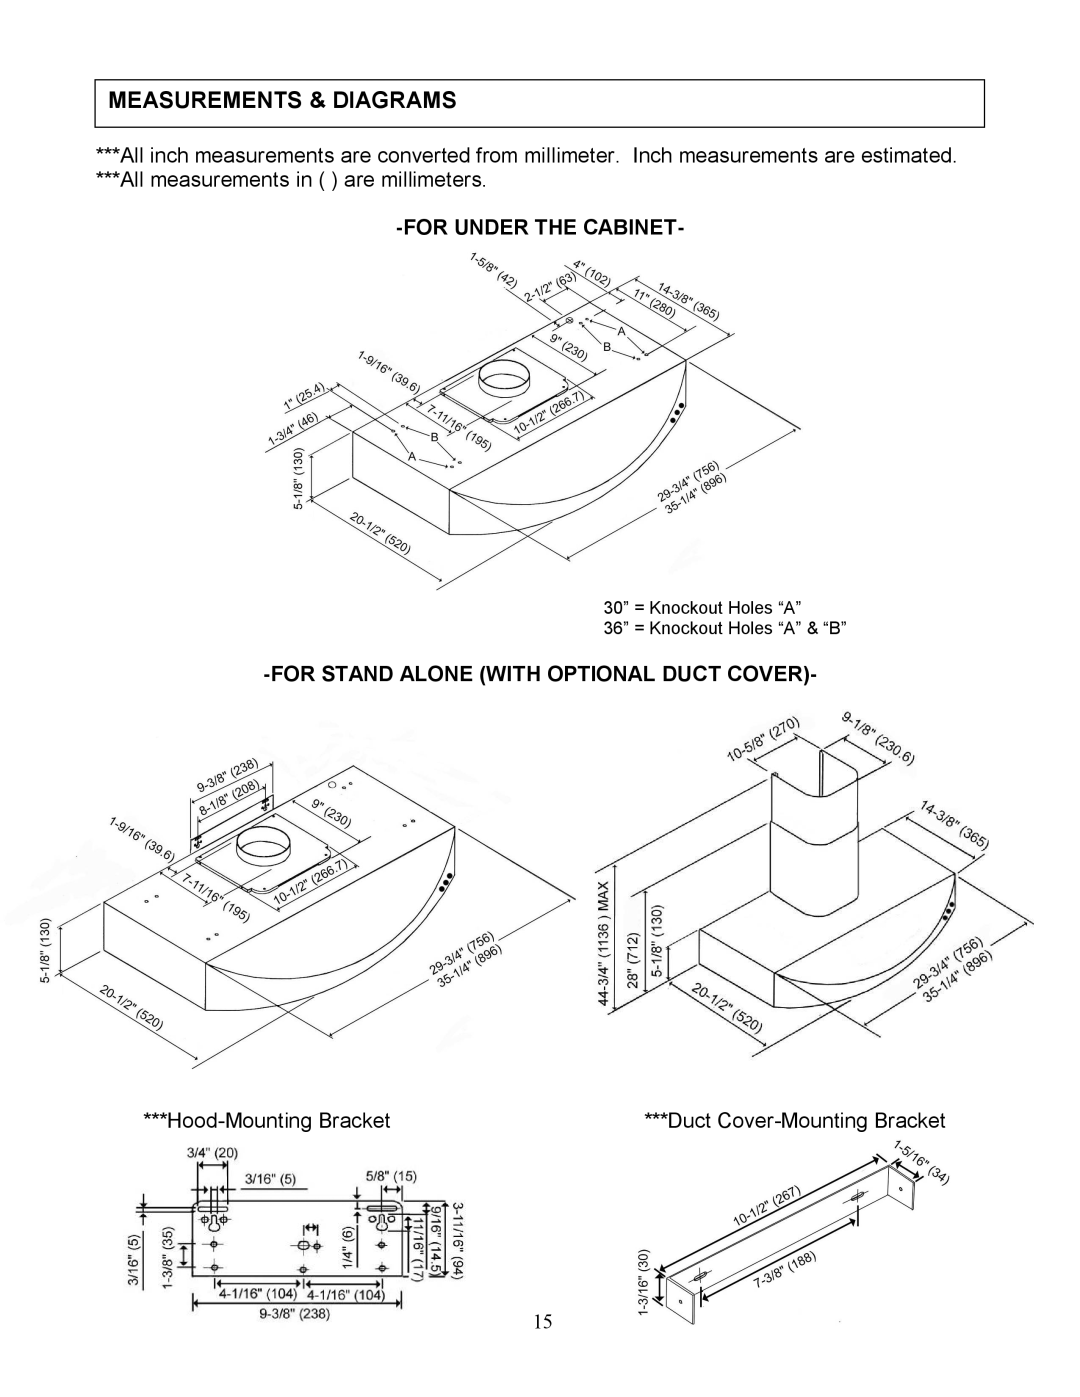
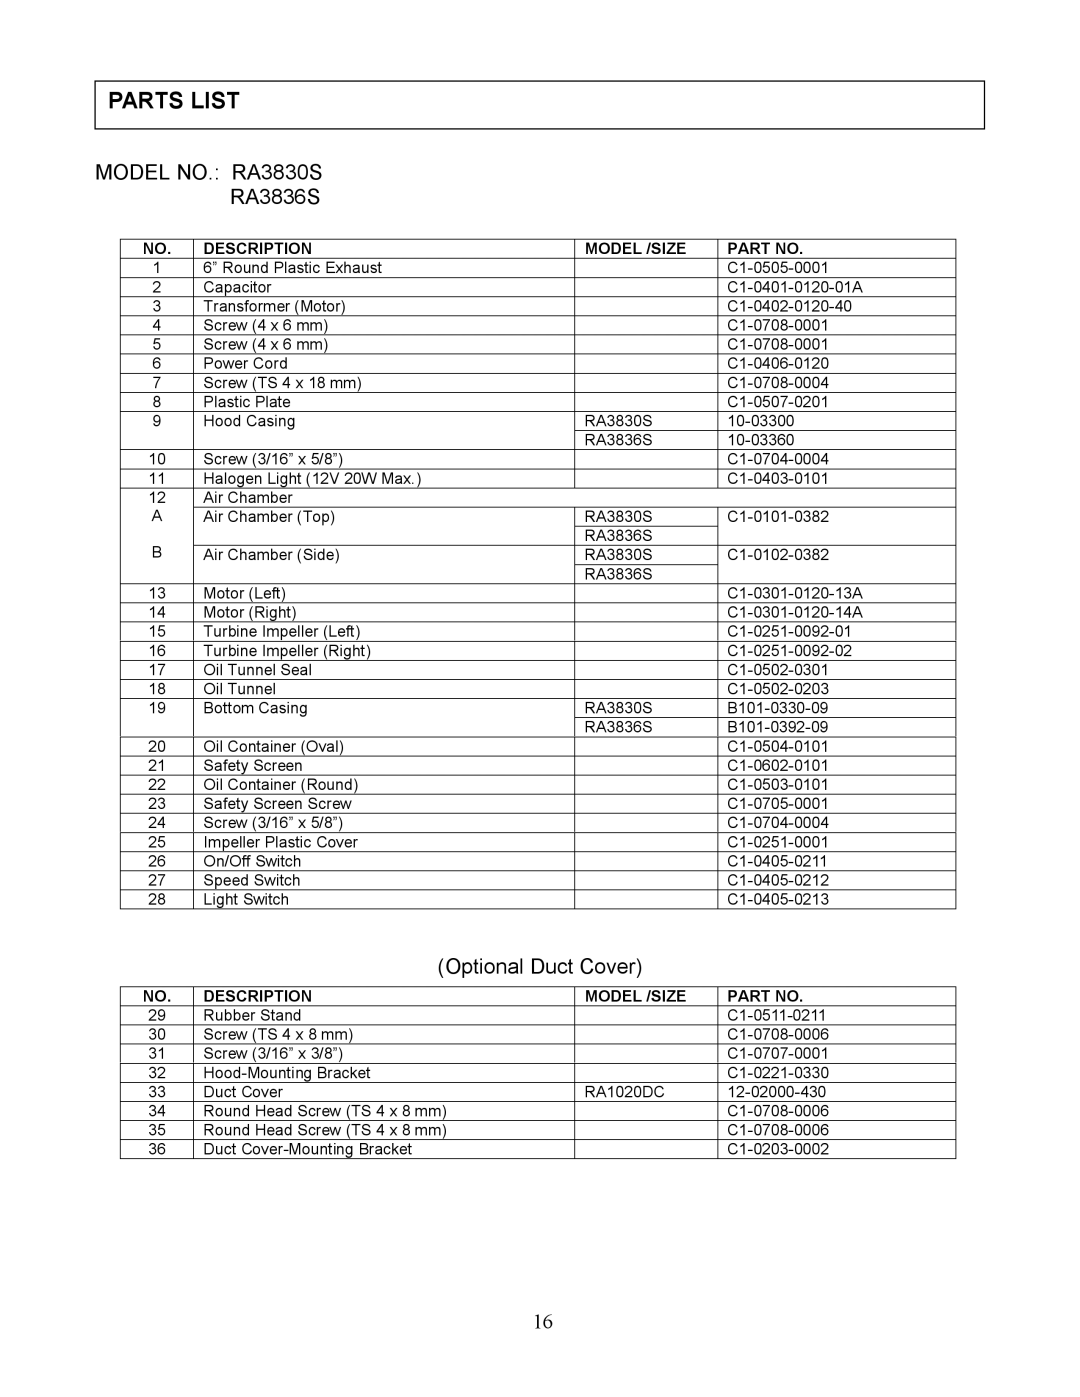
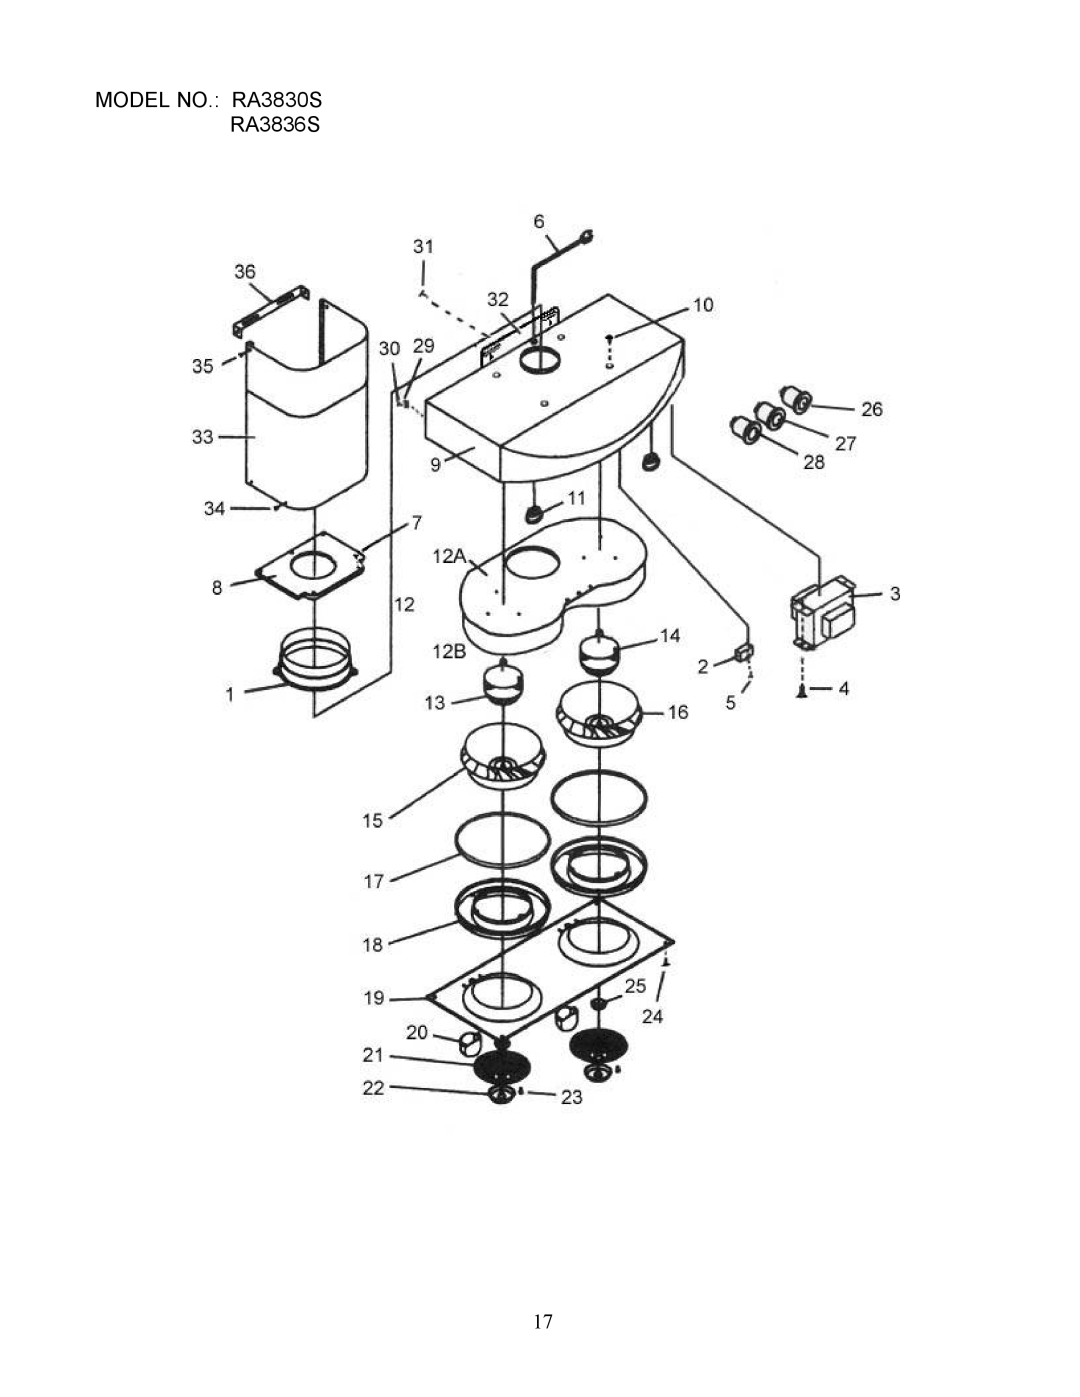
Contents Kobe Brand Range Hood Read and Save These Instructions Important Safety Instructions Please Read this Section Carefully Before InstallationWhat to Do In The Event Of a Range Top Grease Fire Activating any switch may cause ignition or an explosionComponents of Package Please Read Entire Instructions Before Proceeding InstallationFor Under the Cabinet For Stand Alone with Optional Duct CoverPreparation before Installation Under the Cabinet Installation Safety WarningSafety Warning Connect the electrical wires Stand Alone Installation Page Attach Together Wiring to Power Supply Final AssemblyCheck all lights and fan operation. for the homeowner Operating Instructions Top rack dishwasher safe MaintenanceReplace protective cover Plug in range hood Specifications Measurements & Diagrams All measurements in are millimetersHood-Mounting Bracket Parts List Model NO. RA3830SOptional Duct Cover Model NO. RA3830S KEY Code Circuit DiagramClaims will not be Accepted After the Allocated Days DisclaimerWarranty Certificate WarrantyTWO-YEAR Warranty Service Period This warranty applies only Within U.S.A. and CanadaService Consequential DamageMAY not Apply to YOU Implied WARRANTIES/STATE LAW Register Your Product Product RegistrationRecord the Following Information for Your Record Model No