GE LGB146, LGB156, LGB116, LGB126, RGB526 manual Adjust the Oven Thermostat, To Adjust the Thermostat

Page 16

ADJUST THE OVEN THERMOSTAT—

DO IT YOURSELF!

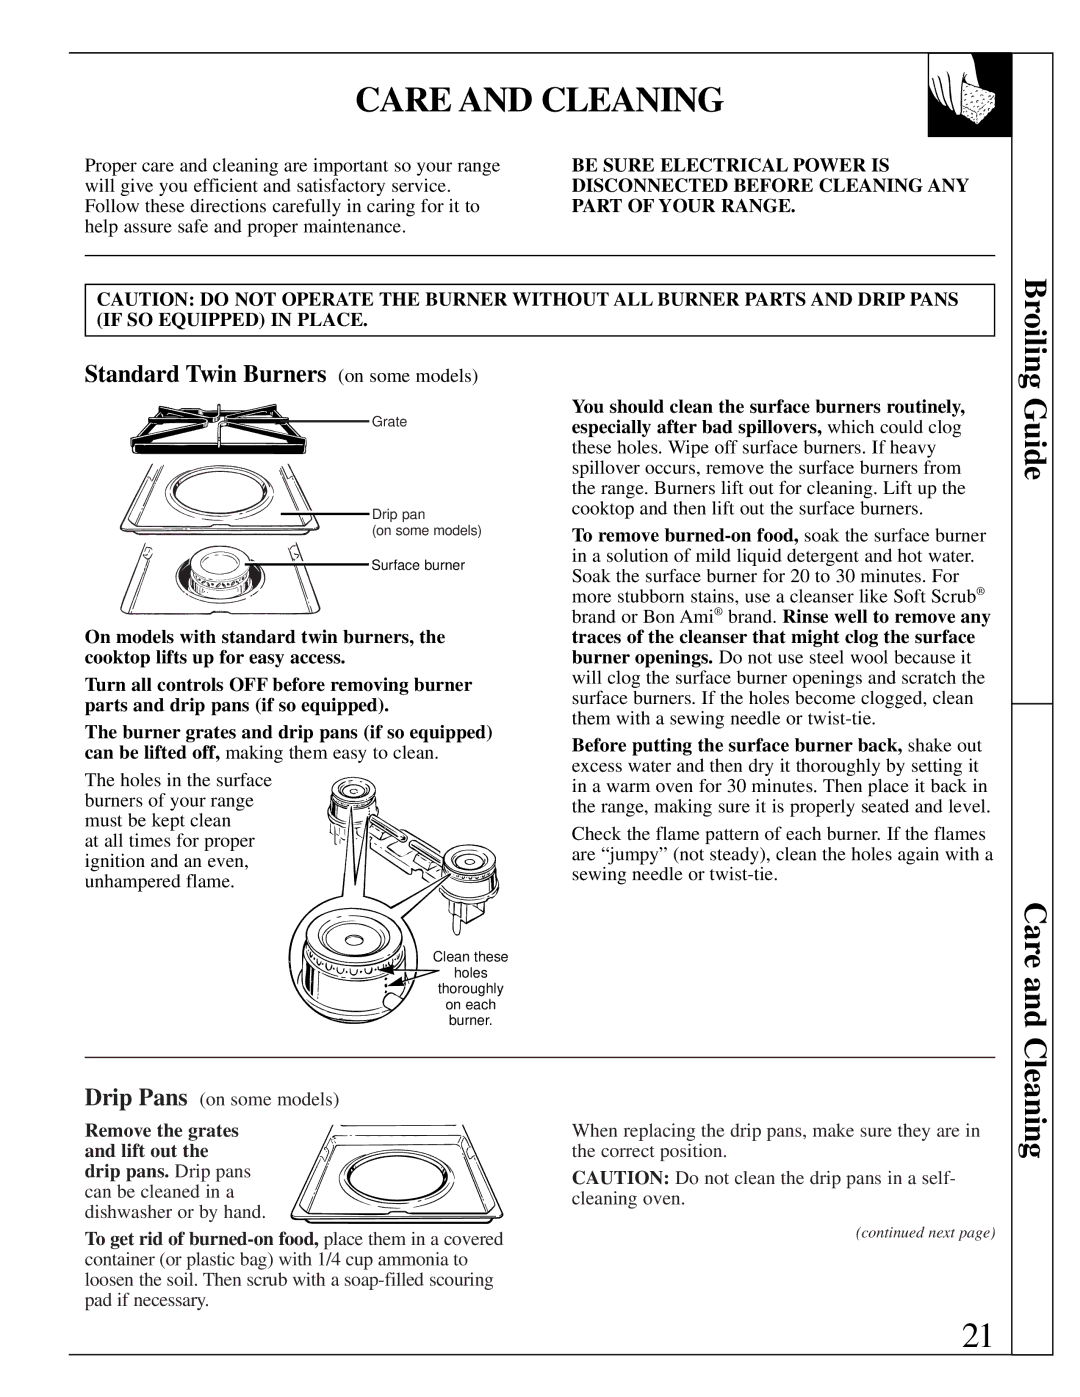
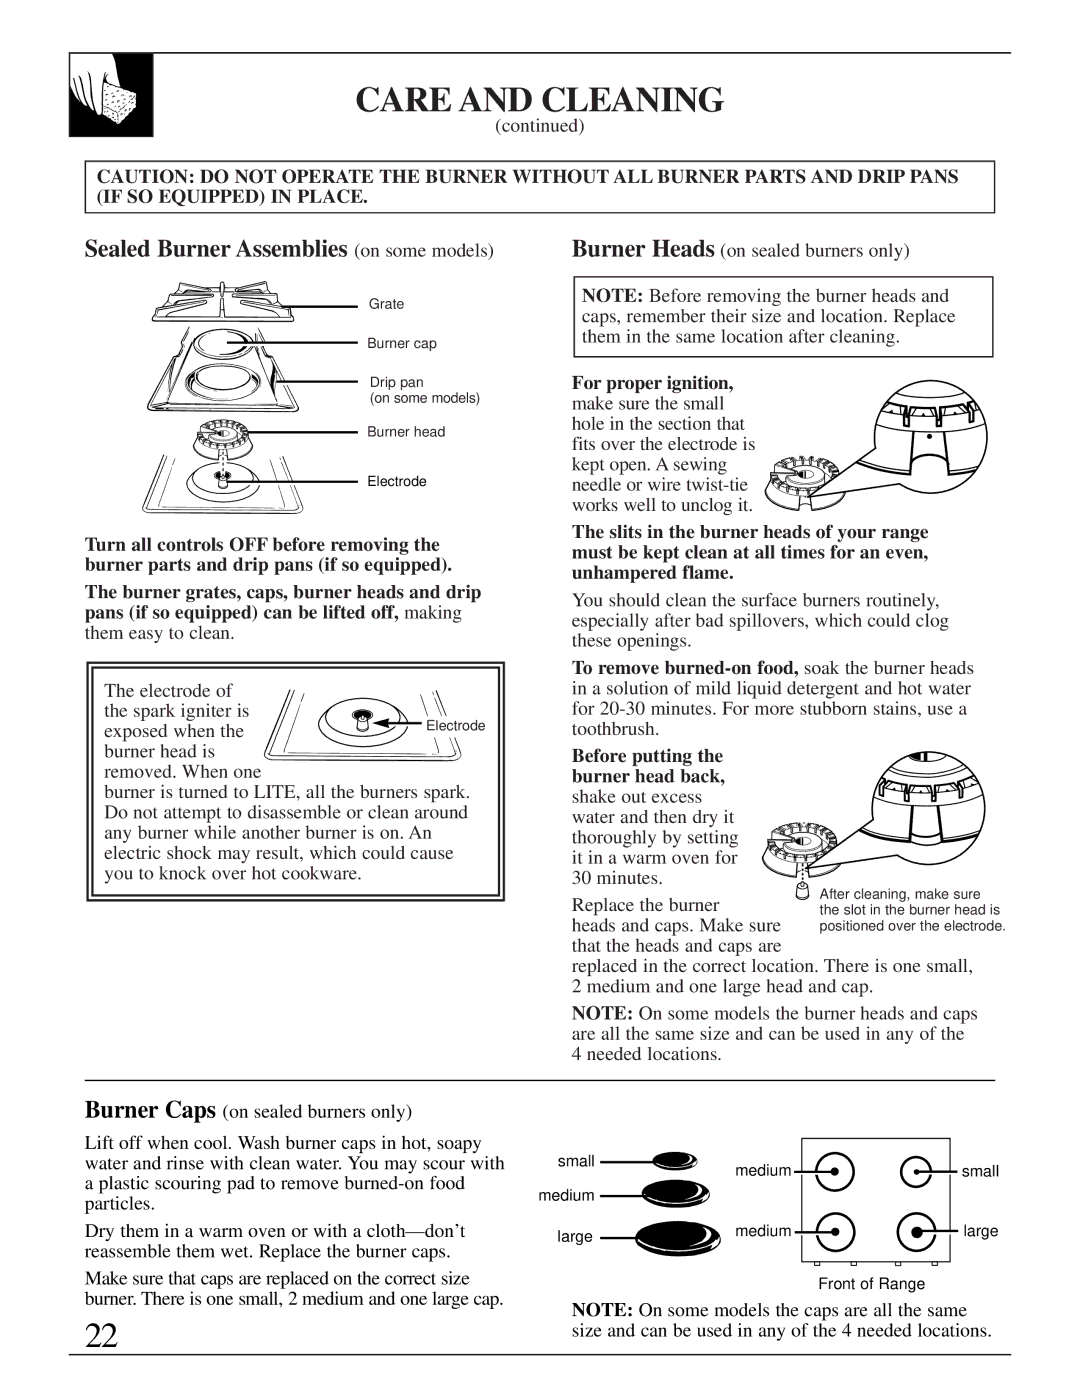
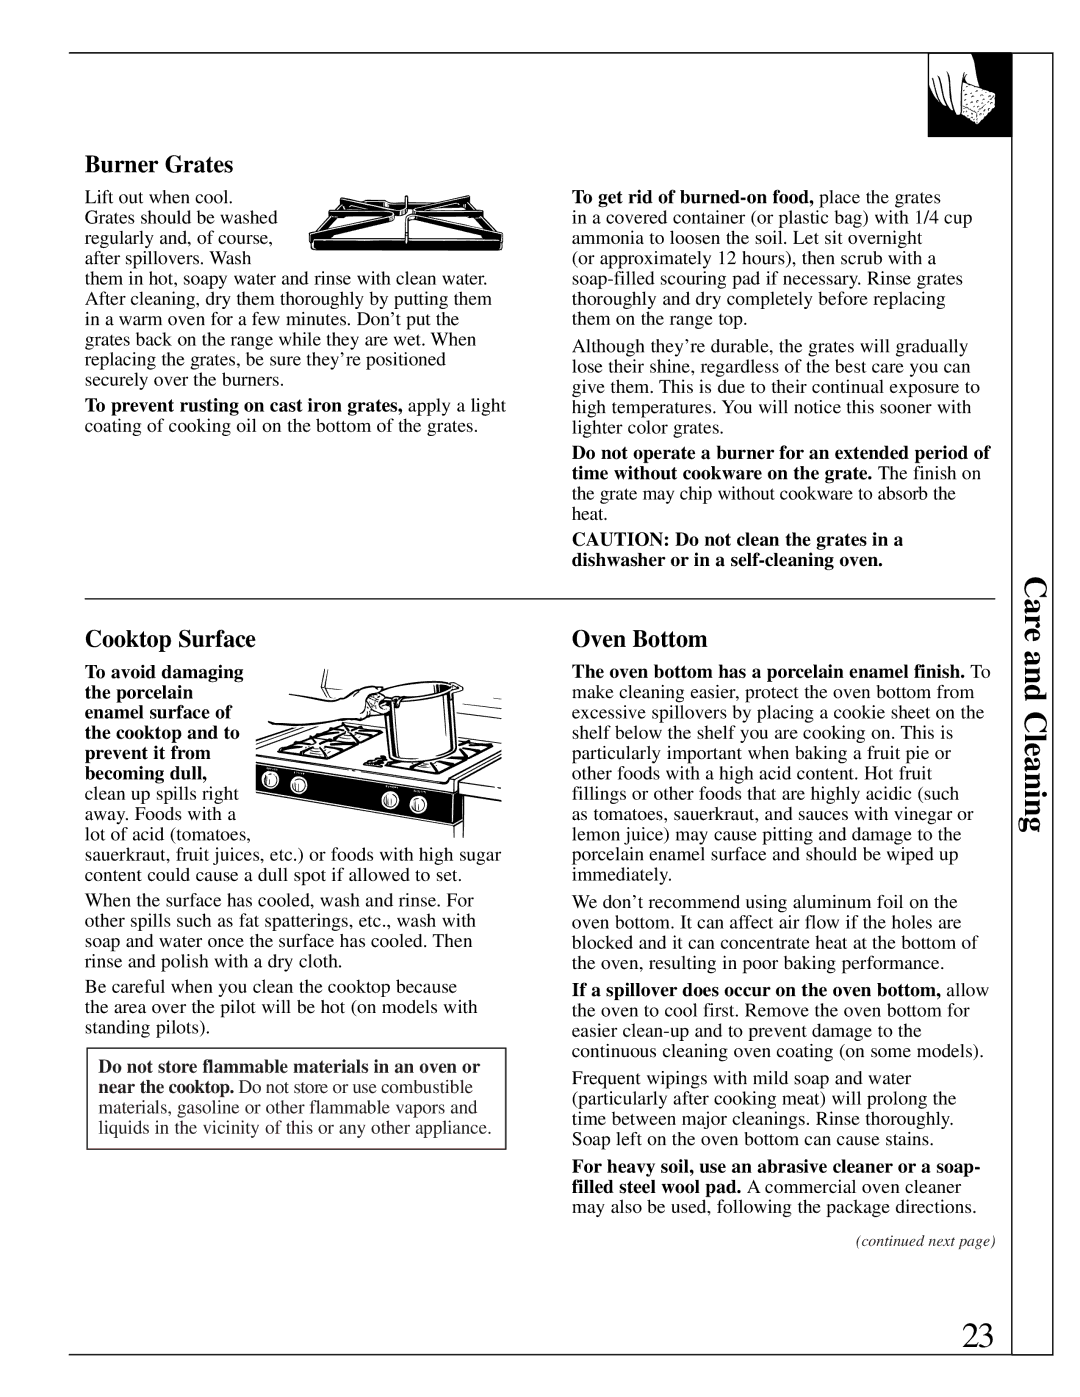
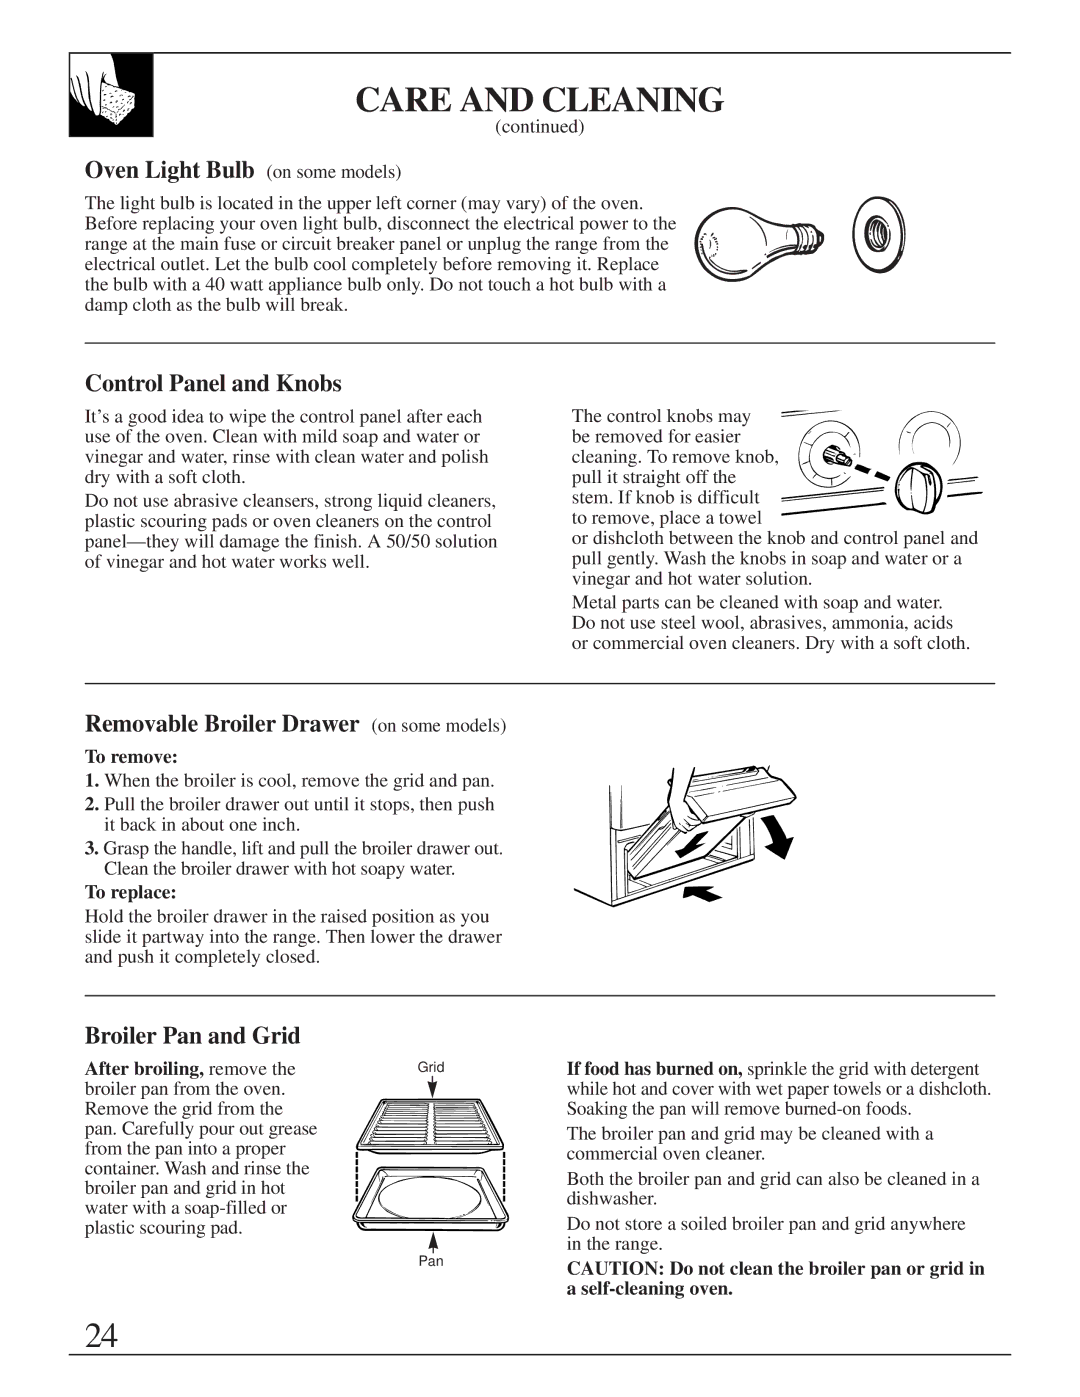
You may find that your new oven cooks differently than the one it replaced. We recommend that you use your new oven for a few weeks to become more familiar with it, following the times given in your recipes as a guide.

If you think your new oven is too hot or too cold, you can adjust the thermostat yourself. If you think it is too hot, adjust the thermostat to make it cooler.

If you think it is too cool, adjust the thermostat to make it hotter.

We do not recommend the use of thermometers, such as those found in grocery stores, to check the temperature setting of your new oven. These thermometers may vary 20–40 degrees.

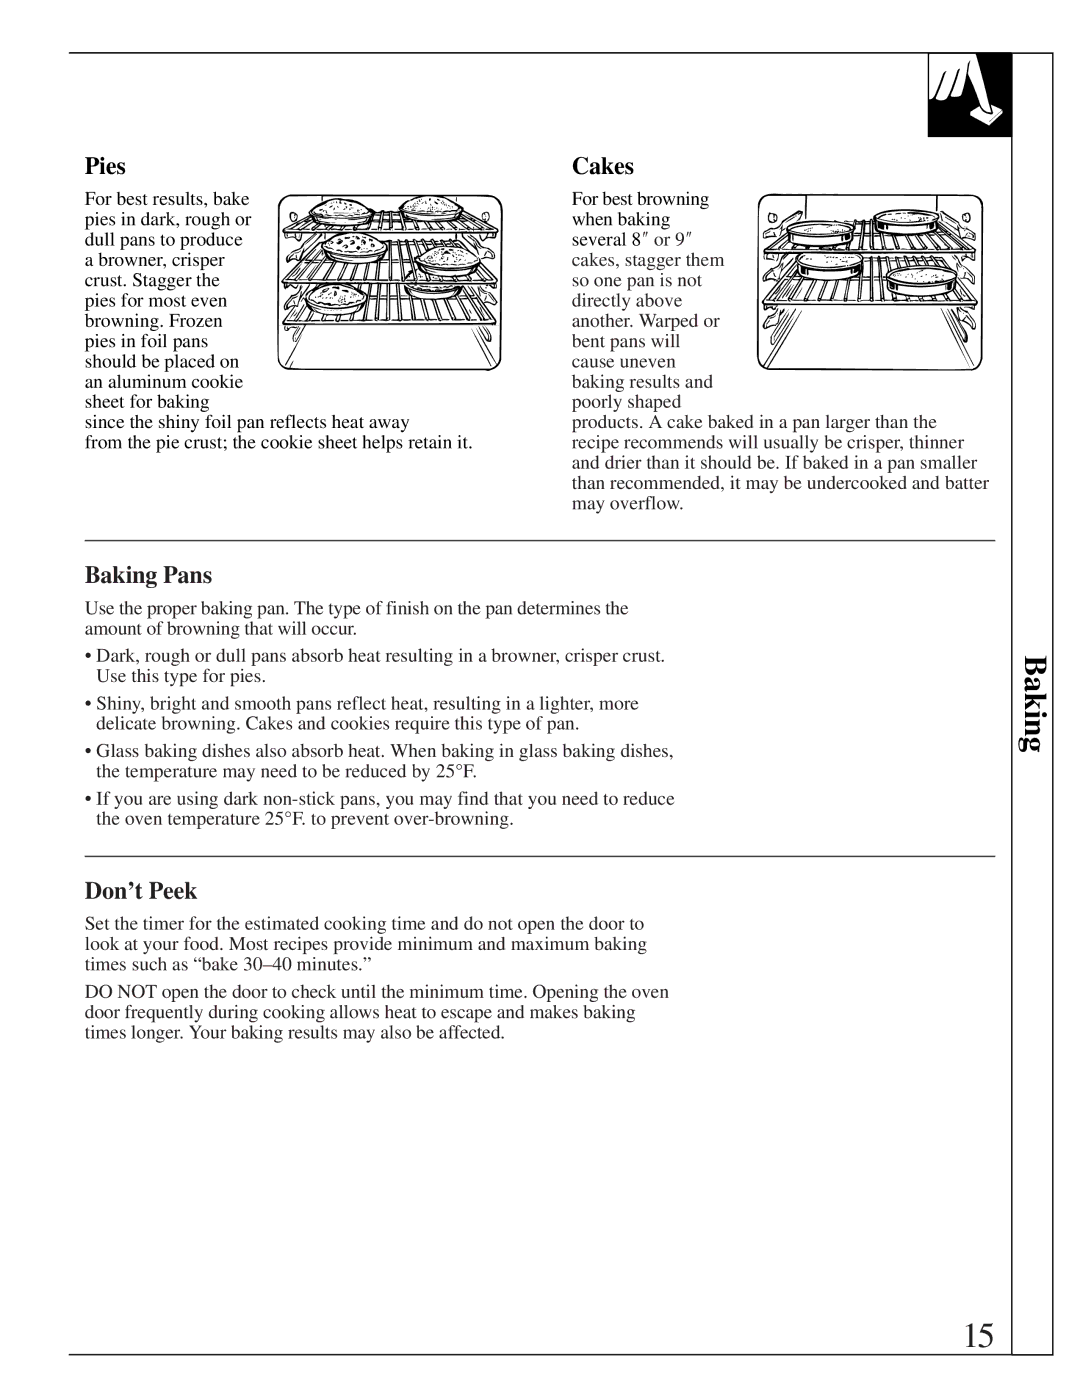
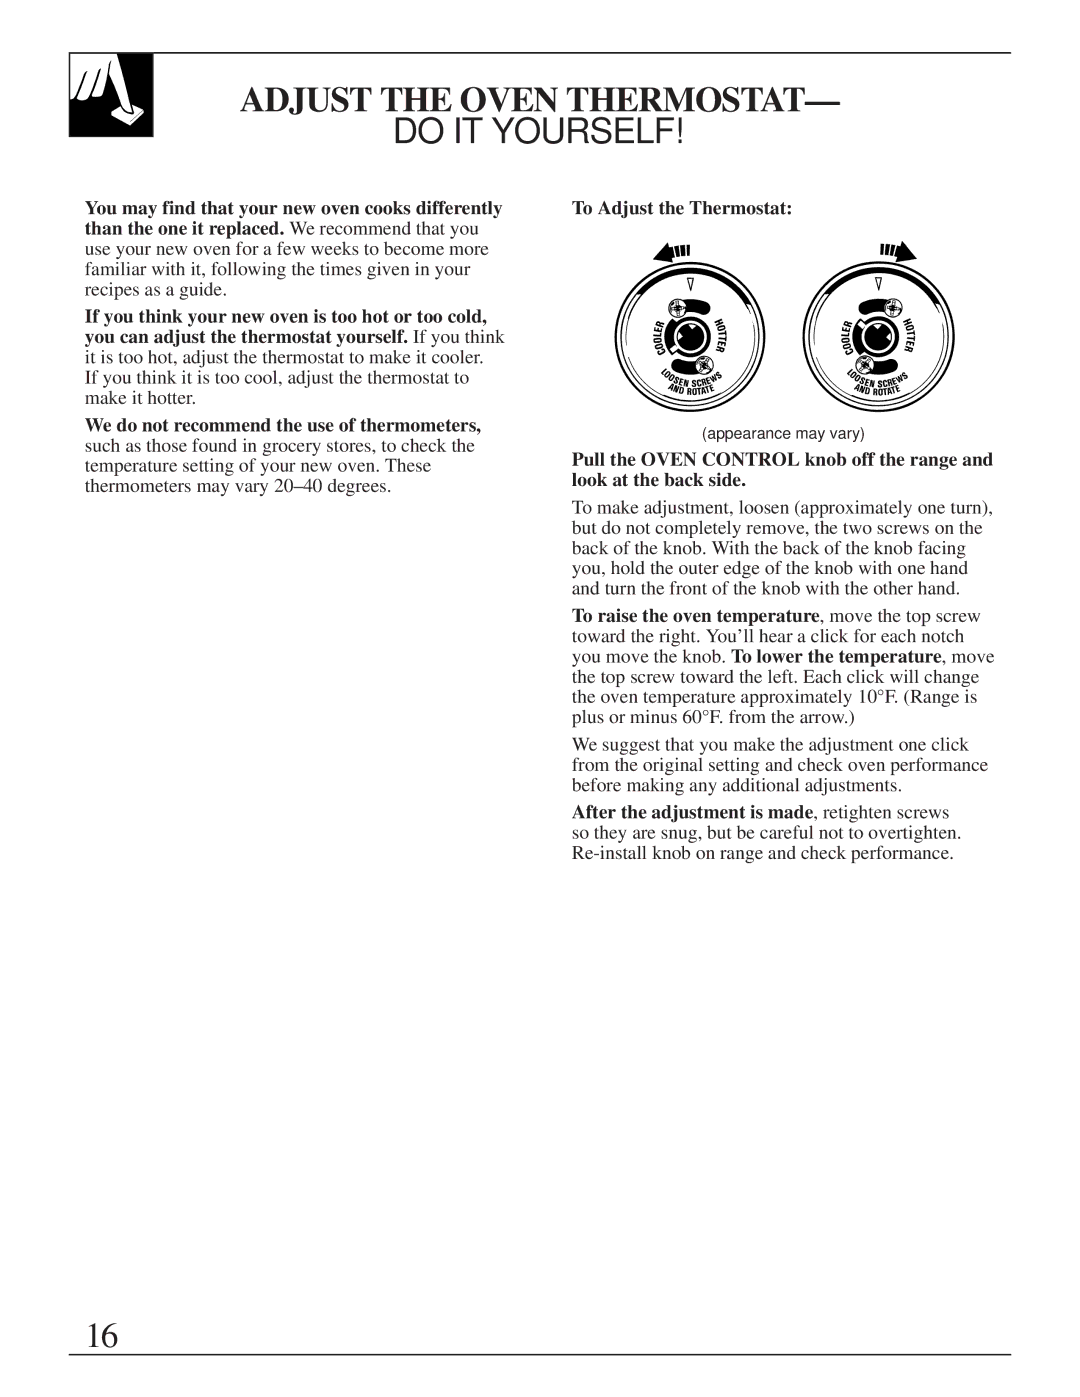
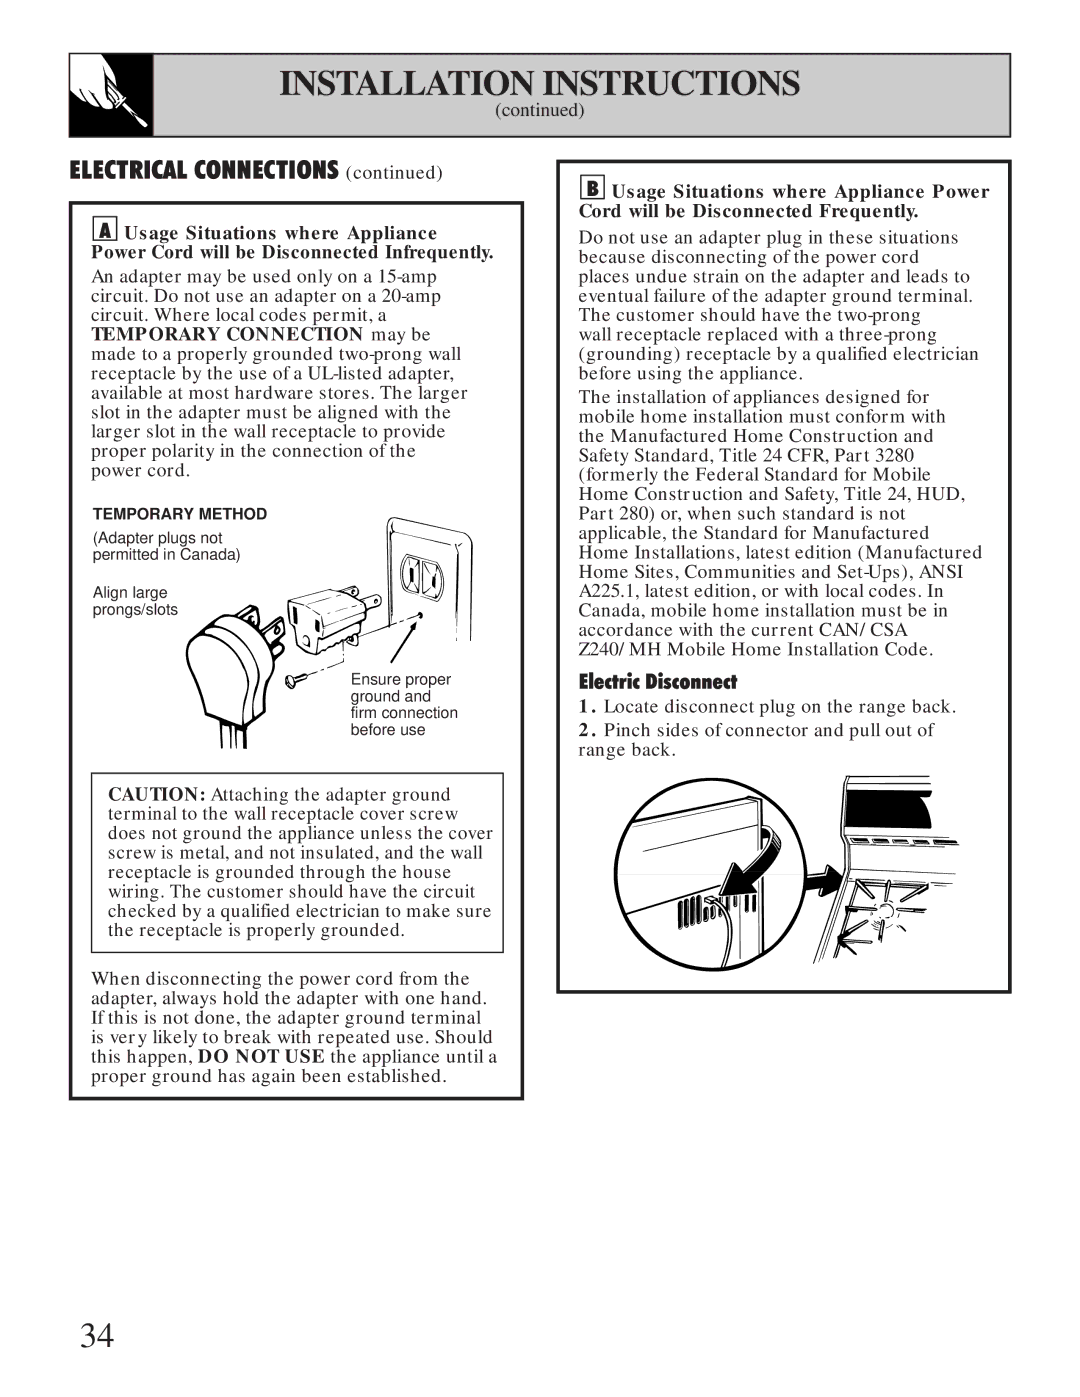
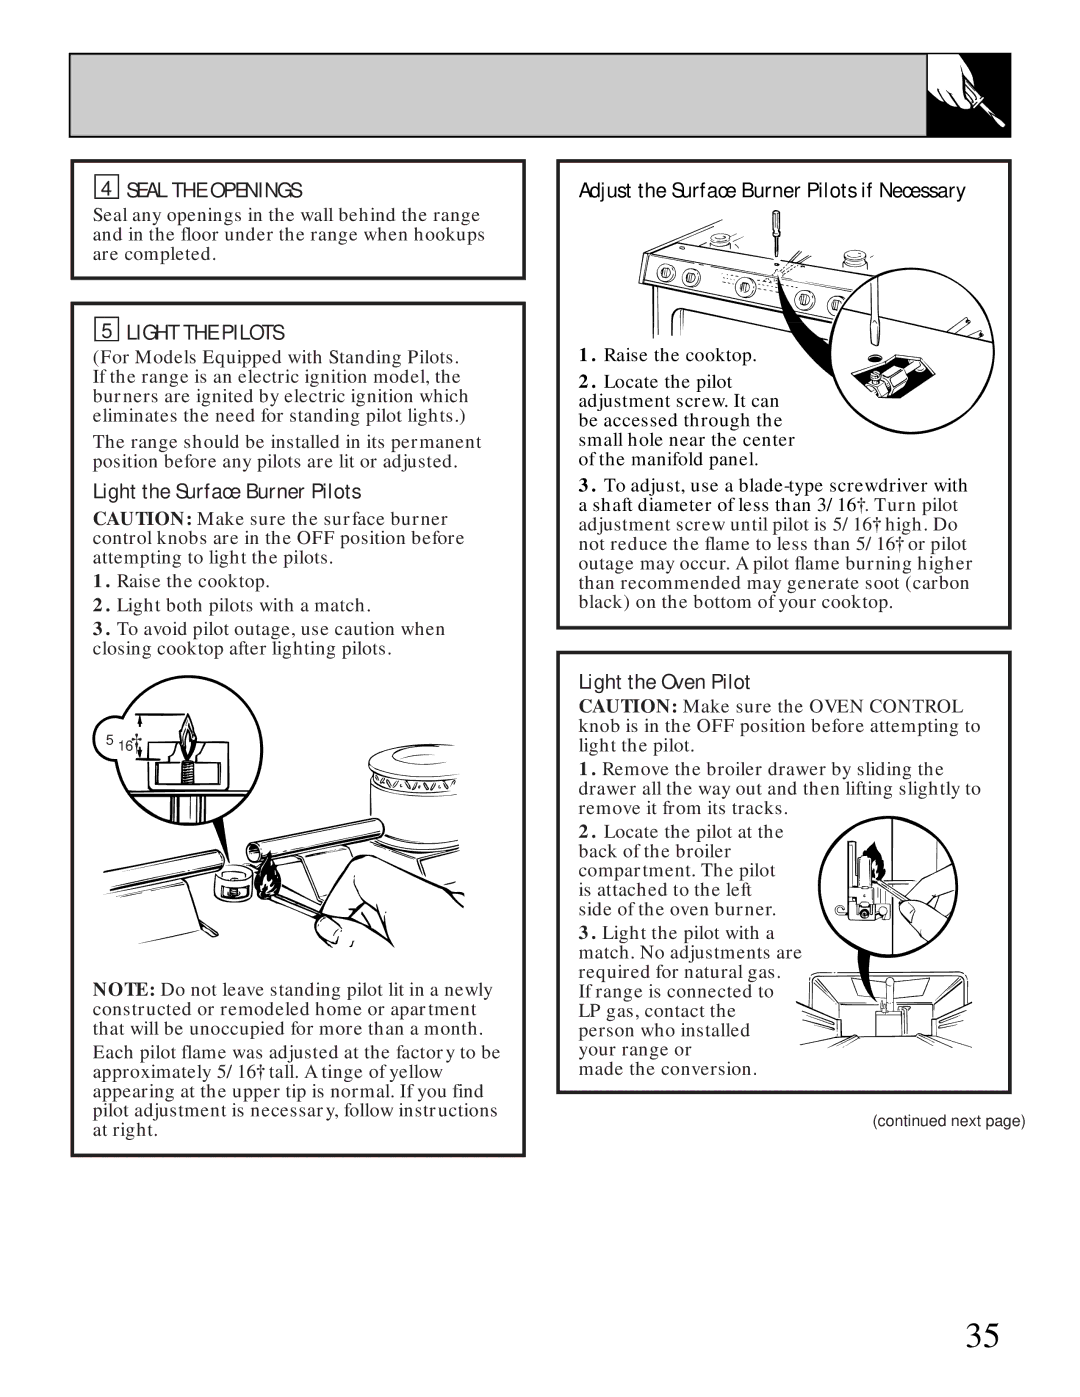
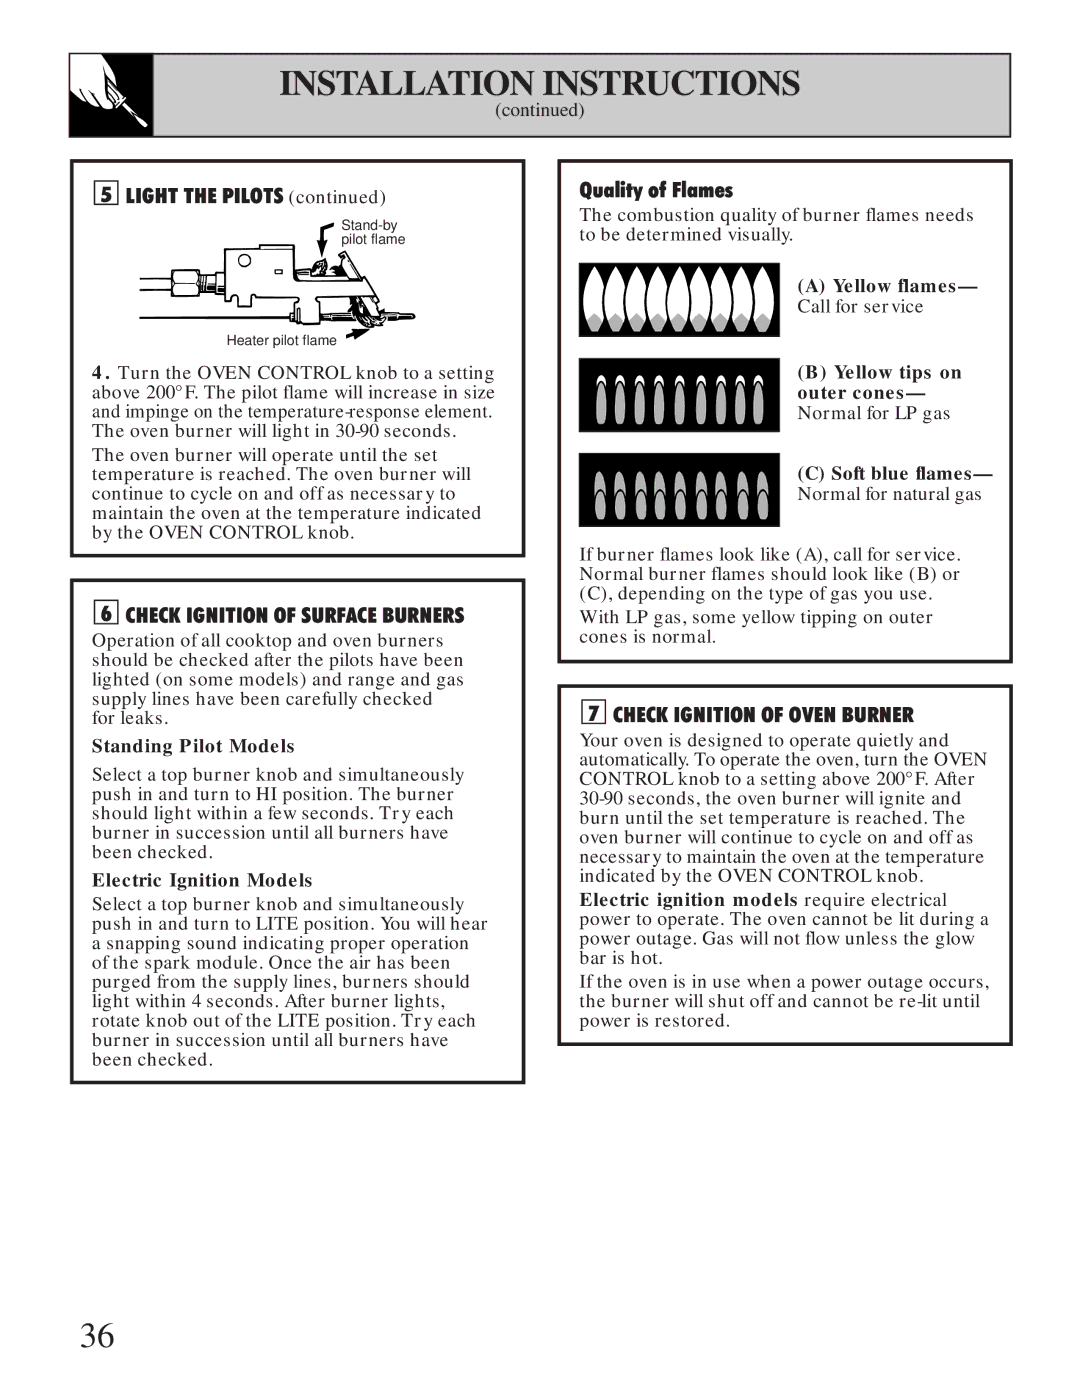
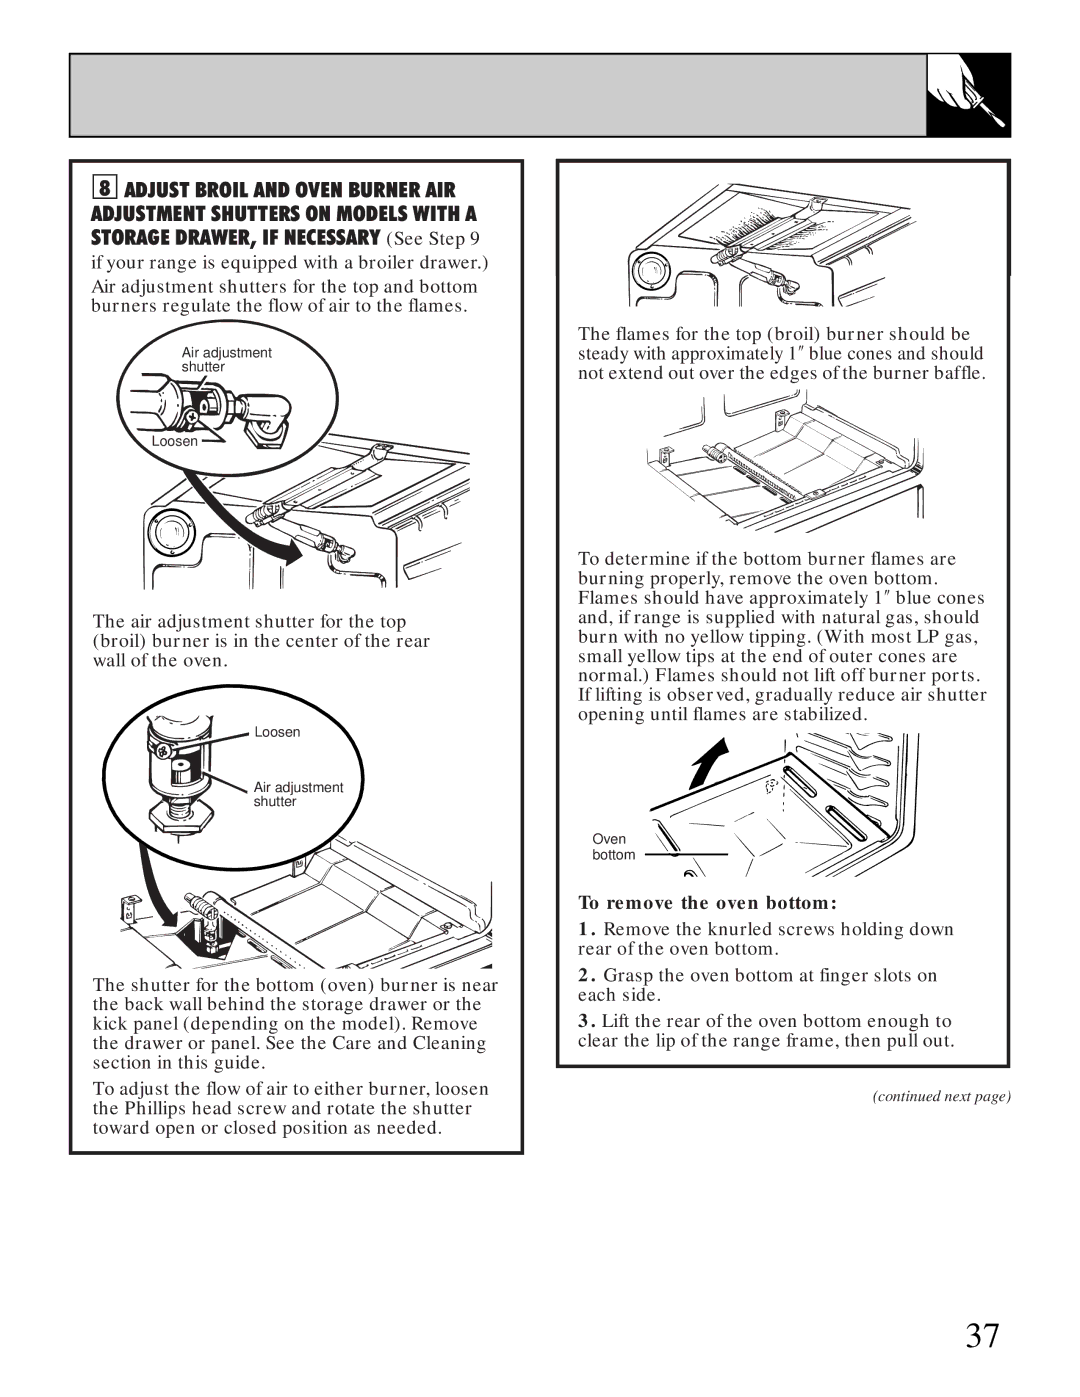
To Adjust the Thermostat:

(appearance may vary)

Pull the OVEN CONTROL knob off the range and look at the back side.

To make adjustment, loosen (approximately one turn), but do not completely remove, the two screws on the back of the knob. With the back of the knob facing you, hold the outer edge of the knob with one hand and turn the front of the knob with the other hand.

To raise the oven temperature, move the top screw toward the right. You’ll hear a click for each notch you move the knob. To lower the temperature, move the top screw toward the left. Each click will change the oven temperature approximately 10°F. (Range is plus or minus 60°F. from the arrow.)

We suggest that you make the adjustment one click from the original setting and check oven performance before making any additional adjustments.

After the adjustment is made, retighten screws so they are snug, but be careful not to overtighten. Re-install knob on range and check performance.

16
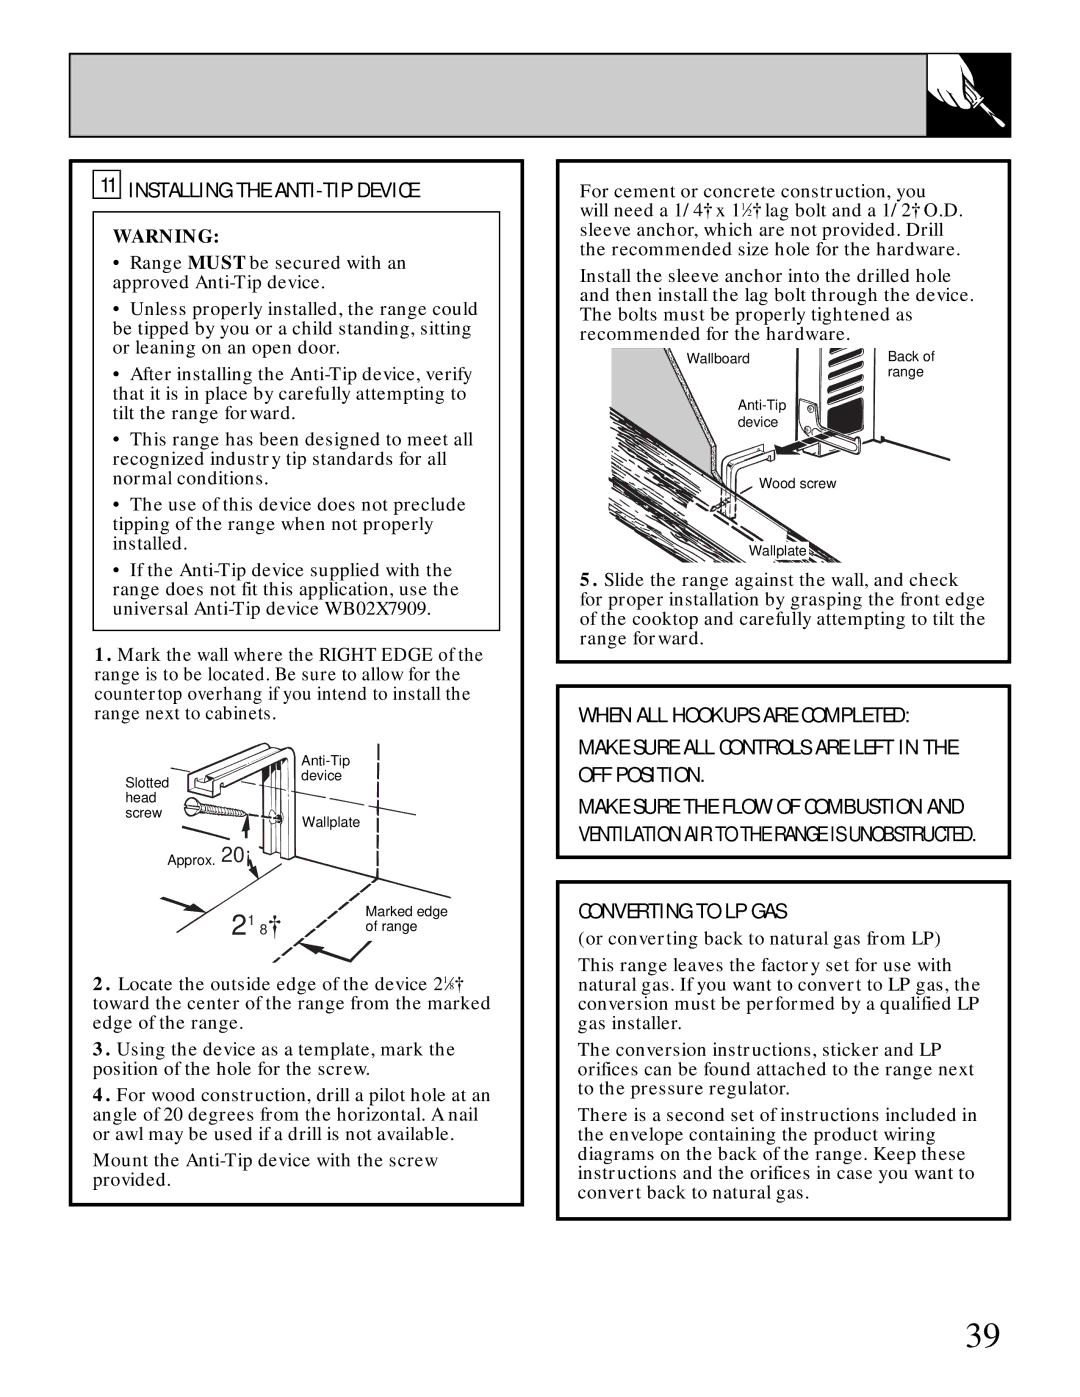
Image 16
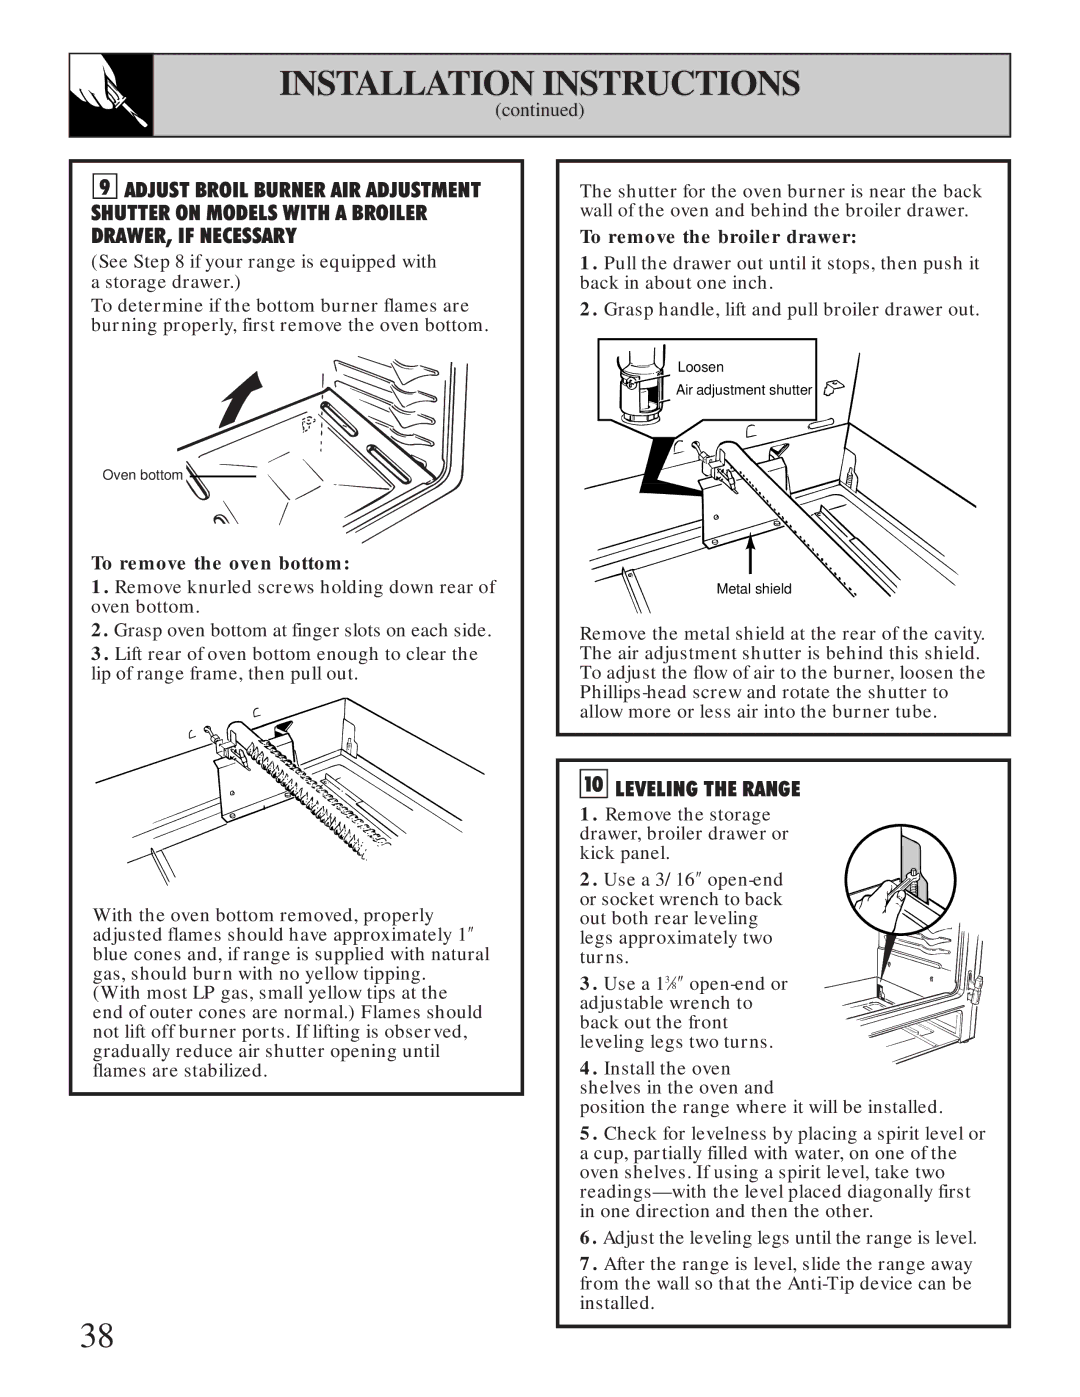
Contents Safety Instructions Operating Instructions, TipsIf YOU Need Service Help US Help YOU…When You Get Your Range Important Safety InstructionsUsing Your Range Surface Cooking Do not allow anyone to climb, stand orSave These INSTRUCTIONS5 Cleaning Your RangeBaking, Broiling and Roasting Features of Your Range Features and appearance varySee Surface Burners, Grates and Drip Pans on some modelsOven Control Broiler Pan and GridSurface Cooking Surface Burner ControlsBefore Lighting a Burner To Light a Surface BurnerTop-of-Range Cookware How to Select Flame SizeDo not use a wok on any other support ring Clock and Timer To Set the TimerTo Change or Cancel the Timer Setting Display Clock While Timer Is OperatingUsing Your Oven Shelf Positions Oven ShelvesOven Vents How to Set Your Range for Baking BakingTo avoid possible burns, place the shelves Type of Food Shelf PositionPan Placement PreheatingBaking Guides CookiesPies CakesBaking Pans Don’t PeekAdjust the Oven Thermostat To Adjust the ThermostatRoasting Questions and Answers Why is my roast crumbling when I try to carve it?Roasting Guide Frozen RoastsWhy are my meats not turning out as brown as they should? BroilingUse of Aluminum Foil Should I salt the meat before broiling?Broiling Guide Ground BeefCare and Cleaning Standard Twin Burners on some modelsSealed Burner Assemblies on some models For proper ignitionCooktop Surface Burner GratesOven Bottom Oven Light Bulb on some models Control Panel and KnobsRemovable Broiler Drawer on some models Broiler Pan and GridRemovable Storage Drawer on some models Oven Air VentsRemovable Kick Panel on some models Lift-Off Oven Door Outside of doorOven bottom has a porcelain enamel finish Installation Instructions For Your SafetyImportant Safety Instructions General Provide Adequate GAS Supply Connect the Range to GAS Rigid Pipe Hookup for Models Equipped with Sealed BurnersElectrical Connections on some models GroundingElectrical Requirements Extension Cord CautionsElectrical Connections Electric DisconnectLight the Surface Burner Pilots Adjust the Surface Burner Pilots if NecessaryLight the Oven Pilot Light the Pilots Quality of FlamesElectric Ignition Models Yellow flamesTo remove the oven bottom Leveling the Range To remove the broiler drawer⁄ 8 ″ Page Page Page QUESTIONS? Before YOU Call for SERVICE… Problem Possible CauseDo It Yourself section We’ll Cover Any Appliance. Anywhere. Anytime Consumer Product Ownership Registration We’ll Be There Warranty