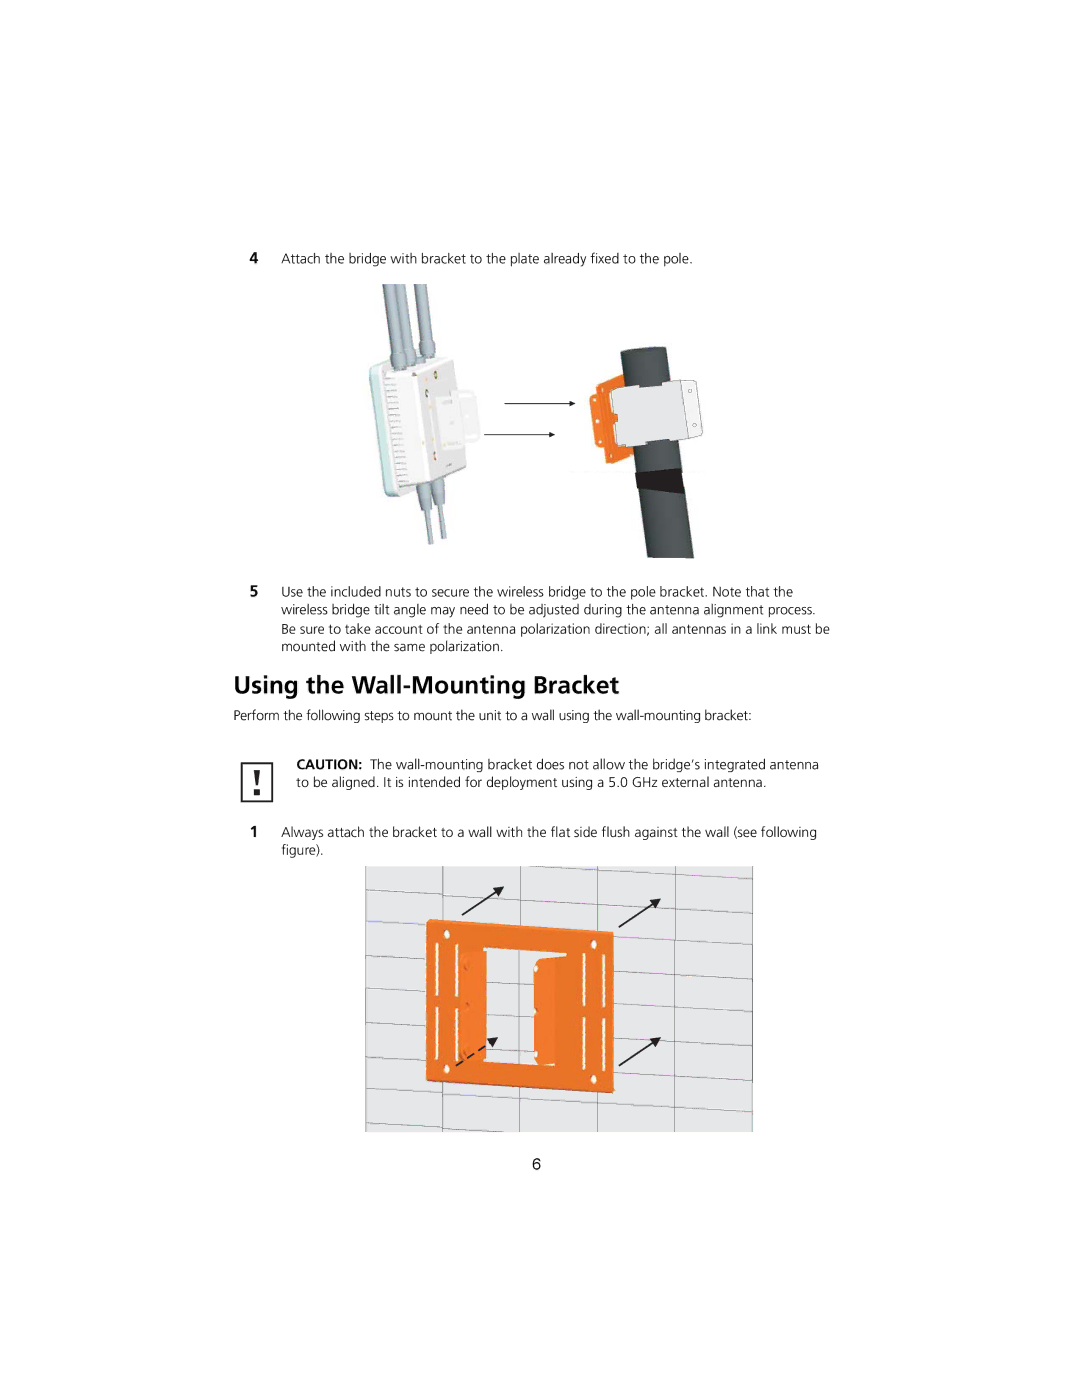
4Attach the bridge with bracket to the plate already fixed to the pole.
5Use the included nuts to secure the wireless bridge to the pole bracket. Note that the wireless bridge tilt angle may need to be adjusted during the antenna alignment process. Be sure to take account of the antenna polarization direction; all antennas in a link must be mounted with the same polarization.
Using the Wall-Mounting Bracket
Perform the following steps to mount the unit to a wall using the
CAUTION: The
1Always attach the bracket to a wall with the flat side flush against the wall (see following figure).
6
