Installation Sequence 19
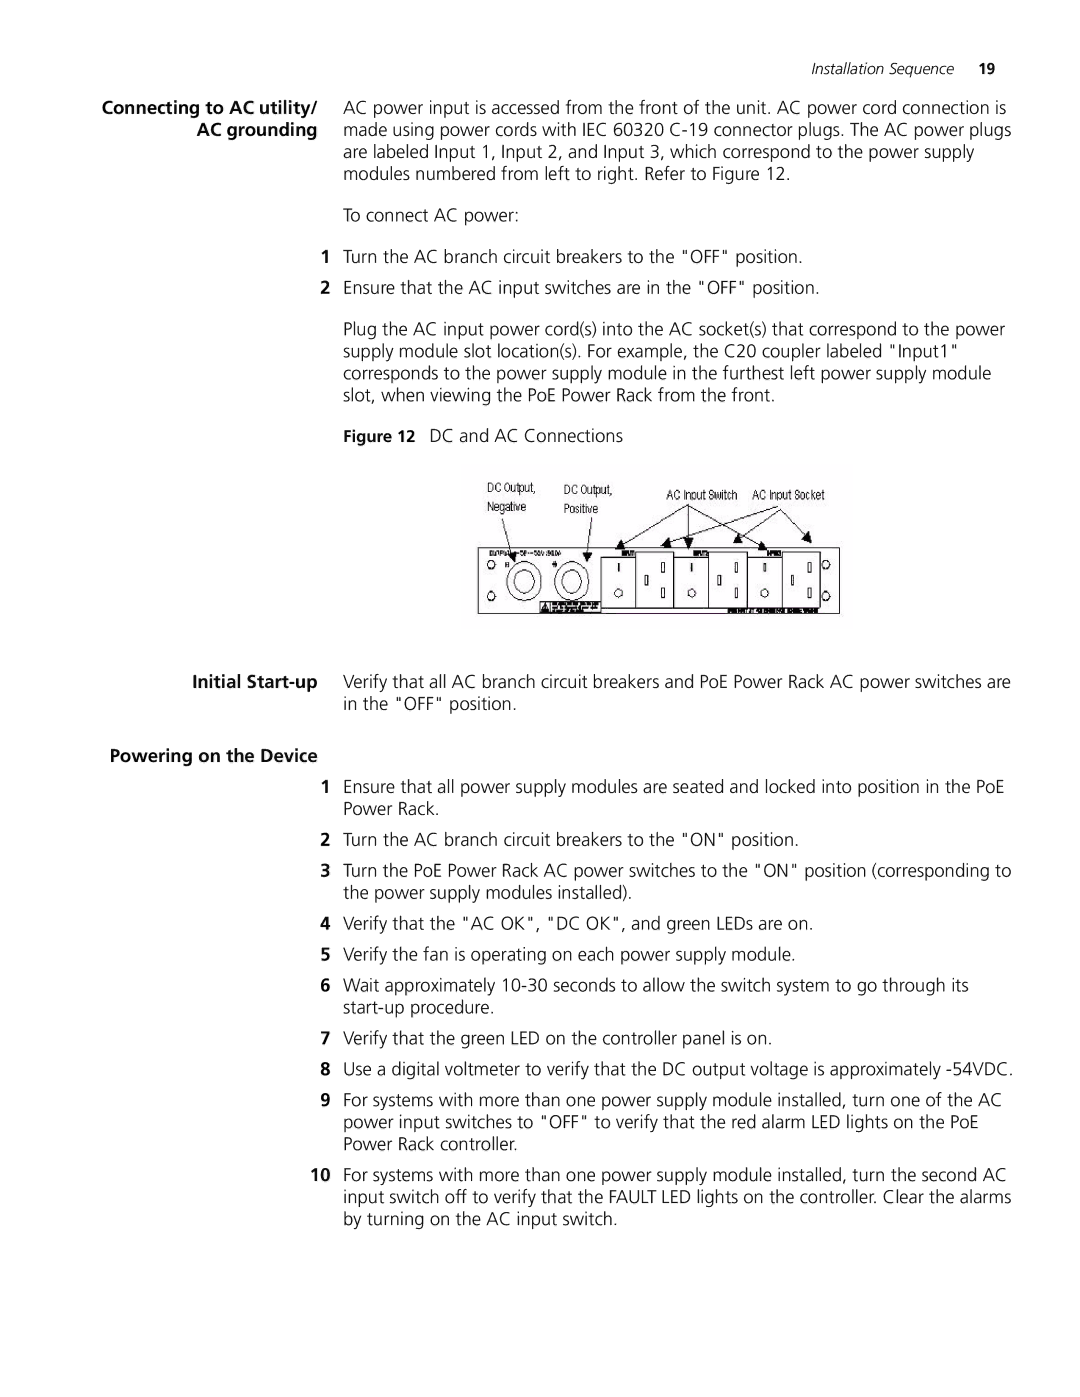
Connecting to AC utility/ AC power input is accessed from the front of the unit. AC power cord connection is AC grounding made using power cords with IEC 60320
are labeled Input 1, Input 2, and Input 3, which correspond to the power supply modules numbered from left to right. Refer to Figure 12.
To connect AC power:
1Turn the AC branch circuit breakers to the "OFF" position.
2Ensure that the AC input switches are in the "OFF" position.
Plug the AC input power cord(s) into the AC socket(s) that correspond to the power supply module slot location(s). For example, the C20 coupler labeled "Input1" corresponds to the power supply module in the furthest left power supply module slot, when viewing the PoE Power Rack from the front.
Figure 12 DC and AC Connections
Initial Start-up Verify that all AC branch circuit breakers and PoE Power Rack AC power switches are in the "OFF" position.
Powering on the Device
1Ensure that all power supply modules are seated and locked into position in the PoE Power Rack.
2Turn the AC branch circuit breakers to the "ON" position.
3Turn the PoE Power Rack AC power switches to the "ON" position (corresponding to the power supply modules installed).
4Verify that the "AC OK", "DC OK", and green LEDs are on.
5Verify the fan is operating on each power supply module.
6Wait approximately
7Verify that the green LED on the controller panel is on.
8Use a digital voltmeter to verify that the DC output voltage is approximately
9For systems with more than one power supply module installed, turn one of the AC power input switches to "OFF" to verify that the red alarm LED lights on the PoE Power Rack controller.
10For systems with more than one power supply module installed, turn the second AC input switch off to verify that the FAULT LED lights on the controller. Clear the alarms by turning on the AC input switch.
