47
Replacing microphone and windscreen
Attaching/Detaching
Replacing microphone and windscreen
Attaching/Detaching
The Edge features a field replaceable microphone and a
NOTE: If you ordered an Edge kit, extra windscreen(s) will be included in your case.
Attaching/Detaching the windscreen and microphone
1.First, unscrew the windscreen by turning the red ring (not the foam!) in a counterclockwise direction.
2.If you are replacing the windscreen, screw on a new windscreen in a clockwise direction until it fits firmly.
3.To unscrew the microphone, turn the microphone in a counterclockwise direction until it is removed.
4.To attach a new microphone, screw the microphone on clockwise until it fits tightly.
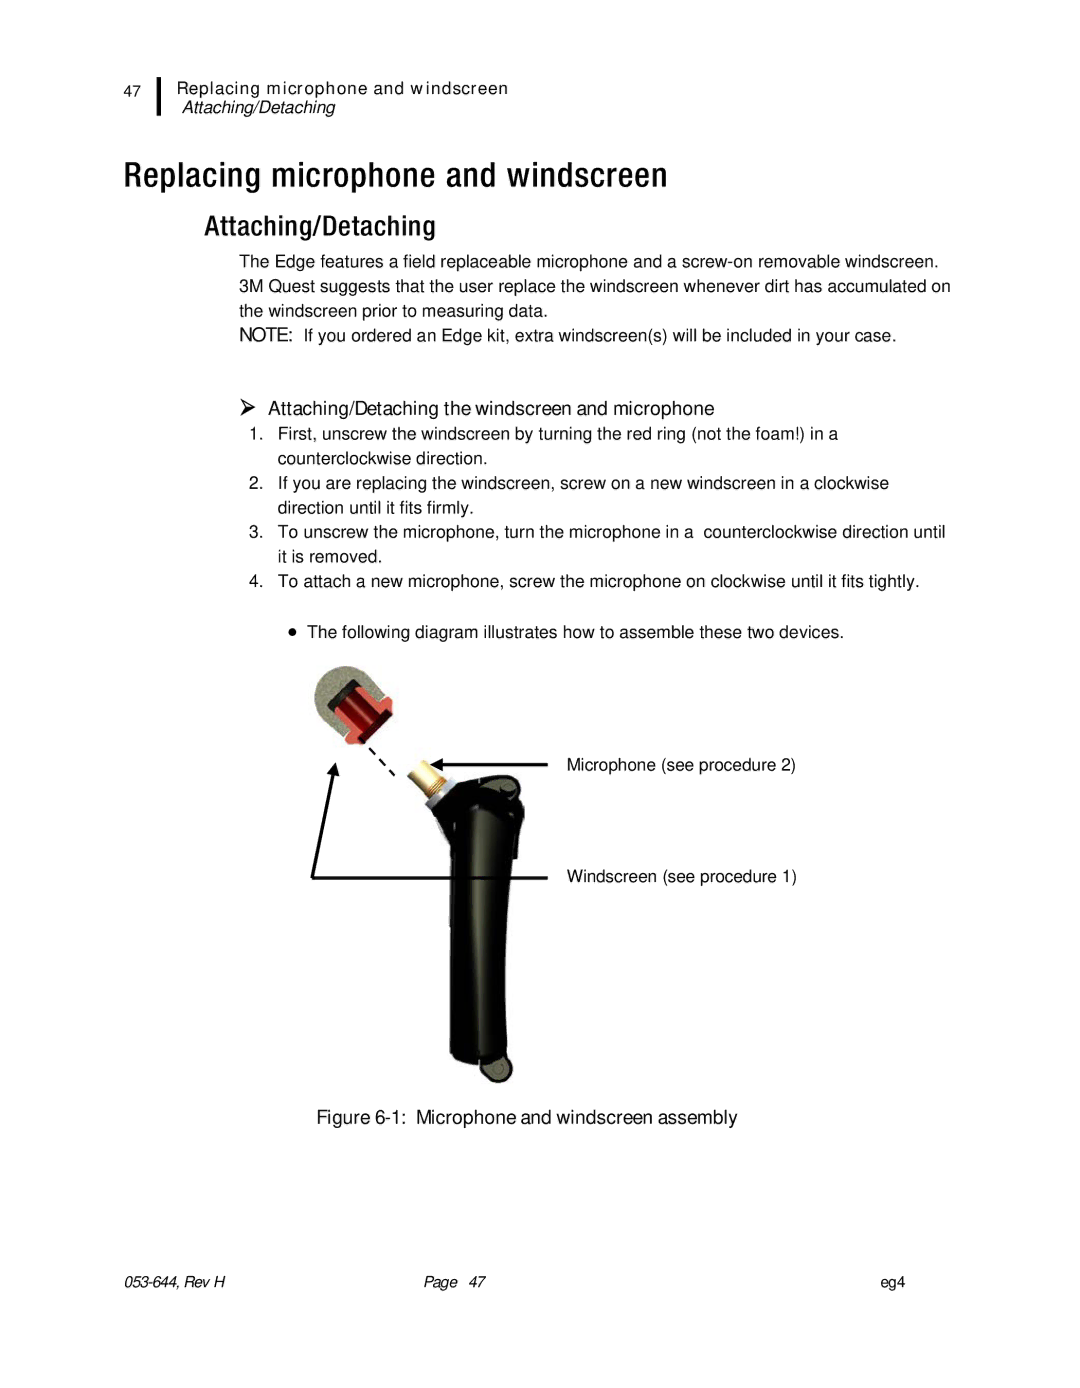
•The following diagram illustrates how to assemble these two devices.
Microphone (see procedure 2)
Windscreen (see procedure 1)
Figure 6-1: Microphone and windscreen assembly
Page 47 | eg4 |
