Optional Video Module
Attaching the Optional Video Module to the MP7630B/MP7730B
Caution | Power down the projector before connecting the Optional Video Module or any other | |
device. Failure to do so may cause serious damage. | ||
| ||
|
|
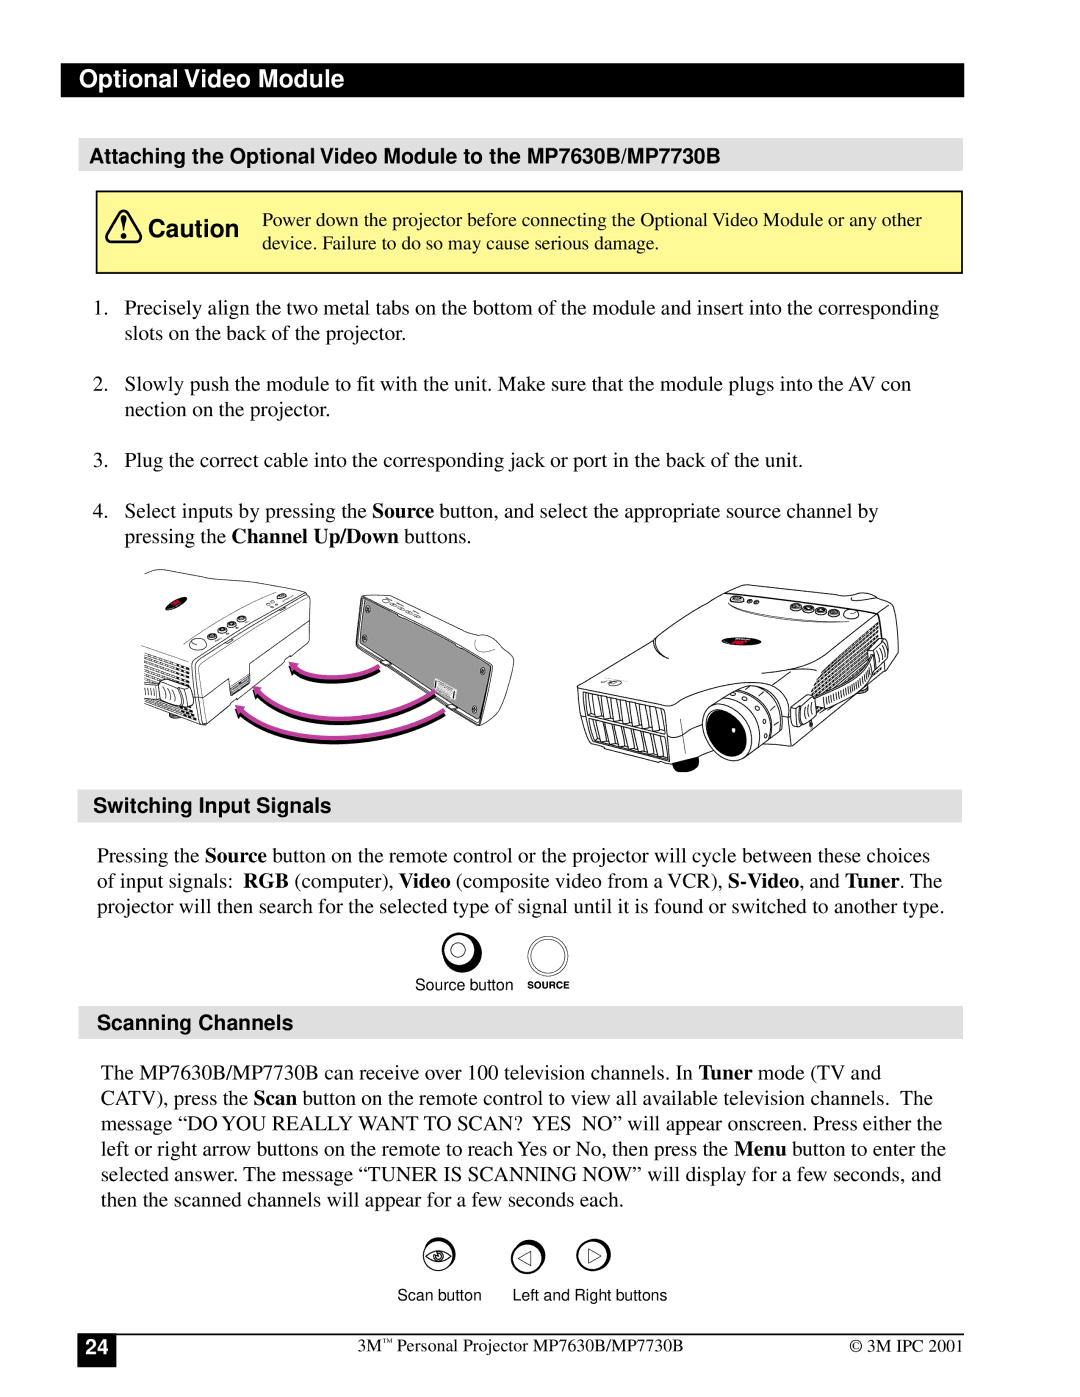
1.Precisely align the two metal tabs on the bottom of the module and insert into the corresponding slots on the back of the projector.
2.Slowly push the module to fit with the unit. Make sure that the module plugs into the AV con nection on the projector.
3.Plug the correct cable into the corresponding jack or port in the back of the unit.
4.Select inputs by pressing the Source button, and select the appropriate source channel by pressing the Channel Up/Down buttons.
PL D
Lock
Switching Input Signals
Pressing the Source button on the remote control or the projector will cycle between these choices of input signals: RGB (computer), Video (composite video from a VCR),
Source button
Scanning Channels
The MP7630B/MP7730B can receive over 100 television channels. In Tuner mode (TV and CATV), press the Scan button on the remote control to view all available television channels. The message “DO YOU REALLY WANT TO SCAN? YES NO” will appear onscreen. Press either the left or right arrow buttons on the remote to reach Yes or No, then press the Menu button to enter the selected answer. The message “TUNER IS SCANNING NOW” will display for a few seconds, and then the scanned channels will appear for a few seconds each.
Scan button | Left and Right buttons |
24
3M™ Personal Projector MP7630B/MP7730B | © 3M IPC 2001 |