6. INSTALLING THE PRINTER PAPER
(This chapter is applicable only to the
With the power turned on, install the printer paper as follows:
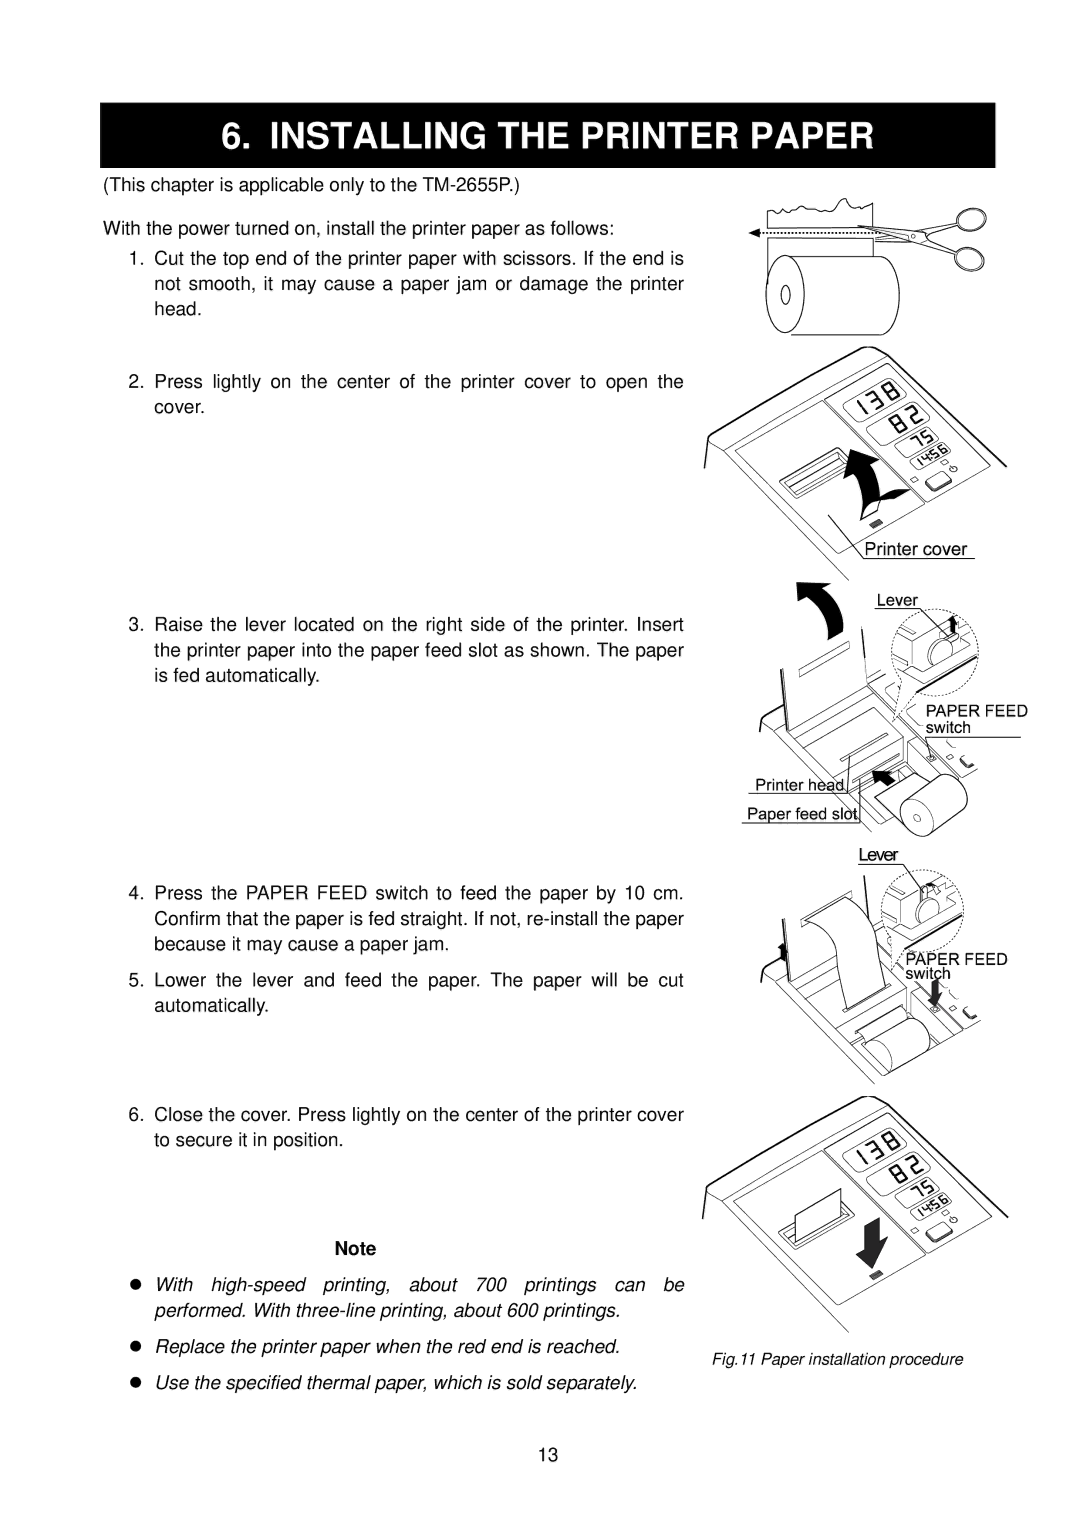
1. Cut the top end of the printer paper with scissors. If the end is not smooth, it may cause a paper jam or damage the printer head.
2. Press lightly on the center of the printer cover to open the cover.
3. Raise the lever located on the right side of the printer. Insert the printer paper into the paper feed slot as shown. The paper is fed automatically.
4. Press the PAPER FEED switch to feed the paper by 10 cm. Confirm that the paper is fed straight. If not,
5. Lower the lever and feed the paper. The paper will be cut automatically.
6. Close the cover. Press lightly on the center of the printer cover to secure it in position.
Note
z With
z Replace the printer paper when the red end is reached.
Fig.11 Paper installation procedure
zUse the specified thermal paper, which is sold separately.
13