
Inductive Timing Light specifications
The Actron Inductive Timing Light is a valuable tool for automotive enthusiasts and professionals alike, designed to assist in achieving optimal engine performance through accurate timing adjustments. This device is essential for diagnosing ignition timing issues and ensuring that your vehicle's engine runs efficiently.One of the standout features of the Actron Inductive Timing Light is its easy-to-read digital display, which provides clear information on the timing of your engine. This eliminates guesswork, as users can see real-time readings while making adjustments. The timing light also includes a built-in advance feature, enabling users to set and display timing offsets, which can be particularly useful for specific tuning situations or performance upgrades.
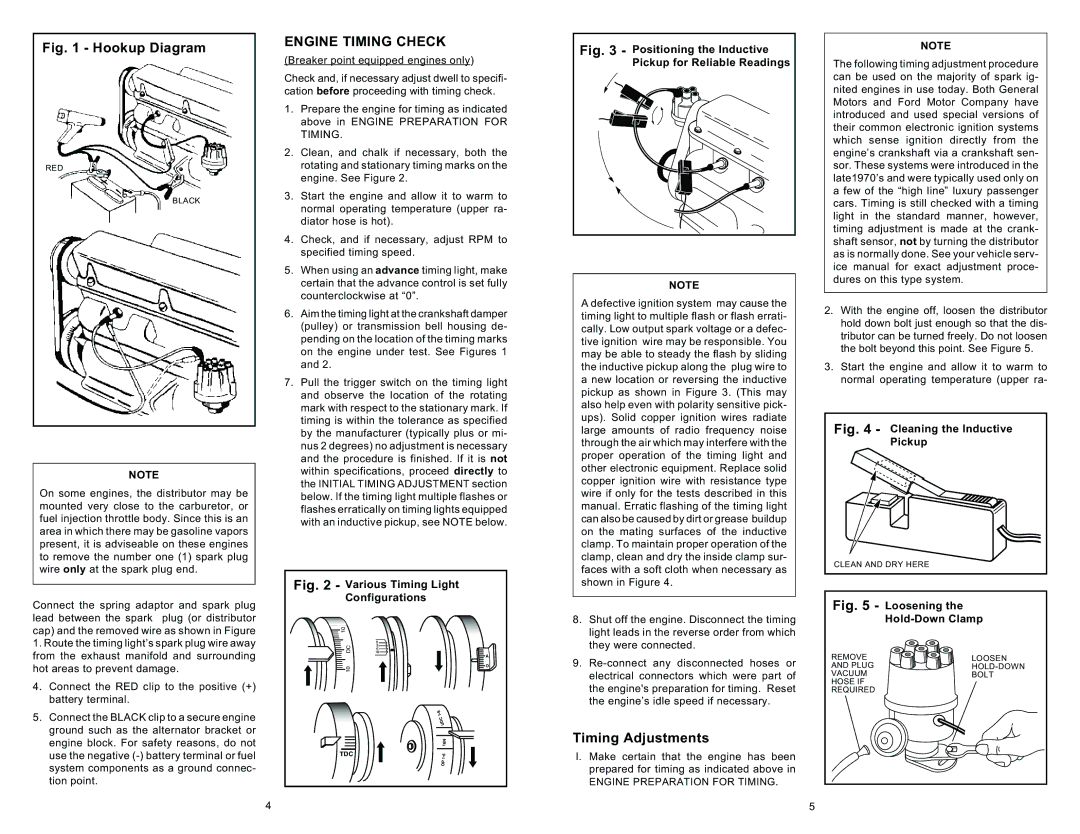
The inductive pickup technology utilized in the Actron Timing Light allows for easy and safe connection to the ignition system. This non-intrusive method picks up the spark signal from the ignition wire without needing to cut or modify any wiring. This feature not only enhances safety during operation but also makes the timing light compatible with a wide range of vehicles, including those with various ignition systems.
Additionally, the unit is designed with a lightweight and ergonomic body, providing comfort and ease of use during extended periods of operation. The durable construction ensures that it can withstand the rigors of a professional shop or a home garage environment, making it a reliable tool for years to come.
The Actron Inductive Timing Light also features a bright Xenon flash that makes it possible to see the timing mark even in brightly lit conditions or under the hood of a vehicle. This ensures that users can work efficiently, regardless of the environment.
Moreover, the device is equipped with a long cable, providing ample reach when working under the hood, allowing for ease of placement and flexibility during use. The compact design ensures that it can be easily stored, making it a practical addition to any mechanic's toolbox.
In summary, the Actron Inductive Timing Light combines advanced technology with robust construction and user-friendly features. This makes it an indispensable tool for anyone seeking to optimize vehicle performance through precise ignition timing adjustments. By choosing the Actron Timing Light, users invest in reliability, accuracy, and ease of use, making it a staple in automotive diagnostics.