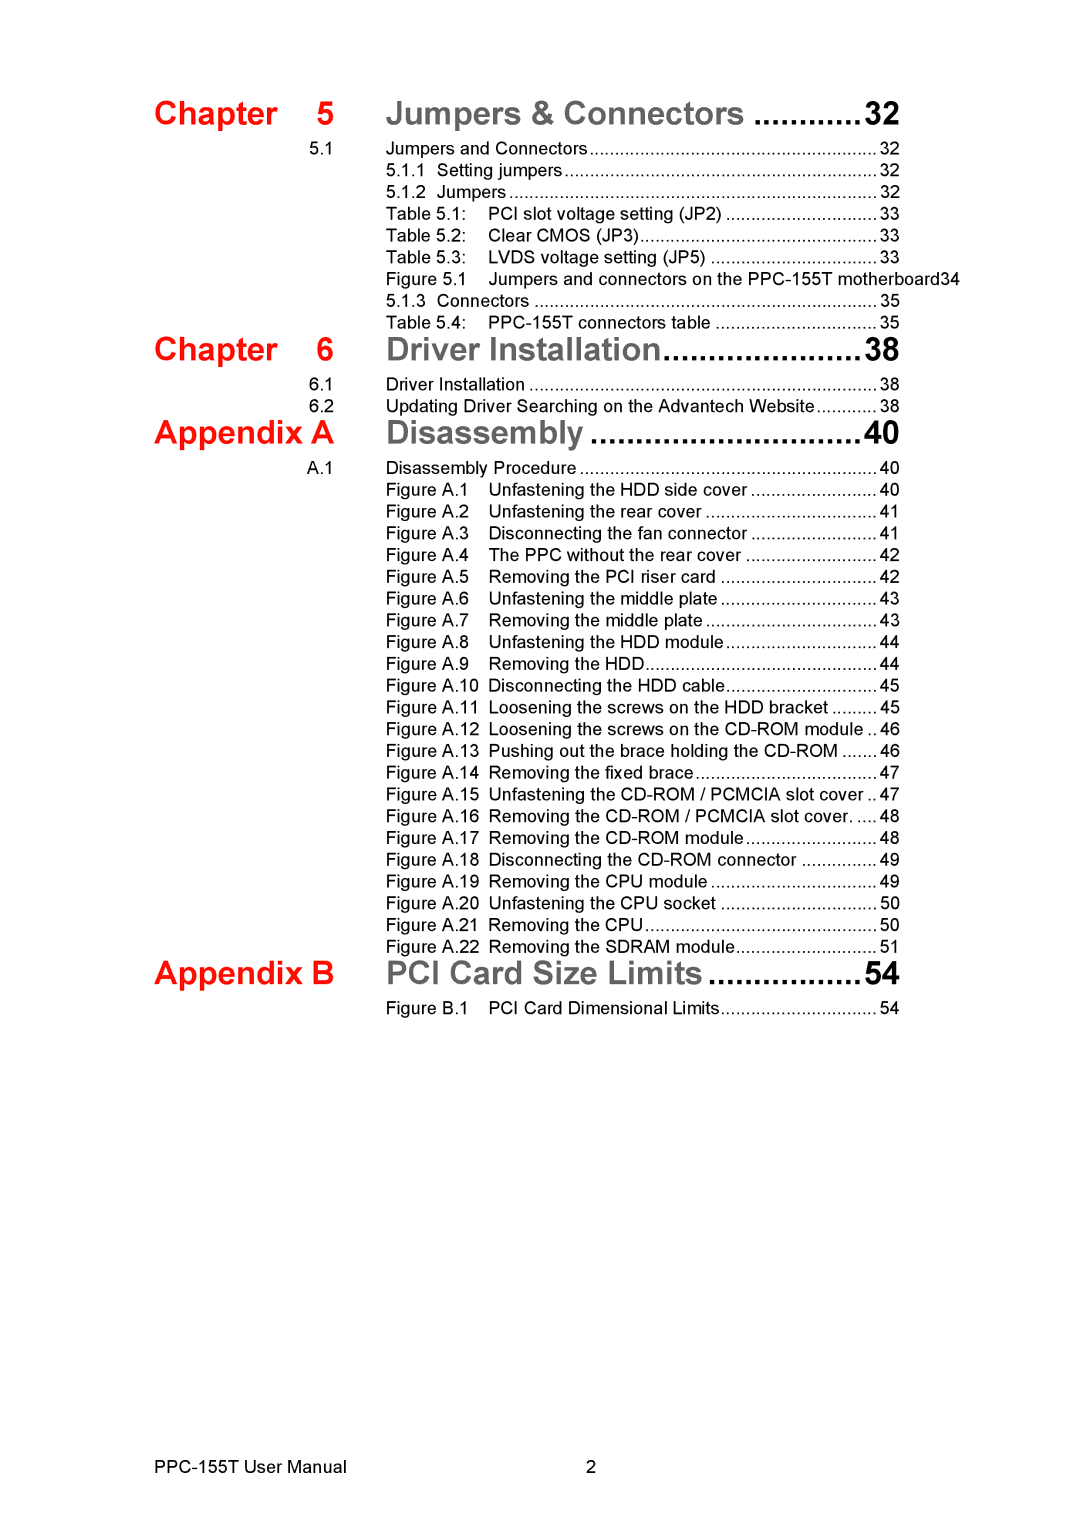
Chapter | 5 | Jumpers & Connectors | 32 | ||
| 5.1 | Jumpers and Connectors | 32 | ||
|
| 5.1.1 | Setting jumpers | 32 | |
|
| 5.1.2 | Jumpers | 32 | |
|
| Table 5.1: | PCI slot voltage setting (JP2) | 33 | |
|
| Table 5.2: Clear CMOS (JP3) | 33 | ||
|
| Table 5.3: | LVDS voltage setting (JP5) | 33 | |
|
| Figure 5.1 Jumpers and connectors on the | |||
|
| 5.1.3 | Connectors | 35 | |
Chapter | 6 | Table 5.4: | 35 | ||
Driver Installation | 38 | ||||
| 6.1 | Driver Installation | 38 | ||
| 6.2 | Updating Driver Searching on the Advantech Website | 38 | ||
Appendix A | Disassembly | 40 | |||
| A.1 | Disassembly Procedure | 40 | ||
|
| Figure A.1 | Unfastening the HDD side cover | 40 | |
|
| Figure A.2 | Unfastening the rear cover | 41 | |
|
| Figure A.3 | Disconnecting the fan connector | 41 | |
|
| Figure A.4 | The PPC without the rear cover | 42 | |
|
| Figure A.5 | Removing the PCI riser card | 42 | |
|
| Figure A.6 | Unfastening the middle plate | 43 | |
|
| Figure A.7 | Removing the middle plate | 43 | |
|
| Figure A.8 | Unfastening the HDD module | 44 | |
|
| Figure A.9 | Removing the HDD | 44 | |
|
| Figure A.10 | Disconnecting the HDD cable | 45 | |
|
| Figure A.11 Loosening the screws on the HDD bracket | 45 | ||
|
| Figure A.12 Loosening the screws on the | .. 46 | ||
|
| Figure A.13 Pushing out the brace holding the | 46 | ||
|
| Figure A.14 | Removing the fixed brace | 47 | |
|
| Figure A.15 Unfastening the | .. 47 | ||
|
| Figure A.16 | Removing the | 48 | |
|
| Figure A.17 | Removing the | 48 | |
|
| Figure A.18 | Disconnecting the | 49 | |
|
| Figure A.19 | Removing the CPU module | 49 | |
|
| Figure A.20 | Unfastening the CPU socket | 50 | |
|
| Figure A.21 | Removing the CPU | 50 | |
Appendix B | Figure A.22 | Removing the SDRAM module | 51 | ||
PCI Card Size Limits | 54 | ||||
|
| Figure B.1 | PCI Card Dimensional Limits | 54 | |
2 |
