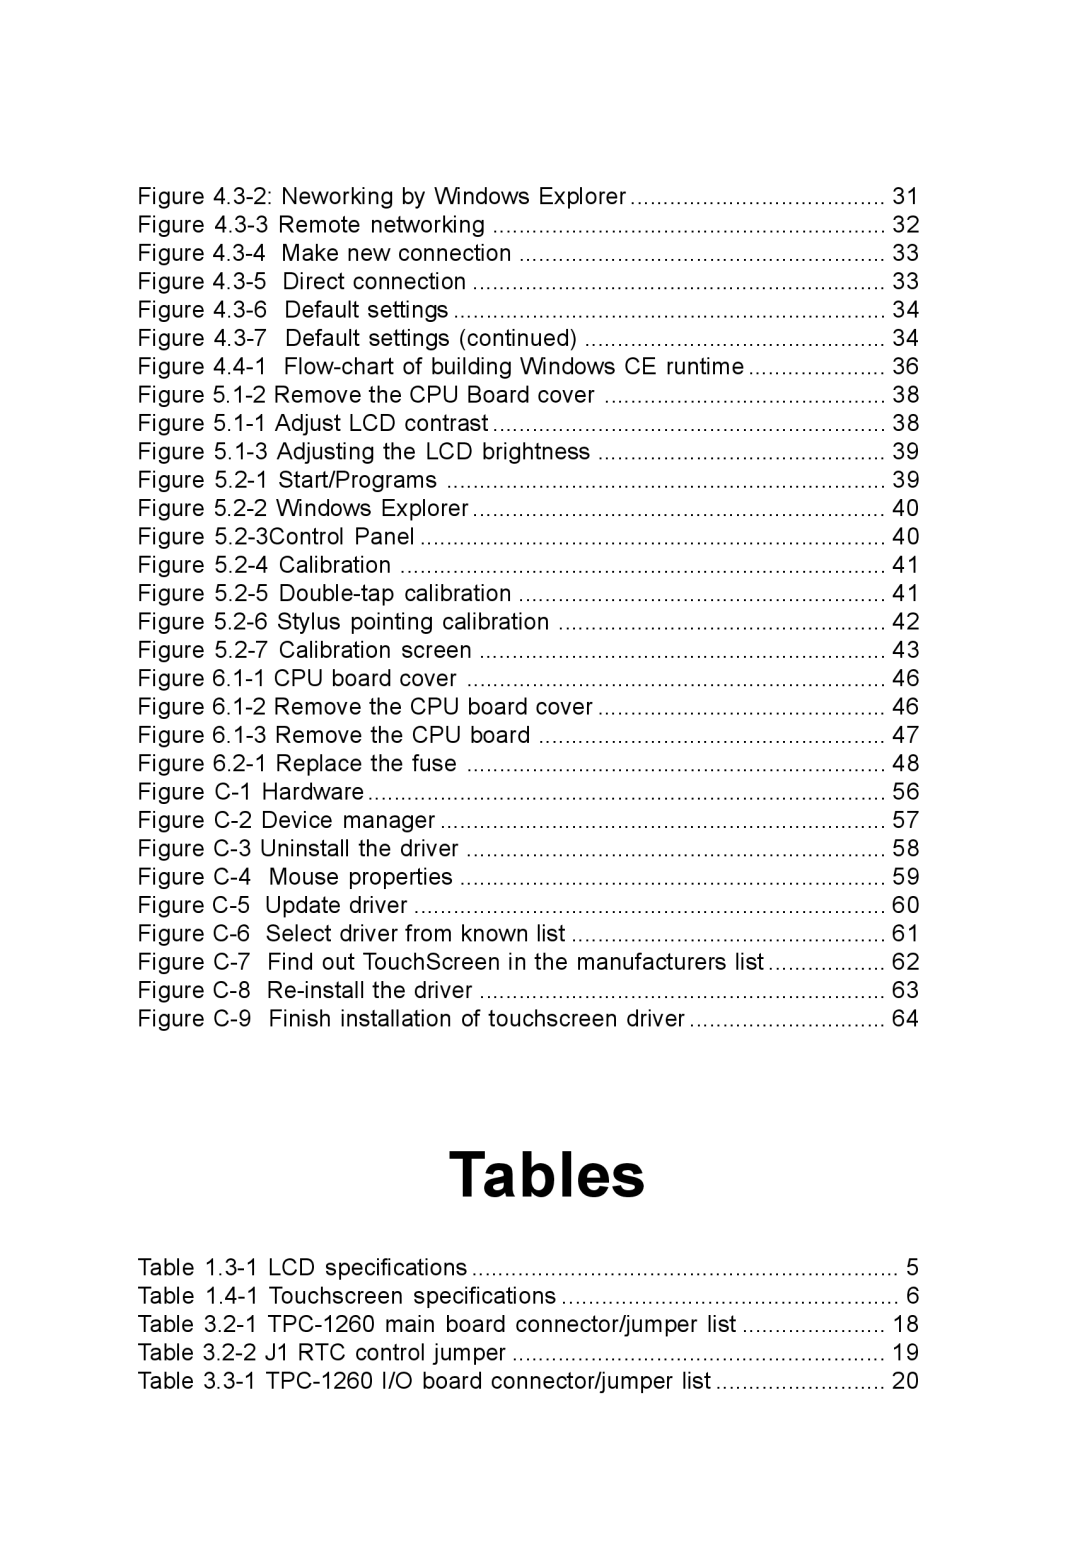
Figure | 31 | |
Figure | 32 | |
Figure | Make new connection | 33 |
Figure | Direct connection | 33 |
Figure | Default settings | 34 |
Figure | Default settings (continued) | 34 |
Figure |
| 36 |
Figure | 38 | |
Figure | 38 | |
Figure | 39 | |
Figure | 39 | |
Figure | 40 | |
Figure | 40 | |
Figure | 41 | |
Figure | 41 | |
Figure | 42 | |
Figure | 43 | |
Figure | 46 | |
Figure | 46 | |
Figure | 47 | |
Figure | 48 | |
Figure | 56 | |
Figure | 57 | |
Figure | 58 | |
Figure | Mouse properties | 59 |
Figure | Update driver | 60 |
Figure | Select driver from known list | 61 |
Figure | Find out TouchScreen in the manufacturers list | 62 |
Figure |
| 63 |
Figure | Finish installation of touchscreen driver | 64 |
Tables |
|
Table | 5 |
Table | 6 |
Table | 18 |
Table | 19 |
Table | 20 |
