Setting Date & Time
1 Turn the power on, and set the camera
to the Setup Menu ( | page 17). |
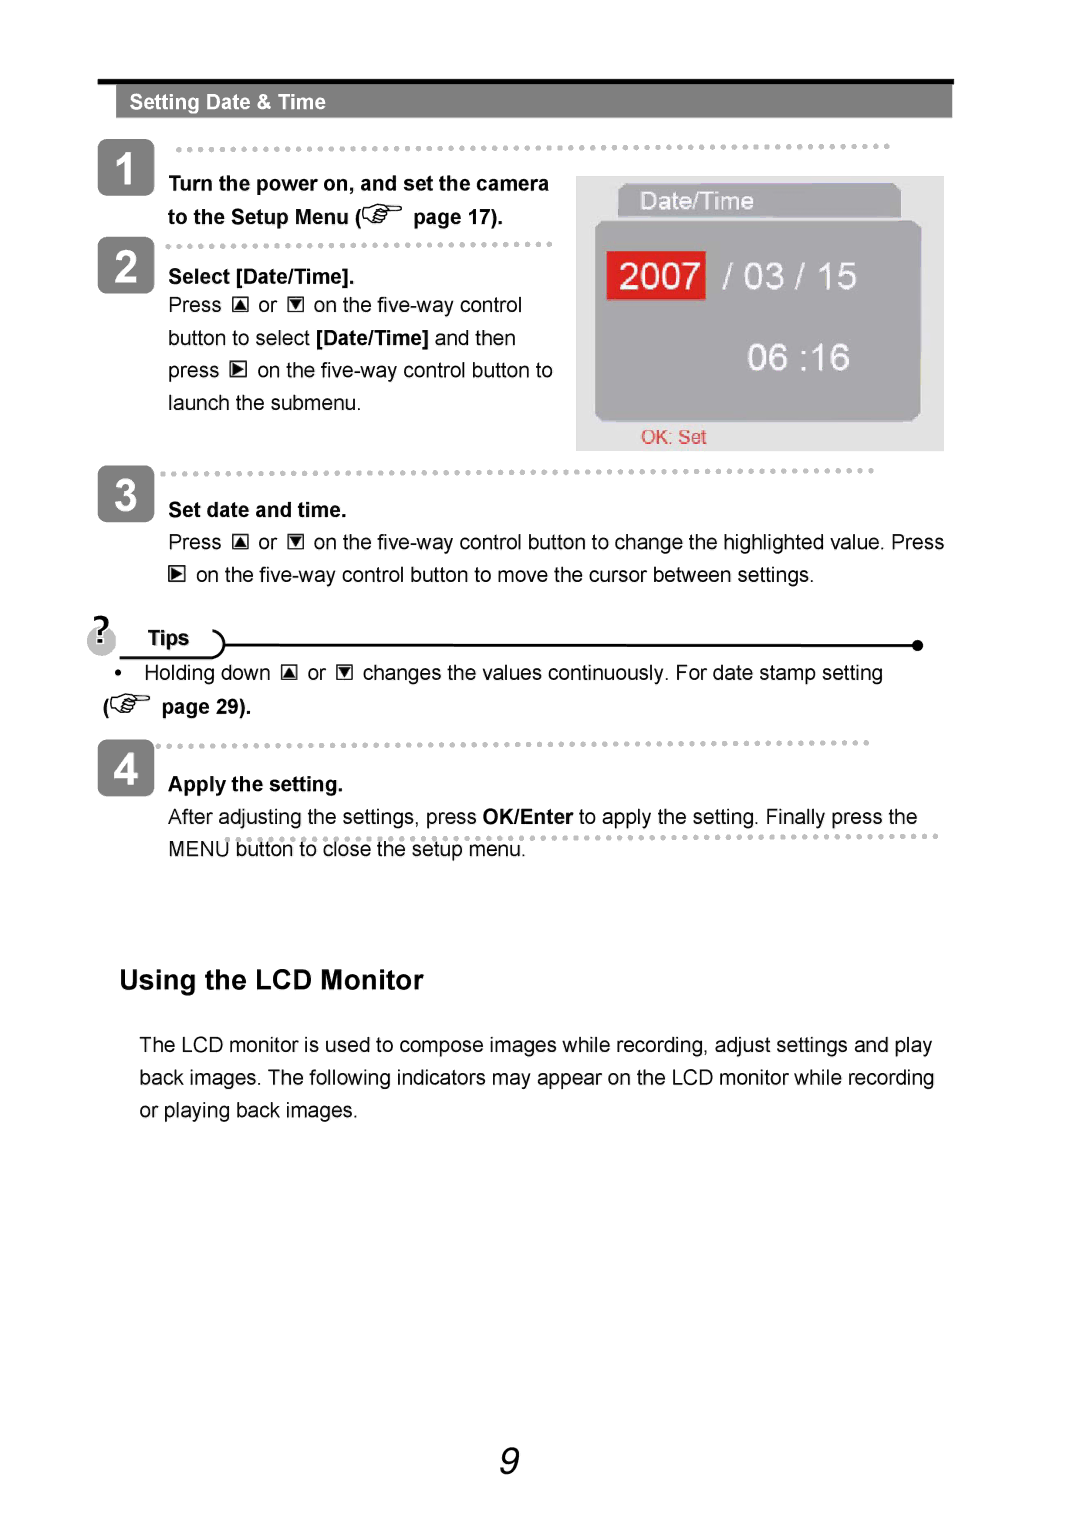
2 Select [Date/Time].
Press ![]() or
or ![]() on the
on the ![]() on the
on the
3 Set date and time.
Press ![]() or
or ![]() on the
on the ![]() on the
on the
Tips
yHolding down ![]() or
or ![]() changes the values continuously. For date stamp setting
changes the values continuously. For date stamp setting
( | page 29). |
4 | Apply the setting. |
After adjusting the settings, press OK/Enter to apply the setting. Finally press the MENU button to close the setup menu.
Using the LCD Monitor
The LCD monitor is used to compose images while recording, adjust settings and play back images. The following indicators may appear on the LCD monitor while recording or playing back images.
9