45-0346 specifications
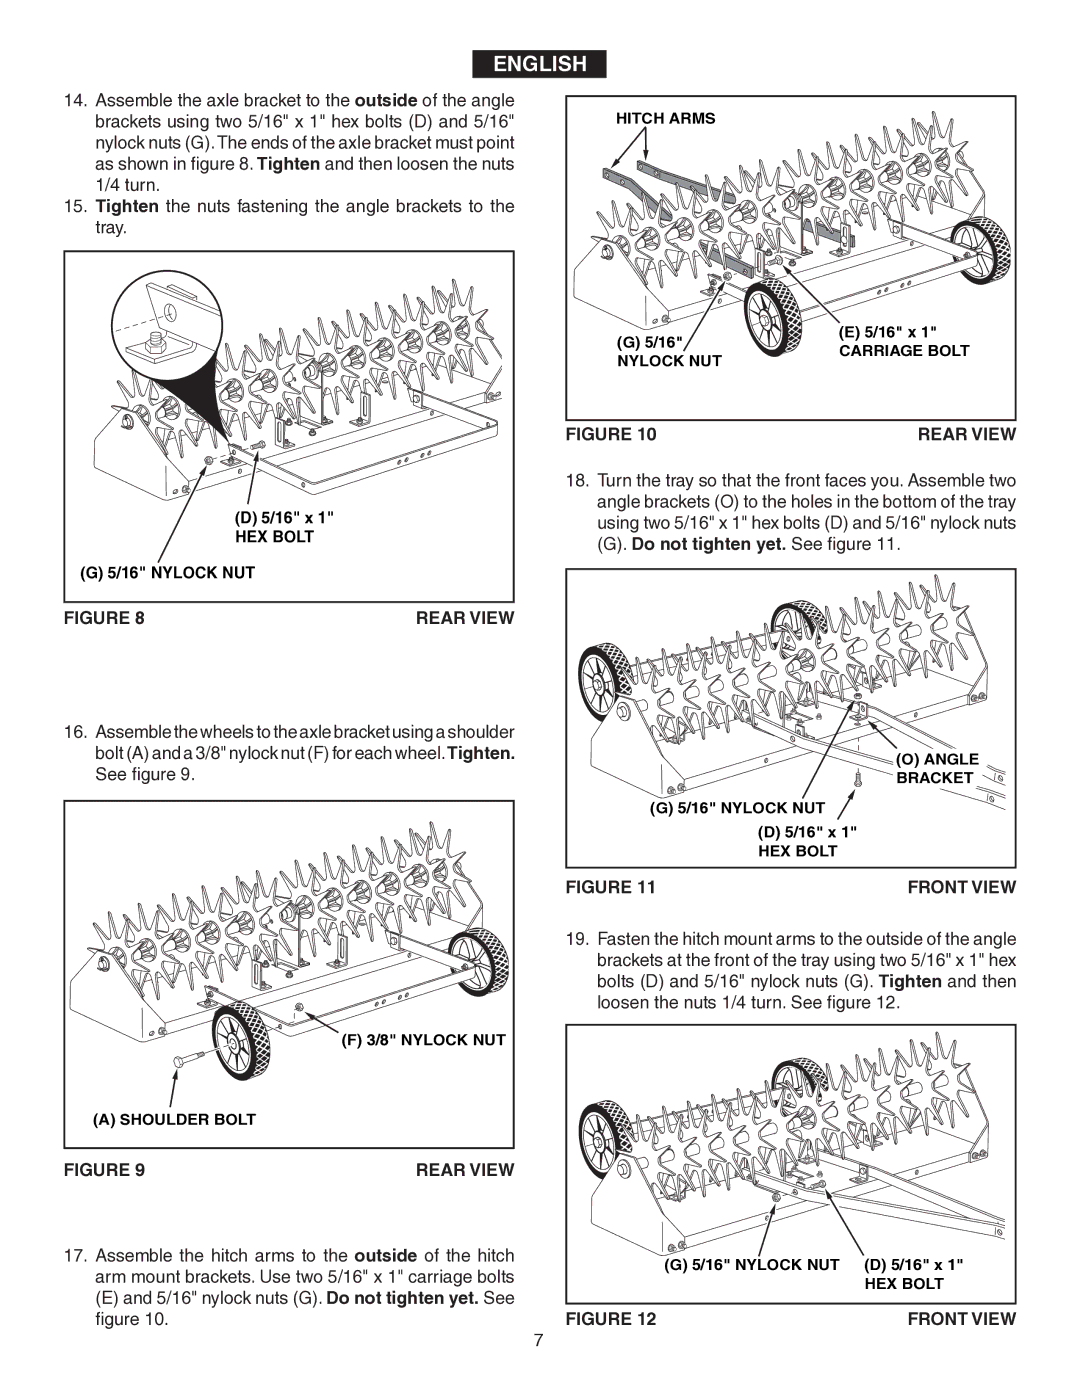
The Agri-Fab 45-0346 Tow Behind Broadcast Seeder is an innovative piece of equipment designed for both residential and commercial landscaping applications. This high-capacity seeder provides an efficient way to spread seed, fertilizer, and other materials across lawns, gardens, and fields, making it a valuable tool for anyone looking to cultivate healthy vegetation.One of the standout features of the Agri-Fab 45-0346 is its large 130-pound hopper capacity, enabling users to cover more ground without the need for frequent refills. This is particularly advantageous for users with expansive lawns or larger areas that require seeding. The seeder design allows for a broad spread pattern of up to 10 feet, ensuring even distribution of materials without missing spots or overlapping excessively.
A key characteristic of the Agri-Fab 45-0346 is its adjustable drop rate, which provides flexibility in application. Users can customize the seeding rate based on the specific type of seed or fertilizer being used, allowing for precision and optimal results. Additionally, the hopper has a built-in agitator that keeps seeds evenly mixed, reducing the risk of clumping and promoting uniformity during application.
The Agri-Fab 45-0346 is equipped with a durable, heavy-duty polyethylene construction that withstands the rigors of outdoor use, making it a reliable investment for years to come. The seeder is also designed to be easily towable behind garden tractors or ATVs, enhancing its utility and making it accessible to users with various types of lawn equipment.
For added convenience, the seeder features a simple flow control lever that allows for quick adjustments while in the field. This user-friendly design ensures that anyone, regardless of experience level, can operate the Agri-Fab 45-0346 effectively.
In summary, the Agri-Fab 45-0346 Tow Behind Broadcast Seeder combines high capacity, adjustable settings, and durable construction, making it an excellent choice for anyone looking to efficiently seed large areas. Its innovative features and reliable performance contribute to its status as a must-have tool for both lawn care enthusiasts and professional landscapers alike.

