User’s Manual
EN
Getting Started
Charging the battery
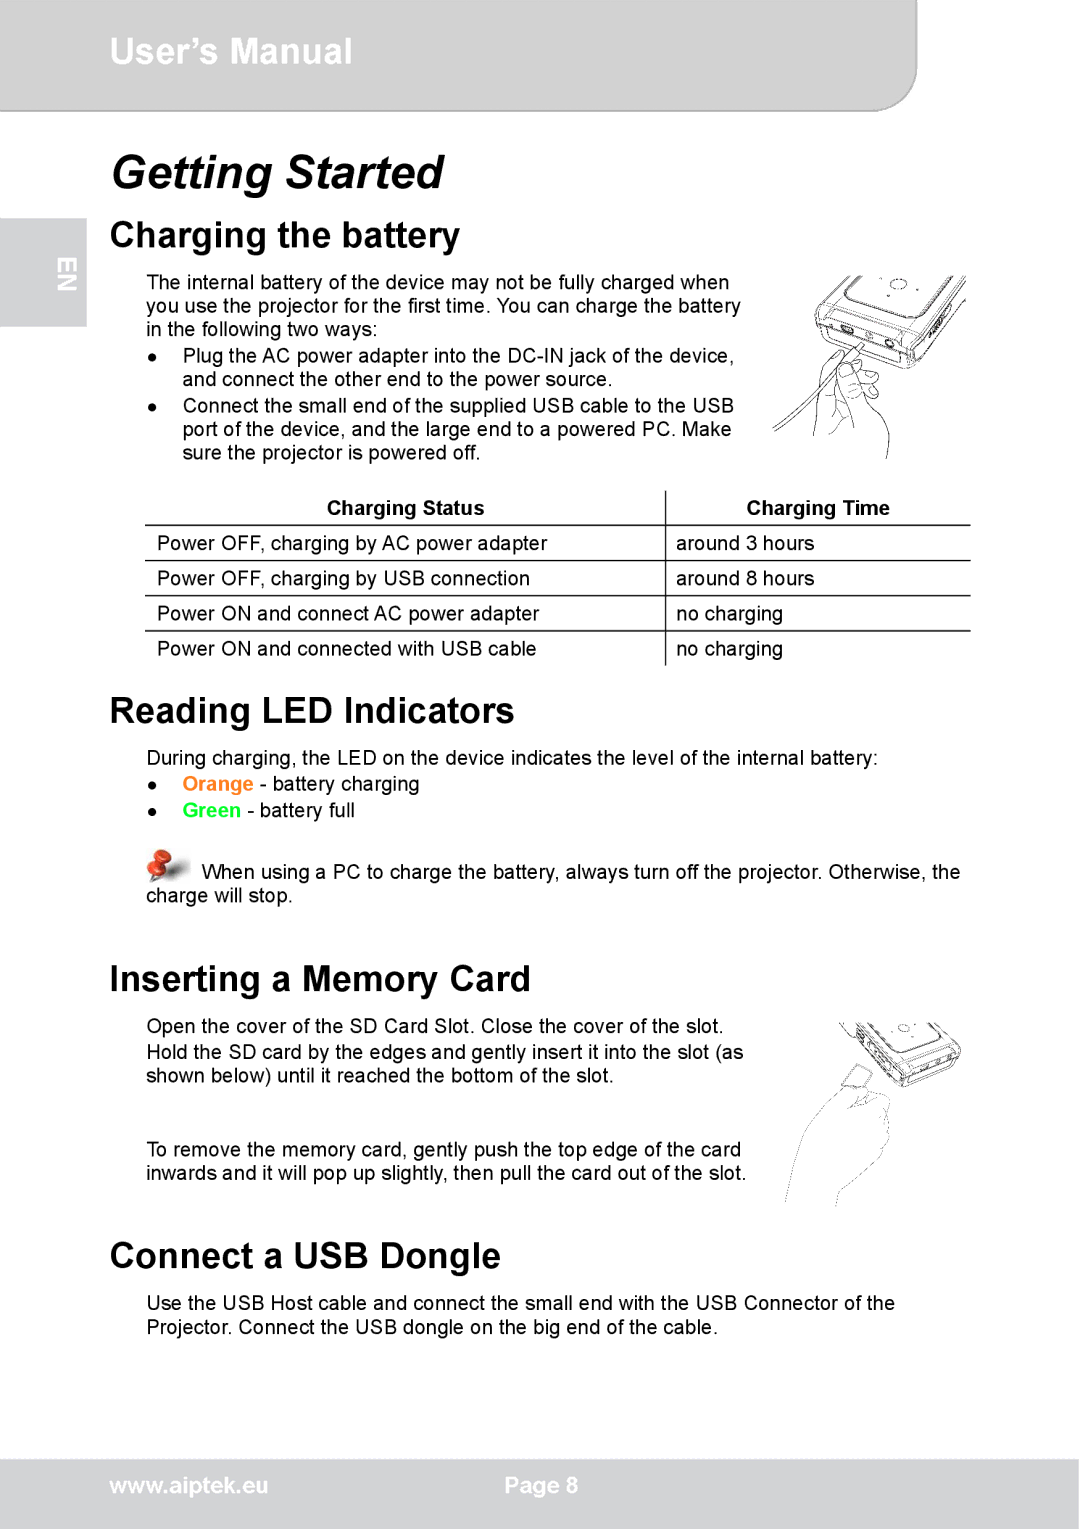
The internal battery of the device may not be fully charged when you use the projector for the first time. You can charge the battery in the following two ways:
●Plug the AC power adapter into the
●Connect the small end of the supplied USB cable to the USB port of the device, and the large end to a powered PC. Make sure the projector is powered off.
Charging Status | Charging Time |
Power OFF, charging by AC power adapter | around 3 hours |
|
|
Power OFF, charging by USB connection | around 8 hours |
Power ON and connect AC power adapter | no charging |
|
|
Power ON and connected with USB cable | no charging |
|
|
Reading LED Indicators
During charging, the LED on the device indicates the level of the internal battery:
●Orange - battery charging
●Green - battery full
![]() When using a PC to charge the battery, always turn off the projector. Otherwise, the charge will stop.
When using a PC to charge the battery, always turn off the projector. Otherwise, the charge will stop.
Inserting a Memory Card
Open the cover of the SD Card Slot. Close the cover of the slot.
Hold the SD card by the edges and gently insert it into the slot (as shown below) until it reached the bottom of the slot.
To remove the memory card, gently push the top edge of the card inwards and it will pop up slightly, then pull the card out of the slot.
Connect a USB Dongle
Use the USB Host cable and connect the small end with the USB Connector of the Projector. Connect the USB dongle on the big end of the cable.
www.aiptek.eu | Page 8 |
|
|