User’s Manual
EN
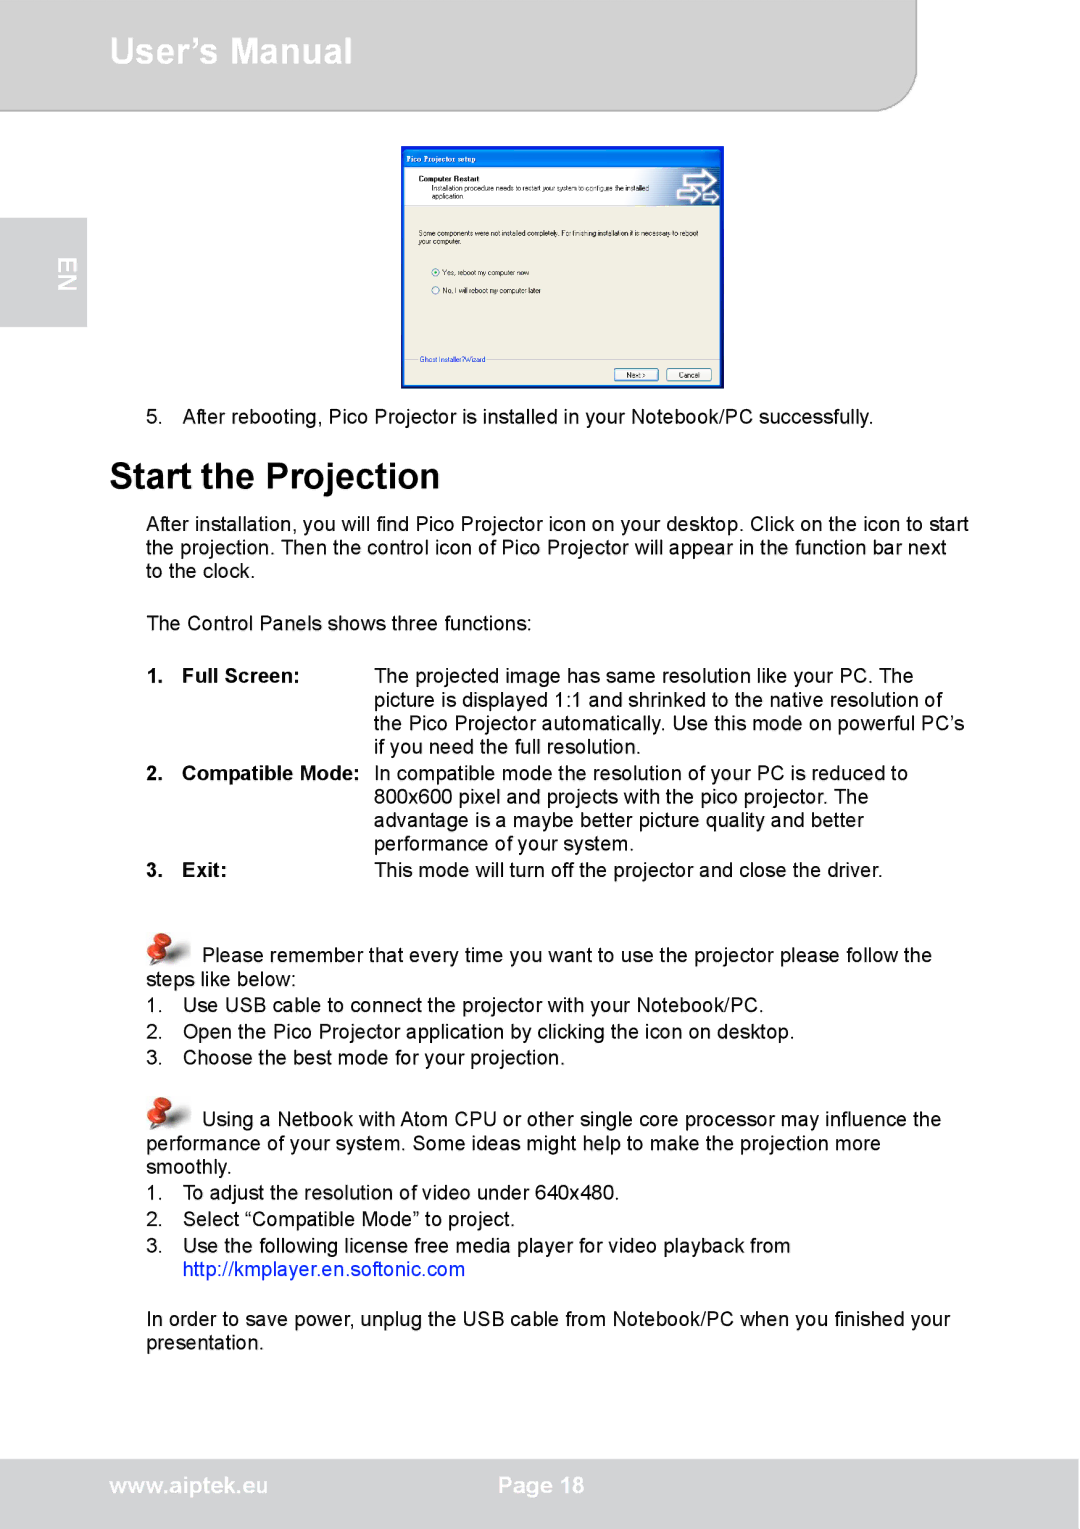
5. After rebooting, Pico Projector is installed in your Notebook/PC successfully.
Start the Projection
After installation, you will find Pico Projector icon on your desktop. Click on the icon to start the projection. Then the control icon of Pico Projector will appear in the function bar next to the clock.
The Control Panels shows three functions:
1.Full Screen: The projected image has same resolution like your PC. The picture is displayed 1:1 and shrinked to the native resolution of the Pico Projector automatically. Use this mode on powerful PC’s if you need the full resolution.
2.Compatible Mode: In compatible mode the resolution of your PC is reduced to 800x600 pixel and projects with the pico projector. The advantage is a maybe better picture quality and better performance of your system.
3. Exit:This mode will turn off the projector and close the driver.
![]() Please remember that every time you want to use the projector please follow the steps like below:
Please remember that every time you want to use the projector please follow the steps like below:
1.Use USB cable to connect the projector with your Notebook/PC.
2.Open the Pico Projector application by clicking the icon on desktop.
3.Choose the best mode for your projection.
![]() Using a Netbook with Atom CPU or other single core processor may influence the performance of your system. Some ideas might help to make the projection more smoothly.
Using a Netbook with Atom CPU or other single core processor may influence the performance of your system. Some ideas might help to make the projection more smoothly.
1.To adjust the resolution of video under 640x480.
2.Select “Compatible Mode” to project.
3.Use the following license free media player for video playback from http://kmplayer.en.softonic.com
In order to save power, unplug the USB cable from Notebook/PC when you finished your presentation.
www.aiptek.eu | Page 18 |
|
|