User’s Manual
3. Hardware Installation
This section details the hardware specs of the Raven II and mounting it with other hardware, the power requirements, mounting bracket, etc.
3.1 Mounting the Raven II
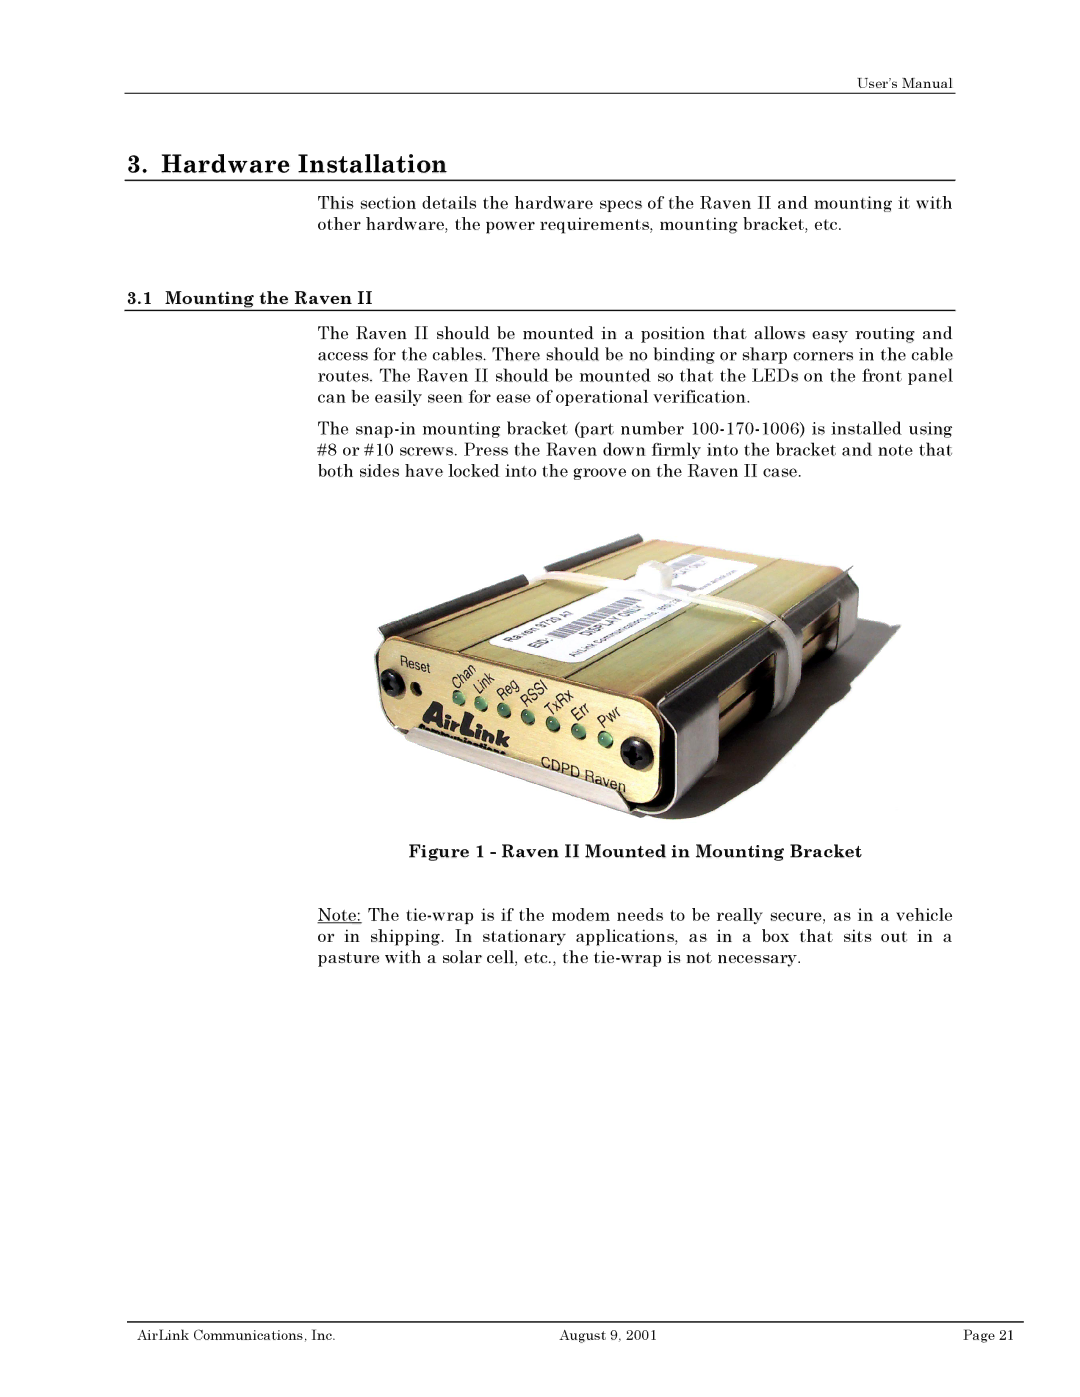
The Raven II should be mounted in a position that allows easy routing and access for the cables. There should be no binding or sharp corners in the cable routes. The Raven II should be mounted so that the LEDs on the front panel can be easily seen for ease of operational verification.
The
Figure 1 - Raven II Mounted in Mounting Bracket
Note: The
AirLink Communications, Inc. | August 9, 2001 | Page 21 |